UVs are 2D texture coordinates projected onto a 3D surface. UVs define which pixels on a texture map to which vertex on a 3D model. To use texture coordinates in Kanzi Studio, you need to create a UV layout in a content creation tool, such as 3ds Max. This is called unwrapping or UVW-mapping. Unwrap your 3D model in flat 2D space to project a texture for that 3D model so that the flow runs from the start to the end of the model. See Preparing 3D assets in third-party tools.
You can use UVs in Kanzi Studio using the Texture Offset property or a custom property. Using UVs with the Texture Offset property allows you to use that property to offset the texture on the surface of the 3D model. When you use UVs with a custom property, you use that custom property to offset the texture.
For example, you can use UVs to set the appearance of gauges. To create speed gauges with UVs using the Texture Offset property, bind the Texture Offset property to a custom property which controls the speed. To create speed gauges with UVs using a custom property which controls the speed, use that custom property to set the appearance of the texture on the 3D model. See Using UVs with the Texture Offset property and Using UVs with a custom property.
Preparing 3D assets for UVs in Kanzi Studio
To prepare 3D assets for UVs in Kanzi Studio:
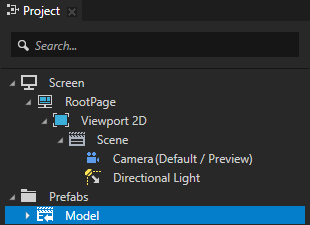
In the Assets window click Import Assets, select the 3D model for which you want to create UVs, and click Open. When you import 3D assets, Kanzi Studio creates for each 3D asset: In the Project > Prefabs a new Scene node named after the imported file. In that Scene node Kanzi Studio creates the scene hierarchy from the imported file and places the assets from the imported file into that prefab.In the LibraryKanzi Studio places all resources from the imported file, such as Meshes, Splines, Animations, and Materials. See Importing 3D assets.
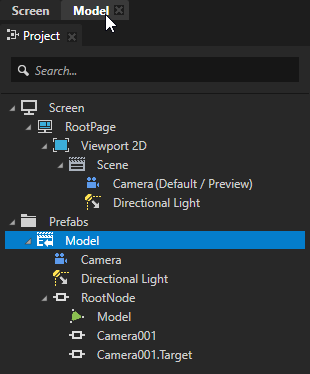
In the Project > Prefabs select the Scene named after the 3D model you imported in the previous step and double-click it to open it as a composition. To see the Scene composition rendered in the Preview, it must contain a camera and at least one light node.
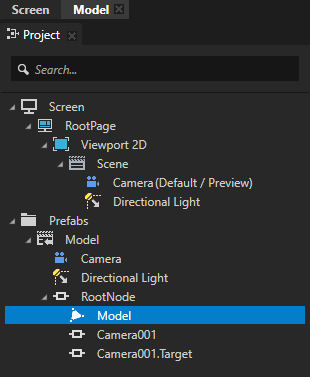
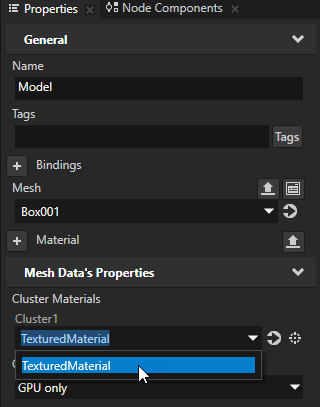
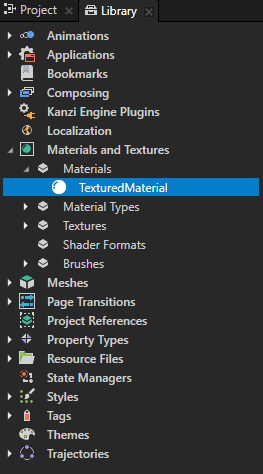
In the Project > Prefabs select the Model > RootNode > Model node and in the Properties set the material for the 3D model to the material you want to use for the UVs. Make sure you use a material which supports textures. A mesh is a collection of vertices, edges, and faces that define the shape of a solid object in 3D with flat faces and straight edges and the triangles that form the surface between the points. See Using meshes and Creating textured materials.
Using UVs with the Texture Offset property
In Kanzi Studio you can set UV texture coordinates using the Texture Offset property. When you adjust the value of that property, you set the coordinates where Kanzi offsets the texture.
To use UVs with the Texture Offset property:
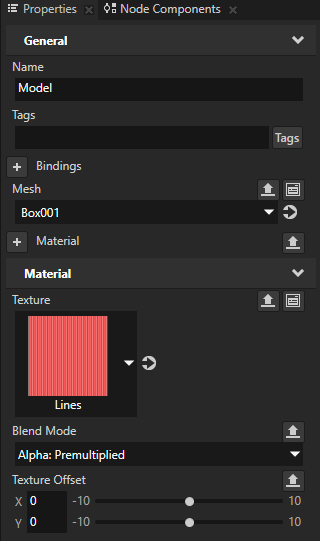
In the Project > Prefabs select the Model node and in the Properties add and set:
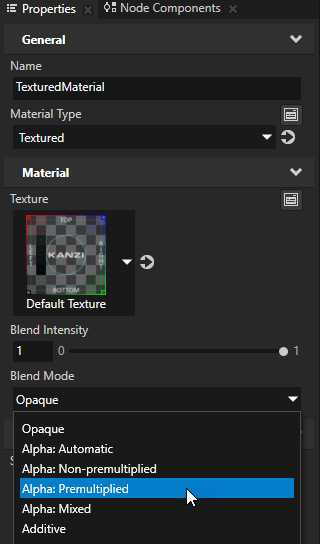
Blend Mode property to Alpha: Premultiplied This ensures correct blending of transparency.
Texture property to the texture the position of which you want to control with the UVs
Texture Offset property. You use the Texture Offset property to control the UV coordinates on the 3D model. If you want the 3D model to be invisible when the value of the Texture Offset property is higher than the size of the 3D model, make sure that 2 pixels around the texture are transparent.
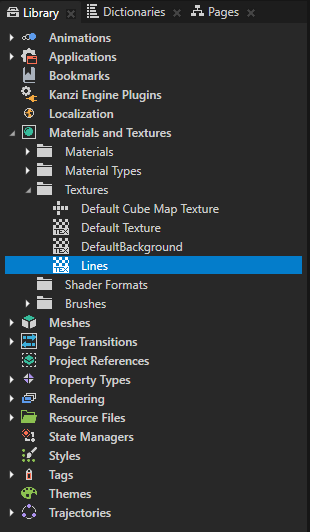
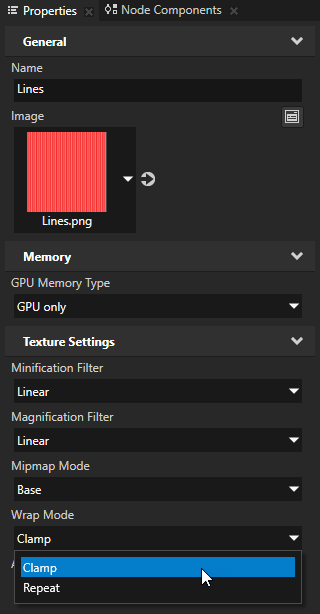
In the Library > Materials and Textures > Textures select the texture the position of which you control with the Texture Offset property and in the Properties set the Wrap Mode property to Clamp. This way there is no texture repetition when you adjust the value of the Texture Offset property. The UV coordinates of the 3D model work as a canvas for the texture.
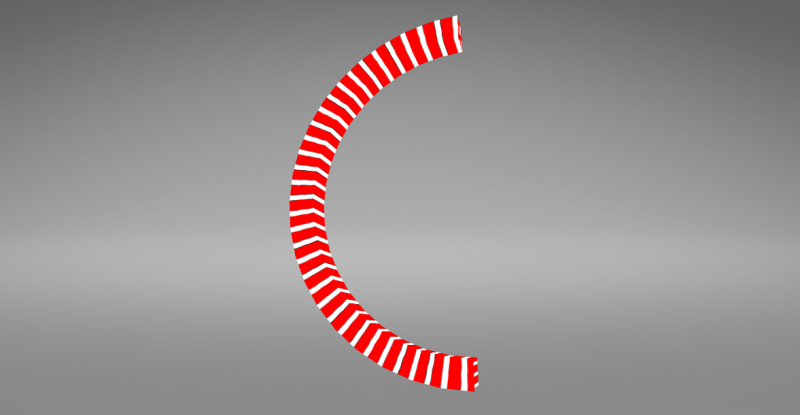
Kanzi offsets the UV texture coordinates when the value of the Texture Offset property changes. For example, to create speed gauges, bind the Texture Offset property to a custom property type which controls the speed. When the value of the custom property changes, Kanzi offsets the UV texture based on the value of that property. See Using bindings.
Using UVs with a custom property
In Kanzi Studio you can set UV texture coordinates using a custom property. When you adjust the value of that property, you can set the coordinates where Kanzi offsets the texture.
To use UVs with a custom property:
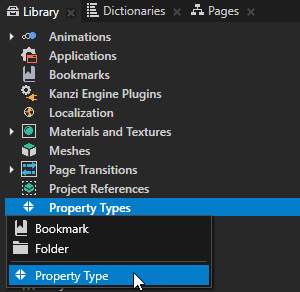
In the Librarypress Alt and right-clickProperty Types and select Property Type. The Property Type Editor opens.
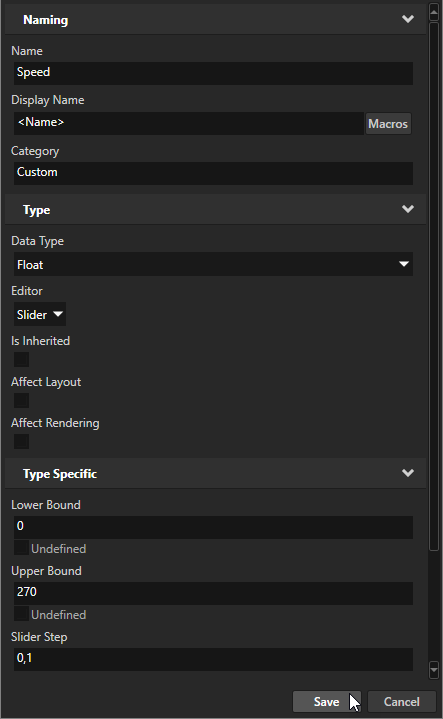
In the Property Type Editor set:
Name to the name you want to use for the custom property. For example, name the property Speed.
Data Type to Float. You set the Data Type to Float because the UV coordinates work in the space of 0.1 pixels.
Editor to Slider.
Lower Bound to the lowest value of the property. For example, set it to 0.
Upper Bound to the highest value of the property. For example, set it to 270.
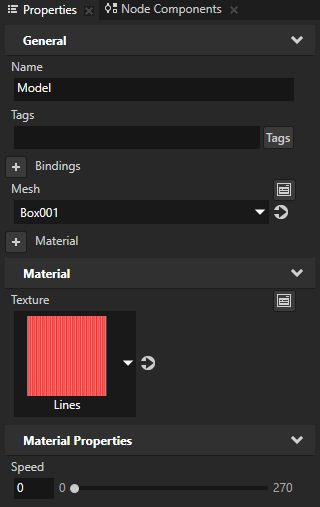
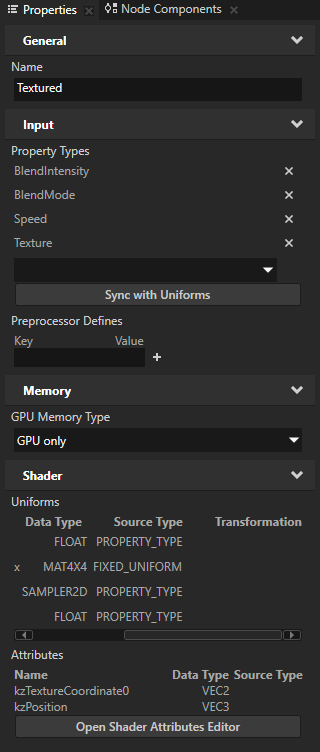
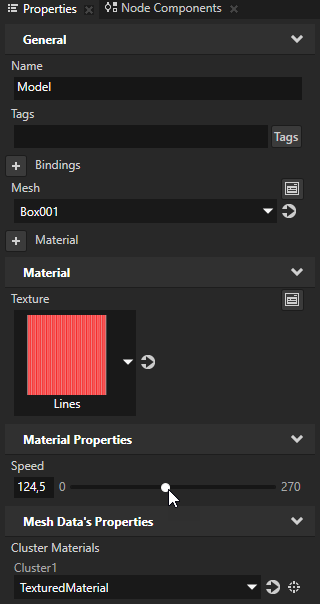
In the Project > Prefabs select the Model > RootNode > Model node and in the Properties add and set:
Texture property to the texture you want to use for the UVs
The custom property you created in the previous step.
Add the custom property to the vertex shader of the material type you use for the 3D model:
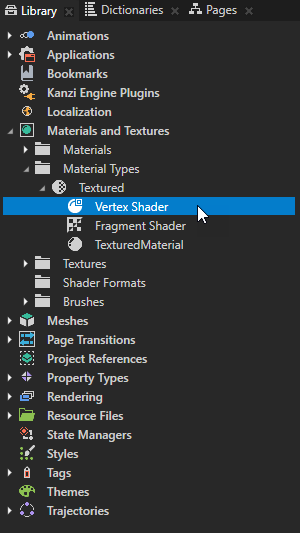
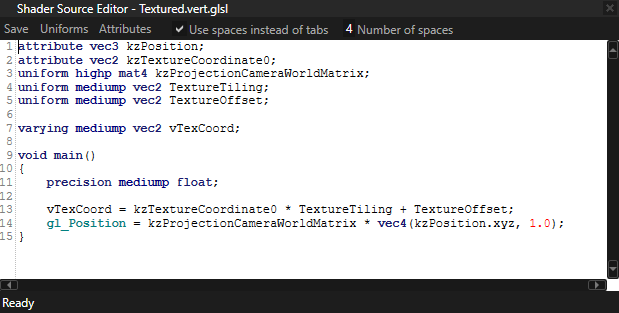
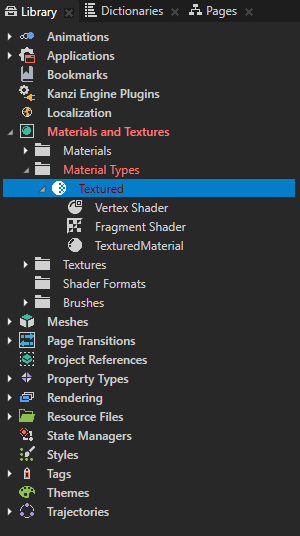
In the Library > Materials and Textures > Material Types select the material type and double-click the Vertex Shader. The Shader Source Editor window opens.
In the Shader Source Editor add the custom property:
uniform mediump float Speed;
In the Shader Source Editor set the vTextCoord to use that property:
This offsets the texture on the x axis based on the value you set in the custom property. The speed is divided by 270.0 because the Upper Bound of the Speed property is set to 270 and the UV texture coordinates work in the space of 0.1. To offset the texture on the y axis, in the Shader Source Editor use kzTextureCoordinate0.y. To offset the texture on the x and y axes, use kzTextureCoordinate0.
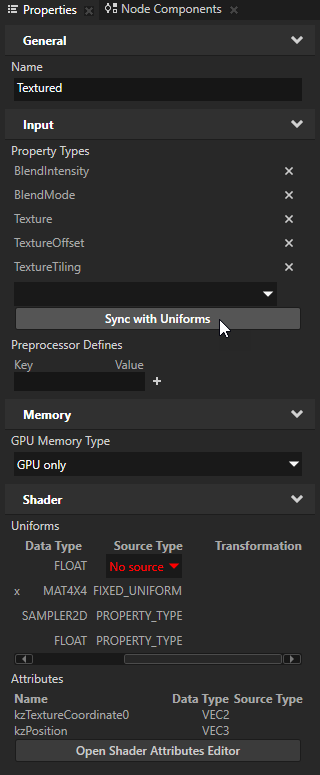
In the Library > Materials and Textures > Material Types select the textured material type you use for the UVs and in the Properties click Sync with Uniforms to add the missing properties for the materials that use this material type.
In the Library > Materials and Textures > Materials select the material you use for the UVs and in the Properties set the Blend Mode property to Alpha: Premultiplied.
In the Library > Materials and Textures > Textures select the texture you use for the UVs and set the Wrap Mode property to Clamp. This way there is no texture repetition when you adjust the value of the custom property. The UV coordinates of the 3D model work as a canvas for the texture.
When you adjust the value of the custom property, Kanzi offsets the texture on the axis you set in the vertex shader based on the value of that property.