Using brushes
Brushes are graphics objects that describe how 2D content is drawn. For example, with brushes you can define the color of text in a Text Block 2D node, fill the background of a 2D node with an image pattern, or apply a material effect on 2D content.
Most 2D nodes have a foreground and a background. With brushes you can change the appearance of both. In Kanzi you can use these brushes:
Kanzi Studio stores brushes in the Library > Materials and Textures > Brushes.
Creating color brushes
Use a Color Brush to fill a 2D node with a solid color.
To create and use a color brush:
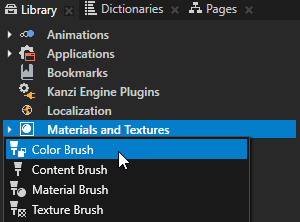
- In the Library press Alt and right-click Materials and Textures and select Color Brush.
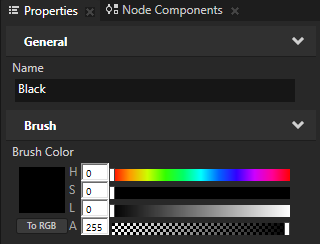
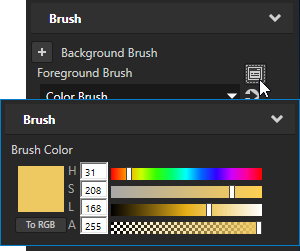
- In the Properties set the Brush Color property to the color you want to use to fill the background of a 2D node.
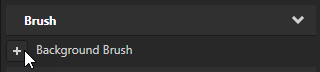
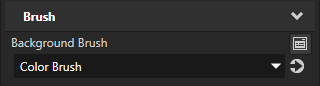
- In the Project select the 2D node the appearance of which you want to adjust, in the Properties add the Background Brush property, and select the brush you created in the first step. See Filling 2D nodes with a solid color.
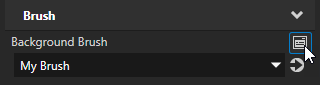
TIPTo quickly edit a brush, in the Properties next to the Background Brush or Foreground Brush property click  and edit the brush.
Creating texture brushes
Use a Texture Brush to fill a 2D node with a texture.
To create and use a texture brush:
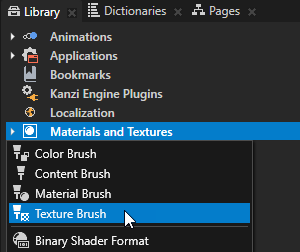
- In the Library press Alt and right-click Materials and Textures and select Texture Brush.
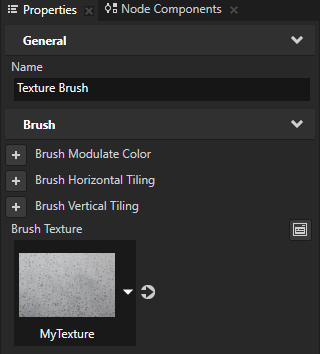
- In the Properties set the Brush Texture property to the texture you want to use to fill the background of a 2D node.
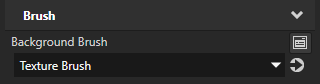
- In the Project select the 2D node the appearance of which you want to adjust, in the Properties add the Background Brush property, and select the brush you created in the first step. See Filling 2D nodes with a texture.
TIPTo quickly edit a brush, in the Properties next to the Background Brush or Foreground Brush property click and edit the brush.
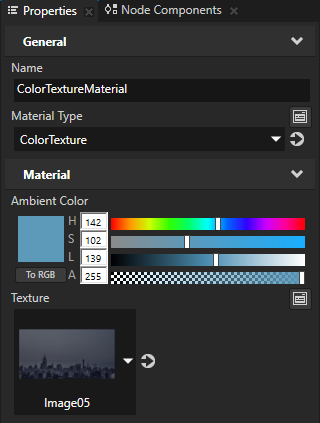
Creating material brushes
Use a Material Brush to fill a 2D node with a material.
To create and use a material brush:
- In the Library press Alt and right-click Materials and Textures and select Material Brush.
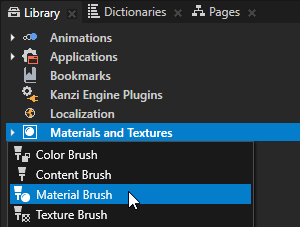
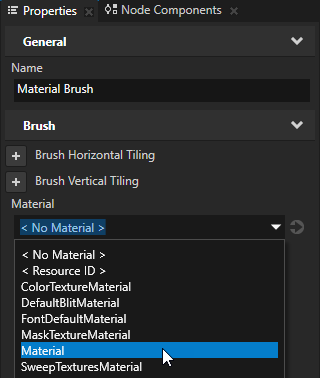
- In the Properties set the Material property to the material you want to use to fill the background of a 2D node. If you do not have any materials in your project, create a material. See Creating a material.
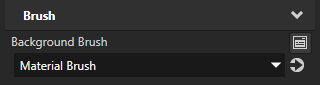
- In the Project select the 2D node the appearance of which you want to adjust, in the Properties add the Background Brush property, and select the brush you created in the first step. See Filling 2D nodes with a material and Applying custom rendering to 2D nodes.
TIP
To quickly edit a brush, in the Properties next to the Background Brush or Foreground Brush property click and edit the brush.
Setting the color of text in a Text Block 2D node
To set the color of text in a Text Block 2D node:
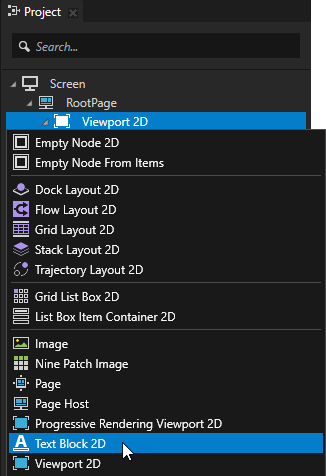
- In the Project create or select a Text Block 2D node.
- In the Properties add the Foreground Brush property.
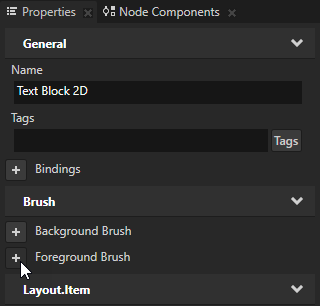
- Set the Foreground Brush property to an existing Color Brush or select + Color Brush, click next to the property, and set the color of the Color Brush you created.
Filling 2D nodes with a solid color
Use a Color Brush to fill a 2D node with a solid color.
To fill a 2D node with a solid color:
- In the Project select or create the 2D node the appearance of which you want to adjust.
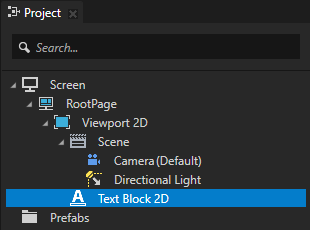
For example, in the Project press Alt and right-click the Viewport 2D node and create a Text Block 2D node.
- In the Properties add the Background Brush property.
You adjust the look and behavior of nodes in your project with properties. See Property system.
- In the Properties open the Background Brush property dropdown menu and select + Color Brush.
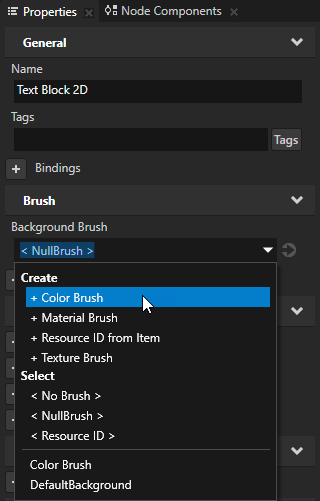
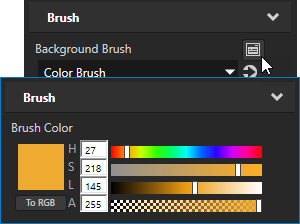
- In the Properties next to the Background Brush property click and set the color of the color brush you created in the previous step.
In the Properties click next to a property to access and edit the resource to which the property points without moving away from the currently selected node.
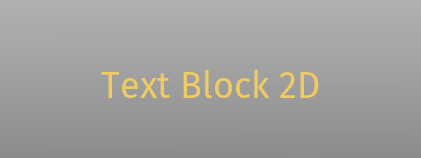
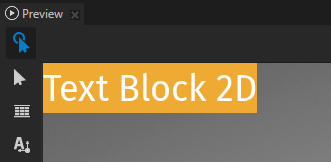
In the Preview you can see that the Color Brush you created fills the background of the node for which you set the Background Brush property.
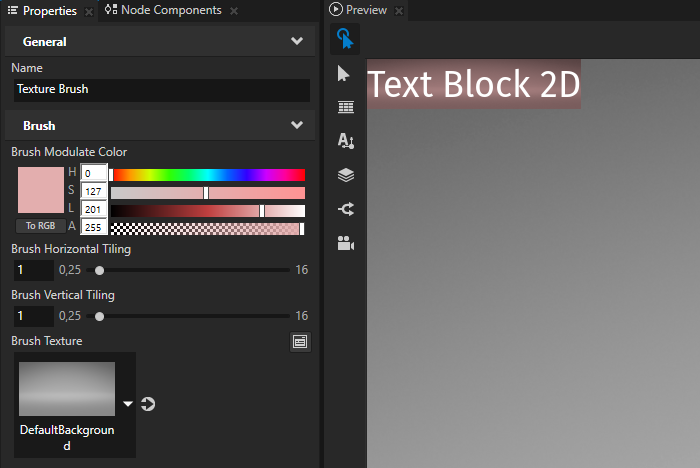
Filling 2D nodes with a texture
Use a Texture Brush to fill a 2D node with a texture.
To fill a 2D node with a texture:
- In the Library press Alt and right-click Materials and Textures and select Texture Brush.
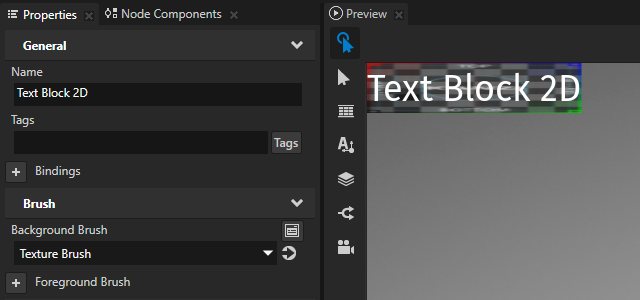
- In the Project select the 2D node the appearance of which you want to adjust, in the Properties add the Background Brush property, and select the brush you created in the first step.
For example, create a Text Block 2D node, in the Properties add the Background Brush property and set it to the brush you created in the first step.
- In the Properties click
 next to the Background Brush property to go to the brush used by that property, set the texture you want this texture brush to use, and adjust how the Texture Brush uses that texture:
- Brush Modulate Color sets the modulation color for the brush.
- Brush Horizontal Tiling affects the scale of the texture coordinates to set the horizontal tiling of the texture.
- Brush Vertical Tiling affects the scale of the texture coordinates to set the vertical tiling of the texture.
- Brush Texture sets the texture for the brush.
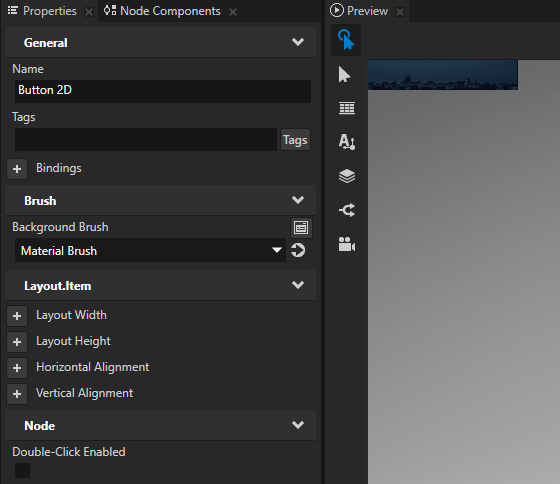
Filling 2D nodes with a material
Use a Material Brush to fill a 2D node with a material.
To fill a 2D node with a material:
- In the Library press Alt and right-click Materials and Textures and select Material Brush.
- In the Properties set the Material property to the material you want to use to fill the background of a 2D node.
If you do not have any materials in your project, create a material. See Creating a material.
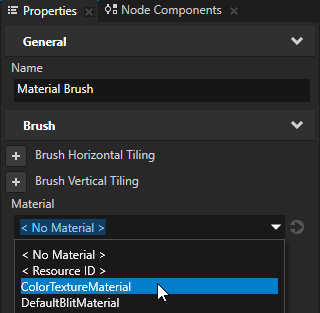
- In the Project select the 2D node the appearance of which you want to adjust, in the Properties add the Background Brush property, and select the brush you created in the first step.
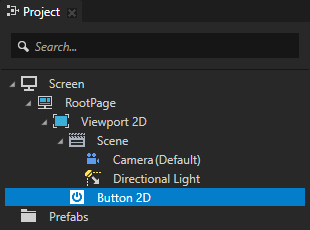
For example, create a Button 2D node, in the Properties add the Background Brush property, and set it to the brush you created in the first step.
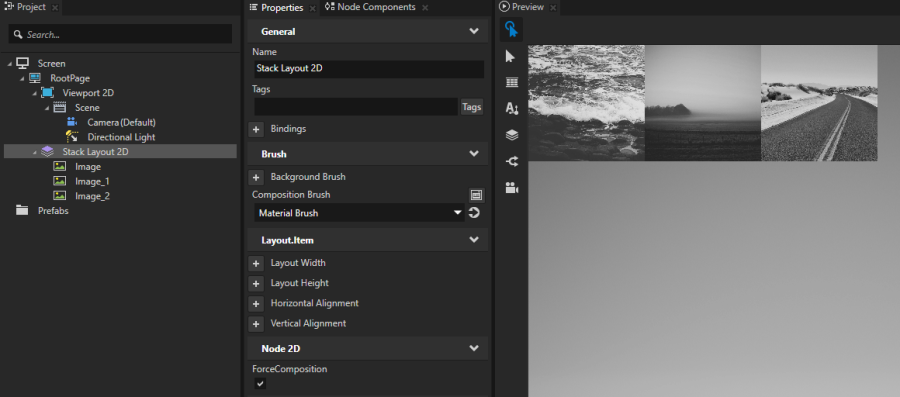
Applying custom rendering to 2D nodes
Apply custom rendering to 2D nodes to create post-processing effects. For example, you can convert color images in a 2D node to grayscale.
To apply custom rendering to a 2D node, use the Composition Brush property to compose the node on the screen with a Material Brush, and enable the ForceComposition property.
To apply custom rendering to a 2D node:
-
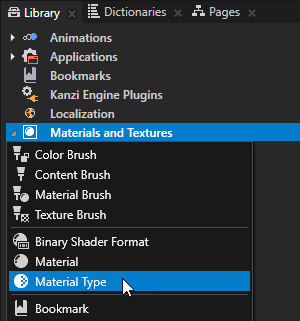
Create a material type that defines the material with which you want to apply custom rendering.
For example, to create a material type that converts color to grayscale:- In the Library press Alt and right-click Materials and Textures and select Material Type.
- In the Library > Materials and Textures expand the material type you created, double-click the Vertex Shader to open it in the Shader Source Editor, replace the existing shader code with this code, and save the shader.
attribute vec3 kzPosition;
attribute vec2 kzTextureCoordinate0;
uniform highp mat4 kzProjectionCameraWorldMatrix;

varying mediump vec2 vTexCoord;

void main()
{
    precision mediump float;
    vTexCoord = kzTextureCoordinate0;
    gl_Position = kzProjectionCameraWorldMatrix * vec4(kzPosition.xyz, 1.0);
} - Open the Fragment Shader, replace the existing shader code with this code, and save the shader.
In the shader use the Kanzi default uniform ContentTexture which defines the texture that the rendered node provides when rendering. See Shader uniforms.
uniform sampler2D ContentTexture;
varying mediump vec2 vTexCoord;

void main()
{
    precision mediump float;
    // Use this algorithm to convert the colors in the texture used by
    // the Image node to grayscale.
    float grayscale = dot(texture2D(ContentTexture, vTexCoord).rgb, vec3(0.21, 0.72, 0.07));
    gl_FragColor = vec4(grayscale, grayscale, grayscale, 1.0);
}
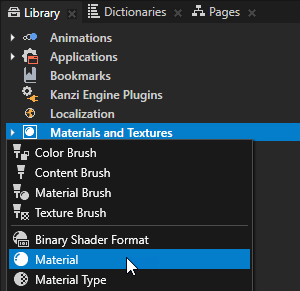
- Create a material and set it to use the material type you created in the previous step:
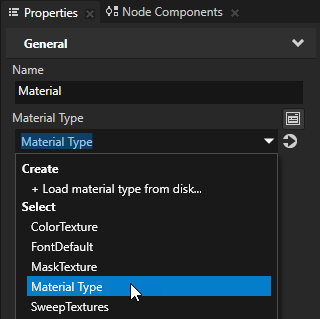
- In the Library press Alt and right-click Materials and Textures and select Material.
- In the Properties set the Material Type property to the material type you created in the previous step.
- In the Library press Alt and right-click Materials and Textures, select Material Brush, and set it to use the material you created in the previous step.
- In the Project create or select the 2D node to which you want to apply the material you created.
For example, create a Stack Layout 2D node and inside the Stack Layout 2D node create some Image nodes.
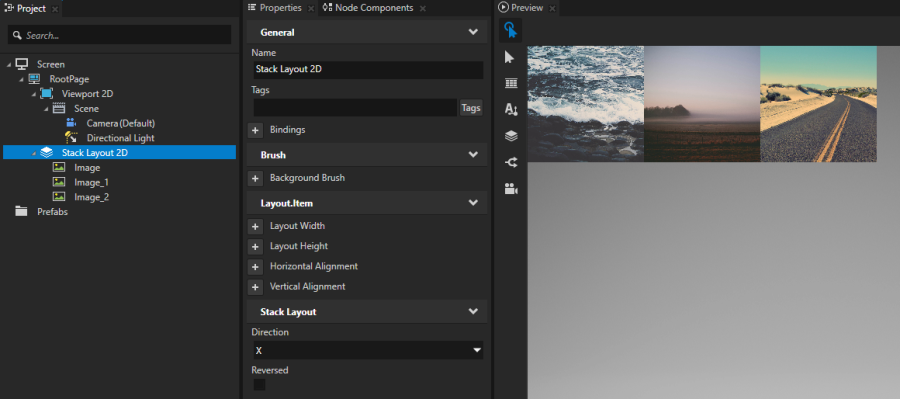
- In the Properties add and set:
- Composition Brush to the material brush that uses the material you want to apply to that node
- ForceComposition to enabled
Using brushes in the API
For details, see the Brush class in the API reference.
See also
Textures
Material types and materials
Shaders

Open topic with navigation