Creating Kanzi Engine plugins
Kanzi Engine plugins extend the functionality of Kanzi Engine. Kanzi Engine executes these plugins on target platforms. Use a Kanzi Engine plugin to:
- Create custom nodes using the Kanzi Engine API, use them in your Kanzi Studio projects, and see in the Kanzi Studio Preview how they work.
- Create custom property types and messages using the Kanzi Engine API, and use them in your Kanzi Studio projects.
- Define the data entry points to your Kanzi application, and form the contract between the Kanzi application designer and developer.
To learn how you can use Kanzi Engine plugins, see:
To create a Kanzi Engine plugin:
- Create the plugin in one of these ways:
- Install the plugin. See Adding a Kanzi Engine plugin to a Kanzi Studio project.
- Debug the plugin. See Debugging Kanzi Engine plugins.
Creating a Kanzi Engine plugin using the plugin template
To create a Kanzi Engine plugin using the plugin template:
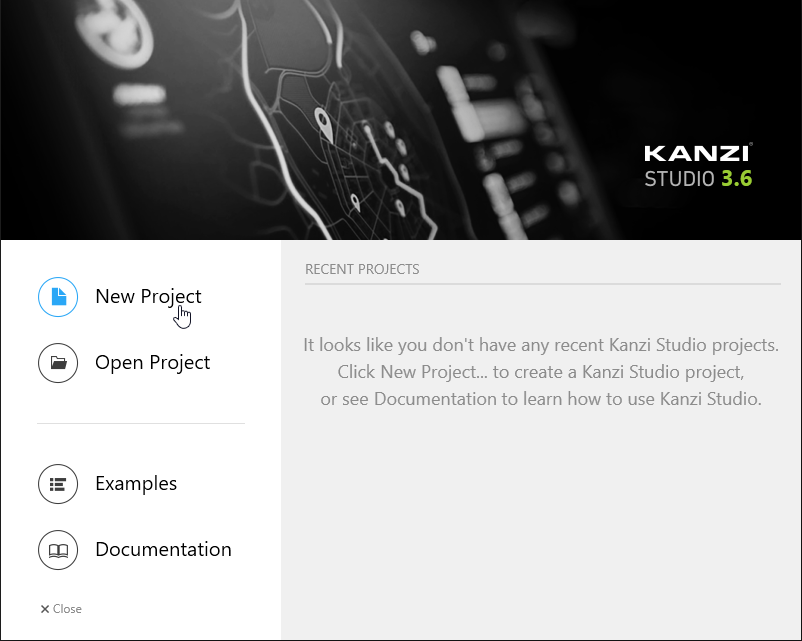
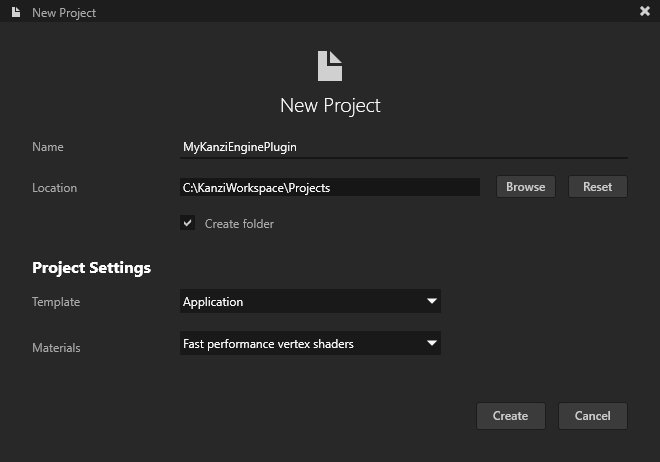
- In Kanzi Studio Quick Start screen click New Project.
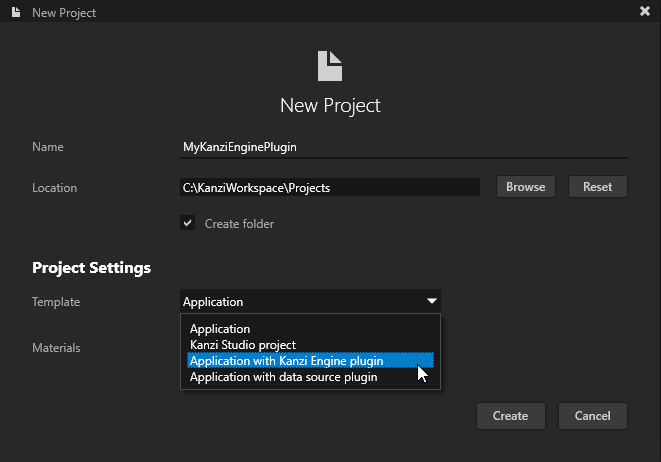
- In the New Project window set Template to Application with Kanzi Engine plugin and click Create.
Kanzi creates a Kanzi Studio project in <KanziWorkspace>/Projects/<ProjectName>/Tool_project directory and the structure for the Visual Studio solution for your project in <KanziWorkspace>/Projects/<ProjectName>/Application:
- bin directory contains the binaries and configuration files of your project.
- configs directory contains the configuration files for different platforms. By default Kanzi creates configuration files for several different platforms. The recommended platform for developing Kanzi applications is Microsoft Visual Studio. See Deploying Kanzi applications.
- src contains the source code for your project.
- In Visual Studio open the Visual Studio solution for your platform.
For example, open the Visual Studio solution for the Windows platform stored in <KanziWorkspace>/Projects/<ProjectName>/Application/configs/platforms/win32.
The Visual Studio solution contains:- The project for the Kanzi Engine plugin named <ProjectName>. Here you create the Kanzi Engine plugin.
- The project for the C++ application named <ProjectName>_executable. Here you can create the logic for your application.
- In Visual Studio create the logic for your Kanzi application and your Kanzi Engine plugin and configure the custom components in your Kanzi Engine plugin for Kanzi Studio. See Extending the functionality of Kanzi Engine.
- In the Solution Explorer right-click the <ProjectName>_executable project and select Set as StartUp Project.
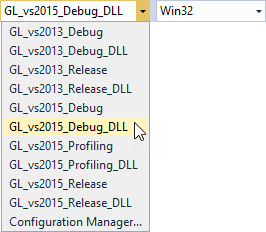
- In Visual Studio select the solution configuration for your version of Visual Studio and select Build > Build Solution. If you want to build several versions at once, select the versions you want to build in Build > Batch Build.
Visual Studio builds the project that contains the logic of your Kanzi application, and creates the .dll for your Kanzi Engine plugin. If you want to build just the plugin, select one of the DLL solution configurations, right-click the <ProjectName> project and select Build.
For example, if you are still developing your application and plugin, select the GL_vs2015_Debug_DLL configuration. If you want to create a production version of your Kanzi application, select one of the available release configurations.
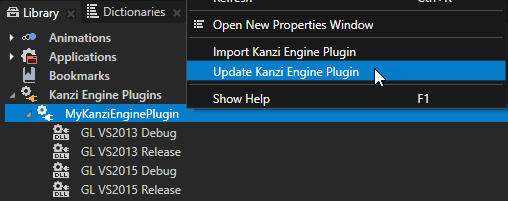
- In Kanzi Studio in the project you created in the first step in the Library > Kanzi Engine Plugins select the <ProjectName> plugin:
- Right-click the plugin and select Update Kanzi Engine Plugin to take into use the changes you made to the plugin in the Visual Studio plugin project.
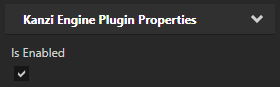
- In the Properties make sure that the Is Enabled property is enabled.
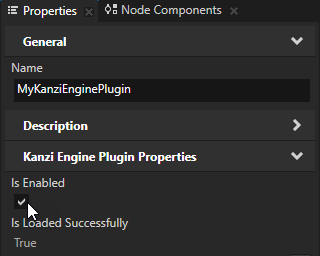
TIPUse the Is Enabled property to enable or disable any Kanzi Engine plugin in your project.
-
Make sure that the solution configuration you use in Visual Studio to build your application and plugin projects matches the settings of your Kanzi Studio project.
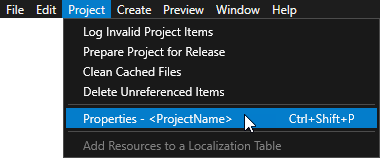
For example, if you use the GL_vs2015_Release solution configuration in Visual Studio, in your Kanzi Studio project in the > set:
- Preview OpenGL ES Wrapper to GL (Emulation through desktop OpenGL)
- Preview Build Configuration to Release
- Preview Visual Studio Version to 2015
- Preview Working Directory to ..\Application\bin.
With these settings set the Kanzi Studio Preview to work with the plugin.
Creating a Kanzi Engine plugin manually
To create a Kanzi Engine plugin manually:
- In Kanzi Studio New Project window set Template to Application to create a new project with C++ application.
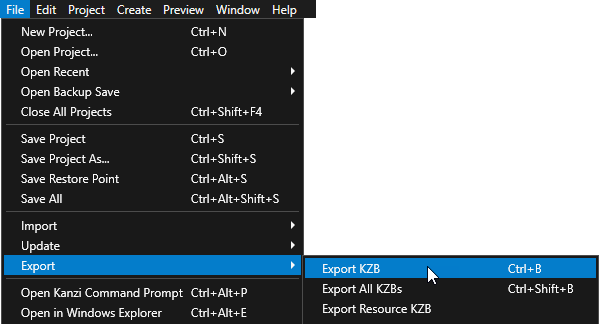
- In Kanzi Studio select > Export > Export KZB.
Kanzi Studio creates the kzb file and configuration files from your Kanzi Studio project. Kanzi Studio stores the exported files in the <ProjectName>/Application/bin directory or the location you specify in the Binary Export Directory property in > . The kzb file contains all nodes and resources from your Kanzi Studio project, except the resources you mark in a localization table as locale packs.
When you run your Kanzi application from Visual Studio, your application loads the kzb file and configuration files.
- In Visual Studio open the Visual Studio solution for your application located in Application/configs/platforms/win32.
- In Visual Studio select the solution configuration for your version of Visual Studio.
For example, if you are still developing your application and plugin, select the GL_vs2015_Debug_DLL configuration. If you want to create a production version of your Kanzi application, select one of the available release configurations.
- In the Solution Explorer right-click the solution and select Add > New Project. This is the project where you create the Kanzi Engine plugin.
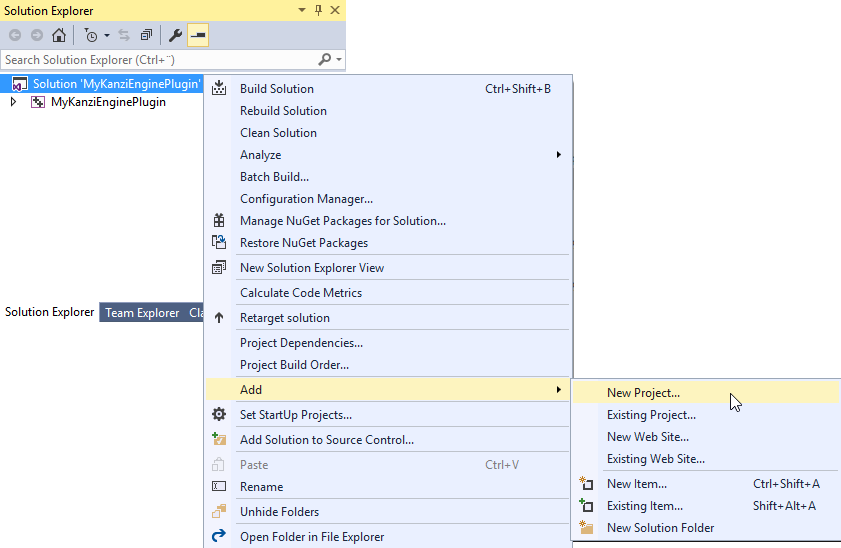
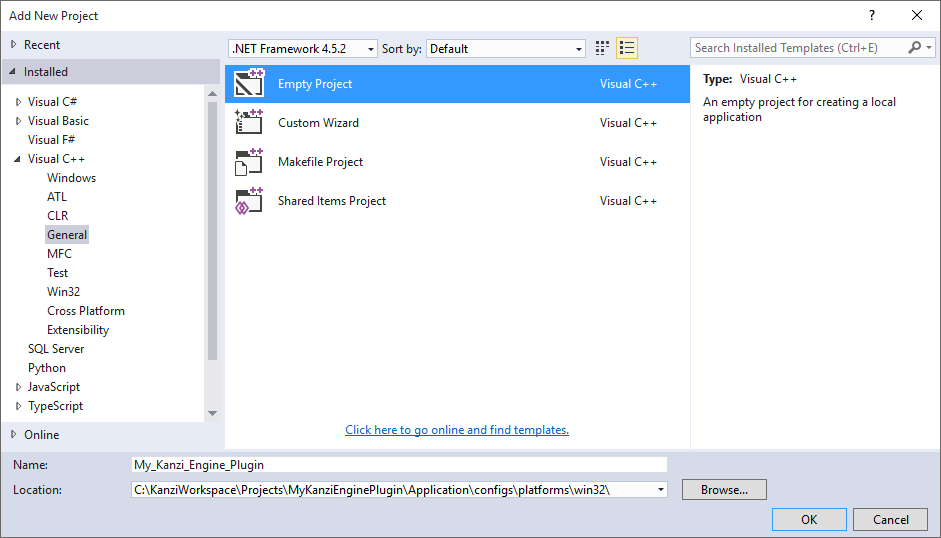
- Select Empty Project.
- Name the project.
- Set the Location to the <ProjectName>/Application/configs/platforms/win32.
- In the Solution Explorer right-click the plugin project and select Set as StartUp Project.
- In the Solution Explorer right-click the empty project you created in the previous step, select Properties, and click Configuration Manager....

- In the Configuration Manager for the project you created select <New...> configuration and set:
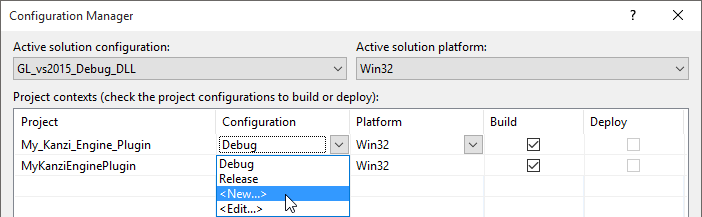
- Name to the same name as the name of the build configuration you selected in the third step.
For example, set it to GL_vs2015_Debug_DLL. - Deselect Create new solution configurations.
- Click OK.
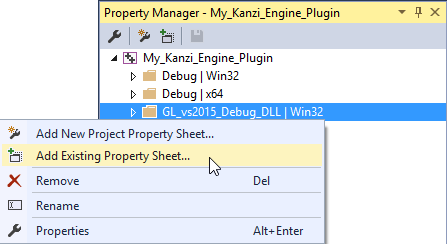
- In the Property Manager right-click the configuration you added in the previous step, select Add Existing Property Sheet..., and add:
- <KanziWorkspace>/Engine/configs/platforms/win32/debug.props
- <ProjectName>/Application/configs/platforms/win32/dll_application.props
- <KanziWorkspace>/Engine/configs/platforms/win32/gl.props
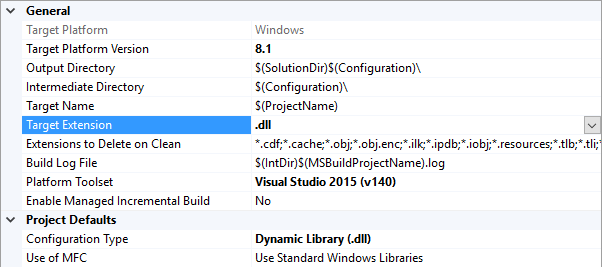
- In the Solution Explorer right-click the plugin project, select Properties, and set:
- Target extension to .dll
- Configuration type to .dll
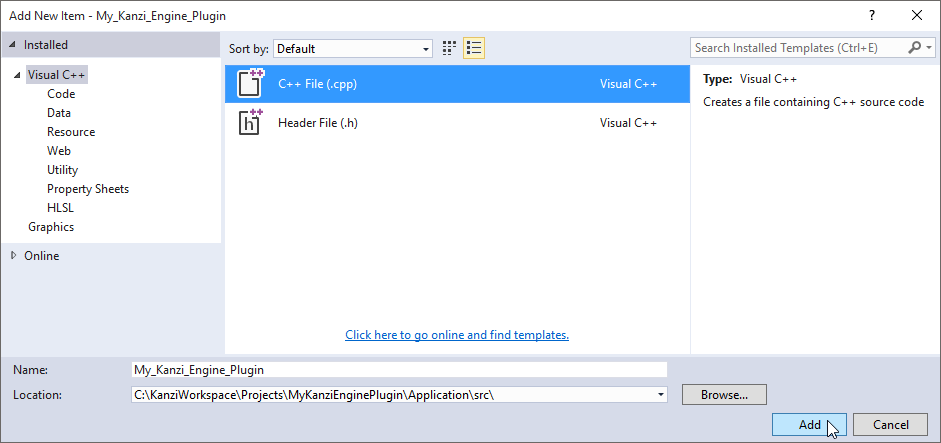
- In the Solution Explorer right-click the plugin project, select Add New Item...:
- Select C++ File (.cpp).
- Name the file.
- Set the Location to the <ProjectName>/Application/src.
- In the Solution Explorer right-click the plugin project and select Properties:
- In the Property Pages window select Configuration Properties > C/C++ > Preprocessor.
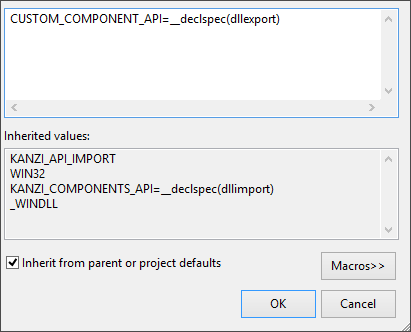
- In the Preprocessor Definitions dropdown menu select <Edit...>.
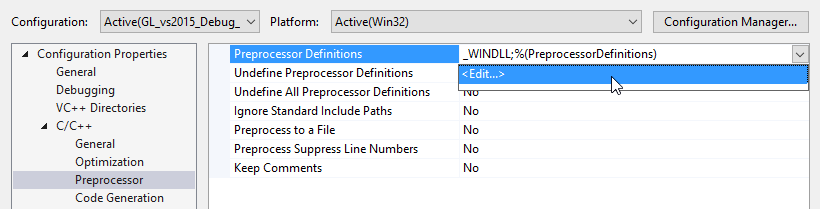
- In the Preprocessor Definitions window add the
CUSTOM_COMPONENT_API=__declspec(dllexport) definition.
You have to add this preprocessor definition so that the .dll can exports its functionality to Kanzi Engine.
- In the Solution Explorer right-click the main project and select Properties:
- In the Property Pages window select Configuration Properties > C/C++ > Preprocessor.
- In the Preprocessor Definitions dropdown menu select <Edit...>.
- In the Preprocessor Definitions window add the
CUSTOM_COMPONENT_API=__declspec(dllimport) definition.
You have to add this preprocessor definition to the main project so that the main project can import the functionality that the plugin .dll exports to Kanzi Engine. - In the Property Pages window select Common Properties > Framework and References.
- Click Add New Reference... and add the reference to your plugin project.
- In Visual Studio open the .cpp file you created in the plugin project and add the createModule, deleteModule, and getMetaclassOverride functions.
The plugin uses these functions to get the list of functions, metaclasses, and the component inside the .dll. It the uses them to register these to Kanzi Engine.
#include <kanzi/core/module/module.hpp>

extern "C"
{
	CUSTOM_COMPONENT_API kanzi::Module* createModule(uint32_t kanziVersionMajor, uint32_t kanziVersionMinor);
}

class PluginModule: public kanzi::Module
{
	virtual MetaclassContainer getMetaclassesOverride() KZ_OVERRIDE;
};

PluginModule::MetaclassContainer PluginModule::getMetaclassesOverride()
{
	MetaclassContainer metaclasses;
	return metaclasses;
}

CUSTOM_COMPONENT_API kanzi::Module* createModule(uint32_t /*kanziVersionMajor*/, uint32_t /*kanziVersionMinor*/)
{
	return new PluginModule;
}
- Select Build > Build Solution.
The output of the build is the .dll that is the Kanzi Engine plugin you can install and use in your Kanzi Studio project. See Adding a Kanzi Engine plugin to a Kanzi Studio project.
Adding a Kanzi Engine plugin to a Kanzi Studio project
To add a Kanzi Engine plugin to a Kanzi Studio project:
- In the Library right-click Kanzi Engine Plugins and select Import Kanzi Engine Plugin.

- Select the DLL file of the plugin you want to import and click Open.
When you select in the Library > Kanzi Engine Plugins the plugin you imported, in the Properties you can see a list of the content that the plugin brings to the Kanzi Studio project. For example, in the Properties you can see a list of property types, component, data source, render pass, node component, and trigger action types provided by the selected plugin.
-
Make sure that the solution configuration you use in Visual Studio to build your application and plugin projects matches the settings of your Kanzi Studio project.
For example, if you use the GL_vs2015_Release solution configuration in Visual Studio, in your Kanzi Studio project in the > set:
- Preview OpenGL ES Wrapper to GL (Emulation through desktop OpenGL)
- Preview Build Configuration to Release
- Preview Visual Studio Version to 2015
- Preview Working Directory to ..\Application\bin.
With these settings set the Kanzi Studio Preview to work with the plugin.
- In the Library > Kanzi Engine Plugins select the plugin and in the Properties make sure that the Is Enabled property is enabled.
TIPUse the Is Enabled property to enable or disable any Kanzi Engine plugin in your project.
- Restart the Preview by pressing Ctrl F8, or by selecting > Restart Preview.
You can now use the content provided by the plugin in your Kanzi Studio project.
See also
Debugging Kanzi Engine plugins
Extending the functionality of Kanzi Engine
Kanzi Studio property editors for property types declared in Kanzi Engine plugins
Kanzi Engine plugins

Open topic with navigation