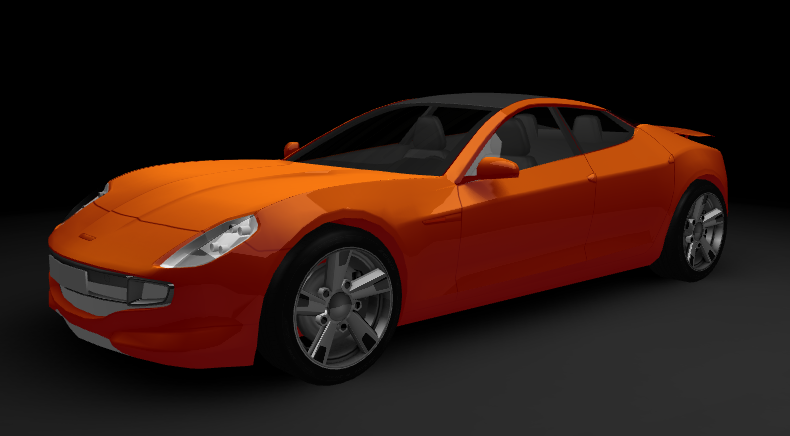
Now that you have set the basic rendering parameters for the car model, you can start changing the properties of materials to get different rendering results. By changing just a few properties you can get a completely different look and feel of your model.
In this final step of the tutorial you change the properties of the materials to:
Before you start making changes, you can make a copy of your project so that you can easily return to the initial state.
To make a copy of the project select > Save Project As... and select the new name and location for the project.
Adjust the intensity of the colors
When you want to change the intensity of the color of a material, adjust the Blend Intensity property for that material.
To adjust the intensity of the colors:
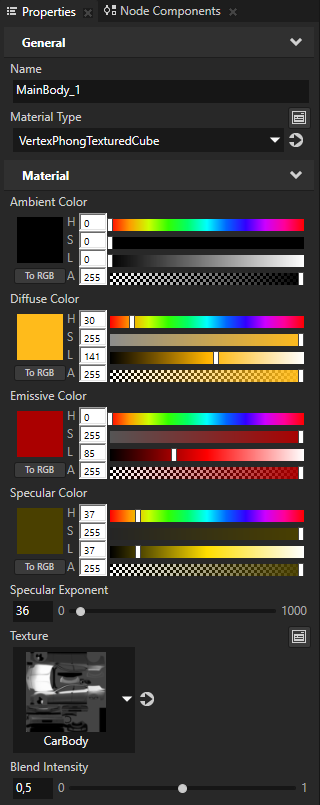
- In the Library > Materials and Textures > Materials select the MainBody_1 material and in the Properties set the Blend Intensity property to 0,5.
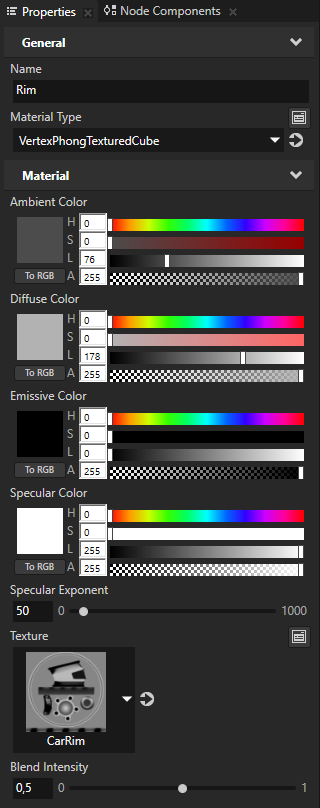
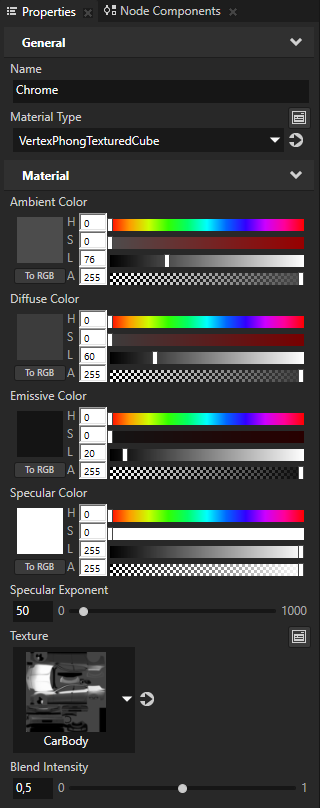
- Repeat the previous step for the Rim and Chrome materials.
When you want to make the color of a material brighter, increase the intensity of the lights in the scene instead of increasing the lightness of the color properties of the material.
For example, in the Project select the PointLight node and in the Properties set the Point Light Attenuation Constant property field to 0,5.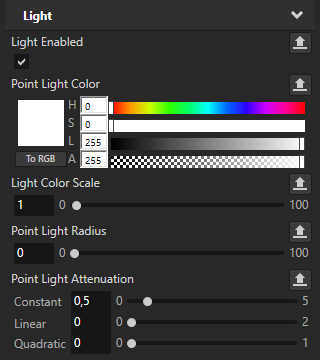
Change the ambient color
When you want to change the base color of a material, adjust the Ambient Color property of that material. By changing the Ambient Color property of a material, you set the color of that material as it is when lights are not present.
To change the ambient color:
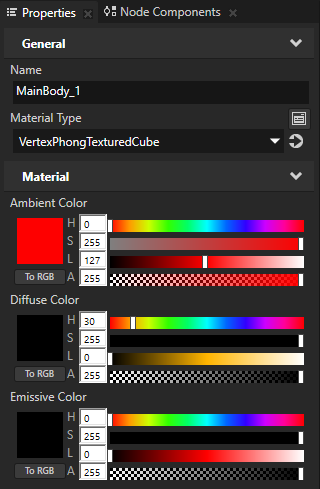
- In the Library > Materials and Textures > Materials select MainBody_1, and in the Properties set:
- Diffuse Color, Emissive Color, and Specular Color Lightness (L) property field to 0
- Ambient Color property fields:
- Saturation (S) to 255
- Lightness (L) to 127
- Blend Intensity to 1
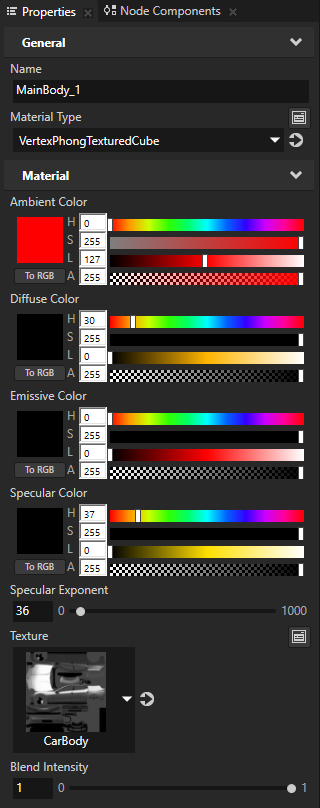
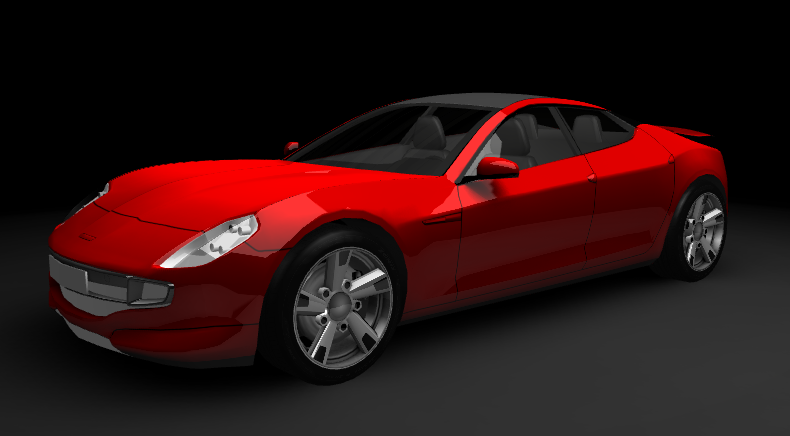
- Now adjust the Ambient Color Hue (H) property field.
For example:Color Hue (H) property field value Red 0 Yellow 42 Green 85 Cyan 127 Blue 170 Magenta 212 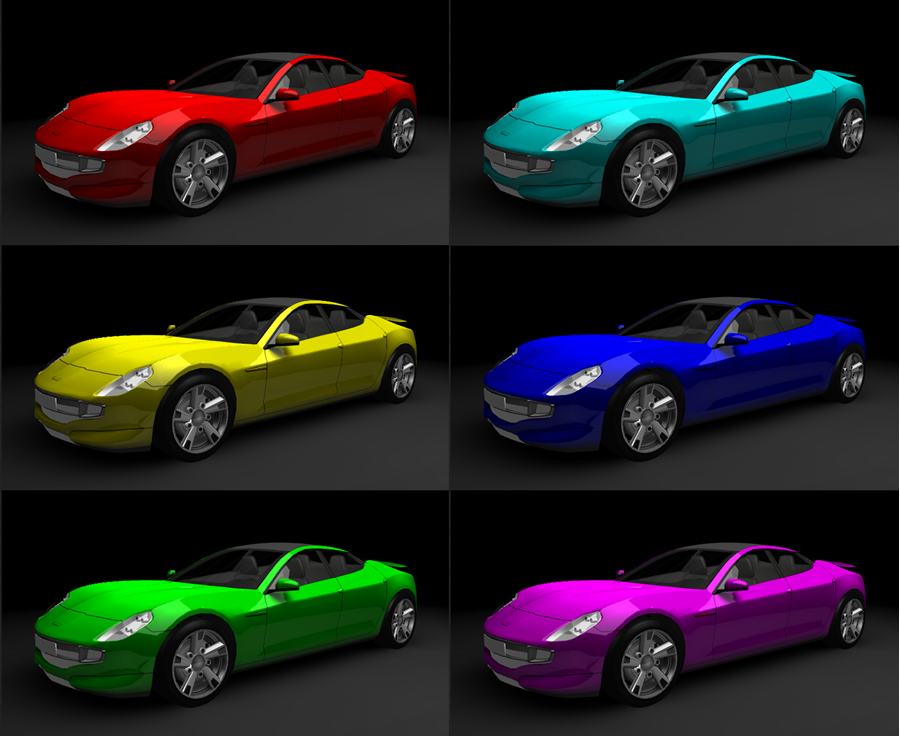
Create two-tone paint effect
When you want to create a two-tone paint effect, first set the Ambient Color property and then set the color of the second paint by adjusting the attributes of the Specular Color property of the same material.
To create two-tone paint effect:
- In the Library > Materials and Textures > Materials select MainBody_1, and in the Properties set:
- Diffuse Color and Emissive Color Lightness (L) property field to 0
- Ambient Color property fields:
- Hue (H) to a desired base color. See Change the ambient color.
- Saturation (S) to 255
- Lightness (L) to 127
- Adjust the Specular Color property fields:
- Saturation (S) to 255
- Lightness (L) to 127
- Adjust the intensity of the effect by setting the Specular Exponent property.
For example, set the Specular Exponent property to 11.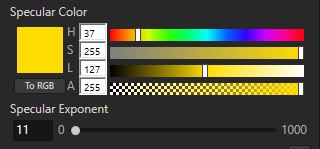
- Adjust the intensity of the colors by setting the Blend Intensity property.
For example, set the Blend Intensity property for the MainBody_1, Chrome, and Rim materials to 0,5.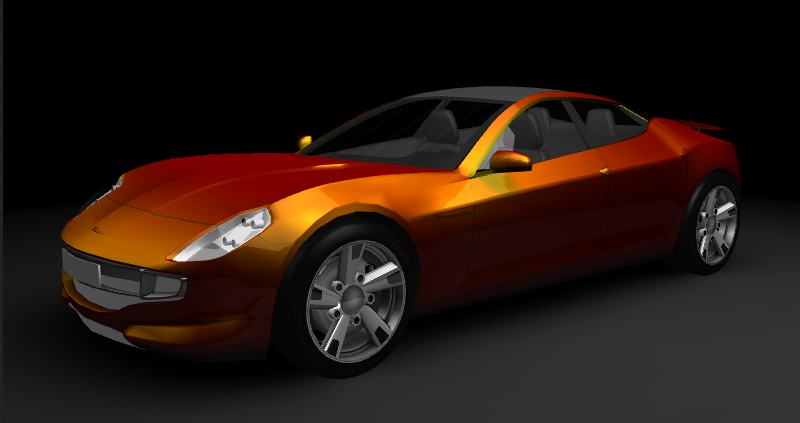
- Adjust the color of the second paint by setting the Specular Color Hue (H) property field for the MainBody_1 material.
For example:Second color Hue (H) property field value Red 0 Yellow 42 Green 85 Cyan 127 Blue 170 Magenta 212 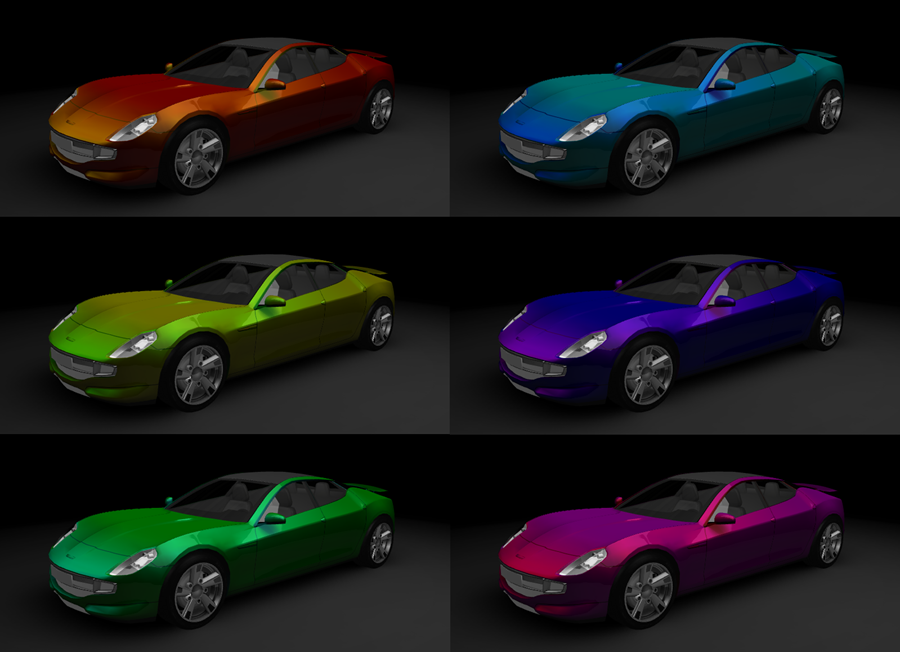
What's next?
In this tutorial you learned the basics of working with materials and textures in Kanzi Studio. Now you can:
- Learn how to create application flow and structure. See Tutorial: Create application flow with Page nodes.
- Learn how to create keyframe animations. See Tutorial: Create keyframe animations.
- Learn how to rotate with a swiping gesture a 3D model in your Kanzi application. See Tutorial: Rotate a 3D model.
- Learn how to use render passes to apply a bloom effect on 3D content. See Tutorial: Create a bloom effect.
See also
To find out more about materials, see Material types and materials.
To find out more about textures, see Textures.
To find out more about rendering, see Rendering.
