Getting started with the Kanzi Particles
The Kanzi Particles defines different types of emitter and affector nodes, which you use to create particle effects:
Emitter nodes release particles.
The Kanzi Particles includes these types of emitter nodes:
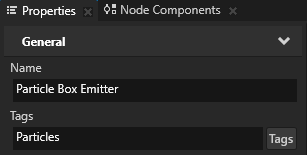
Particle Box Emitter emits particles from within a volume the shape of a box or from its surface.
Particle Mesh Emitter emits particles from the surface, vertices, or edges of a mesh.
Particle Sphere Emitter emits particles from within a volume the shape of a sphere or from its surface.
Particle Trail Emitter emits particles from other particles.
Particle Trajectory Emitter emits particles from a point in a spline trajectory.
See Using emitter nodes.
Affector nodes apply force to particles.
The Kanzi Particles includes these types of affector nodes:
Particle Attractor Affector pulls particles towards or pushes particles away from itself.
Particle Curl Affector defines an infinite force field that a curl noise function randomly distorts.
Particle Drag Affector reduces the particle speed over time.
Particle Force Affector applies to particles a directional force.
Particle Mesh Affector attracts particles towards the surface of a mesh.
Particle Trajectory Affector attracts particles towards points in the shape of a trajectory.
Particle Vector Field Affector defines a volumetric field of force vectors from an fga file.
Particle Vortex Affector generates a spinning vortex force.
See Using affector nodes.
Collider nodes prevent particles from entering the area defined by a collider node.
The plugin includes this collider:
Particle Wall Collider is an infinite plane through which particles cannot pass.
See Using collider nodes.
By combining different emitter and affector nodes and adjusting their properties, the Kanzi Particles provides you with an almost endless amount of possibilities to create particle effects.
Creating the simplest particle system
The simplest particle system contains only a particle emitter node.
To create the simplest particle system:
Set up your Kanzi Studio project for the Kanzi Particles.
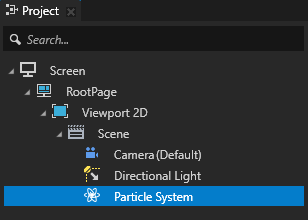
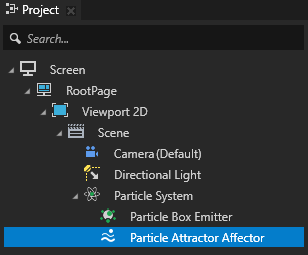
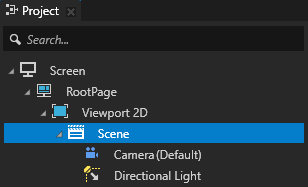
In the Project press Alt and right-click a Scene node and create a Particle System node. The Particle System node is the root node for all particle nodes. All particle nodes emit or affect particles when they are child or descendant nodes of a Particle System node.
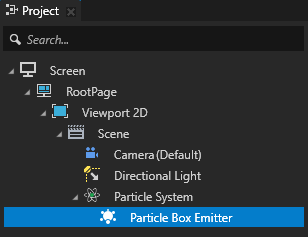
In the Project press Alt and right-click the Particle System node that you created in the previous step and crate an emitter node.
Emitter nodes release particles.
For example, create a Particle Box Emitter node.
Tip
The Kanzi Particles supports hierarchical structures in the scene graph:
The transformation of a parent node is applied to each descendant node.
Affector nodes affect only their parent node and all their sibling nodes. This allows you to limit the scope of affector nodes to specific emitter nodes within a single Particle System node.
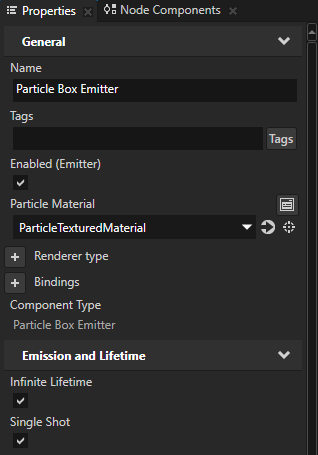
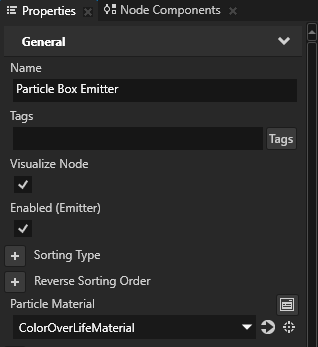
In the Project select the emitter node you created, and in the Properties set the Particle Material property to the material that you want to use to render the particles emitted by the emitter node. For example, set the Particle Material property to the ColorOverLifeMaterial material.
Tip
When you define your own material for an emitter node to render particles, these are the minimum requirements for a shader for that material:
Sets either a color or a texture to define the basic look of each particle.
Sets the particles to face to the Camera node which renders the content of the Scene node where the particle system is.

(Optional) In the Properties add and set the properties of the emitter node to define how the emitter node releases particles. See Using emitter nodes.
Applying force to particles
When you want the particles in a particle system to move according to the rules of a force, use affector nodes.
Affector nodes apply force to particles.
To apply force to particles:
Create the simplest particle system. See Creating the simplest particle system.
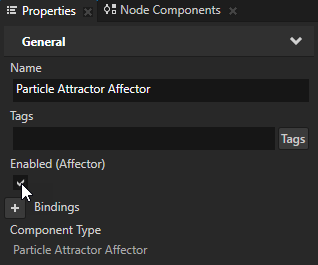
In the Project press Alt and right-click the Particle System node that has an emitter node and create an affector node. For example, create a Particle Attractor Affector node.
Particle Attractor Affector pulls particles towards or pushes particles away from itself.
Affector nodes apply force to particles. By applying force, affector nodes make the particles move.
(Optional) In the Properties set the properties of the affector to define how the affector applies force to particles.
Adjusting the appearance of particles
You adjust the appearance of particles with a material that you set in an emitter node and by setting the properties of that material.
To adjust the appearance of particles:
In the Project select the emitter node whose appearance of particles you want to change and in the Properties set the Particle Material property to the material that you want to use. For example, set the Particle Material property to ColorOverLifeMaterial.
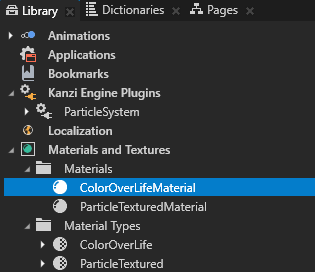
In the Library in the Materials and Textures > Materials select the material that your particle emitter uses and from the Properties drag all the material properties to the Project to the emitter node that you set to use this material.
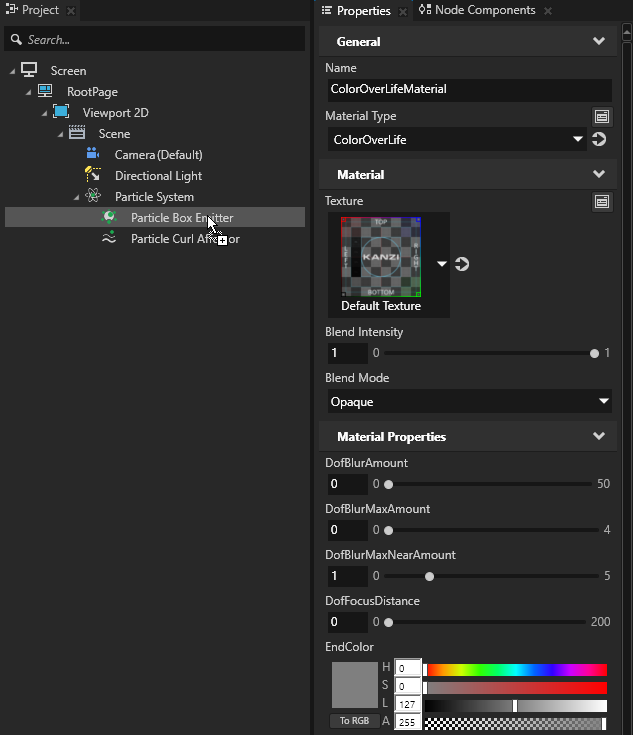
In the Project select the emitter node that you set to use the ColorOverLife material and in the Properties adjust the properties of the material:
Texture sets the texture of particles. The shader that defines the ColorOverLife material sets the size of a particle. In world units, particle size 1 is 0.1. For comparison, the default width of a Box node is 1 in world units and in the width of that node you can fit 10 particles side by side.
Blend Intensity is the multiplier for the brightness of particles.
Blend Mode sets the mode of transparency to use for particles. To create transparent particles, set to Alpha: Automatic.
Color Begin Life sets the color of particles when a Particle System creates them.
Color End Life sets the color of particles right before a Particle System destroys them.
DOF Blur Amount is the multiplier for the amount of blur when the particles are out of focus.
DOF Blur Max Amount Far limits the blur effect by setting a certain size of particles when they are far from a Camera node.
DOF Blur Max Amount Near limits the blur effect to setting a certain size of particles when they are close to a Camera node. This enables you to control the size of particles close to a Camera node, so that they do not take up too much space.
DOF Focus Distance sets the distance of the focal plane. The Kanzi Particles simulates the depth of field by making the particles larger and more transparent when they are out of focus.
Exposure sets the exposure. The lower the value, the longer the exposure. Exposure is inverse of Blend Intensity.
Fade Distance sets the distance that is proportional to the DOF Focus Distance property and defines the distance from the Camera node after which the particles become completely invisible.
Fade In Time sets the time that it takes for a particle to become completely visible. This time is relative to the lifetime of a particle.
Fade Out Time sets the time that it takes for a particle to become completely invisible. This time is relative to the lifetime of a particle.
Gradient Values set the fading at the edges of particles. The X property field sets the radius and the Y property field sets the distance of the fade out.
Linear Output when enabled, undoes the gamma correction so that you can correctly render transparent particles on top of each other and apply the gamma correction afterward. To use this, you must first render to a texture.
Motion Blur Enable sets whether motion blur is enabled. This property is enabled by default.
Motion Blur Strength when the Motion Blur Enable property is enabled, sets the multiplier for stretching in the direction of the movement of a particle to achieve a blur effect.
Texture Over Life Enable enables whether you can set the color of particles over their lifetime using colors from a texture that you set in the Texture Over Life property.
Texture Over Life when the Texture Over Life Enable property is enabled, reads during the lifetime of a particle the texture set in this property from left to right and uses the color from that texture. The recommended height for the texture is 1 pixel. If the texture is higher than 1 pixel, the shader reads only the center pixel and takes the color according to the current age of a particle. This property is disabled by default.
Controlling your particle system
You can control the particles in a Particle System node in these ways:
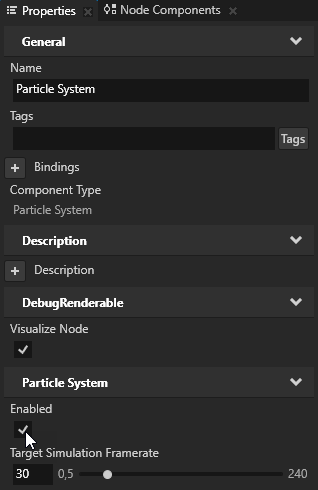
Change the behavior of particles in a Particle System. For example, when you use more than one emitter or affector, you can achieve different results by enabling and disabling emitters and affectors. To change the behavior in a Particle System node, in the Project select either an emitter or an affector node and in the Properties set the Enabled property.
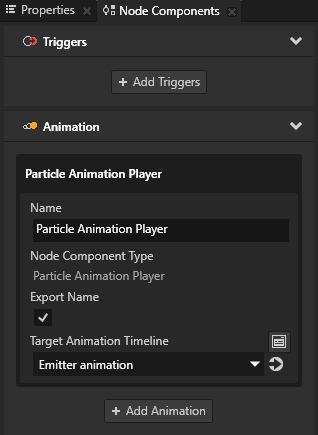
Control the time in a Particle System. For example, you can slow down or speed up the movement of particles and animations within a Particle System node. To control the time in a Particle System node, in the Project select a Particle System node and in the Properties set the Time Multiplier property. Values lower than 1 slow down and values higher than 1 speed up the time in a Particle System node. When you want to use the Time Multiplier property to control the speed of keyframe animations, use the Particle Animation Player.
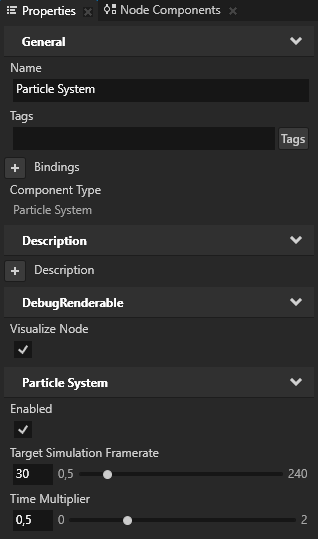
Disabling a Particle System. When a Particle System node is not visible, the Kanzi Particles automatically disables that Particle System node. When a Particle System node is disabled it stops showing the particles from its emitter nodes, resets all emitter nodes, and frees the memory used by that Particle System node. If you want to manually control when a Particle System node is enabled, in the Project select a Particle System node and in the Properties add and set:
Disable When Not Visible to disabled
Enabled to either enabled or disabled to control whether that Particle System node is enabled.
Rendering partially transparent particles
When you want the nodes behind particles to remain visible and prevent the particles from occluding each other, create and configure render passes to render the particles as partially transparent.

To render partially transparent particles:
Set up your Kanzi Studio project for the Kanzi Particles.
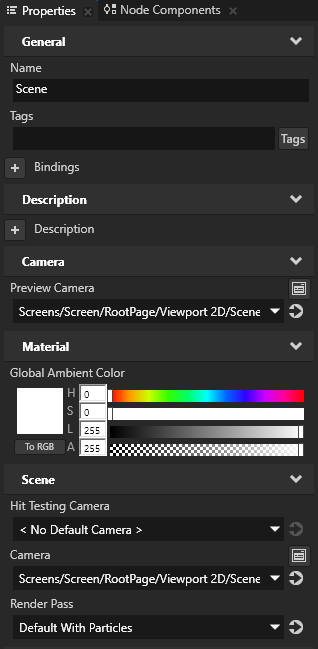
Make sure that the Scene node that contains the Particle System node with the emitter node whose particles you want Kanzi to render partially transparent has the Render Pass property set to the Default With Particles render pass.
In the Project select a Particle System node in which you want to create partially transparent particles, in the Properties next to the Tags property click the Tags, select the Particles tag, and press the Enter key. If you want to create partially transparent particles only for specific emitter nodes, add the Particles tag to those emitter nodes. For example, create a Particle System node with a Particle Box Emitter node, and to the Particle Box Emitter node add the Particles tag. A render pass in the Default With Particles render pass uses the Particles Tag Filter to collect the emitter nodes whose particles you want to be partially transparent.
Rendering particles as 3D meshes
In addition to rendering particles as billboard sprites, you can render particles as 3D meshes. To see an example use of rendering particles as 3D meshes, in the Kanzi Particles example project in the examples directory open the Effects category.
To use a mesh for 3D particles, the mesh must meet these requirements:
You must import the mesh to your Kanzi Studio project without optimization. If you want to use a mesh that you already imported with optimization, remove the mesh and import it again without optimization.
To set Kanzi Studio to import meshes without optimization, select Edit > User Preferences and in the Advanced tab disable the Optimize mesh vertices in FBX models setting.
The mesh data must be available in both GPU and RAM.
To set the mesh data to be available in both GPU and RAM, in the Library > Meshes select the mesh that you want to use, and set the GPU Memory Type property to GPU and RAM.
The mesh data attributes type must be Float.
To set the mesh data attributes type, in the Library > Meshes double-click the mesh for which you want to set the data type of attributes and in the Mesh Attributes Editor in the Data Type column set all attributes to Float.
To render particles as 3D meshes:
In the Project select an emitter node whose particles you want to render as 3D meshes and in the Properties add:
Renderer Type property and set it to Mesh Particle Renderer
Particle Mesh property and set it to the mesh that you want to use for the particles
Use the Legacy Render Pass to render the particles.
In shaders these instance data are available.
Attribute |
Description |
|---|---|
|
Contains the mesh vertex positions. |
|
Contains the mesh vertex normals. |
|
Contains the particle instance position. |
|
Contains the particle instance scale and normalized lifetime values in the x and y components respectively. |
|
Contains the particle instance motion vector. |
Debugging a particle system
To debug your particle system, in the Project select the emitter that you want to debug and in the Properties enable:
- Infinite Lifetime
When you enable this property, the particles from that emitter stay alive indefinitely.
- Single Shot
When you enable this property, that emitter emits all its particles at once.