Setting up your Kanzi Studio project
Before you can use Kanzi Particles in your Kanzi application, you must set up your Kanzi Studio project.
To set up your Kanzi Studio project:
In Kanzi Studio open the project where you want to create particles with Kanzi Particles.
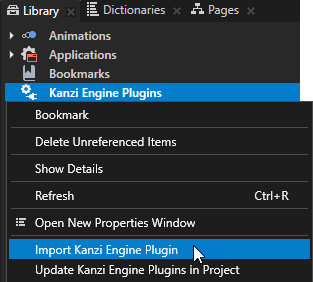
In the Library right-click Kanzi Engine Plugins and select Import Kanzi Engine Plugin.
In the
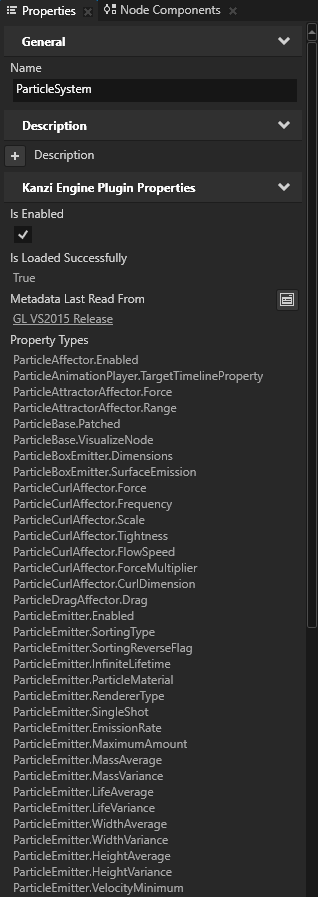
<KanziWorkspace>/Engine/plugins/ParticleSystem/libdirectory open the directory of the configuration that you want to use, select the plugin dll file, and click Open. Kanzi Studio imports the Kanzi Particles plugin to your Kanzi Studio project. The plugin contains the elements that you need to create particle systems in your Kanzi application.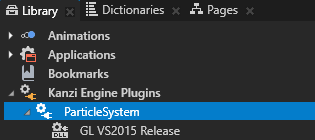
In the Kanzi Studio main menu select File > Import > Import Project, and import the
<KanziWorkspace>/Engine/plugins/ParticleSystem/assets/ParticleSystemSetup/ParticleSystemSetup.kzprojproject. TheParticleSystemSetup.kzprojcontains the material, render pass prefab, and textures that Kanzi Particles uses.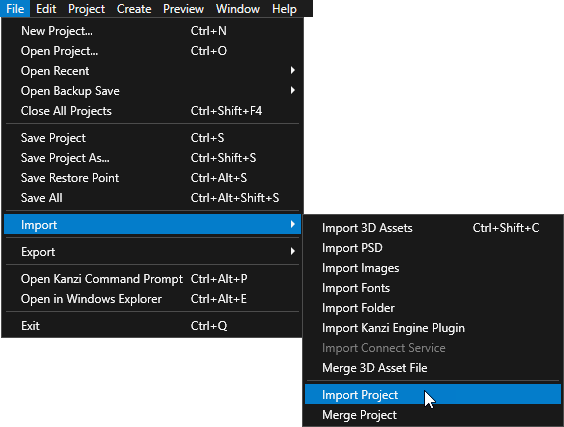
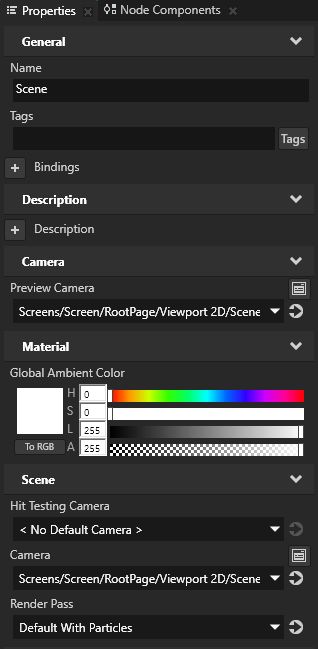
In the Project select the Scene node where you want to use Kanzi Particles and in the Properties set the Render Pass property to the Default With Particles render pass. In your project you can now create particles using Kanzi Particles. See Getting started with Kanzi Particles.