Post-processing in multiple render passes
To do post-processing in multiple render passes:
Creating a material for directional Gaussian blur
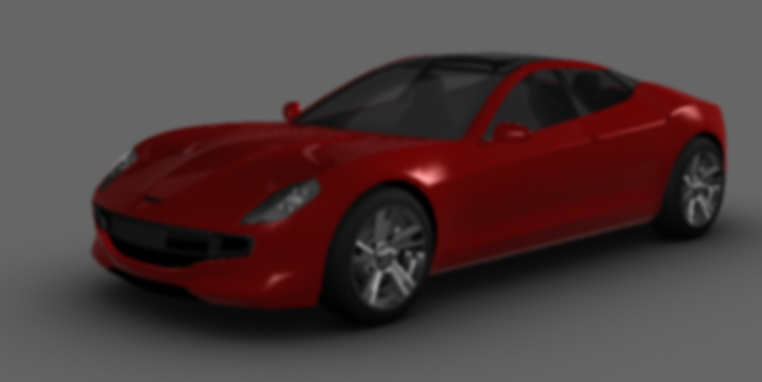
When you apply a Gaussian blur effect in two render passes, you reduce the number of pixels the shader needs to sample. For example, for a Gaussian blur kernel of 9 x 9 pixels, with a two-pass render the shader only needs to sample 9 pixels on the horizontal axis, and 9 pixels on the vertical axis, instead of sampling all pixels within the blur radius.
To create a material you can use in Blit Render Pass resources to apply to 3D content a Gaussian blur effect in two passes:
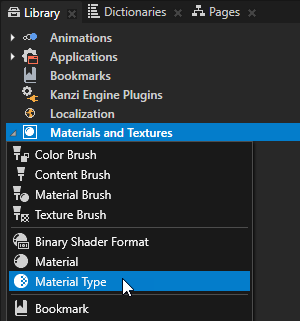
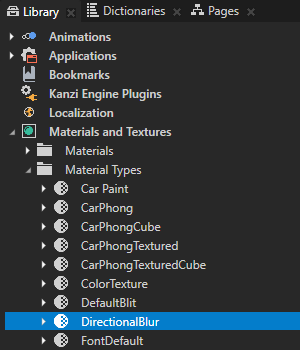
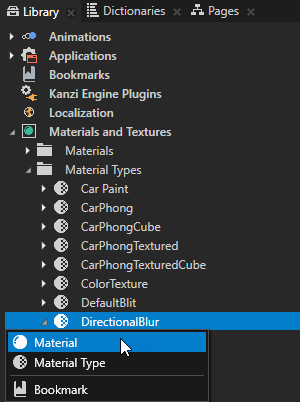
- In the Library > Materials and Textures press Alt and right-click, select Material Type, and name it.
For example, name it DirectionalBlur.
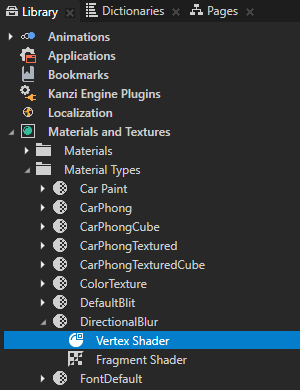
- In the Library > Materials and Textures > Material Types in the material type you created double-click the Vertex Shader to open it in the Shader Source Editor window.
- In the Shader Source Editor replace the contents of the vertex shader file with
#version 300 es
in vec3 kzPosition;
in vec2 kzTextureCoordinate0;

uniform highp mat4 kzProjectionCameraWorldMatrix;

out mediump vec2 vTexCoord;

void main()
{
    precision mediump float;
    vTexCoord = kzTextureCoordinate0;
    gl_Position = kzProjectionCameraWorldMatrix * vec4(kzPosition.xyz, 1.0);
}
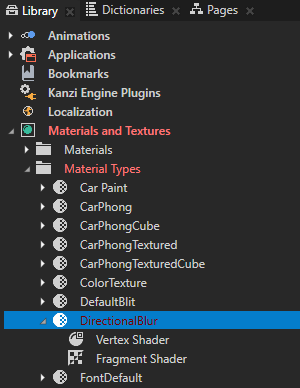
- In the Library > Materials and Textures > Material Types in the material type you created double-click the Fragment Shader to open it in the Shader Source Editor window, and replace the contents with
#version 300 es
precision mediump float;

in mediump vec2 vTexCoord;

uniform sampler2D Texture0;
uniform mediump float kzTextureWidth0;
uniform mediump float kzTextureHeight0;
uniform lowp vec2 BlurDirection;
uniform mediump float BlurRadius;
uniform mediump vec2 TextureSize;

out mediump vec4 outColor;

const float GAUSSIAN_KERNEL[9] = float[9]
(
    0.028532,0.067234,0.124009,0.179044,0.20236,0.179044,0.124009,0.067234,0.028532
);

vec3 gaussianBlur(mediump vec2 coord, lowp vec2 dir)
{

    vec2 texel = vec2(1.0 / kzTextureWidth0, 1.0 / kzTextureHeight0);
    vec4 sum = vec4(0.0);
    vec2 tc = coord;
    float blur = BlurRadius;
    float hstep = dir.x * texel.x * blur;
    float vstep = dir.y * texel.y * blur;

    for(int i = 0; i < GAUSSIAN_KERNEL.length(); i++)
    {
        float pixelOffset = (float(i) - floor(float(GAUSSIAN_KERNEL.length()) * 0.5));
        sum += texture(Texture0, vec2(tc.x + pixelOffset * hstep, tc.y + pixelOffset * vstep)) * GAUSSIAN_KERNEL[i];
    }

    return sum.rgb;
}

void main()
{
    vec3 retColor = gaussianBlur(vTexCoord, BlurDirection);

    outColor.rgb = retColor;
    outColor.a = 1.0;
}
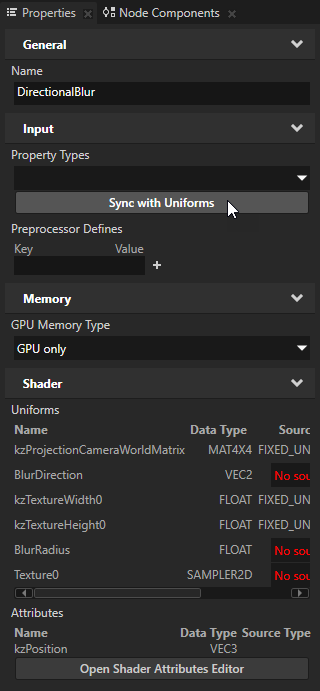
- In the Library > Materials and Textures > Material Types select the material type you created and in the Properties click Sync with Uniforms to add the missing properties for the materials that use this material type.
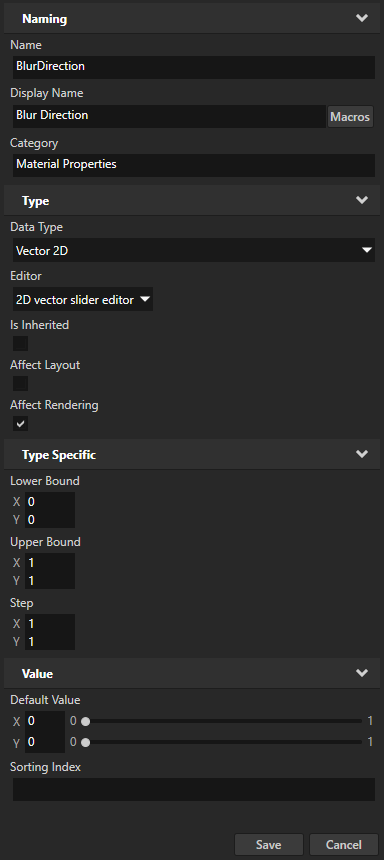
- In the Create Property Type window click Yes to create the custom property type BlurDirection and in the Property Type Editor window set:
- Display Name to Blur Direction
- Editor to 2D vector slider editor
- Upper Bound X and Y property fields to 1
Click Save.
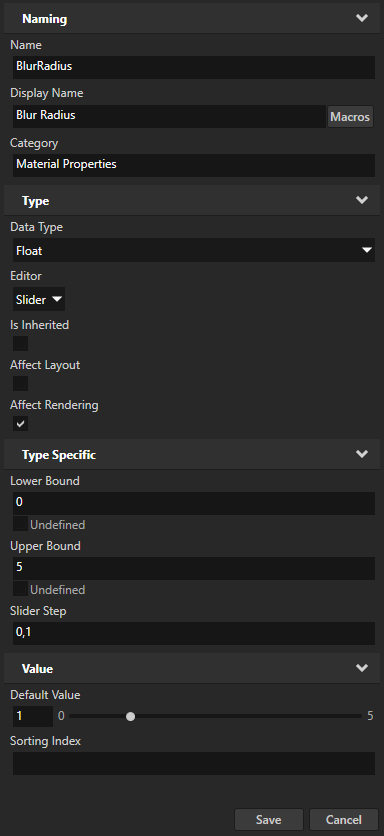
- In the Create Property Type window click Yes to create the custom property type BlurRadius and in the Property Type Editor window set:
- Display Name to Blur Radius
- Upper Bound to 5
- Default Value to 1
Click Save.
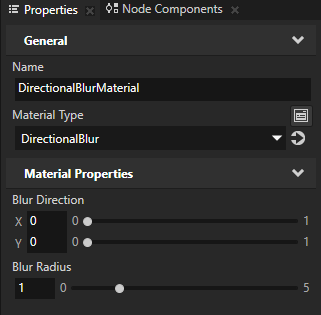
- in the Library > Materials and Textures > Material Types press Alt and right-click the material type you created, select , name it, and in the Properties set:
- Blur Direction to set the direction of the blur effect:
- To apply the blur in the horizontal direction set X to 1.
- To apply the blur in the vertical direction set Y to 1.
- Blur Radius to set the strength of the blur effect.
- Use render passes to apply the Gaussian blur effect. See Using multiple render passes to apply a post-processing effect.
Using multiple render passes to apply a post-processing effect
To use render passes to apply a post-processing effect in multiple passes:
- Create the render passes you need.
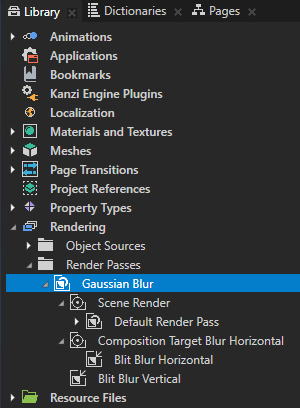
For example, for a two-pass rendering of a Gaussian blur effect:- In the Library > Rendering > Render Passes create a Group Render Pass, name it Gaussian Blur, and inside it create:
- A Composition Target Render Pass and name it Scene Render.
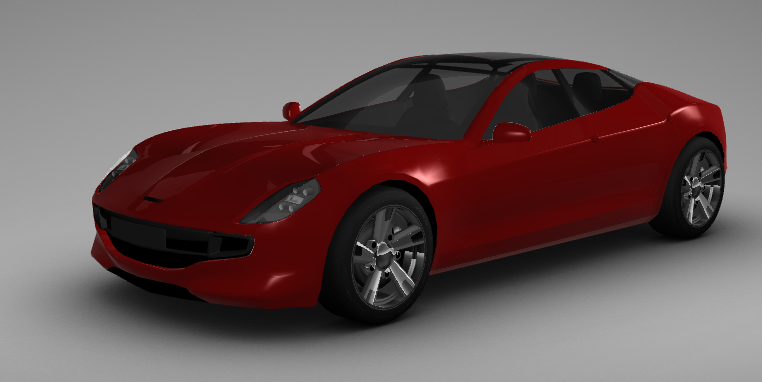
- In Scene Render create a Default Render Pass. See Using the Default Render Pass.
- Another Composition Target Render Pass and name it Composition Target Blur Horizontal.
- In Composition Target Blur Horizontal create a Blit Render Pass and name it Blit Blur Horizontal.
- A Blit Render Pass and name it Blit Blur Vertical.
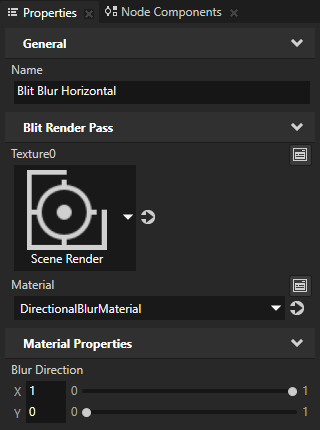
- In the Library select Blit Blur Horizontal and in the Properties:
- Set Texture0 to Scene Render.
- Set Material to a material which supports the directional Gaussian blur effect. See Creating a material for directional Gaussian blur.
For example, set it to DirectionalBlurMaterial. - Add the Blur Direction property and set the value of the X property field to 1.
You use this Blit Render Pass to apply the Gaussian blur effect in the horizontal direction.
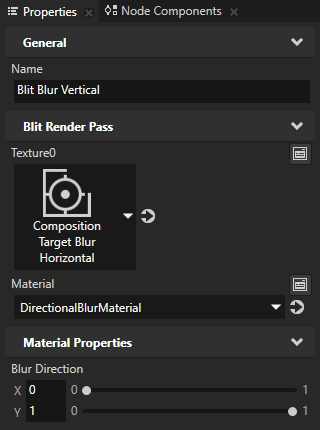
- In the Library select Blit Blur Vertical and in the Properties:
- Set Texture0 to Composition Target Blur Horizontal.
- Set Material to a material which supports the directional Gaussian blur effect.
For example, set it to DirectionalBlurMaterial. - Add the Blur Direction property and set the value of the Y property field to 1.
You use this Blit Render Pass to apply the Gaussian blur effect in the vertical direction.
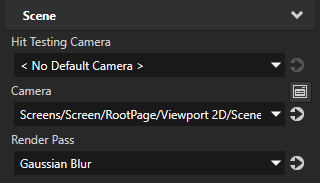
- In the Scene node which contains the 3D content you want to render using the effect you created, set the Render Pass property to the Group Render Pass you created in the previous step.
Kanzi now renders the Scene using the render passes you created, applying the post-processing effect.
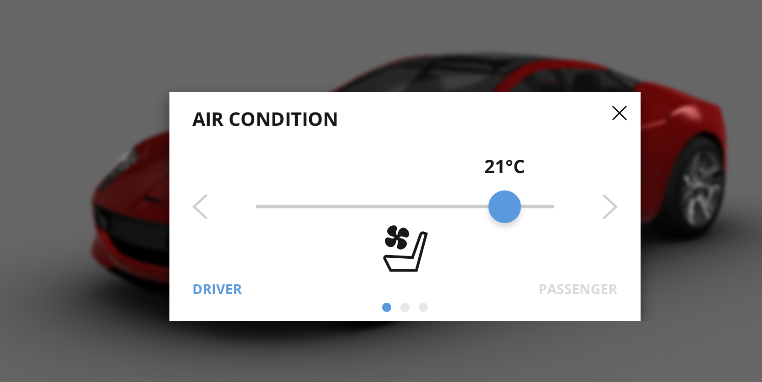
- In the Project select the RootPage node and create content you want to show in front of the blurred 3D content.
See also
Rendering
Using OpenGL ES 3.0 in Kanzi
Material types and materials
Editing shaders

Open topic with navigation