Tutorial: Create a custom Kanzi Connect service
In this tutorial you learn how to create a custom Kanzi Connect service that runs on the Kanzi Connect Server. For the list of services that come with Kanzi Connect, see Kanzi Connect services.
Assets for the tutorial
The <KanziConnectInstallation>/SDK/tutorials/Custom_service/Completed directory contains the completed tutorial.
Declare the network interface of the service
You declare the network interface of your Kanzi Connect service in an XML file.
To declare the network interface of the service:
In the
<KanziConnectInstallation>/SDK/tutorials/Custom_servicedirectory create a directoryinterfacesand inside it a directorydefinitions.In the
definitionsdirectory create filemyservice_interface.xmland include this description that creates the interface for a service called myService:<service name="myService" namespace="myservice"> <method name="myMethod" return="bool"> <argument name="myMethodArgument" datatype="float"/> </method> <event name="myEvent"> <argument name="myEventArgument" datatype="string"/> </event> <runtime-data> <data> <value1 datatype="float" /> <value2 datatype="int" writable="1" /> </data> </runtime-data> </service>
Turn the interface definition into C++
Kanzi Connect comes with scripts that you can use to generate C++ code from the interface definition you created in the previous section. This allows you to generate server-side and client-side service classes, and the communication code between them.
To turn the interface definition into C++:
In the
<KanziConnectInstallation>/SDK/tutorials/Custom_service/interfacesdirectory create thegenerate_interfaces.pyfile and add to that file:#!/usr/bin/env python3 import os import sys # We use code generation from Kanzi Connect scripts so first find the location and add it to path connectSdkDir = os.environ.get('KANZI_CONNECT_SDK') if (connectSdkDir == 'None'): print('KANZI_CONNECT_SDK not found in environment variables, can not continue with code generation') sys.exit('Failed to find KANZI_CONNECT_SDK') else: print('Using \'%s\' as Kanzi Connect SDK' % connectSdkDir) print('') sys.path.append(os.path.join(connectSdkDir, 'interfaces')) import generate generate.main([ os.path.join('definitions', 'myService_interface.xml'), os.path.join('..', 'sources', 'services', 'myService_service', 'interface'), 'user' ])
Open the Kanzi Command Prompt, go to
<KanziConnectInstallation>/SDK/tutorials/Custom_service/interfaces, and run the script that you created in the previous step.Kanzi Connect creates these directories:
<KanziConnectInstallation>/SDK/tutorials/Custom_service/sources/services/myService_service<KanziConnectInstallation>/SDK/tutorials/Custom_service/sources/plugins/myService_service
Create a library service for Windows
In this section you use Visual Studio to create a library service for Windows.
To create a library service for Windows:
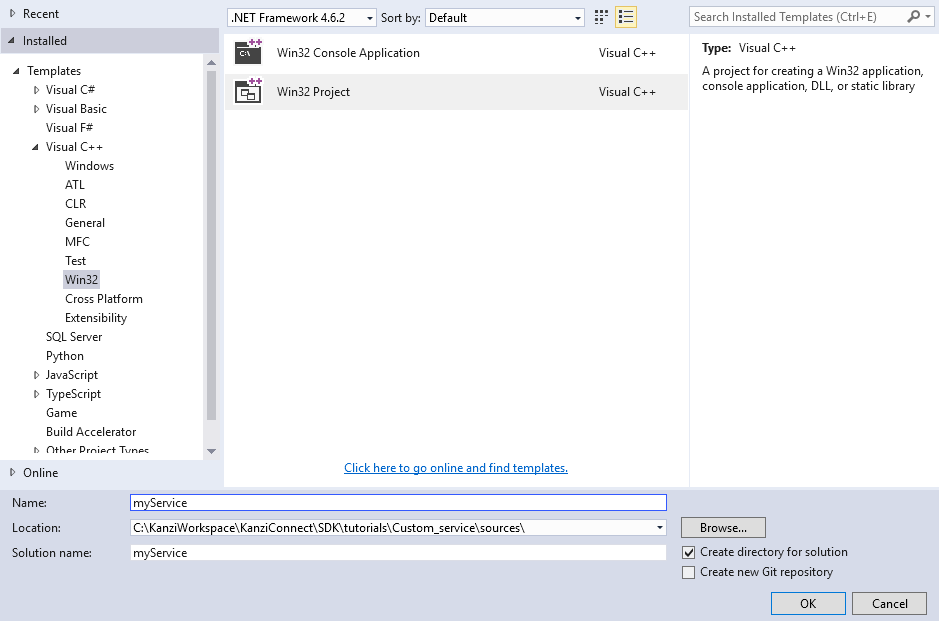
In Visual Studio select File > New > Project, select Win32 Project and set:
Name to myService
Location to
<KanziConnectInstallation>/SDK/tutorials/Custom_service/sources/
Click OK.
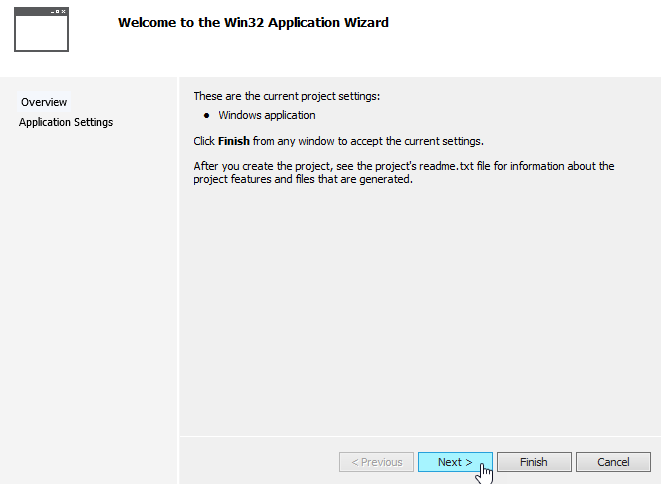
In the Win32 Application Wizard window click Next.
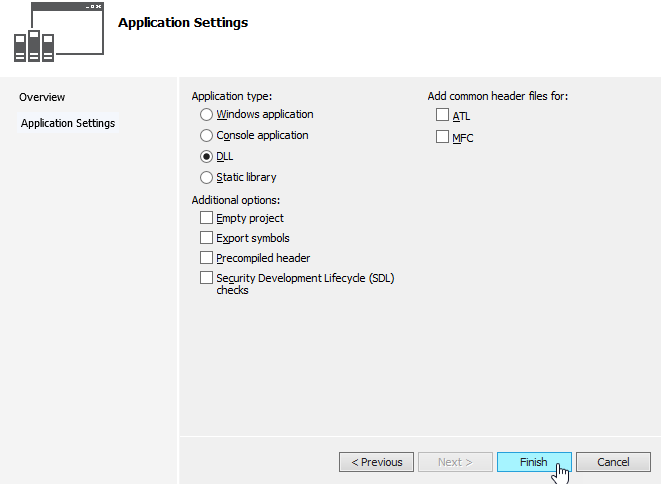
In the Application Settings set:
Application type to DLL
Precompiled header to disabled
Security Development Lifecycle (SDL)checks to disabled.
Click Finish.
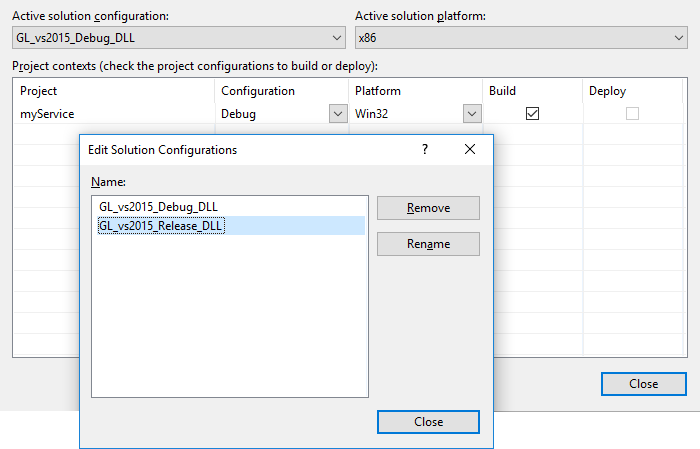
Select Build > Configuration Manager > < Edit…> and rename:
Debug configurations to GL_vs2015_Debug_DLL
Release configurations to GL_vs2015_Release_DLL
In the Visual Studio Solution Explorer, right-click the myService project, select Add > Existing Item and add these source files to the project:
From the
<KanziConnectInstallation>/SDK/tutorials/Custom_service/sources/services/myService_service/interfacedirectory add all files except the files that end in_client.*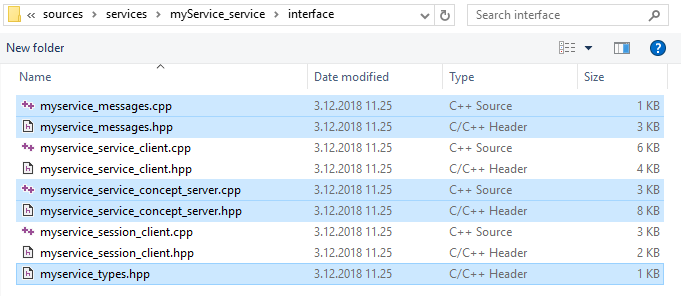
From the
<KanziConnectInstallation>/SDK/tutorials/Custom_service/sources/services/myService_service/module directory add the service library entry point files.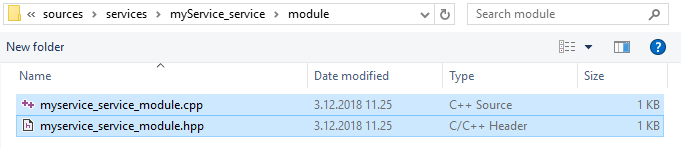
From the
<KanziConnectWorkspace>/SDK/tutorials/Custom_service/sources/services/myService_service directory add the service implementation files.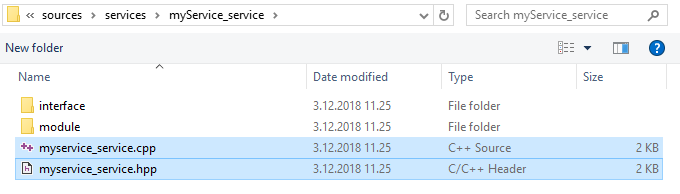
Add Kanzi Connect dependencies to the project
You import to the project Kanzi Connect dependencies as property sheets.
To add Kanzi Connect dependencies to the project:
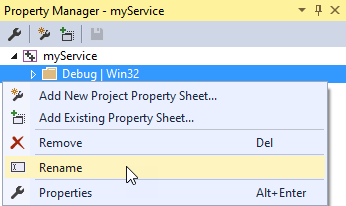
In Visual Studio go to View > Other Windows > Property Manager:
Right-click the Debug | Win32 and Release | Win32, and rename:
Debug | Win32 to GL_vs2015_Debug_DLL | Win32
Release | Win32 to GL_vs2015_Release_DLL | Win32
Right-click GL_vs2015_Debug_DLL | Win32, select Add Existing Property Sheet, and from the
<KanziConnectInstallation>/SDK/build/configs/platforms/win32directory add thedll_service.propsfile.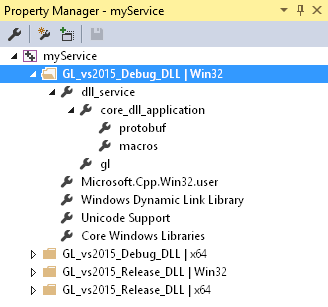
Repeat the previous step for the GL_vs2015_Release_DLL | Win32.

In the Solution Explorer right-click myService, select Properties and in the myService Property Pages window:
To apply the settings to both GL_vs2015_Release_DLL and GL_vs2015_Debug_DLL configurations, set Configuration to All Configurations.
Select General and set Target Name to
service_$(ProjectName)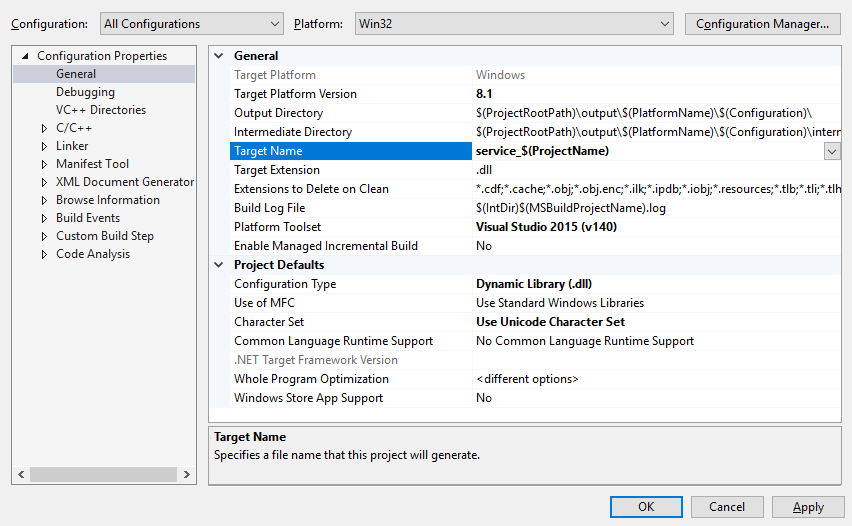
Select C/C++ > General and in the Additional Include Directories add:
$(ProjectRootPath)\sources\services\;%(AdditionalIncludeDirectories);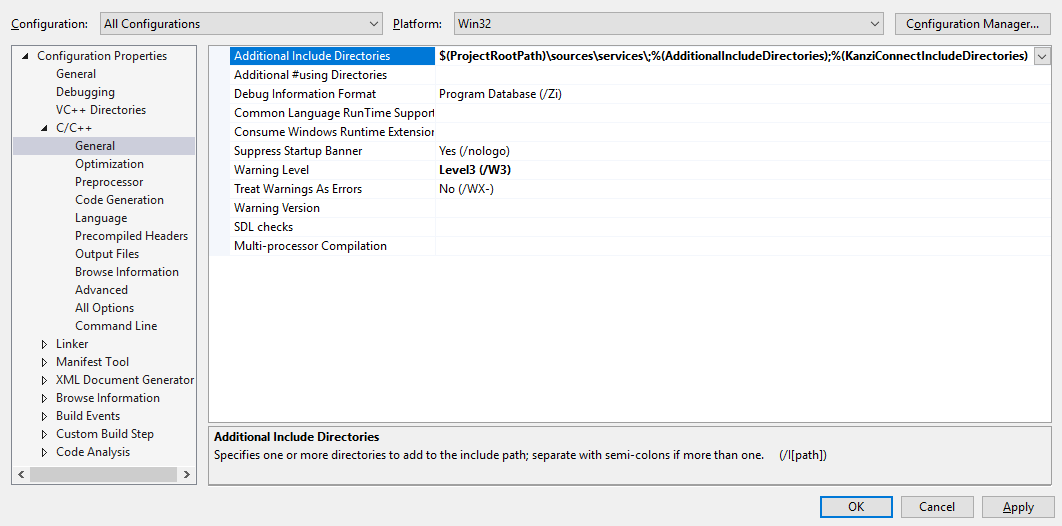
To compile the project using the debug configuration, select Build > Build Solution.
Set your service to run on the Kanzi Connect Server
In this section you set your service to run on the Kanzi Connect Server.
To set your service to run on the Kanzi Connect Server:
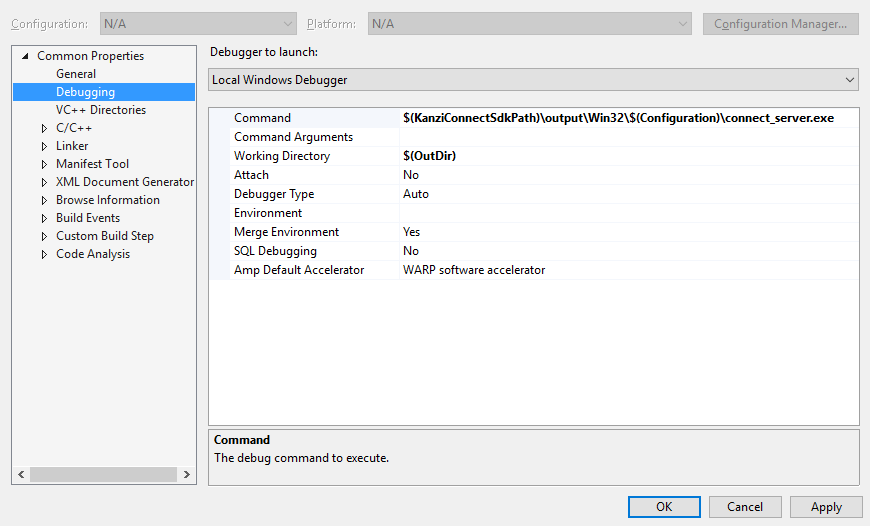
In Visual Studio in the Property Manager right-click GL_vs2015_Debug_DLL | Win32, select Properties, and in the Property Pages > Debugging set:
Command to
$(KANZI_CONNECT_SDK)\output\win32\$(Configuration)\connect_server.exe
This way when you debug the library you launch the default Kanzi Connect Server executable.
Working Directory to
$(OutDir)
For the default Kanzi Connect Server to load the service binary the execution directory must be the directory where the compiled service library is.
Repeat the previous step for the configuration.
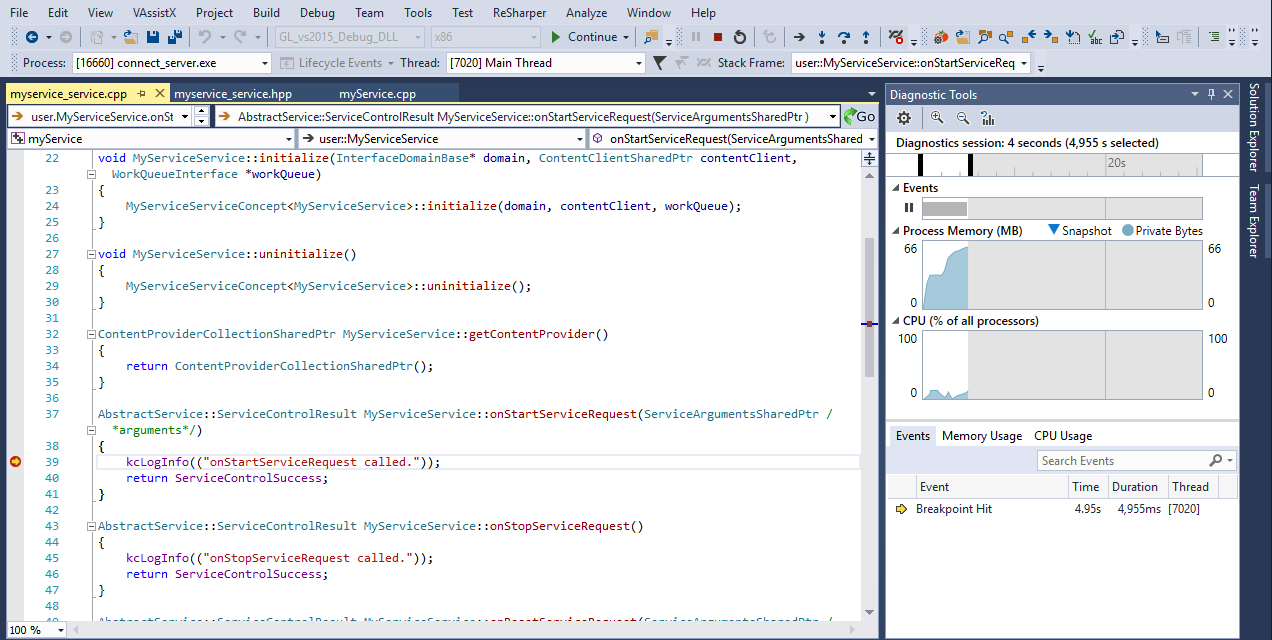
In Visual Studio run your service in the Kanzi Connect Server by pressing the F5 key.
Note
You can use this same approach to debug your service on Windows. Now when you add a breakpoint in the myservice_service.cpp file in the onStartServiceRequest method and run your service, when the Kanzi Connect Server initializes, the execution hits the breakpoint you set.
Set your service to use the Persistence Service
The Persistence Service enables you to store in key-value pairs the information in Kanzi Connect Client applications and local and remote Kanzi Connect services and preserve that information through restarts of a Kanzi Connect Client application.
In this section you modify your service so that it uses the Kanzi Connect Persistence Service to store a value that it receives from the user interface of your application. You create a simple user interface in the next section.
To set your service to use the Persistence Service:
If you started your service in the Kanzi Connect Server at the end of the previous section, in Visual Studio press Shift F5 to stop debugging.
In the
myservice_service.hppfile add the headers required by the Persistence Service:#include <kanzi/core/cpp/memory.hpp> #include <persistence_service/setting.hpp>
In the
myservice_service.hppfile in the private section create the pointer to the setting that you want to use with the Persistence Service:private: // Define a member variable for a persisted key-value pair for an integer data type. kanzi::unique_ptr<kanzi::connect::persistence::Setting<int>> m_mySetting;
In the
myservice_service.cppfile instantiate the setting that you want to use with the Persistence Service:namespace myservice { MyServiceService::MyServiceService() : // The MyServiceService cannot yet instantiate the setting because there is no // guarantee that the :guilabel:`Persistence Service` is ready. m_mySetting() { // Add implementation } ... void MyServiceService::initialize(InterfaceDomainBase* domain, ContentClientSharedPtr contentClient, WorkQueueInterface *workQueue) { MyServiceServiceConcept<MyServiceService>::initialize(domain, contentClient, workQueue); // Create a callback function that the :guilabel:`Kanzi Connect Server` invokes every time when the value of the setting changes. // :guilabel:`Kanzi Connect Server` invokes this function even from a service or client that is running in a separate process. auto settingChangeHandler = [](const string& settingName, const int& newValue) { kcLogInfo(("Setting {} new value is: {}", settingName, newValue)); }; // Instantiate the settings for the :guilabel:`Persistence Service` in the initialize at the earliest. // To access the instance that abstracts the settings creation use AbstractService::getSettingFactory(). // This enables you to run your service in the same process where the :guilabel:`Kanzi Connect Server` is running // or in a remote process without having to change the service implementation. // Setting is not a concrete class and it can be either local or remote. // Create a setting key mySettingKey with initial value of 20, and set it to use the settingChangeHandler. // If you do not set an initial value the :guilabel:`Persistence Service` uses 0. m_mySetting = getSettingFactory()->createSettingUnique("mySettingKey", 20, settingChangeHandler); } ... }
In Visual Studio run your service in the Kanzi Connect Server by pressing the F5 key.
Store a value from your application
In this section you take a value from the user interface of your application and use the Persistence Service to store that value.
To store a value from your application:
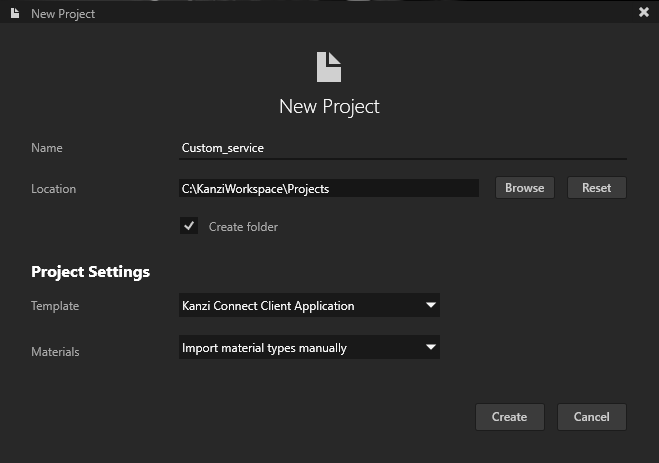
In Kanzi Studio create a project with the Kanzi Connect Client Application template.
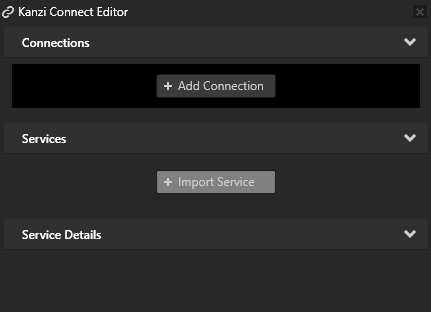
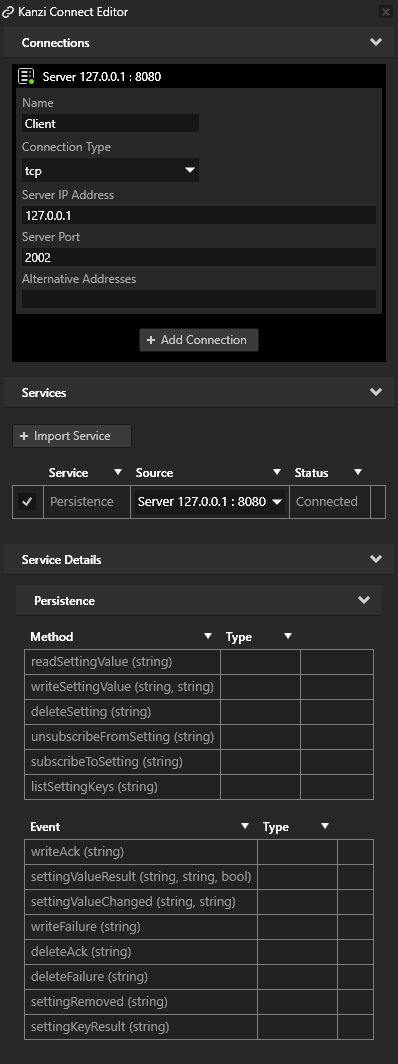
In the Kanzi Studio main menu select Kanzi Connect > Open Kanzi Connect Editor.
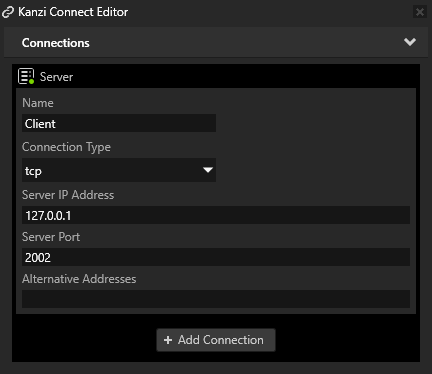
Use the Kanzi Connect Editor to create and manage connections to Kanzi Connect servers and services.

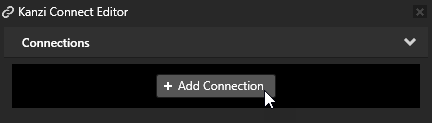
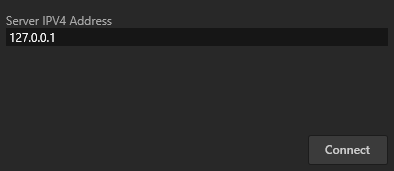
In the Kanzi Connect Editor click + Add Connection and in the Select Connect Server window click Connect.
That way you create a connection to a Kanzi Connect Server. You can see the connection in the Kanzi Connect Editor.
The Server IPV4 Address property sets the IP address of the Kanzi Connect Server that the Kanzi Studio Preview uses to connect to the server and look for Kanzi Connect services available on that server.
Here you use the default Kanzi Connect Server running on the local host at the IP address 127.0.0.1.
The Server IP Address property sets the address of the Kanzi Connect Server that the client application uses during runtime.
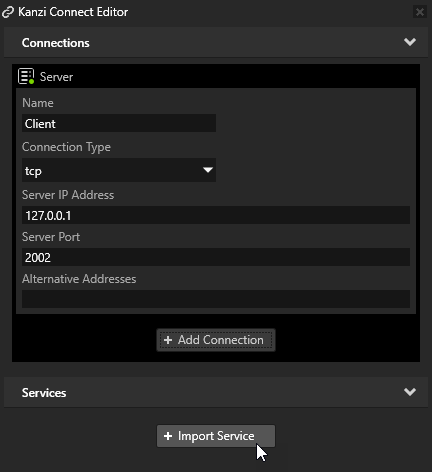
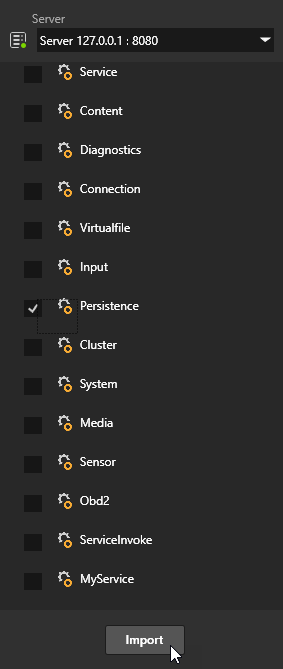
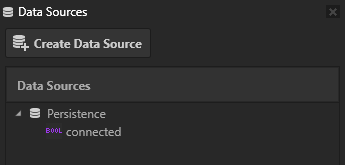
In the Kanzi Connect Editor click + Import Service, in the Import Connect Services window select the Persistence Service, and click Import. This way you import from the selected Kanzi Connect Server the Persistence Service service and the data sources that this service provides. The Data Sources window shows the data that is available through the Persistence Service service data sources.
To view the Data Sources window, in the Kanzi Studio main menu select Window > Data Sources.
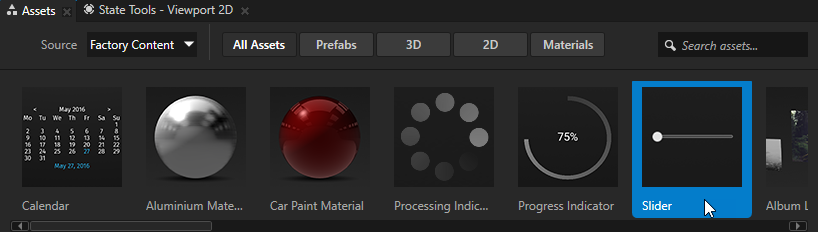
In the Assets set source to Factory Content and from the Assets drag the Slider item to the Preview.
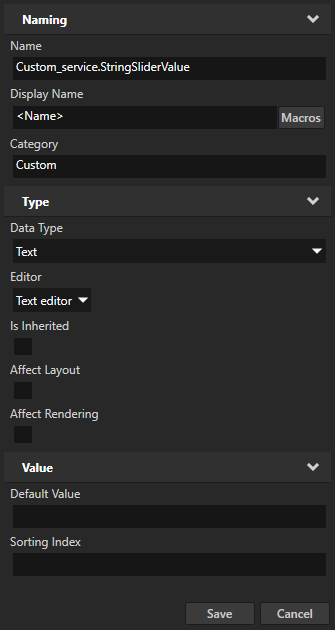
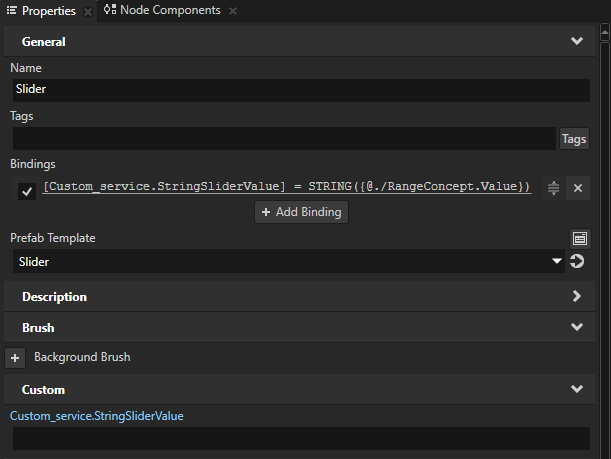
In the Library > Property Types create a property type whose Data Type is Text and click Save.
In the Project select the Slider node and in the Properties:
Add the property type you created in the previous step.
Add the Bindings property and in the Binding Argument Editor set:
Property to the property type you created earlier in this procedure
Expression to
STRING({@./RangeConcept.Value})
That way you convert the value of the Value property to a string and bind the value of the Value property in the Slider to the property type you created.
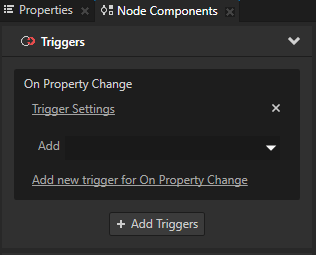
In the Node Components in the Triggers section click + Add Triggers and add a trigger that you want to use to tell the Persistence Service service to store the value that you want to preserve. For example, add the On Property Change trigger.
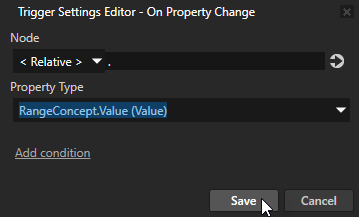
In the On Property Change trigger click Trigger Settings and in the Trigger Settings Editor set:
Node to <Relative> and
.Property Type to RangeConcept.Value
Click Save.
This way you set the On Property Change trigger to set off the Persistence: writeSettingValue action every time the value of the Slider 2D node changes.
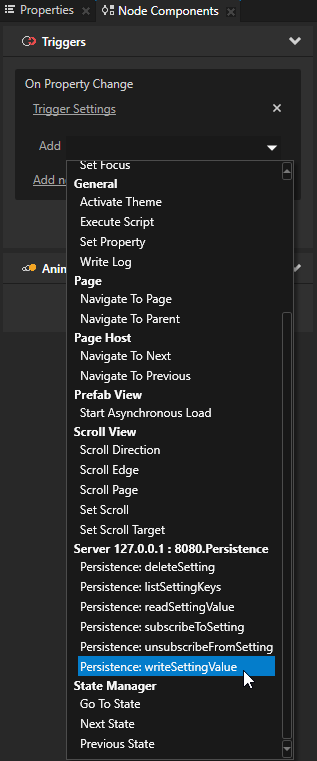
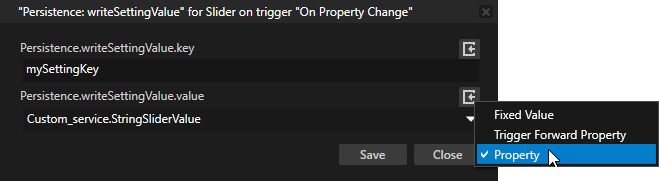
In the Node Components add to the trigger for which you defined the condition in the previous step a Persistence: writeSettingValue action and in the action editor set:
Persistence.writeSettingValue.key to the key you defined in the C++ code of the service you created earlier in this tutorial.
For example, set this property to
mySettingKey.Persistence.writeSettingValue.value to the value that you want the Persistence Service to store.
For example, next to the property name click
 , select Property and set the value to the property that you created and bound to the value of the Slider node Value property.
Click Save.
In the Preview when you move the slider to change its value, the Persistence Service stores the value you set in the slider. You can see the value you set with the slider:
In your browser at http://localhost:8080/persistence/settings/mySettingKey You can use this web interface for debugging and viewing the available settings and their values during application development.
In the Kanzi Connect Server log window. The callback which you created in the tutorial writes these messages.
What’s next?
In this tutorial you learned how to create a custom Kanzi Connect service. Now you can:
Learn how to make your custom service provide its services remotely. See Running services remotely.