Streaming content between Kanzi Connect clients
You can use Kanzi Connect to stream content between Kanzi Connect client applications.
To stream content:
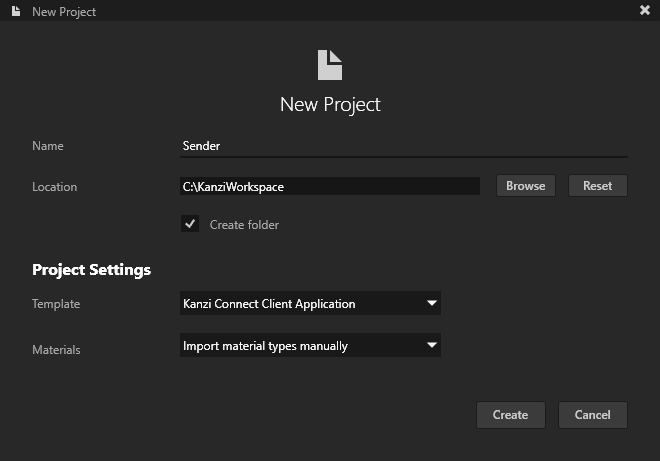
In Kanzi Studio create a project using the Kanzi Connect Client Application template for the application that streams the content.
For example, name the project Sender.
In the Kanzi Studio main menu select Kanzi Connect > Start Kanzi Connect Server.
Kanzi Studio starts the Kanzi Connect Server that is installed on your computer.

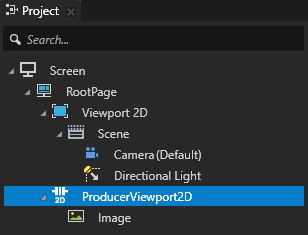
In the Project create a ProducerViewport2D node and inside that node create content that you want to stream to another Kanzi Connect client application.
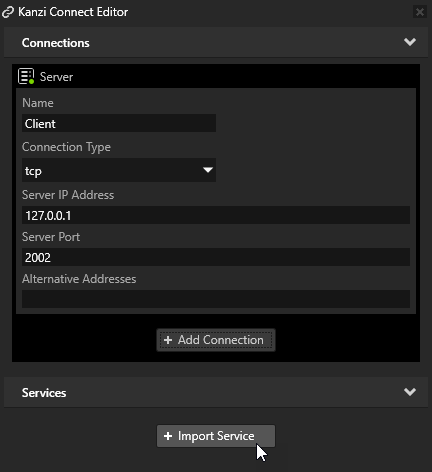
In the Kanzi Studio main menu select Kanzi Connect > Open Kanzi Connect Editor.
Use the Kanzi Connect Editor to create and manage connections to Kanzi Connect servers and services.


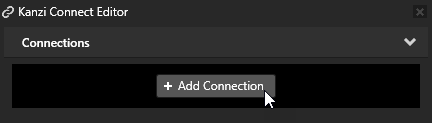
In the Kanzi Connect Editor click + Add Connection and in the Select Connect Server window click Connect.
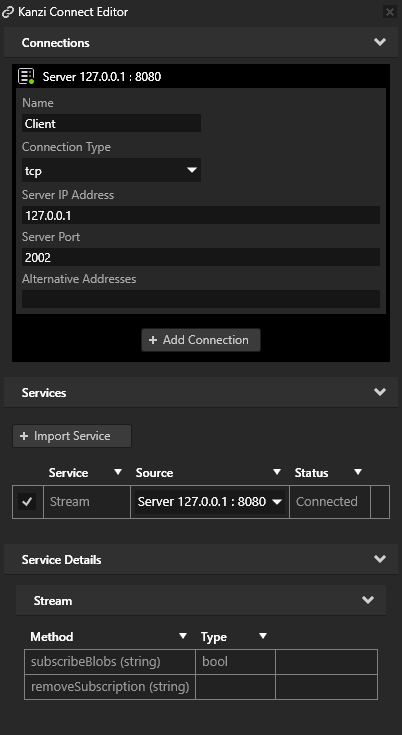
That way you create a connection to a Kanzi Connect Server. You can see the connection in the Kanzi Connect Editor.
The Server IPV4 Address property sets the IP address of the Kanzi Connect Server that the Kanzi Studio Preview uses to connect to the server and look for Kanzi Connect services available on that server.
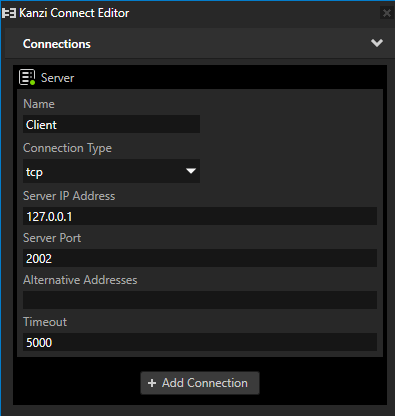
Here you use the default Kanzi Connect Server running on the local host at the IP address 127.0.0.1.
The Server IP Address property sets the address of the Kanzi Connect Server that the client application uses during runtime.

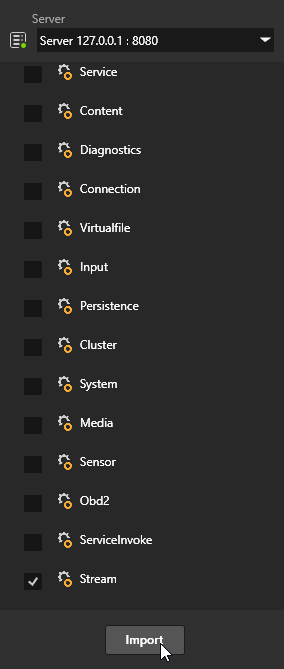
In the Kanzi Connect Editor click + Import Service, in the Import Connect Services window select the Stream Service, and click + Import Service. This way you import from the selected Kanzi Connect Server the Stream Service and the data source that this service provides. The Data Sources window shows the data that is available through the Stream Service data source.
To view the Data Sources window, in the Kanzi Studio main menu select Window > Data Sources.
Open another instance of Kanzi Studio and create a project using the Kanzi Connect Client Application template for the application that receives the content from the Sender application. For example, name the project Receiver.

In the Receiver project open the Kanzi Connect Editor, add a connection to the same server that the Sender client application uses to stream the content, and import the Stream Service.
In the Project create a ConsumerViewport2D node.
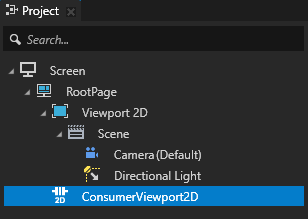
In the Properties:
Add the Data Context property and set it to Stream.
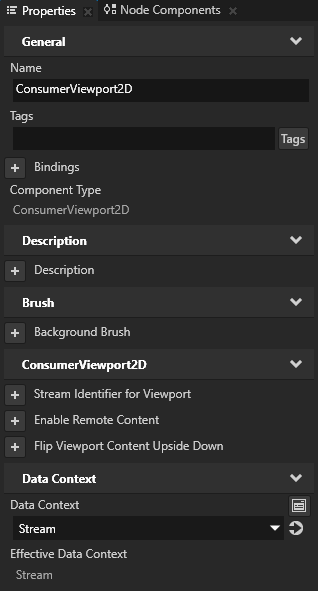
Add the Focusable and Enable Remote Content properties.
Now when you change the content in the Sender client application, the Receiver client application shows the same content.
For example, in the Sender Kanzi Studio project change the Layout Width, Layout Height, or Render Transformation properties.
Tip
If the Receiver project does not show any content, in that project in ConsumerViewport2D node adjust the values of the Layout Width and the Layout Height properties.