Using a physical camera
After you set up a Kanzi Studio project to use Physical Camera Plugin, you can create a Physical Camera node that simulates a real camera.
To use a physical camera:
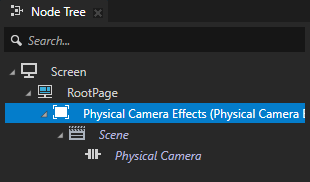
In the Node Tree, delete the Viewport 2D node and from the Prefabs drag the Physical Camera Effects prefab to the RootPage node.
In the Physical Camera Effects > Scene, create content. In the Preview, use the Camera tool
 to adjust the position of the camera.
For example, create content that you want to show in the foreground and background, and light the scene

(Optional) Motion blur effect.
To create the motion blur effect, a material type must use velocity buffer. The Physical Camera Plugin asset package contains a material type that supports velocity buffer.
For the motion blur effect, the Physical Camera Plugin has the Draw Objects With Motion Blur Render Pass that sets the PreviousProjectionCameraWorldMatrix property. You use this property to compute the motion vector between the previous and current frames.
By default, the Physical Camera Render Pass expects motion vectors to be written to Composition Target 1.
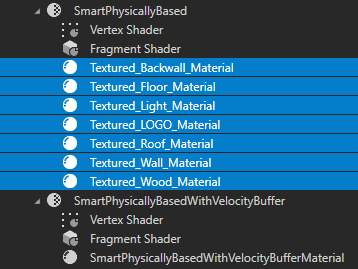
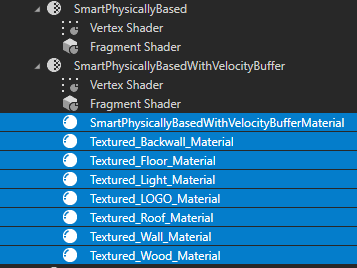
If you use a standard Kanzi smart physically-based material type, in the Library, drag the materials to the SmartPhysicallyBasedWithVelocityBuffer material type from the Physical Camera Plugin asset package.
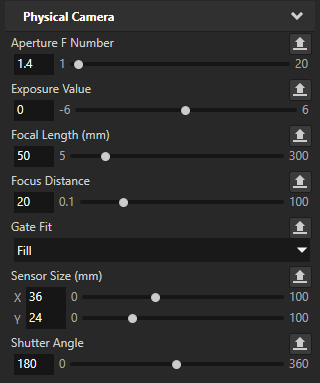
In the Node Tree, select the Physical Camera node and adjust the properties:
To adjust the camera, set the properties in the Physical Camera category:
Property
Description
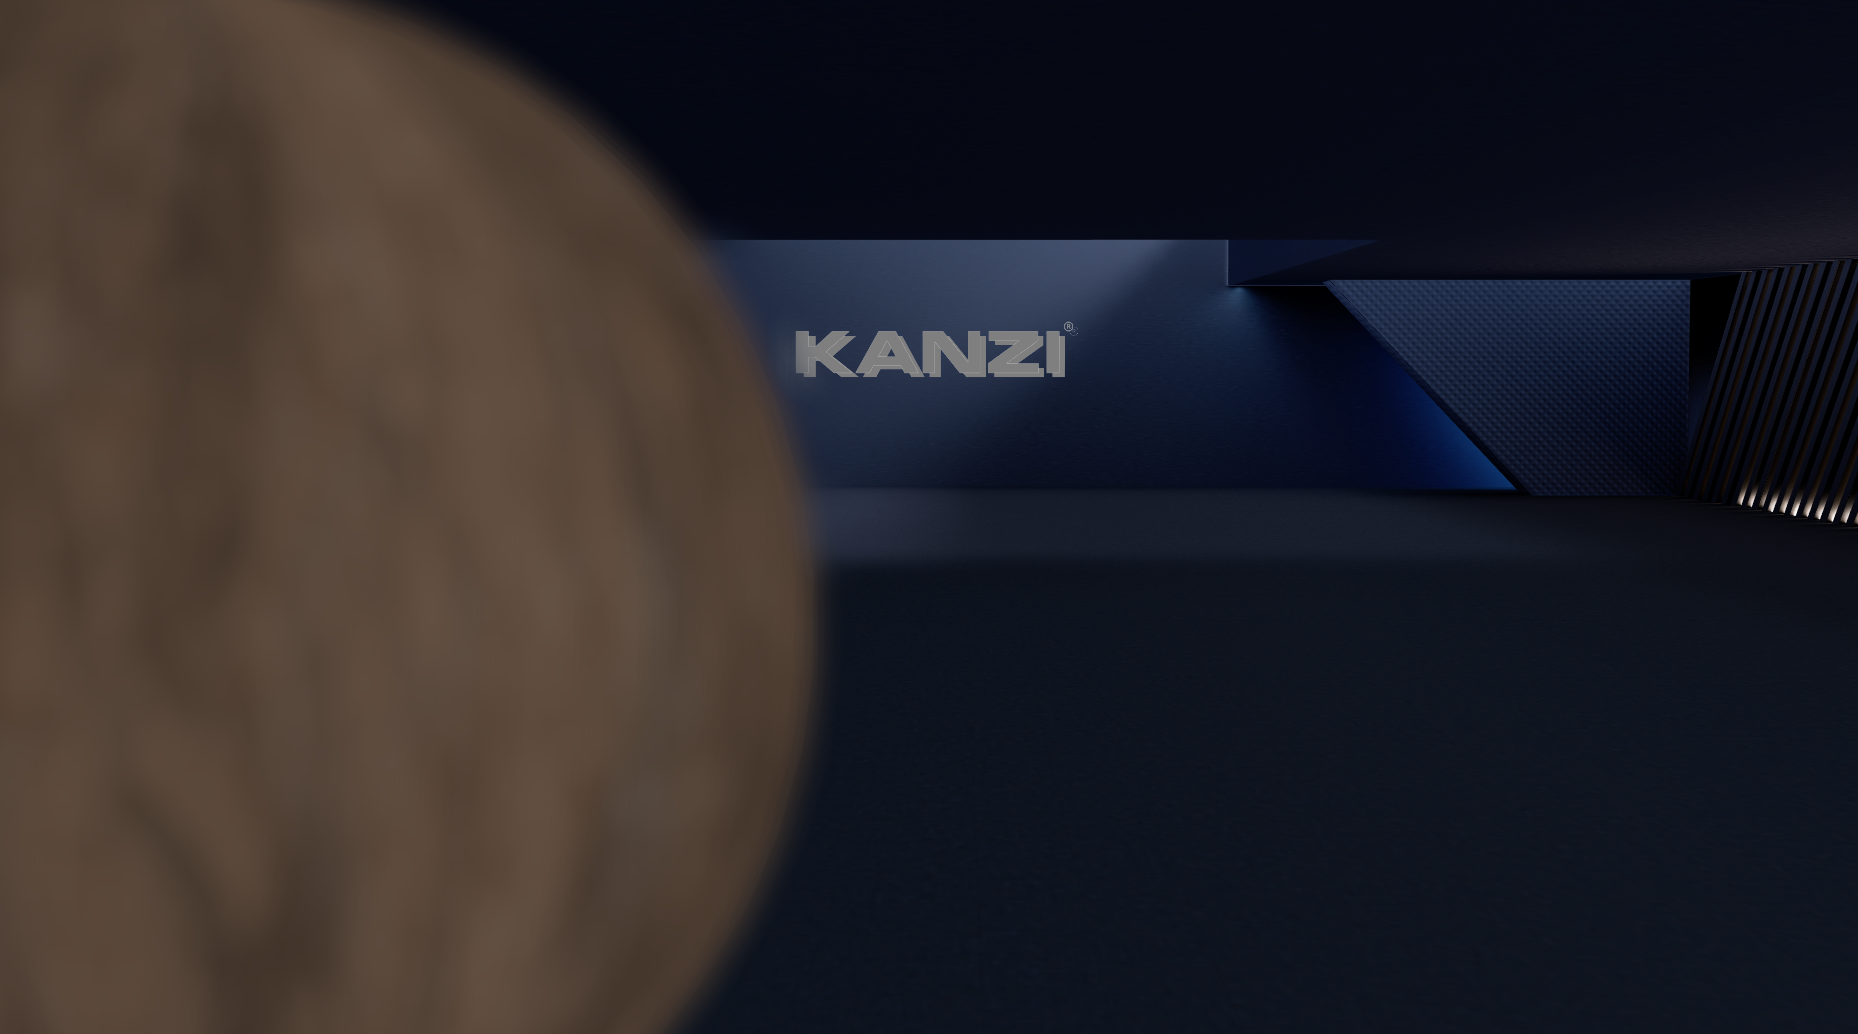
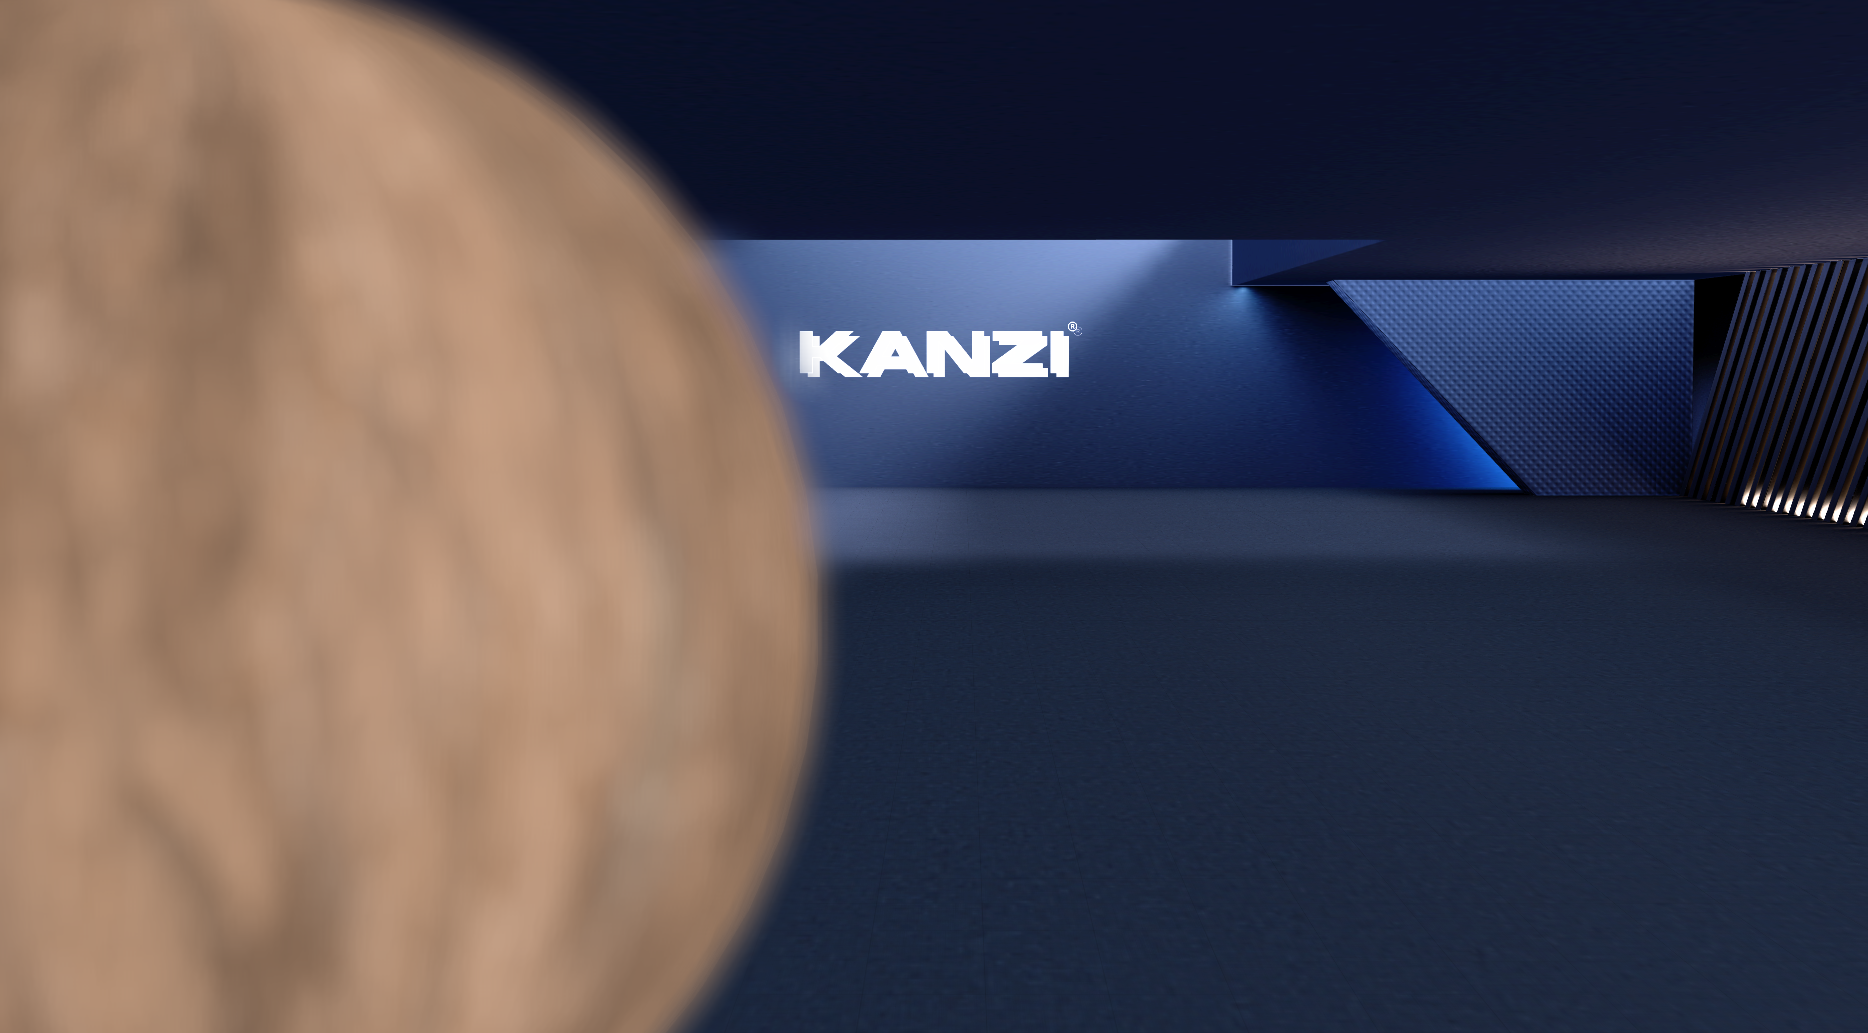
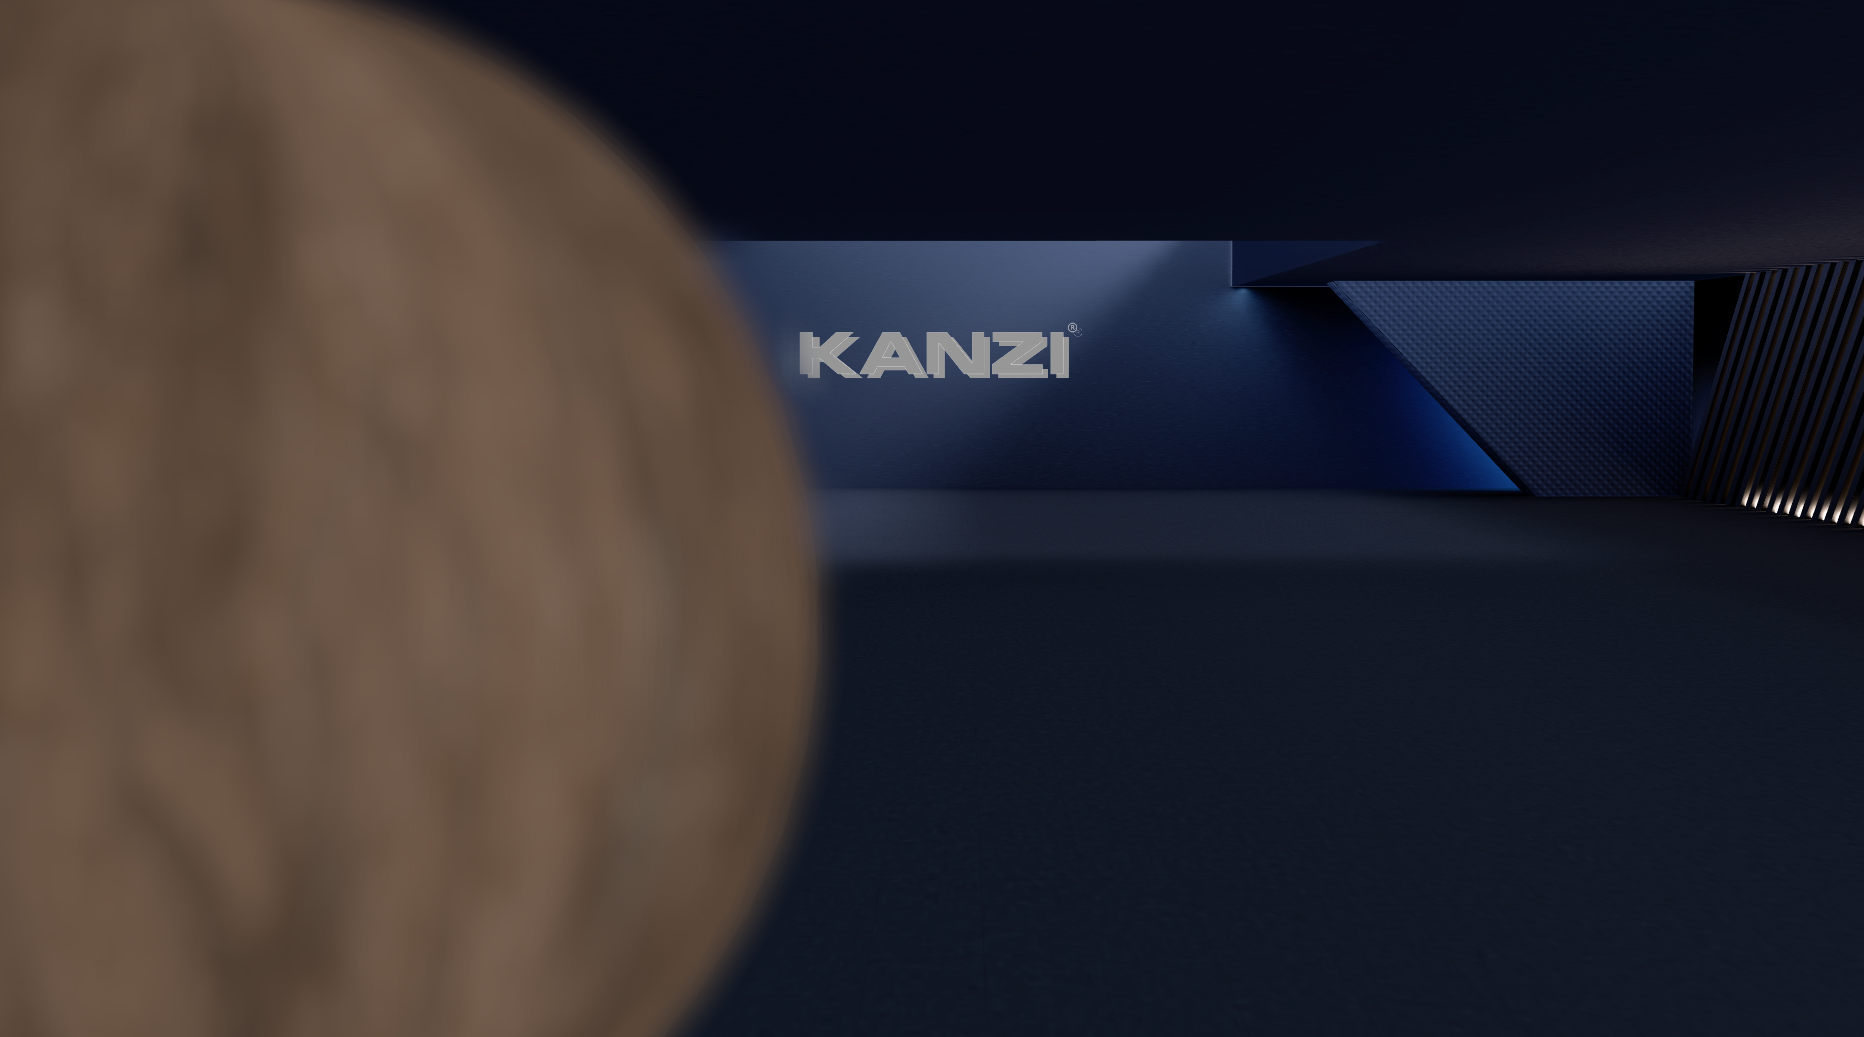
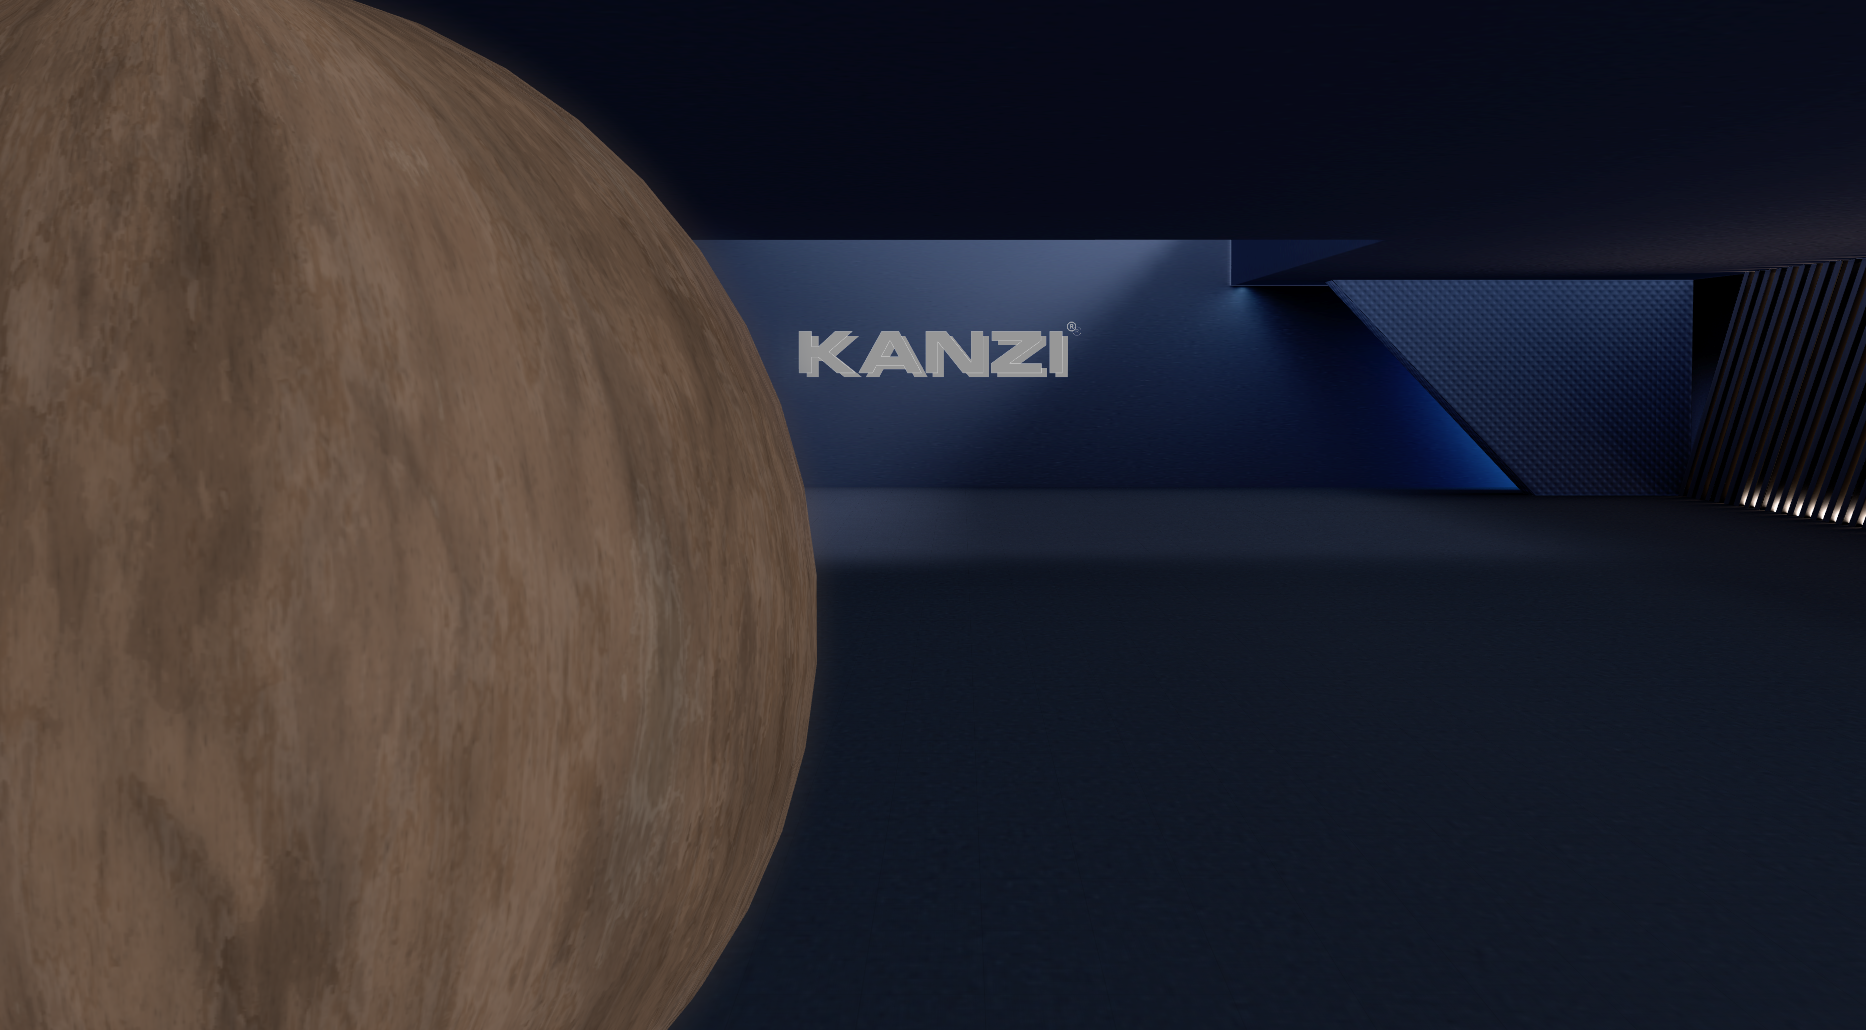
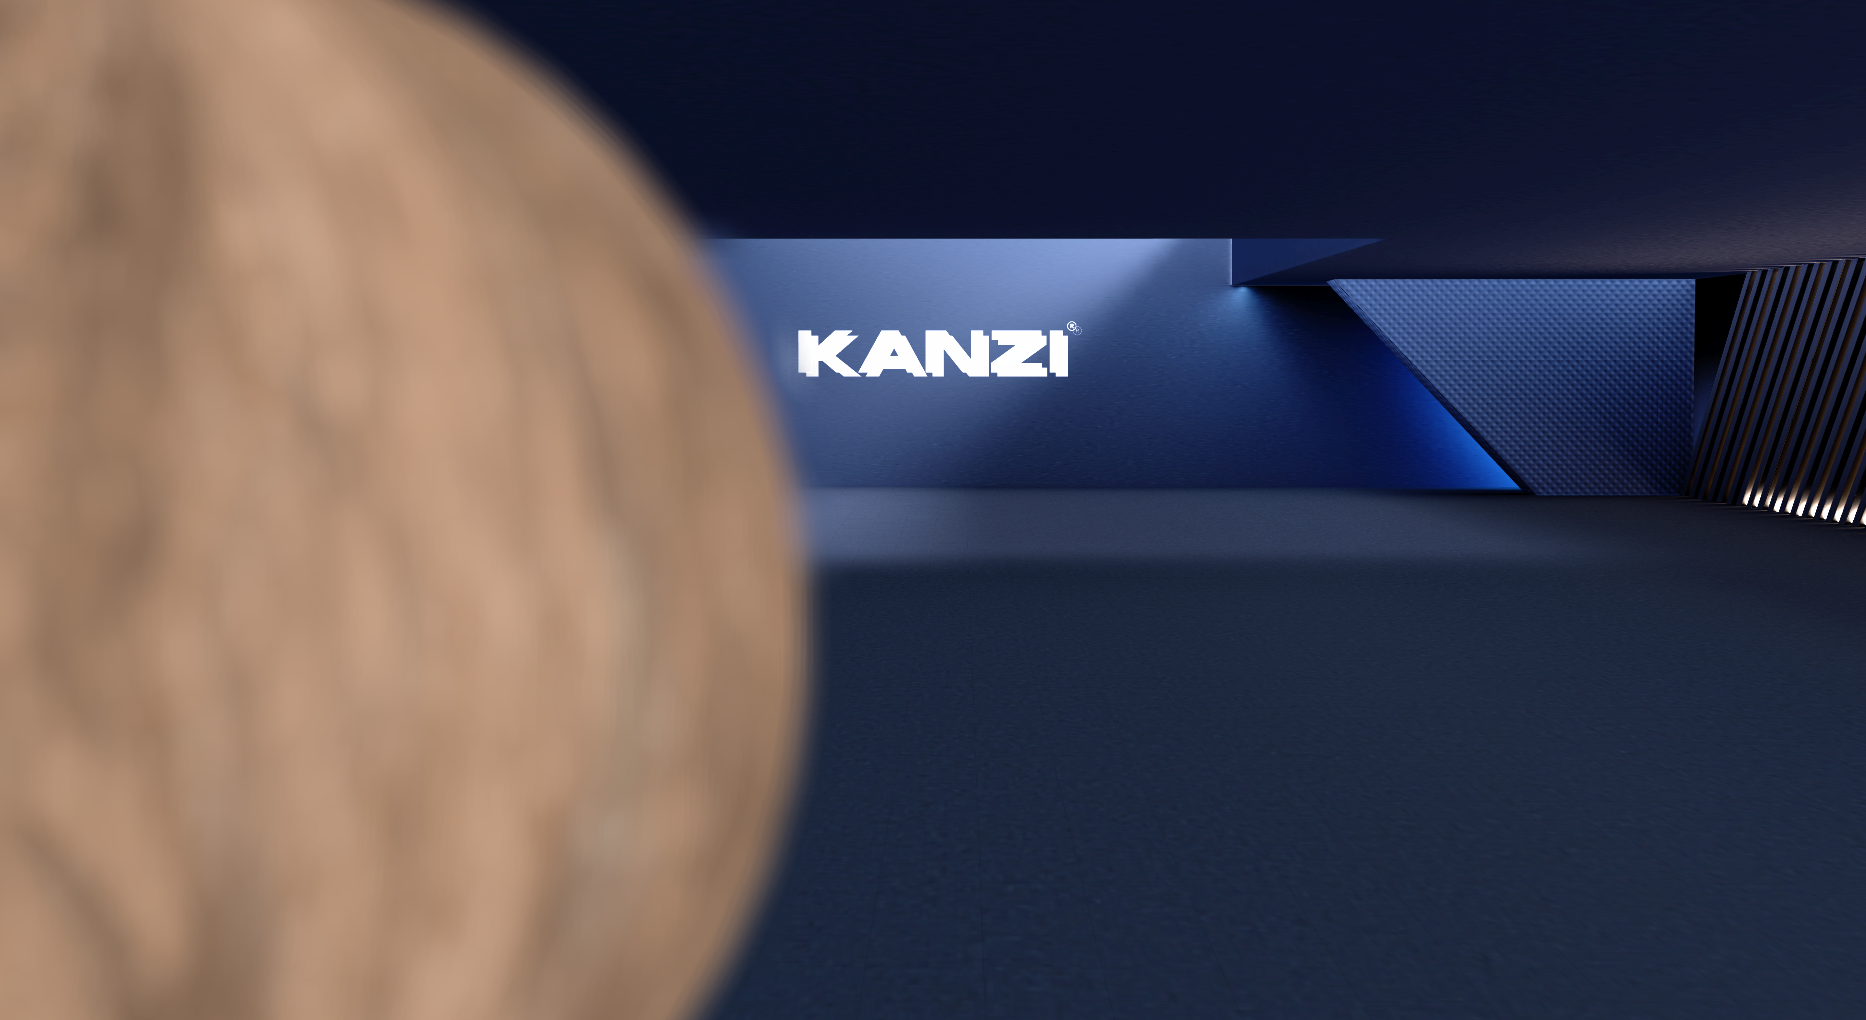
Focus Distance
Sets the distance to the focus plane.
Focus on the near object (3.5m)
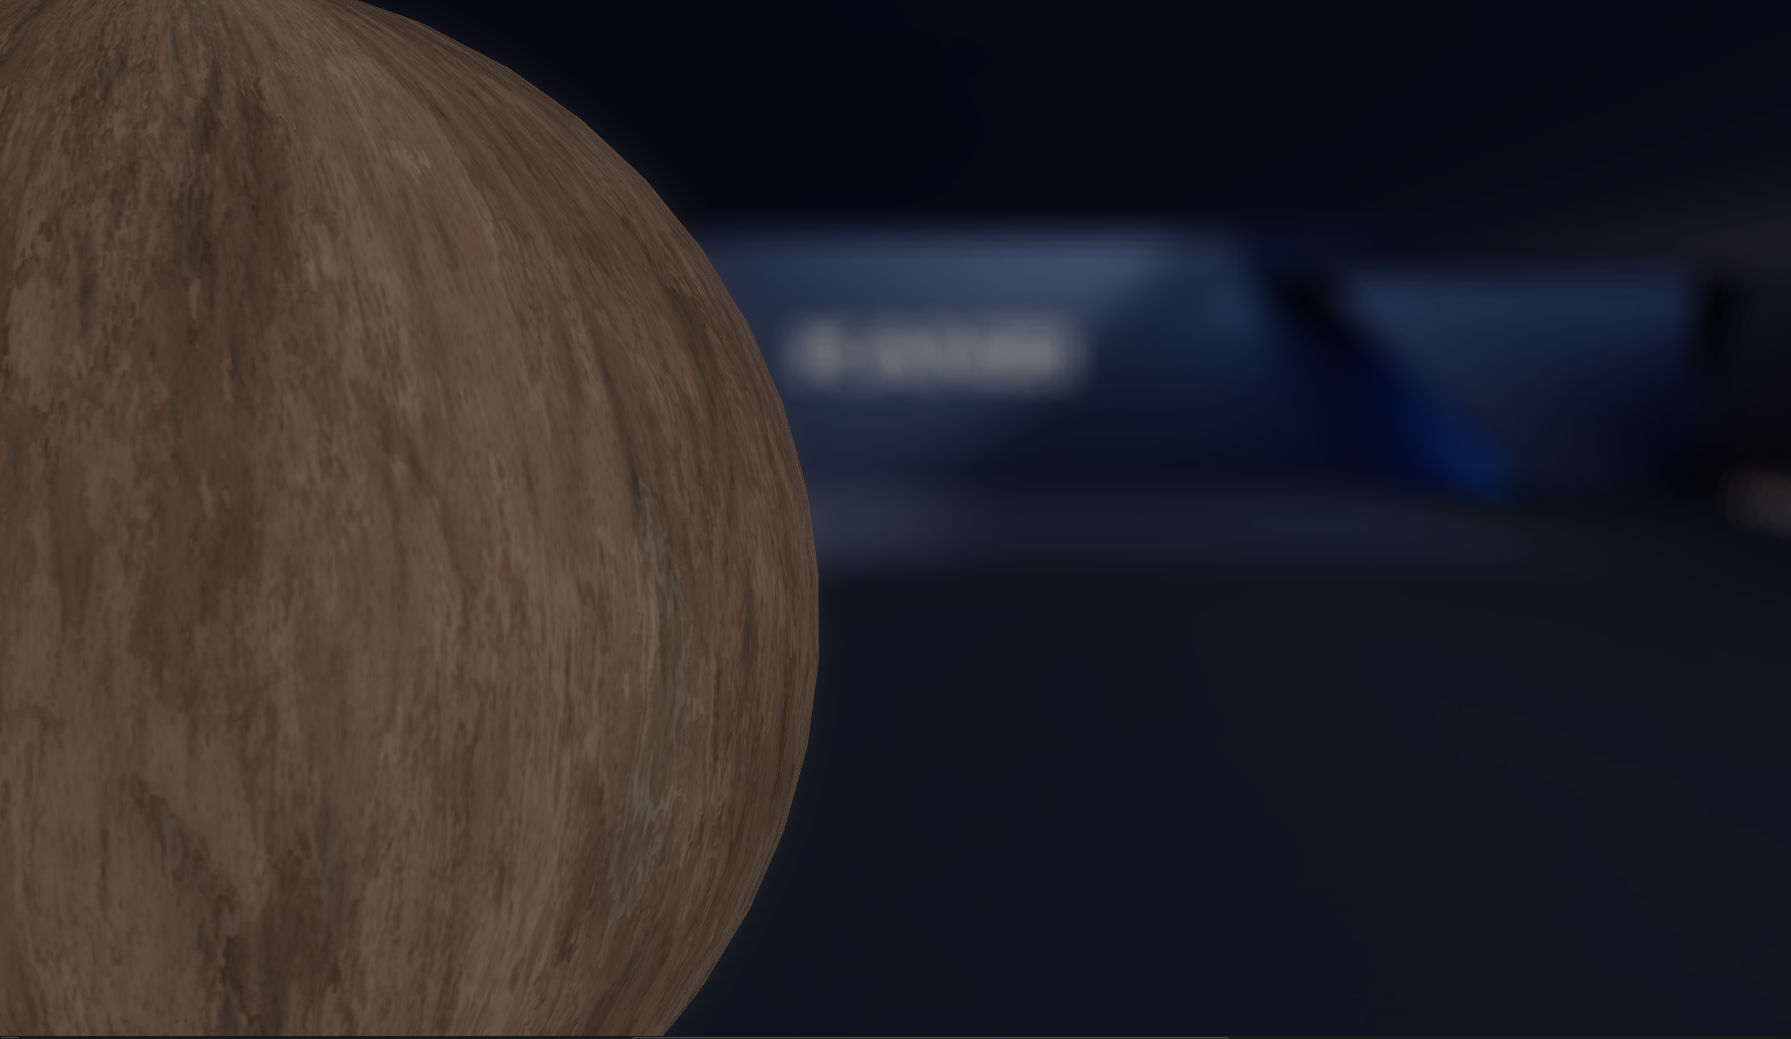
Focus on the far object (100m)
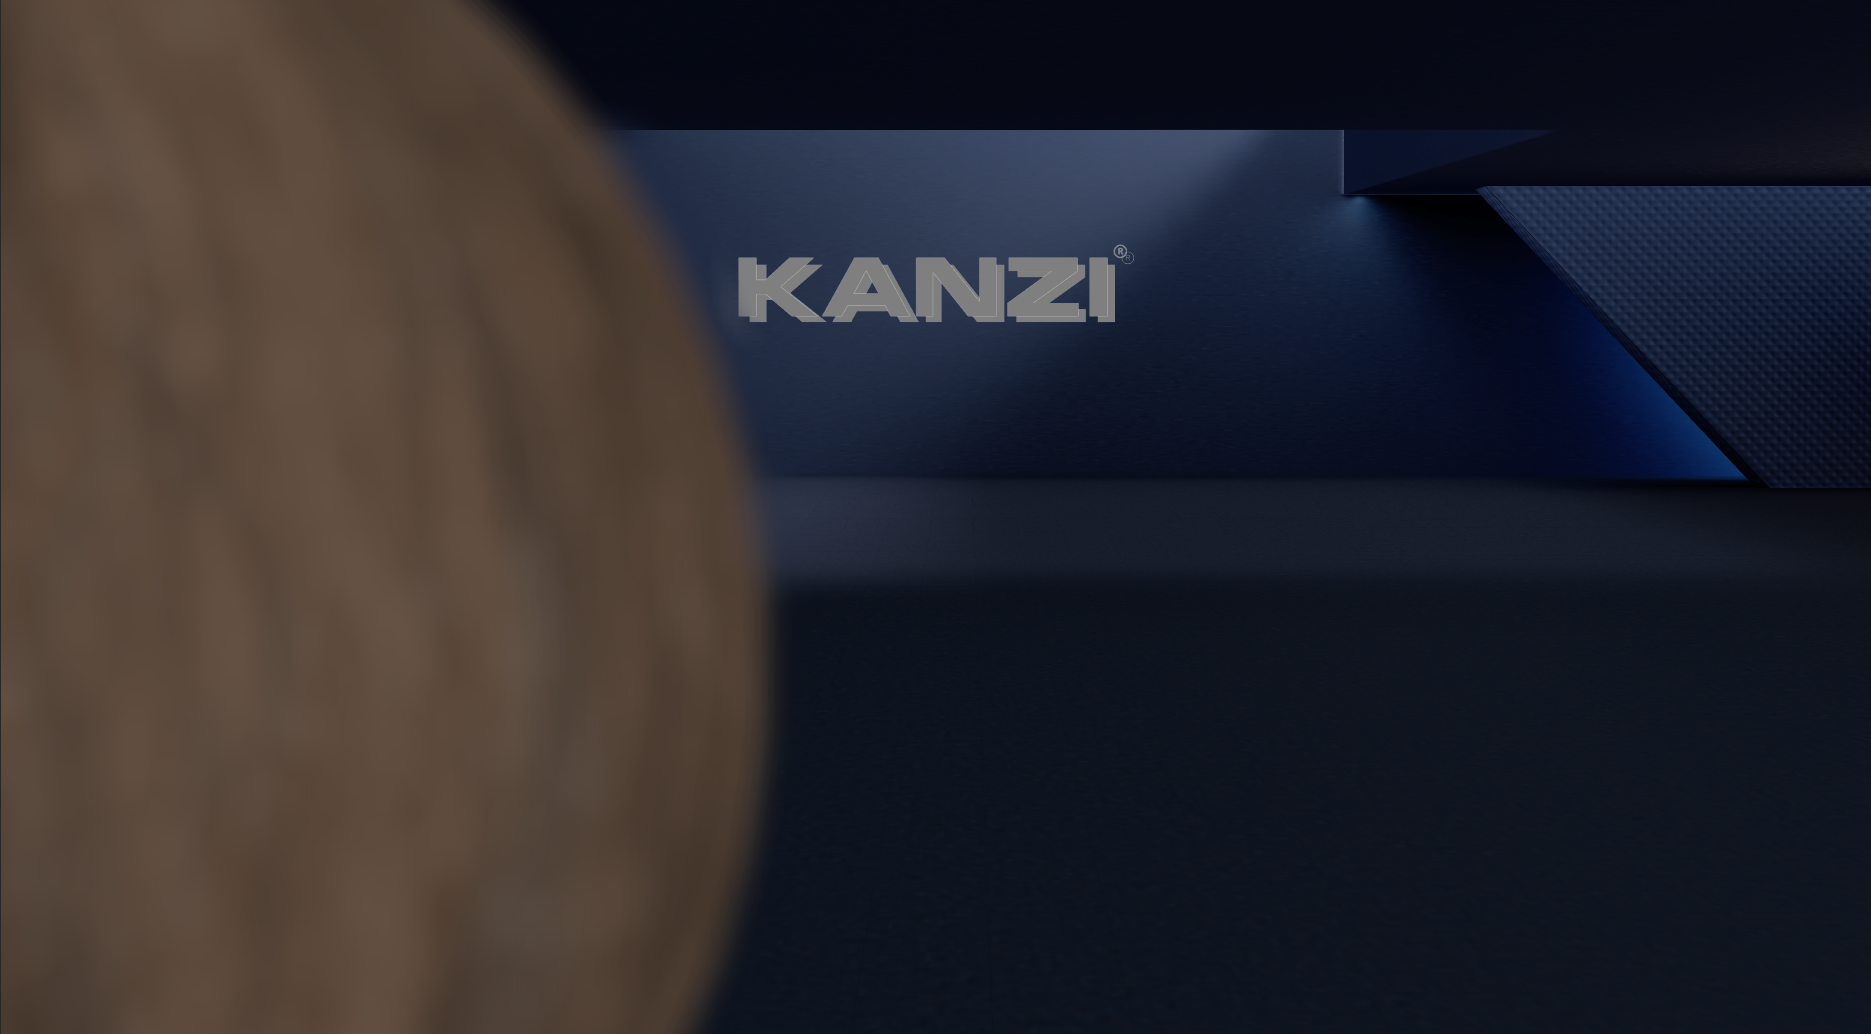
Focal Length
Sets the distance between the sensor and the camera lens. This distance determines the field of view. Higher values make field of view narrower and depth of field shallower.
25mm focal length
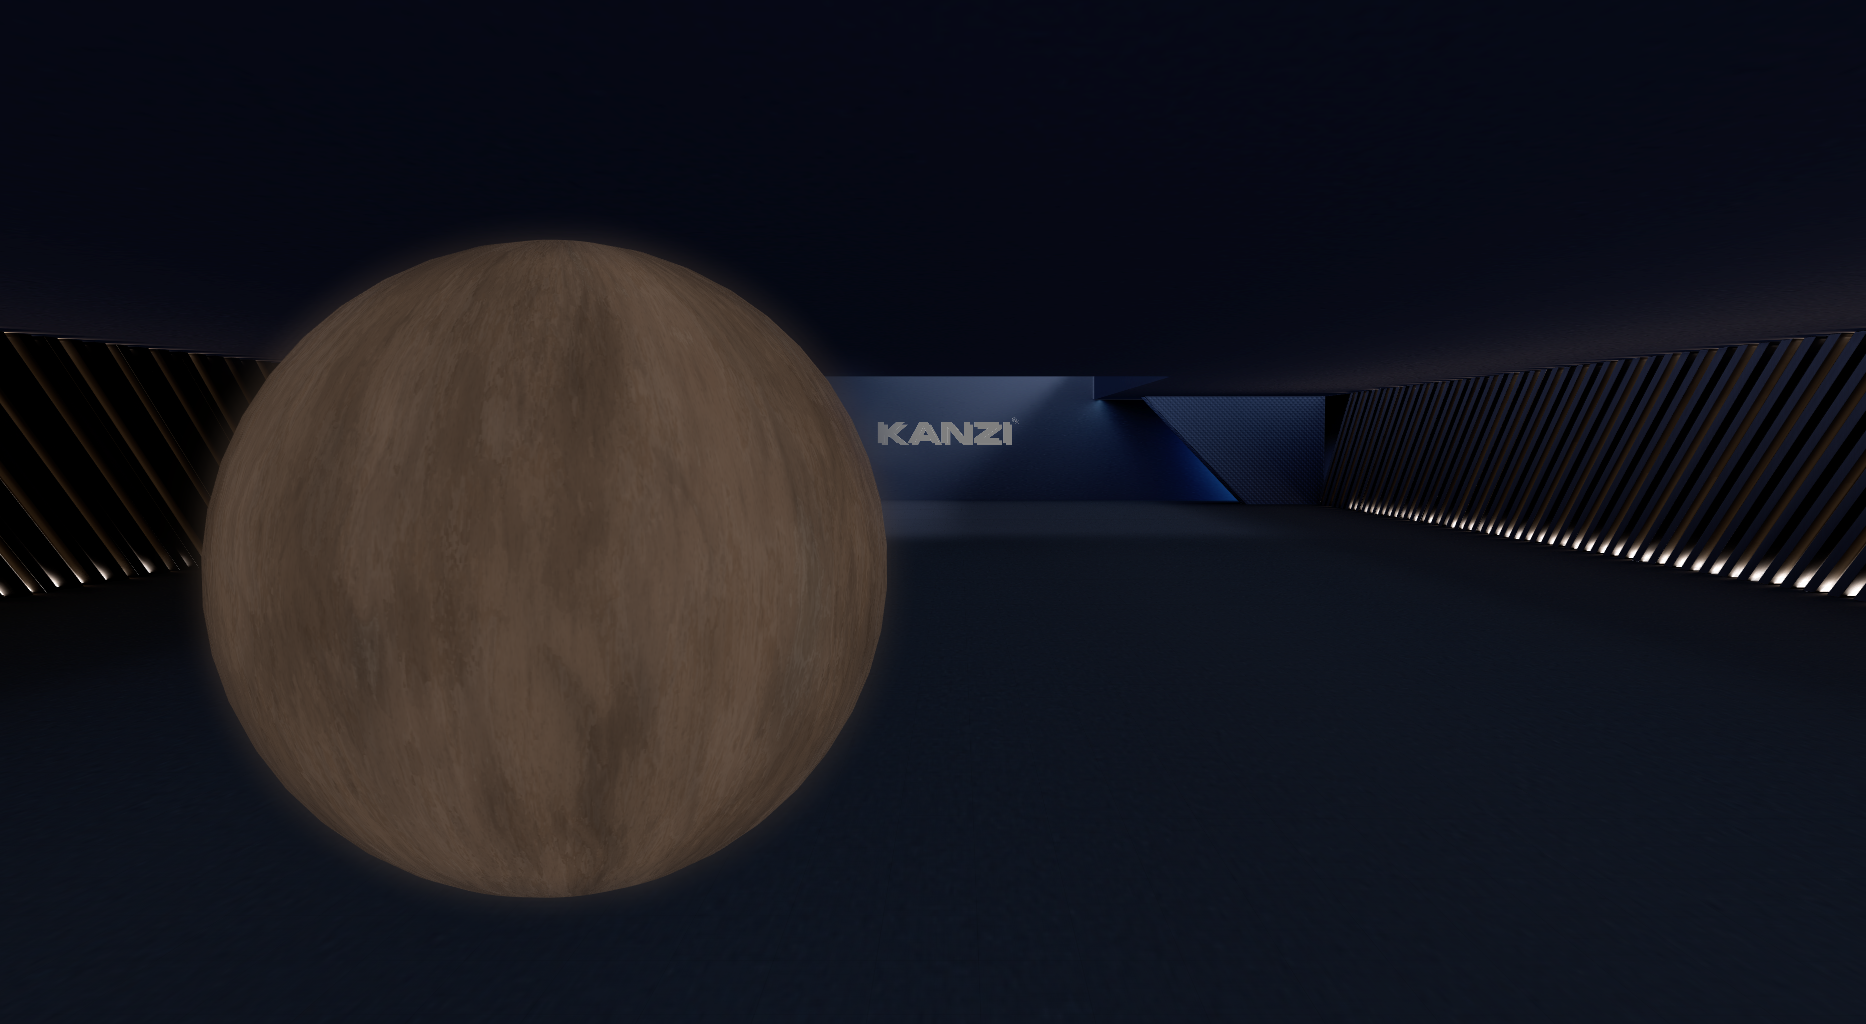
70mm focal length
Exposure Value
Sets the image brightness in stops.
0 EV

+1 EV
Aperture F Number
Sets the depth of field. The f-number affects the aperture size that is defined as focal length divided by the f-number. Lower values make the depth of field shallower.
To make it easier to adjust the depth of field and exposure independently, the f-number does not affect the exposure.
f/1.4
f/4
Sensor Size
Sets the size of the sensor that captures the image. Sensor size determines the field of view and physical camera aspect ratio.
36mm x 24mm
24mm x 16mm

Gate Fit
Defines the behavior when the screen and the physical camera sensor use different aspect ratios.
Horizontal sensor hight has no effect on resulting image.
Vertical sensor width has no effect on resulting image.
Fill fits the screen to the smaller axis of the sensor, and crops the rest of the camera image.
Overscan fits the screen to the larger axis of the sensor, and overscans the area outside of boundaries of the sensor.
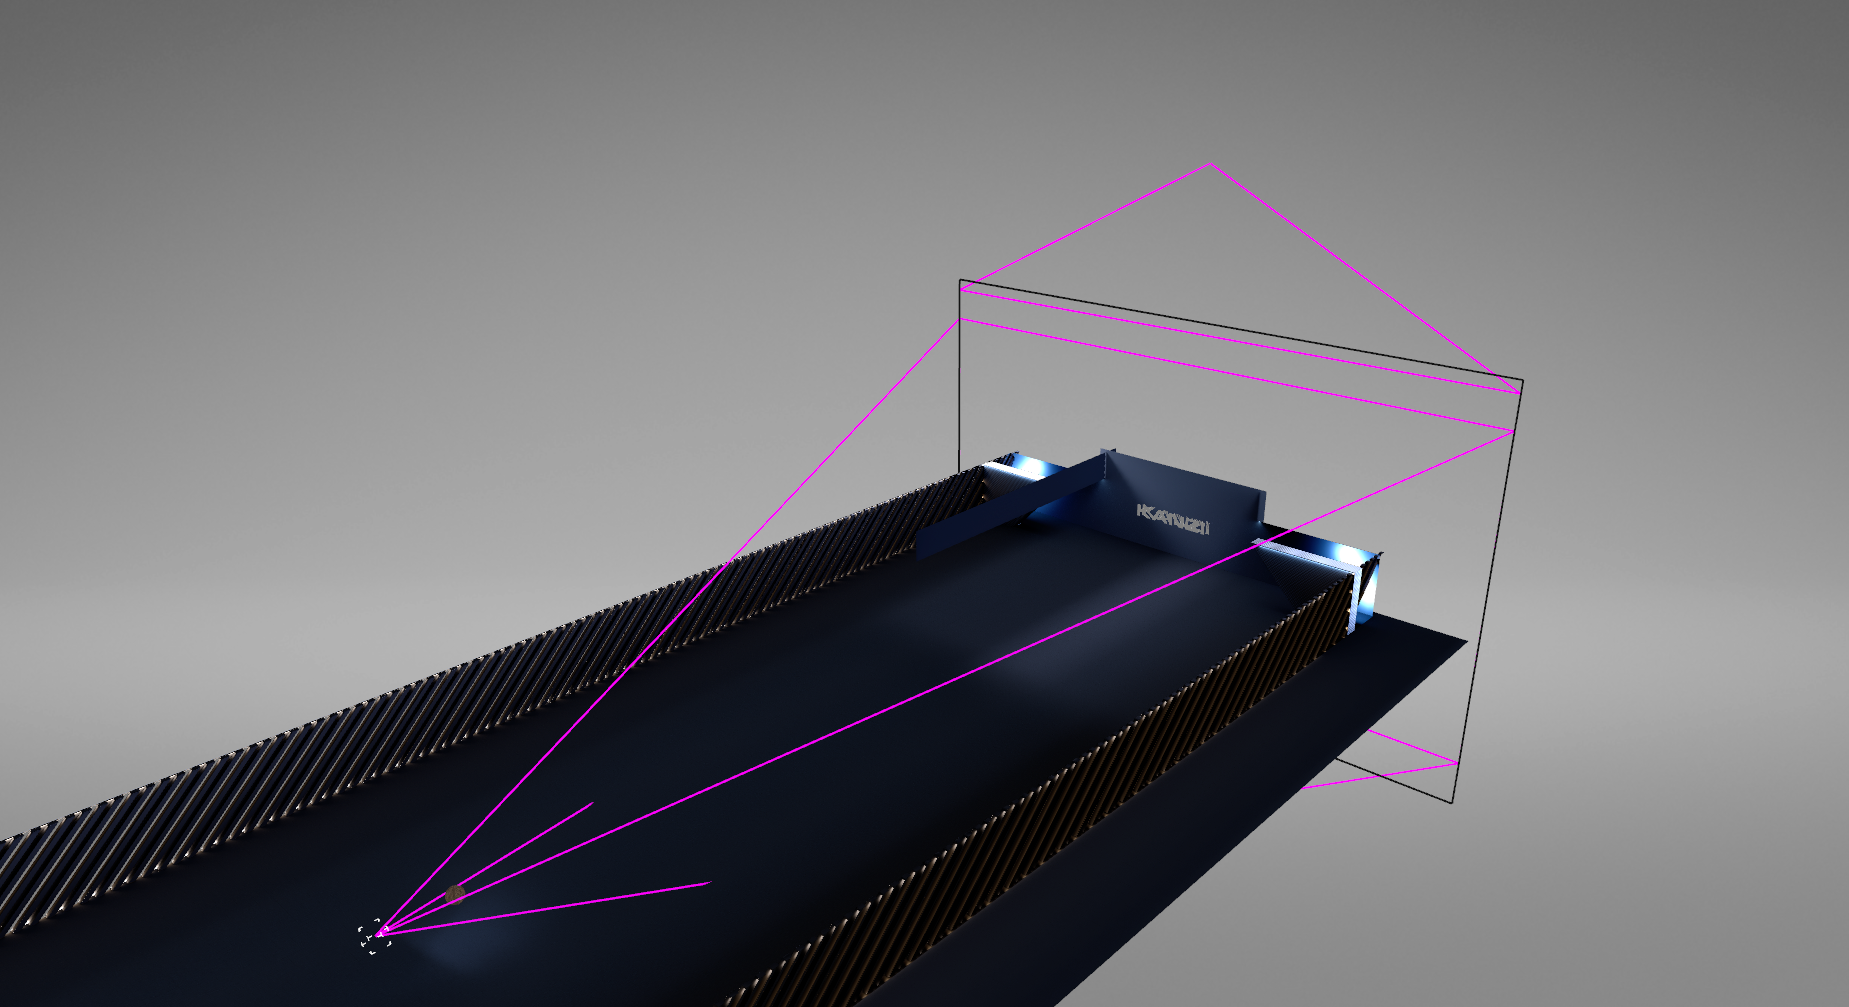
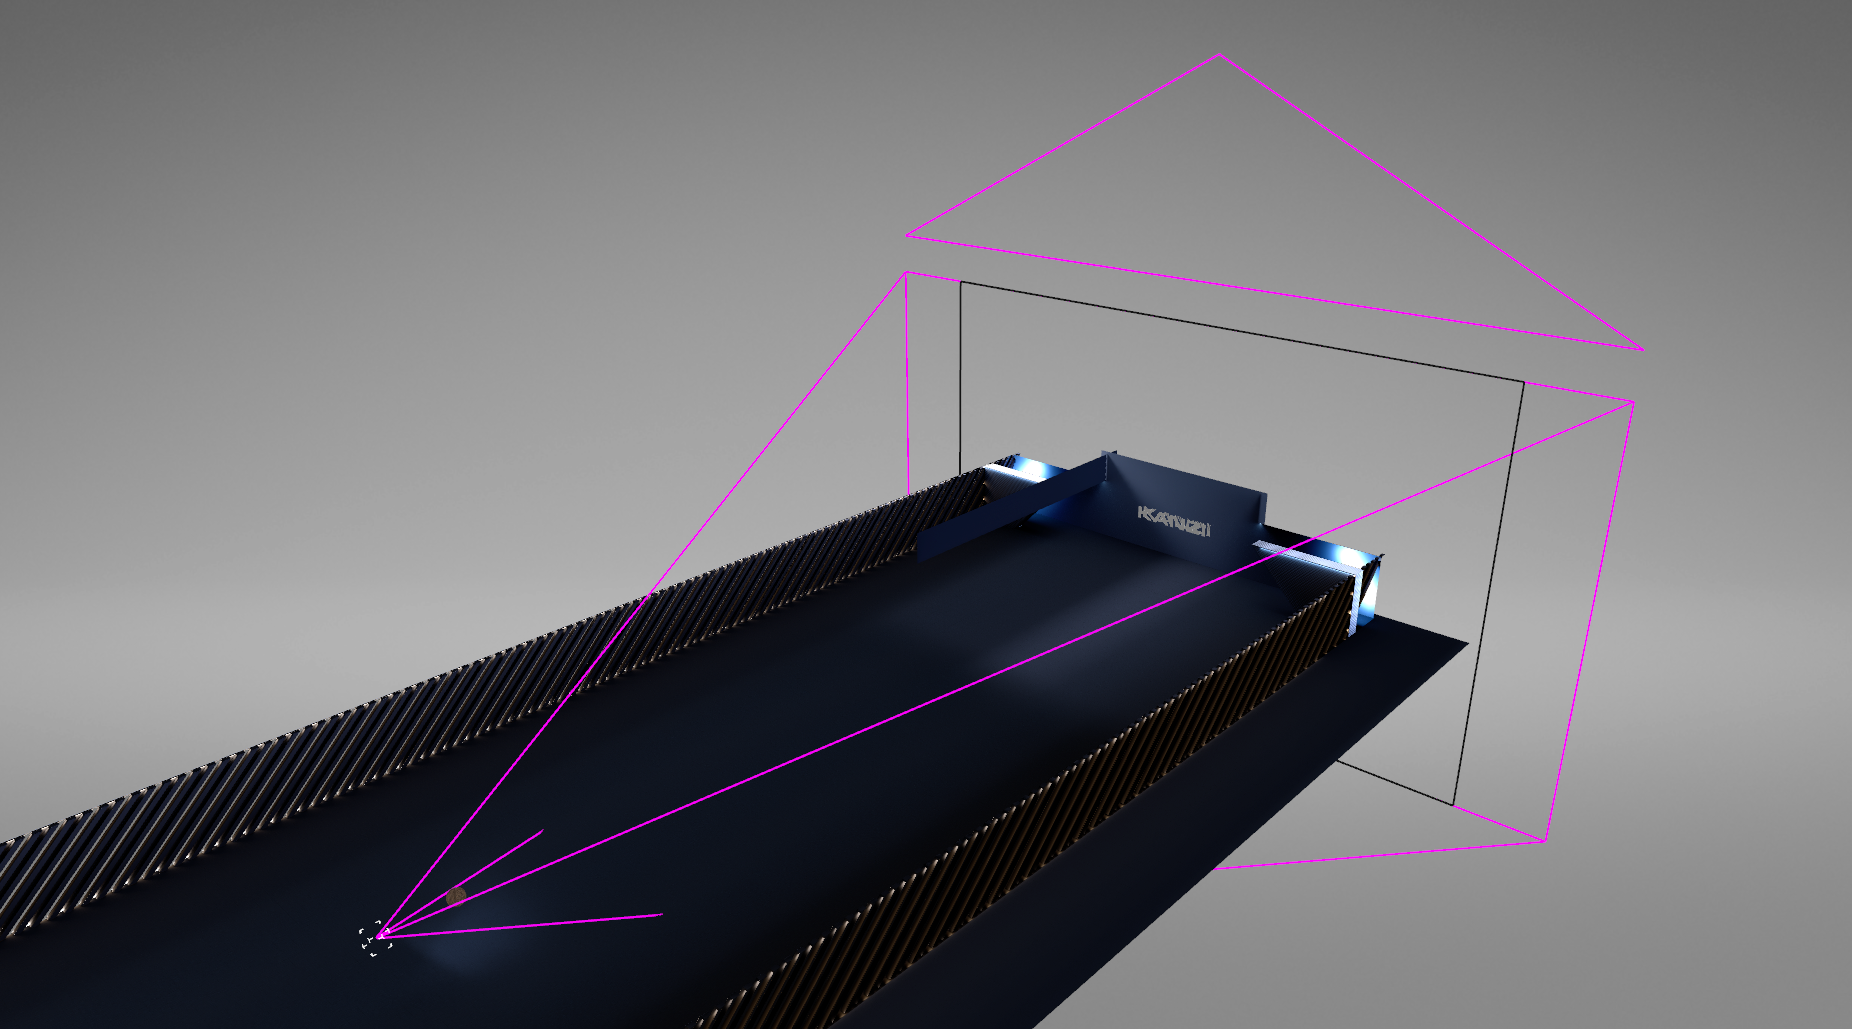
Tip
To visualize the physical camera frustum and sensor size, in the Preview use the Analyze mode and enable the preview for the Debug objects.

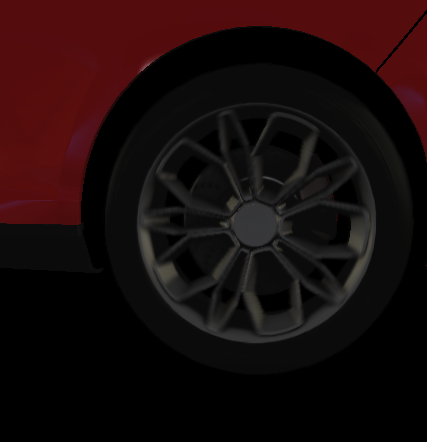
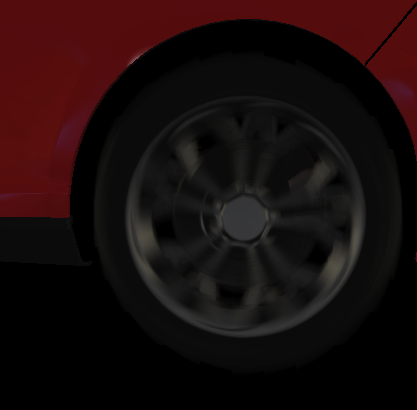
Shutter Angle
Sets the angle of the rotary shutter in degrees. Larger values give a stronger motion blur effect.
0° Shutter angle

90° Shutter angle
180° Shutter angle
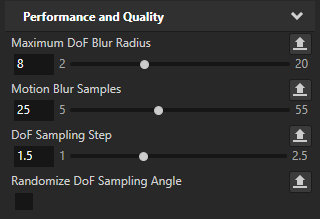
To control the performance and quality of the visual effects, set the properties in the Performance and Quality category:
Property
Description
Maximum DoF Blur Radius
Limits the performance cost of depth of field by limiting the maximum blur radius in pixels. The performance cost of maximum blur is
\[r^2\]Motion Blur Samples
The quality of the motion blur as samples. More samples produce higher quality motion blur.
DoF Sampling Step
Controls the trade-off of sampling density and artifacts. Values close to 1 produce good quality. Values higher than 1.5 have better performance, but can have visible artifacts.
Randomize DoF Sampling Angle
Depending on the hardware randomizing sampling angle and the use of the high-sampling step, this property can improve performance with the trade-off that it adds noise. Disabling this property is a safe default.