Using gradient brushes
The Vector Shapes provides brushes that you can use to fill a 2D vector shape or stroke with a gradient.
These gradient brushes are available in the Vector Shapes:
Linear Gradient Brush to fill a vector shape with a linear gradient. See Filling a vector shape with a linear gradient.
Radial Gradient Brush to fill a vector shape with a radial gradient. See Filling a vector shape with a radial gradient.
Sweep Gradient Brush to fill a vector shape with a sweep gradient. See Filling a vector shape with a sweep gradient.

Gradient color stops
Color stops define the colors in gradients. A color stop is a combination of a color and stop length Use the CSS color stop syntax to set color stops. See https://www.w3.org/TR/css-images-4/#color-stop-syntax.
This table lists examples of gradient color stops.
Color stop element |
Example Stops |
Result |
|---|---|---|
Color To define colors, use either:
|
rgba(255,0,0,1), rgba(0,128,0,1), rgba(0,0,255,1)
rgb(255,0,0), rgb(0,128,0), rgb(0,0,255)
red, green, blue
|

|
Color stop length To define color stop lengths, use either:
|
red 0.2, green 0.8, blue 1
red 20%, green 80%, blue 100%
|

|
Multi-position color stop Use multi-position color stops to create uniform colors areas. |
red 33%, green 33% 67%, blue 67%
|

|
Midpoint between color stops Use a color interpolation hint between two color stops to define the location of the color that is a halfway blend between the two colors. |
red, 15%, green, 85%, blue
|

|
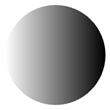
Filling a vector shape with a linear gradient
To fill a vector shape with a linear gradient:
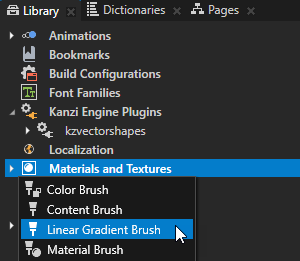
In the Library press Alt and right-click Materials and Textures, select Linear Gradient Brush, and name the brush.
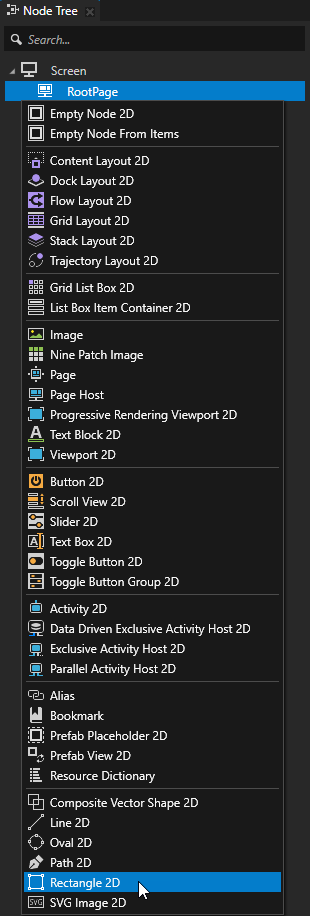
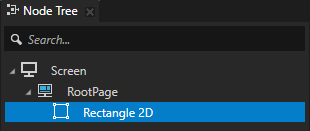
In the Node Tree create the vector shape node where you want to show the linear gradient. See Using vector shape nodes.
For example, create a Rectangle 2D node.
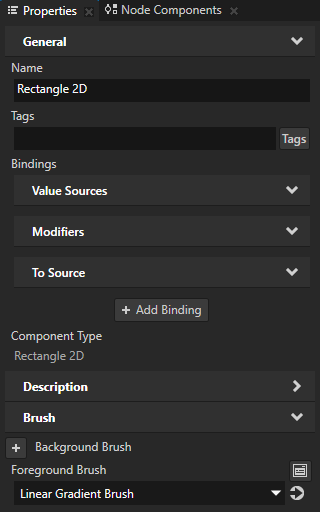
In the Properties add the Foreground Brush or Stroke Brush property, and set it to the linear gradient brush that you created.
For example, add the Foreground Brush property, and set it to the Linear Gradient Brush.
This way you fill the vector shape with the gradient that the Linear Gradient Brush draws.
In the Properties click
 next to the property that you added in the previous step to go to the Linear Gradient Brush used by that property, and add and set:
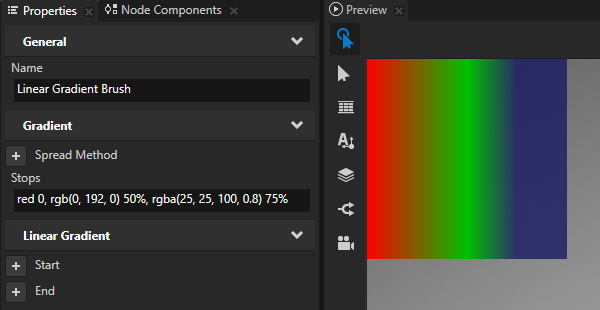
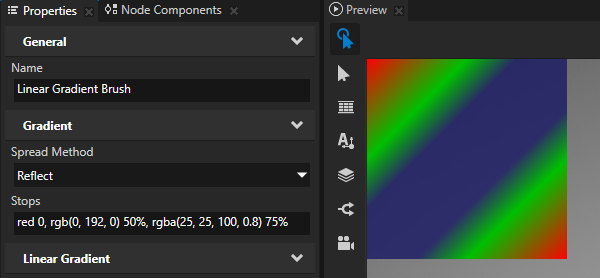
Stops to a comma-separated list of gradient color stops. See Gradient color stops.
For example, to create a gradient from red to light green to blue, set Stops to:
red 0, rgb(0, 192, 0) 50%, rgba(25, 25, 100, 0.8) 75%
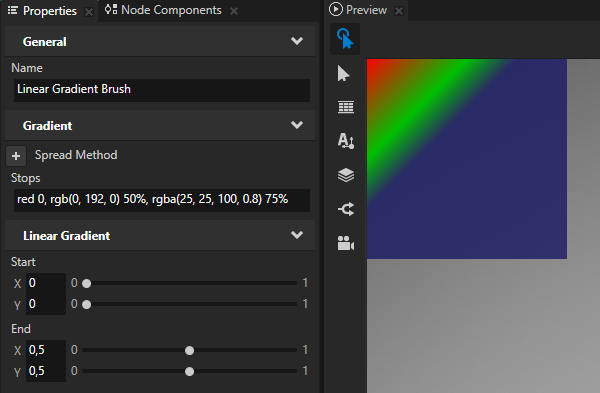
Start and End to set where in the node area the linear gradient starts and ends.
You can set the Start and End properties either in the Linear Gradient Brush or in a vector shape node that uses the Linear Gradient Brush.
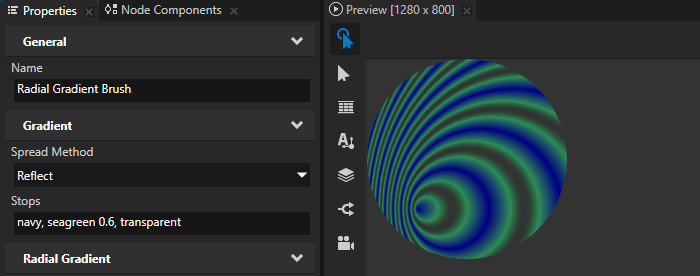
Spread Method to set how to fill the vector shape outside the gradient:
Pad uses the color at the end of the gradient to fill the rest of the region.
Repeat repeats the gradient pattern to fill the region.
Reflect mirrors the gradient pattern to fill the region.
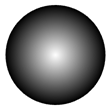
Filling a vector shape with a radial gradient
To fill a vector shape with a radial gradient:
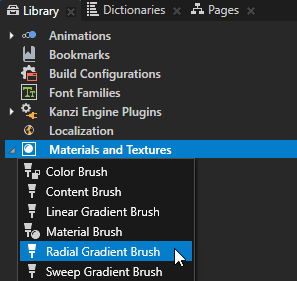
In the Library press Alt and right-click Materials and Textures, select Radial Gradient Brush, and name the brush.
In the Node Tree create the vector shape node where you want to show the radial gradient. See Using vector shape nodes.
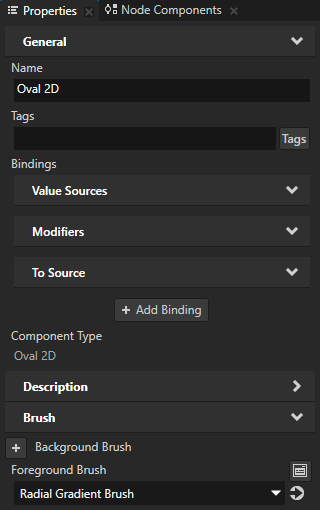
For example, create an Oval 2D node.

In the Properties add the Foreground Brush or Stroke Brush property, and set it to the radial gradient brush that you created.
For example, add the Foreground Brush property, and set it to the Radial Gradient Brush.
This way you fill the vector shape with the gradient that the Radial Gradient Brush draws.
In the Properties click
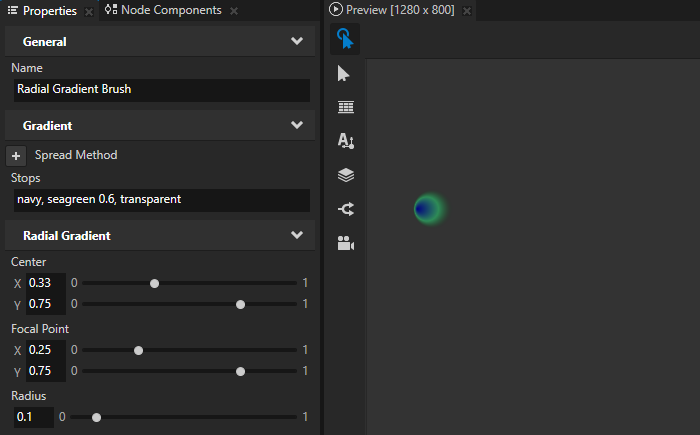
next to the property that you added in the previous step to go to the Radial Gradient Brush used by that property, and add and set:Stops to a comma-separated list of gradient color stops. See Gradient color stops.
For example, to create a gradient from navy to seagreen to transparent, set Stops to:
navy, seagreen 0.6, transparent

The position, focus, and size of the gradient in the vector shape node that uses the Radial Gradient Brush:
Center to set the center of the radial gradient on the x and y axes
Focal Point to set the point from which the first gradient stop starts to radiate towards the edges of the circle centered at the position that you set using the Center property
Radius to set the radius of the gradient centered at the position that you set using the Center property
You can set these properties either in the Radial Gradient Brush or in a vector shape node that uses the Radial Gradient Brush.
Spread Method to set how to fill the vector shape outside the gradient:
Pad uses the color at the end of the gradient to fill the rest of the region.
Repeat repeats the gradient pattern to fill the region.
Reflect mirrors the gradient pattern to fill the region.
Filling a vector shape with a sweep gradient
To fill a vector shape with a sweep gradient:
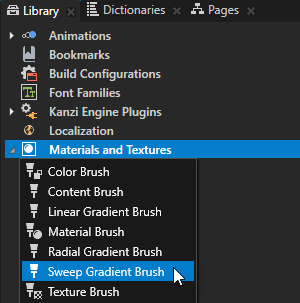
In the Library press Alt and right-click Materials and Textures, select Sweep Gradient Brush, and name the brush.
In the Node Tree create the vector shape node where you want to show the sweep gradient.
For example, create an Oval 2D node.
In the Properties add the Foreground Brush or Stroke Brush property, and set it to the sweep gradient brush that you created.
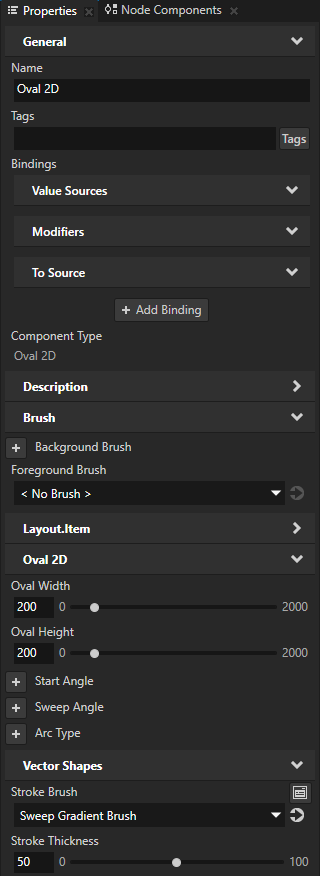
For example, in the Properties add and set:
Foreground Brush to < No Brush >
Oval Width and Oval Height to set the size of the oval
Stroke Brush to the Sweep Gradient Brush
Stroke Thickness to set the thickness of the donut where you show the sweep gradient
In the Properties click
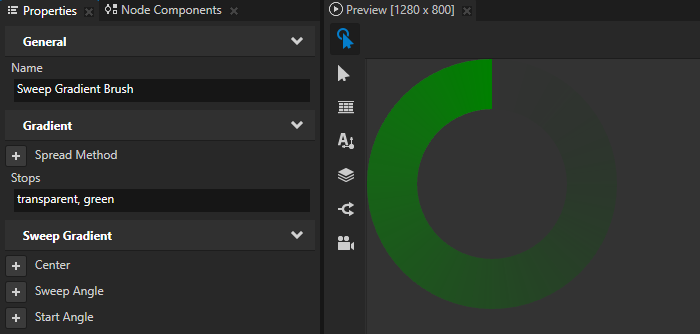
next to the brush property that you added in the previous step to go to the Sweep Gradient Brush used by that property, add the Stops property, and set it to a comma-separated list of gradient color stops. See Gradient color stops.For example, to create a gradient from transparent to green, set Stops to:
transparent, green
(Optional) In the Properties add and set:
Center to set the center of the sweep gradient on the x and y axes
Sweep Angle to set the span of the sweep gradient in radians
Start Angle to set the rotation of the sweep gradient in radians
You can set these properties either in the Sweep Gradient Brush or in a vector shape node that uses the Sweep Gradient Brush.