Using the Rectangle nodes
Use the Rectangle nodes to draw rectangles.
Creating a rectangle
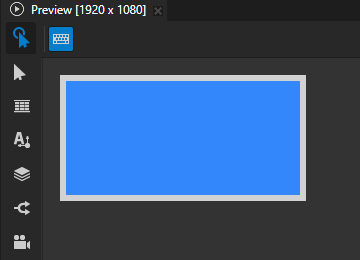
To create a rectangle:
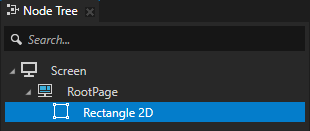
In the Node Tree or Prefabs, press Alt and right-click the node where you want to create a Rectangle node and select either Rectangle 3D, or Rectangle 2D.
You can create a 3D node only in a 3D node, such as the Scene node, and a 2D node only in a 2D node.

Set the fill and stroke of the rectangle. See Filling a shape and Using stroke.
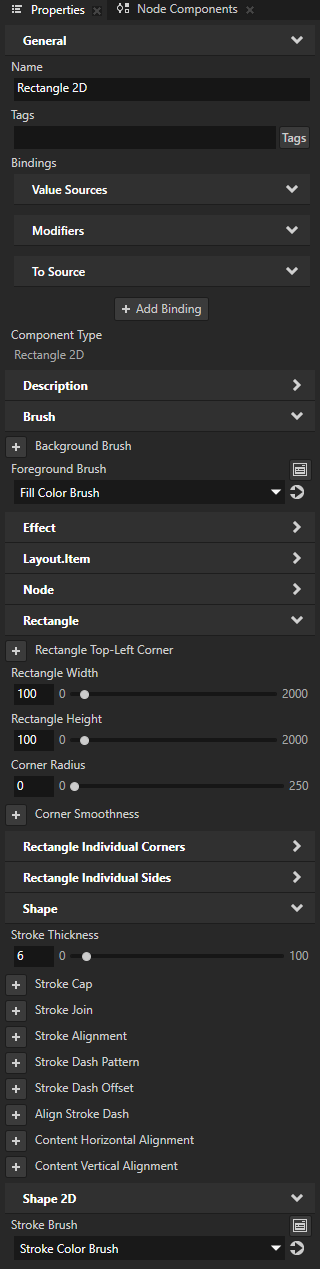
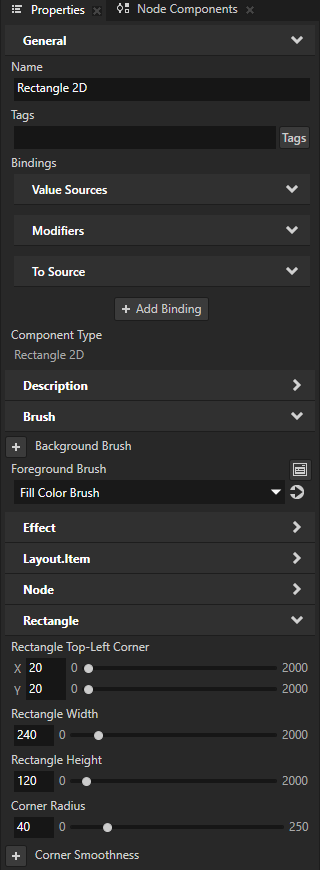
In the Properties, add and set:
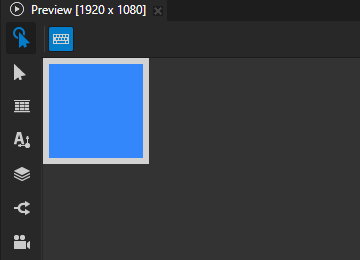
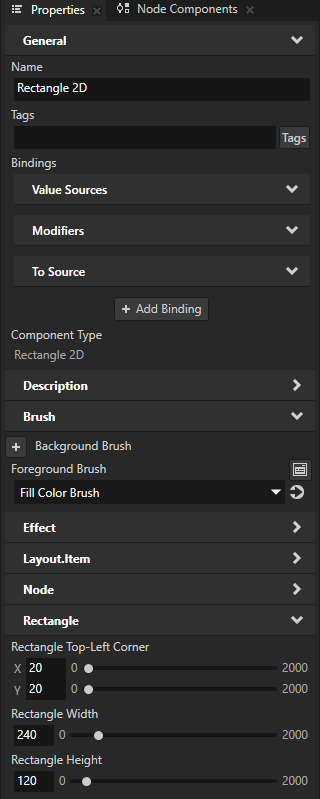
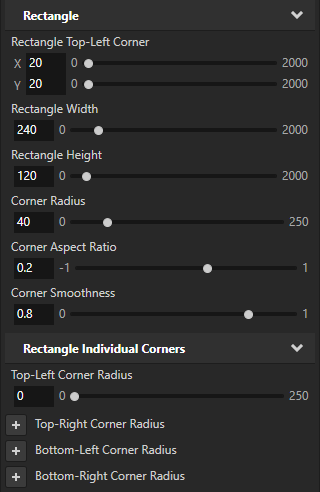
Rectangle Width and Rectangle Height to set the size of the rectangle.
Rectangle Top-Left Corner to the position along the x and y axis where you want to set the top-left corner of the rectangle.
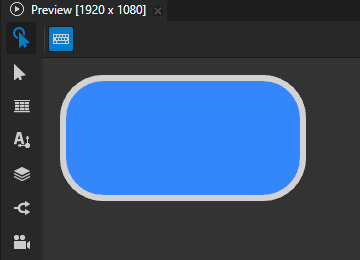
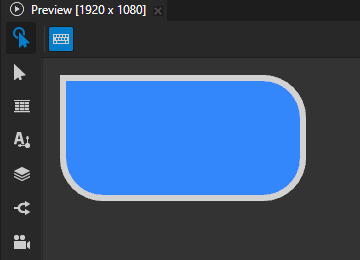
Setting the shape of the rectangle corners
To set the shape of the rectangle corners:
Create a Rectangle node. See Creating a rectangle.
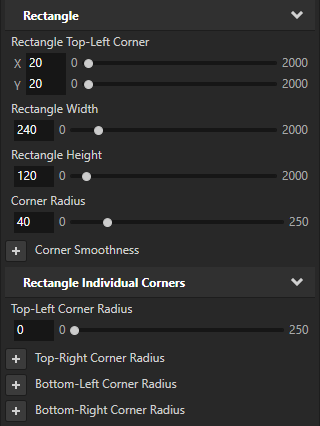
In the Properties, add and set the Corner Radius property to the amount of roundness that you want for the corners.
To control the radius of each corner independently, add and set the Rectangle Individual Corners properties.
For example, to make the top-left corner of the rectangle sharp, set the value of the Top-Left Corner Radius property to 0. The other three corners use the roundness that you set in the Corner Radius property.
To fine-tune the shape of the rounded corners, add and set:
Rectangle > Corner Aspect Ratio to adjust the aspect ratio of the corners.
By default, the radius of the corners along the x and y axes is equal to the value of the Corner Radius property.
To adjust the radius along the x axis, set Corner Aspect Ratio to a value greater than 0. The radius along the x axis is \(\text{Corner Radius} * (1 - \text{Corner Aspect Ratio})\).
To adjust the radius along the y axis, set Corner Aspect Ratio to a value less than 0. The radius along the y axis is \(\text{Corner Radius} * (1 + \text{Corner Aspect Ratio})\).
Corner Smoothness to the amount of smoothness that you want for the corners.
This allows you to vary the shape between a rounded rectangle and a squircle. In a squircle, the edges of the rectangle curve smoothly outwards from each corner, forming an arc. For example, to match the shape of the corners in iOS icons, set the smoothness to 0.6.
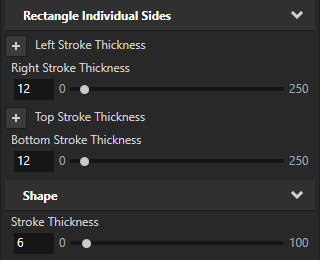
Setting the stroke thickness of individual rectangle sides
To set the stroke thickness of individual rectangle sides:
Create a Rectangle node and set it to use stroke. See Creating a rectangle and Using stroke.
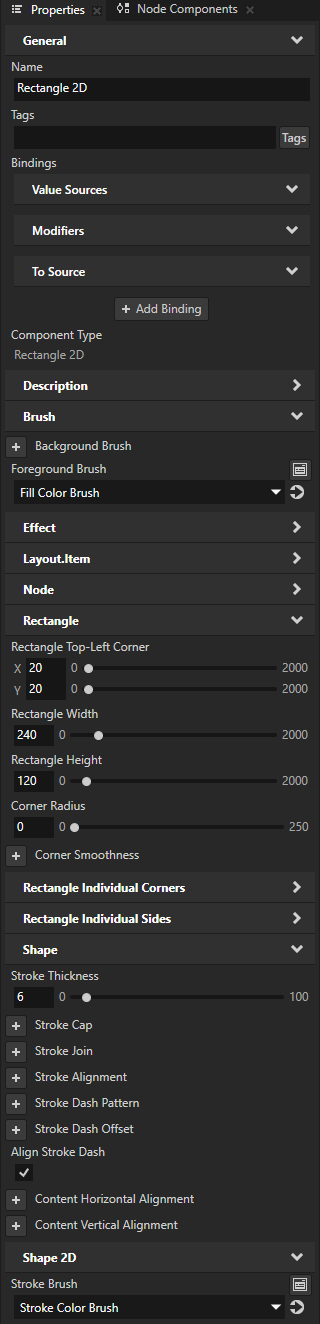
In the Properties, add and set the Rectangle Individual Sides properties to control the thickness of the stroke on each side of the rectangle.
For example, add and set the values of the Right Stroke Thickness and Bottom Stroke Thickness properties. The left and top sides use the thickness that you set in the Stroke Thickness property.

Setting the input area for a Rectangle 2D node
When you enable hit testing for a node with the Input > Hit Testable property, the entire area of that node receives input by default.
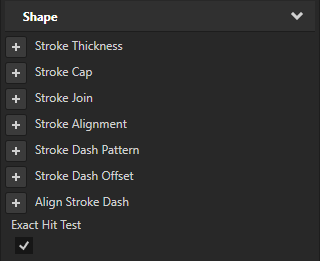
To make only the area formed by the composited geometry of the shapes in a 2D shape node receive input, in the Node Tree or Prefabs, select that node and in the Properties, add and enable the Shape > Exact Hit Test property.

To learn about handling user input in Kanzi, in the Kanzi framework documentation, see Working with > Input.