Streaming content between Kanzi Connect client applications
You can use Kanzi Connect to stream content between Kanzi Connect client applications.
To stream content between Kanzi Connect client applications:
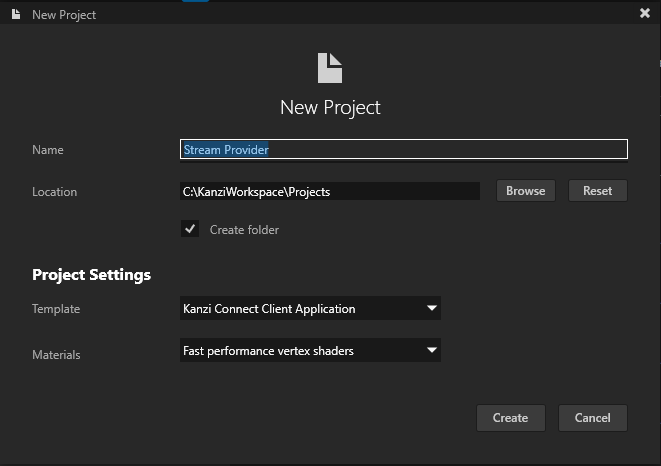
In Kanzi Studio create a project using the Kanzi Connect Client Application template.
You use this project for the application that streams the content.
For example, name the project Stream Provider.
In the Kanzi Studio main menu select Kanzi Connect > Start Kanzi Connect Server.
Kanzi Studio starts the Kanzi Connect Server that is installed on your computer.

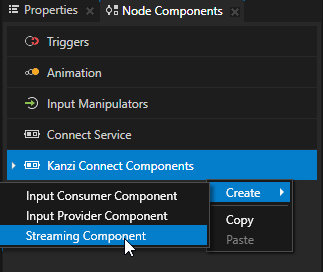
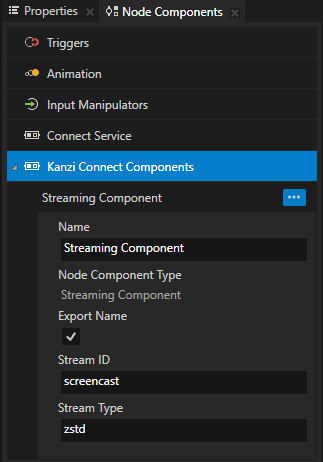
In the Node Tree select Screen, in the Node Components right-click Kanzi Connect Components, and create a Streaming Component.
If the Preview is not already running, start it by selecting Preview > Start.
The Preview must run because the Stream Service is hosted inside the stream provider application.
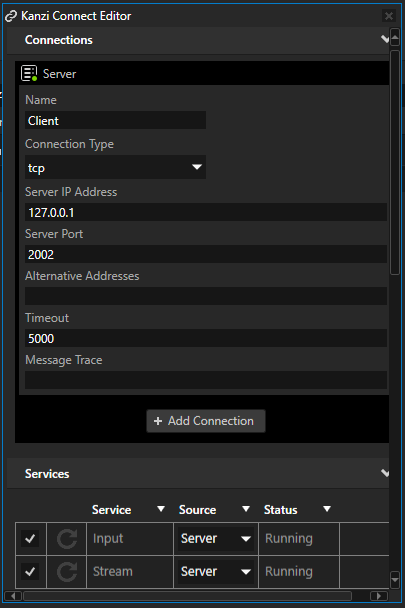
In the Kanzi Studio main menu select Kanzi Connect > Open Kanzi Connect Editor.
Use the Kanzi Connect Editor to create and manage connections to Kanzi Connect servers and services.

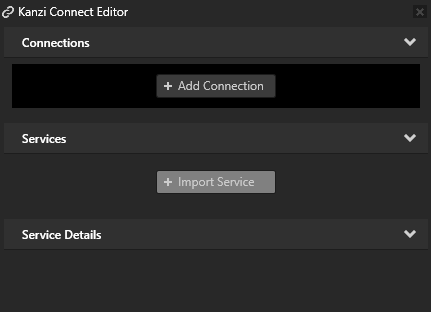
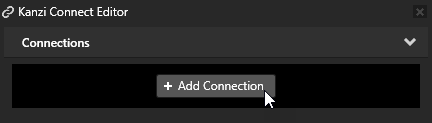
In the Kanzi Connect Editor click + Add Connection and in the Select Connect Server window click Connect.
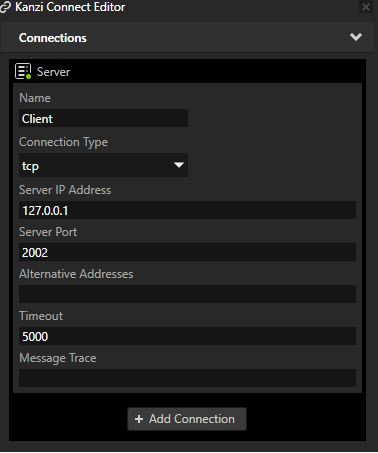
That way you create a connection to a Kanzi Connect Server. You can see the connection in the Kanzi Connect Editor.
The Server IPV4 Address property sets the IP address of the Kanzi Connect Server that the Kanzi Studio Preview uses to connect to the server and look for Kanzi Connect services available on that server.
Here you use the default Kanzi Connect Server running on the local host at the IP address 127.0.0.1.
The Server IP Address property sets the address of the Kanzi Connect Server that the client application uses during runtime.

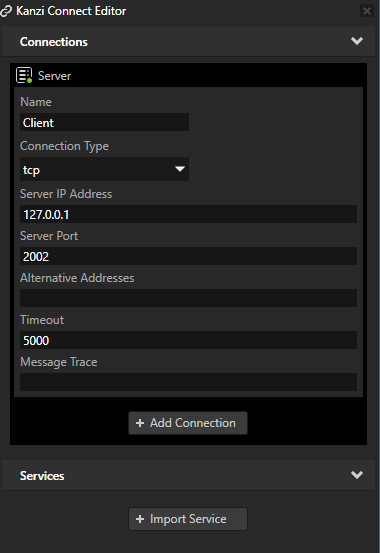
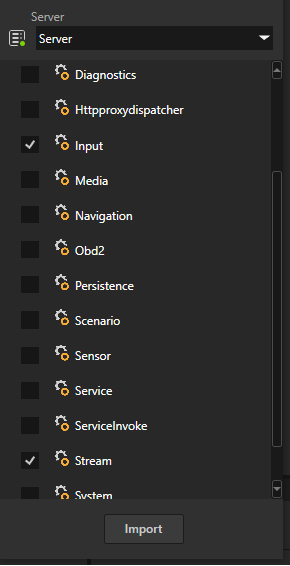
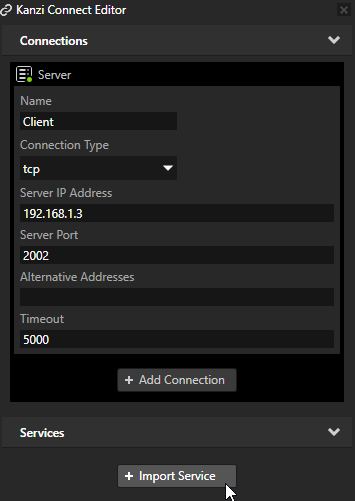
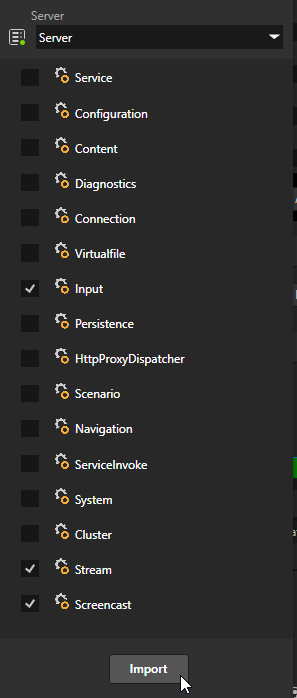
In the Kanzi Connect Editor click + Import Service, in the Import Connect Services window select the Stream, Input and click + Import Service.
This way you import from the selected Kanzi Connect Server the Stream Service and the data source that this service provides.
The Data Sources window shows the data that is available through the Stream Service data source.
To view the Data Sources window, in the Kanzi Studio main menu select Window > Data Sources.
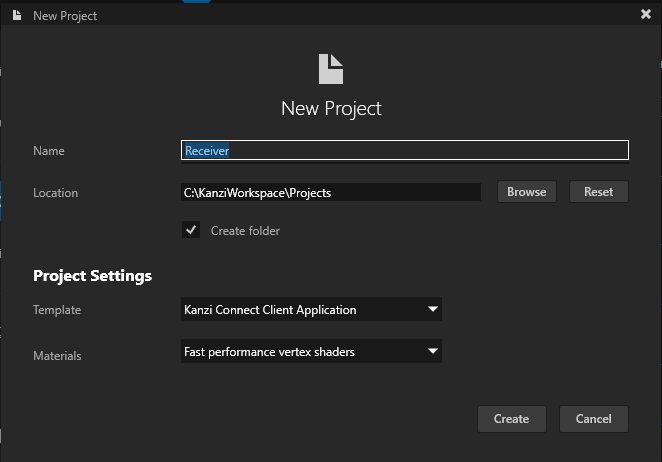
Open another instance of Kanzi Studio and create a project using the Kanzi Connect Client Application template for the application that receives the content from the Sender application.
For example, name the project Receiver.
In the Receiver project open the Kanzi Connect Editor, add a connection to the same server that the Sender client application uses to stream the content, and import the Stream and Input services.
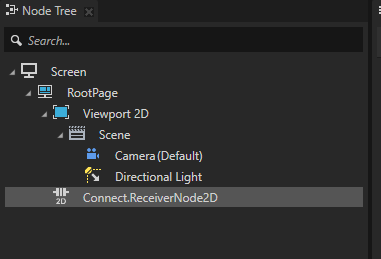
In the Node Tree press Alt and right-click Viewport 2D and select Connect.ReceiverNode2D.
You use this node to render the content from the Sender client application.
In the Node Tree select the Connect.ReceiverNode2D and in the Node Components > Kanzi Connect Components add the Input Provider Component.
In the Node Tree select the Connect.ReceiverNode2D and in the Properties add and enable these properties:
Focusable
Hit Testable
Now the Receiver client application shows in the Connect.ReceiverNode2D the content of the Stream Provider client application.
For example, in the Stream Provider Kanzi Studio project create an image and modify its Render Transformation properties.
You can find the completed applications from procedure at:
<KanziConnectInstallation>/SDK/tutorials/Stream Provider<KanziConnectInstallation>/SDK/tutorials/Receiver
Streaming the display of an Android device
You can use Kanzi Connect to stream the content of an Android device display in a Kanzi application.
To stream the display of an Android device:
On an Android device install and run the Kanzi Connect Server, and start the Screencast Service.
See Running a preconfigured Kanzi Connect Server on Android and Screencast Service.
In Kanzi Studio create a project using the Kanzi Connect Client Application template.
You use this project for the application that receives the content from an Android device.
For example, name the project screencast_consumer.
In the Node Tree press Alt and right-click Viewport 2D and select Connect.ReceiverNode2D.
You use this node to render the content from an Android device.
Open the Kanzi Connect Editor, add a connection to the Kanzi Connect Server that is running on the Android device, and import these services:
Input
Screencast
Stream
In the Node Tree select Connect.ReceiverNode2D node and in the Properties set:
Stream ID to screencast://display?name=MirrorMainDisplay
Stream type to h264

Restart the Preview.
Now the Preview shows the content of the Android device display in the Connect.ReceiverNode2D node. To view the streamed content properly, adjust the Layout Height and Layout Width properties of the Connect.ReceiverNode2D node.