Tutorial: Navigation camera
In this tutorial, you learn how to add a navigation camera to a map.
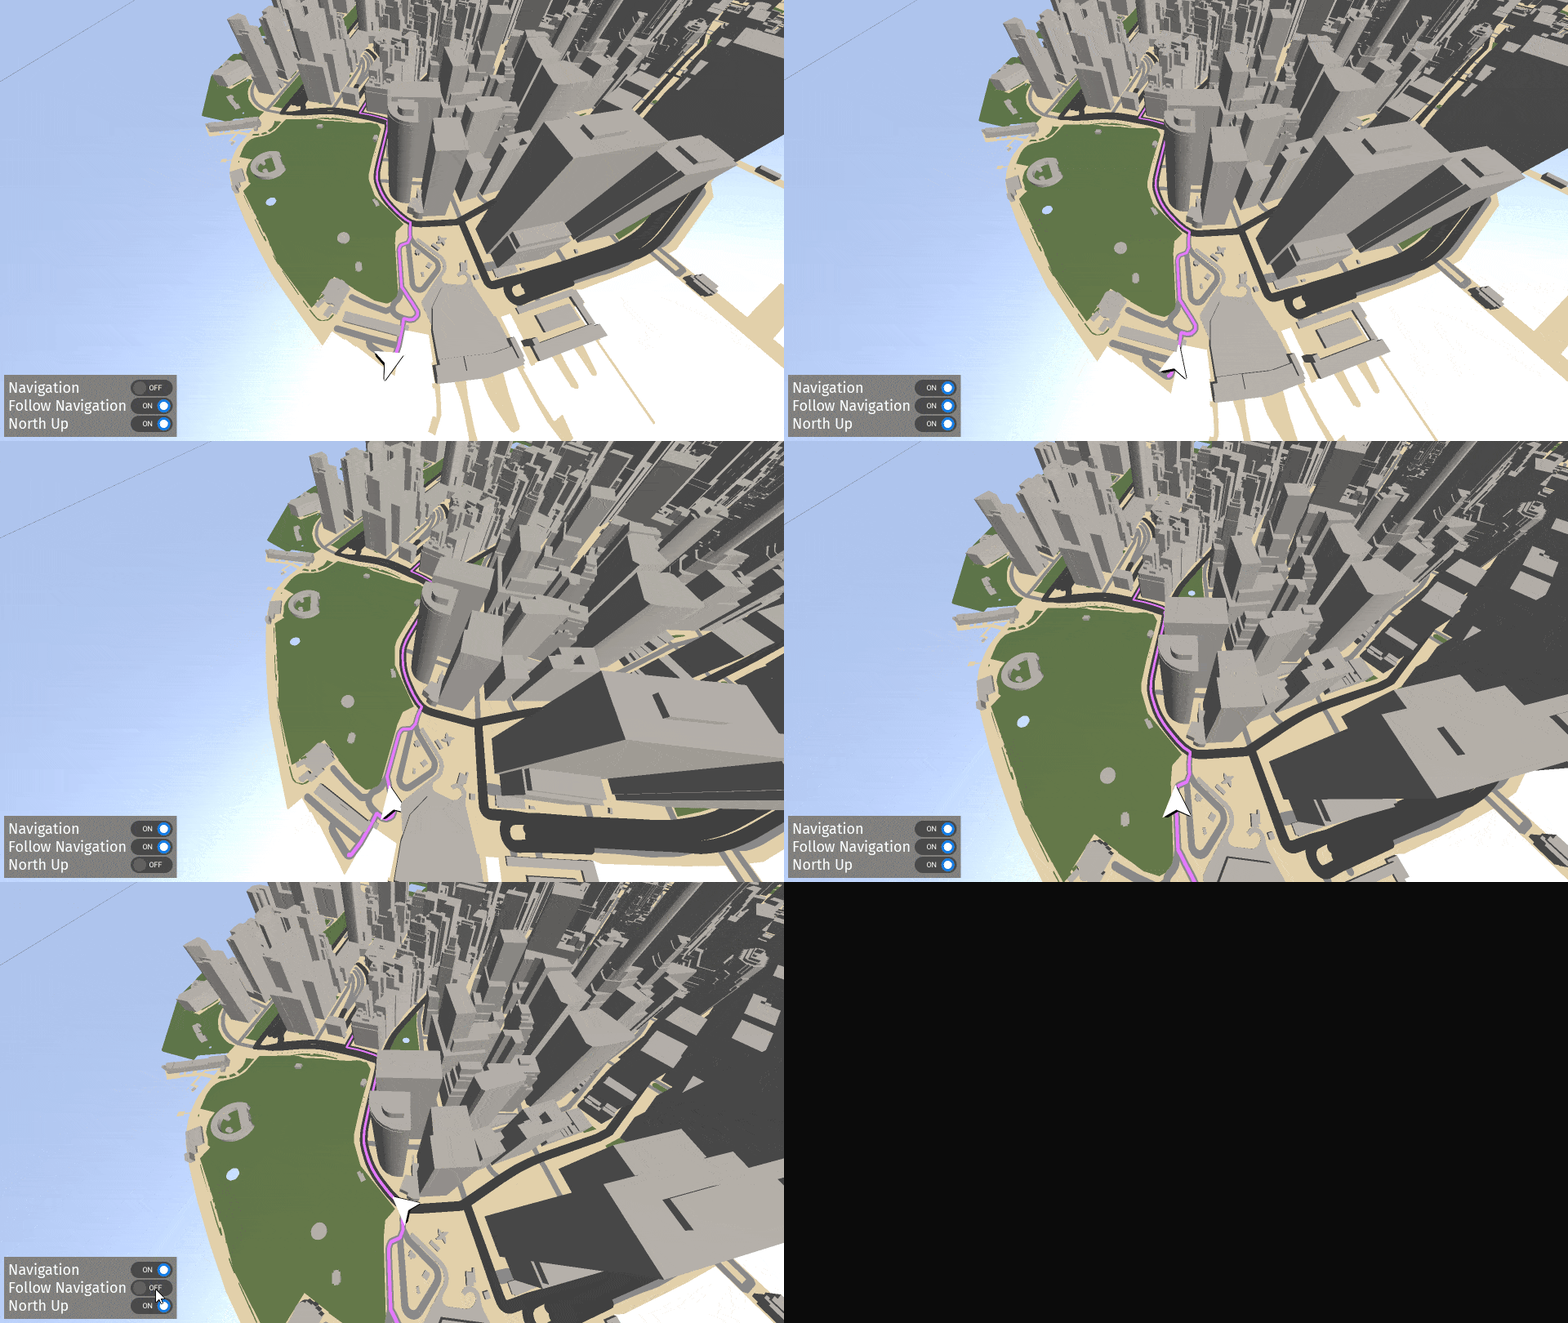
This video shows the result of the tutorial.
Assets for the tutorial
The starting point of this tutorial is the <KanziWorkspace>/Engine/plugins/maps/tutorials/AddingNavigationCamera/Start/Tool_project/AddingNavigationCamera.kzproj Kanzi Studio project. The project contains a basic 3D map with minimal navigation support. To learn how to create the starting point project, complete the Tutorial: Navigation.
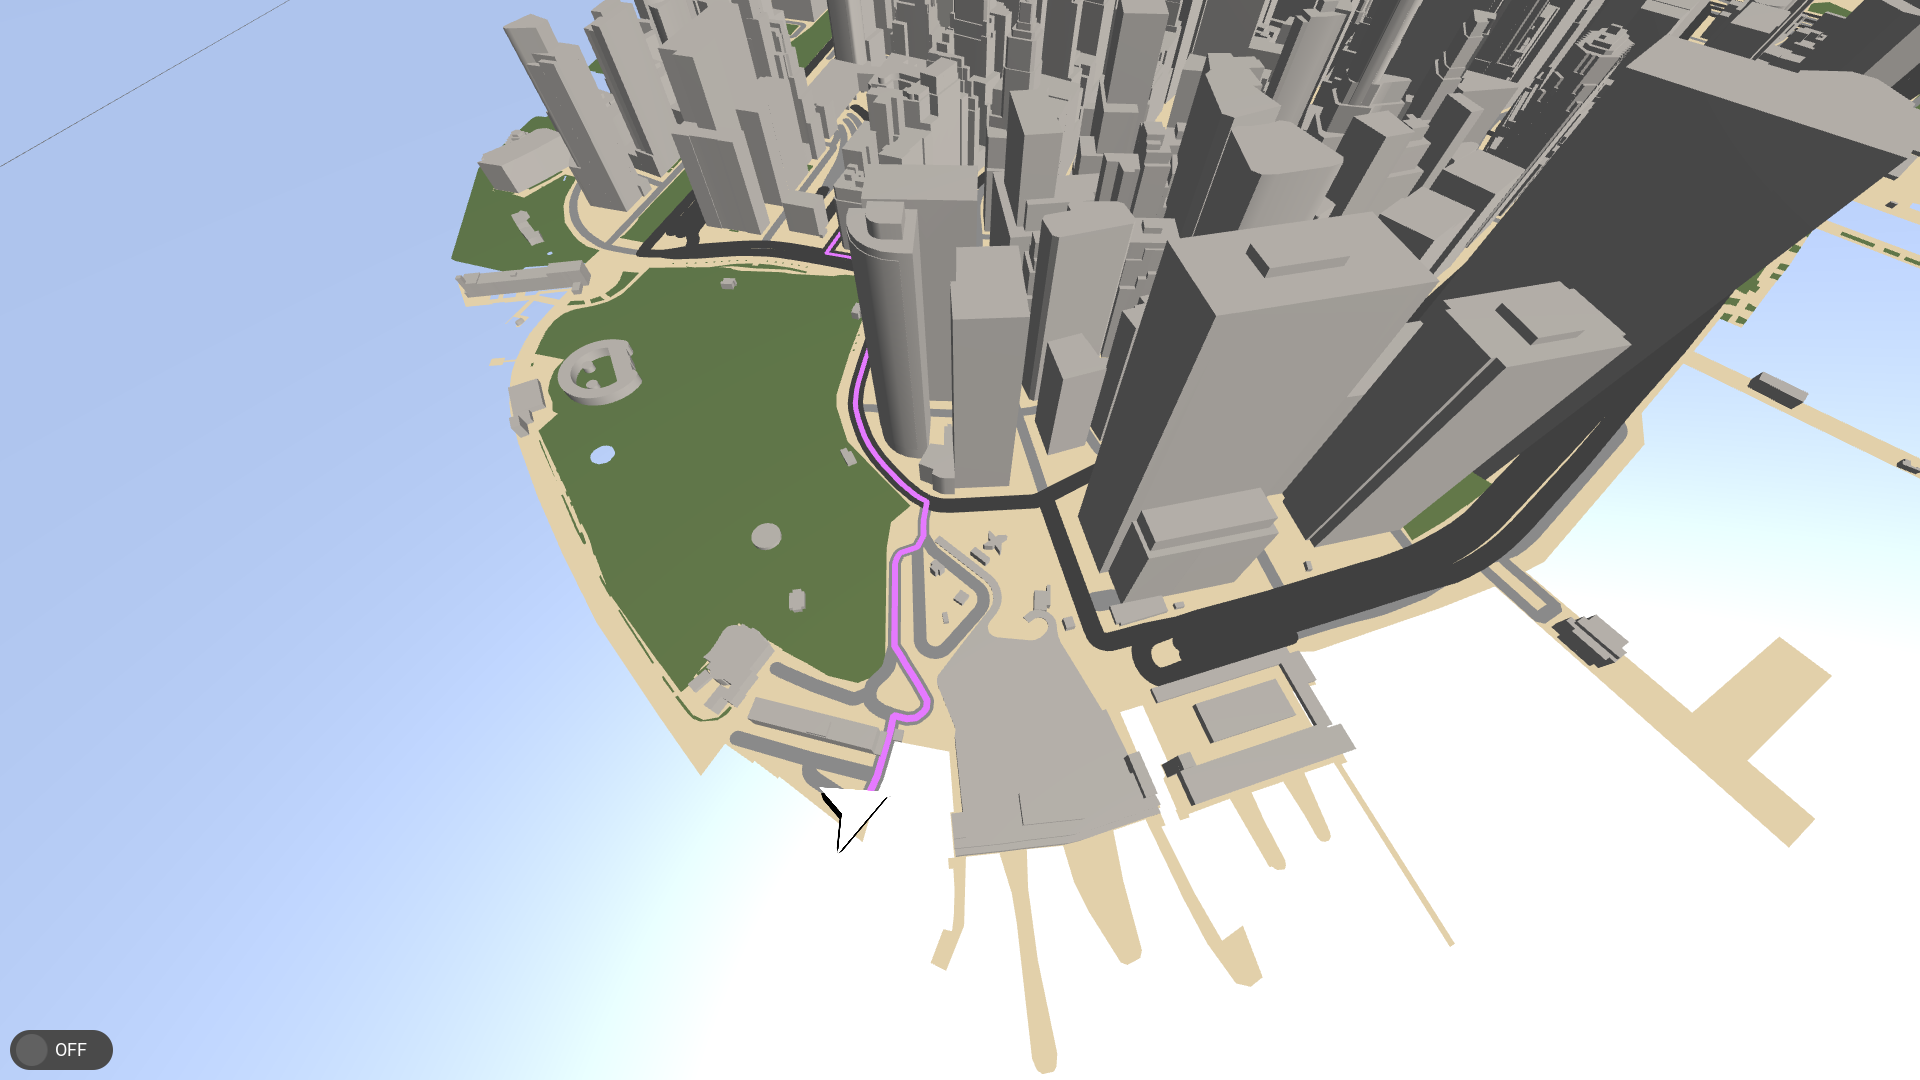
You can find the completed tutorial in the <KanziWorkspace>/Engine/plugins/maps/tutorials/AddingNavigationCamera/Completed directory.
In Kanzi Studio, to see the tutorial project in the Preview, in the main menu select Kanzi Maps > Set Up Kanzi Maps. This way, you copy the Kanzi Maps library files to the Application/bin directory of the tutorial project.
Follow the navigation
In this section, you move the center of the map along with the navigation. This way, you give the impression that the camera follows the navigation.
To follow the navigation:
In Kanzi Studio, open the
<KanziWorkspace>/Engine/plugins/maps/tutorials/AddingNavigationCamera/Start/Tool_project/AddingNavigationCamera.kzprojproject.In the Kanzi Studio main menu, select Kanzi Maps > Set Up Kanzi Maps.
This way, you copy the Kanzi Maps library files to the
Application/bindirectory of the tutorial project.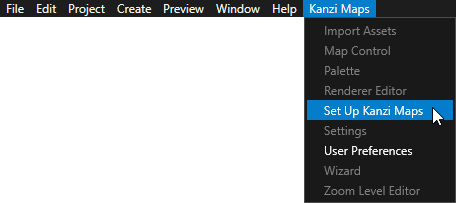
If Kanzi Studio asks whether you want to set the map plugin credentials, click Yes and set up your Mapbox credentials. See Setting up your Mapbox credentials.
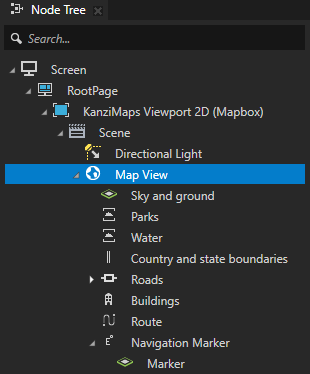
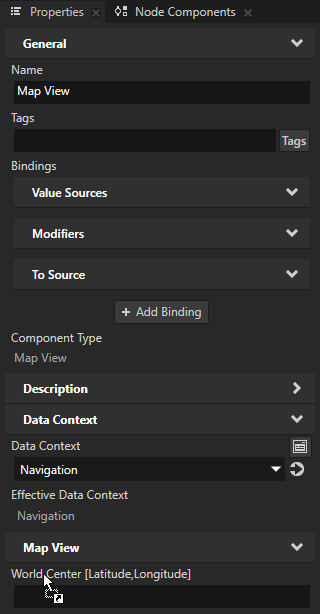
In the Node Tree, select the Map View node. In the Properties, add:
Data Context > Data Context and set it to the Navigation data source
Map View > World Center [Latitude, Longitude]
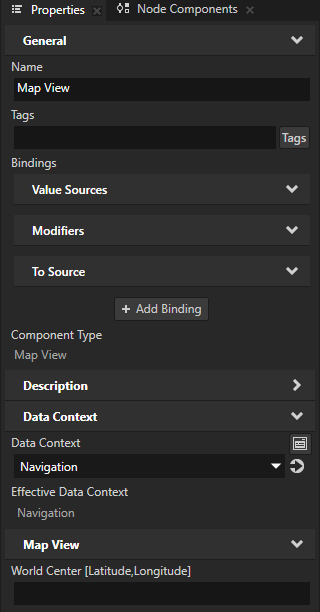
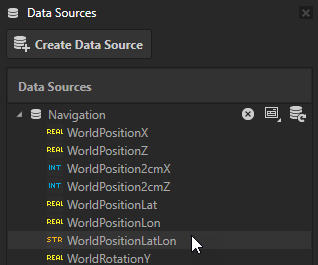
From the Data Sources, drag the > Navigation > WorldPositionLatLon string data object to the Properties and drop it on the World Center [Latitude, Longitude] property.
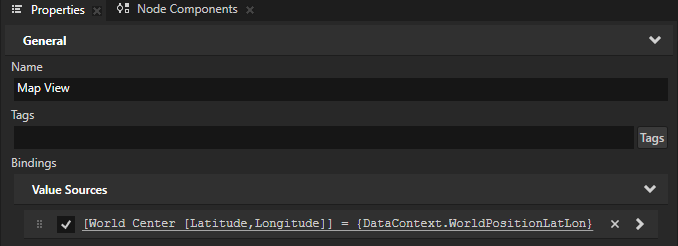
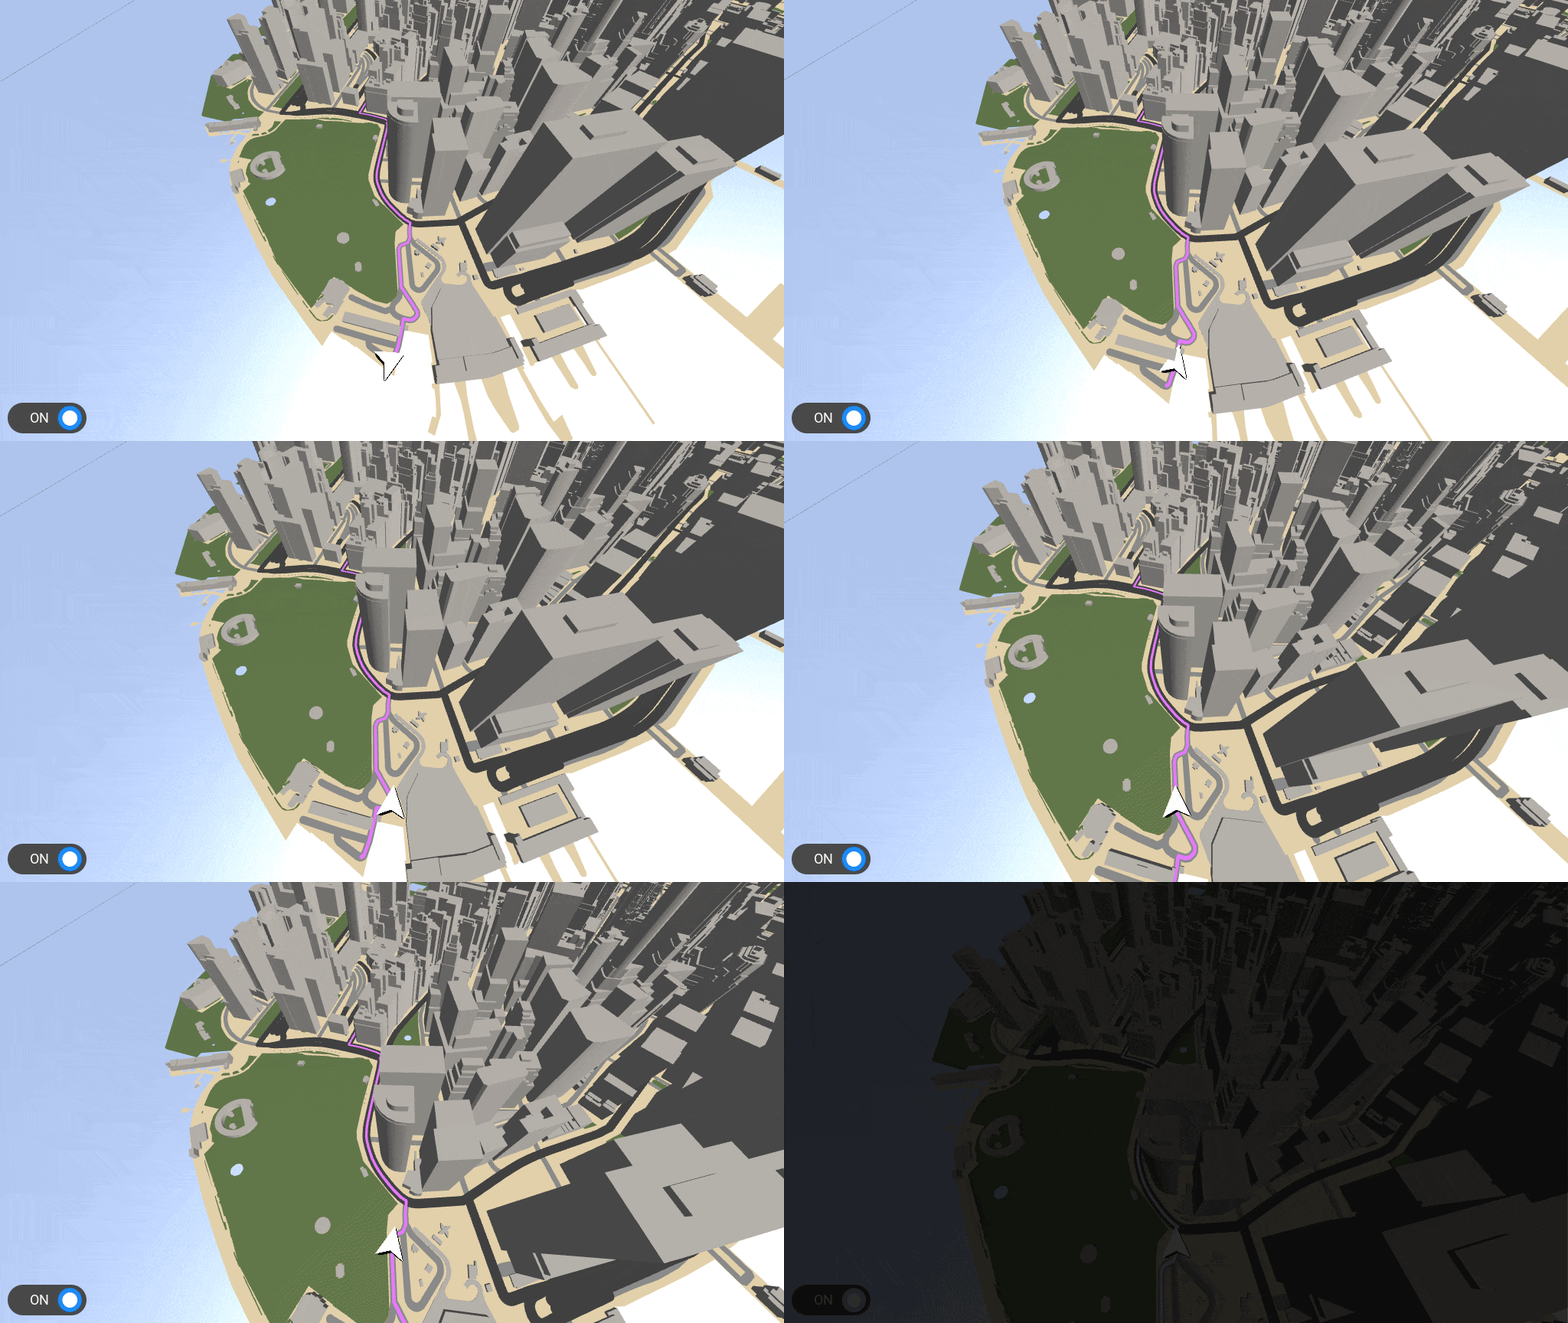
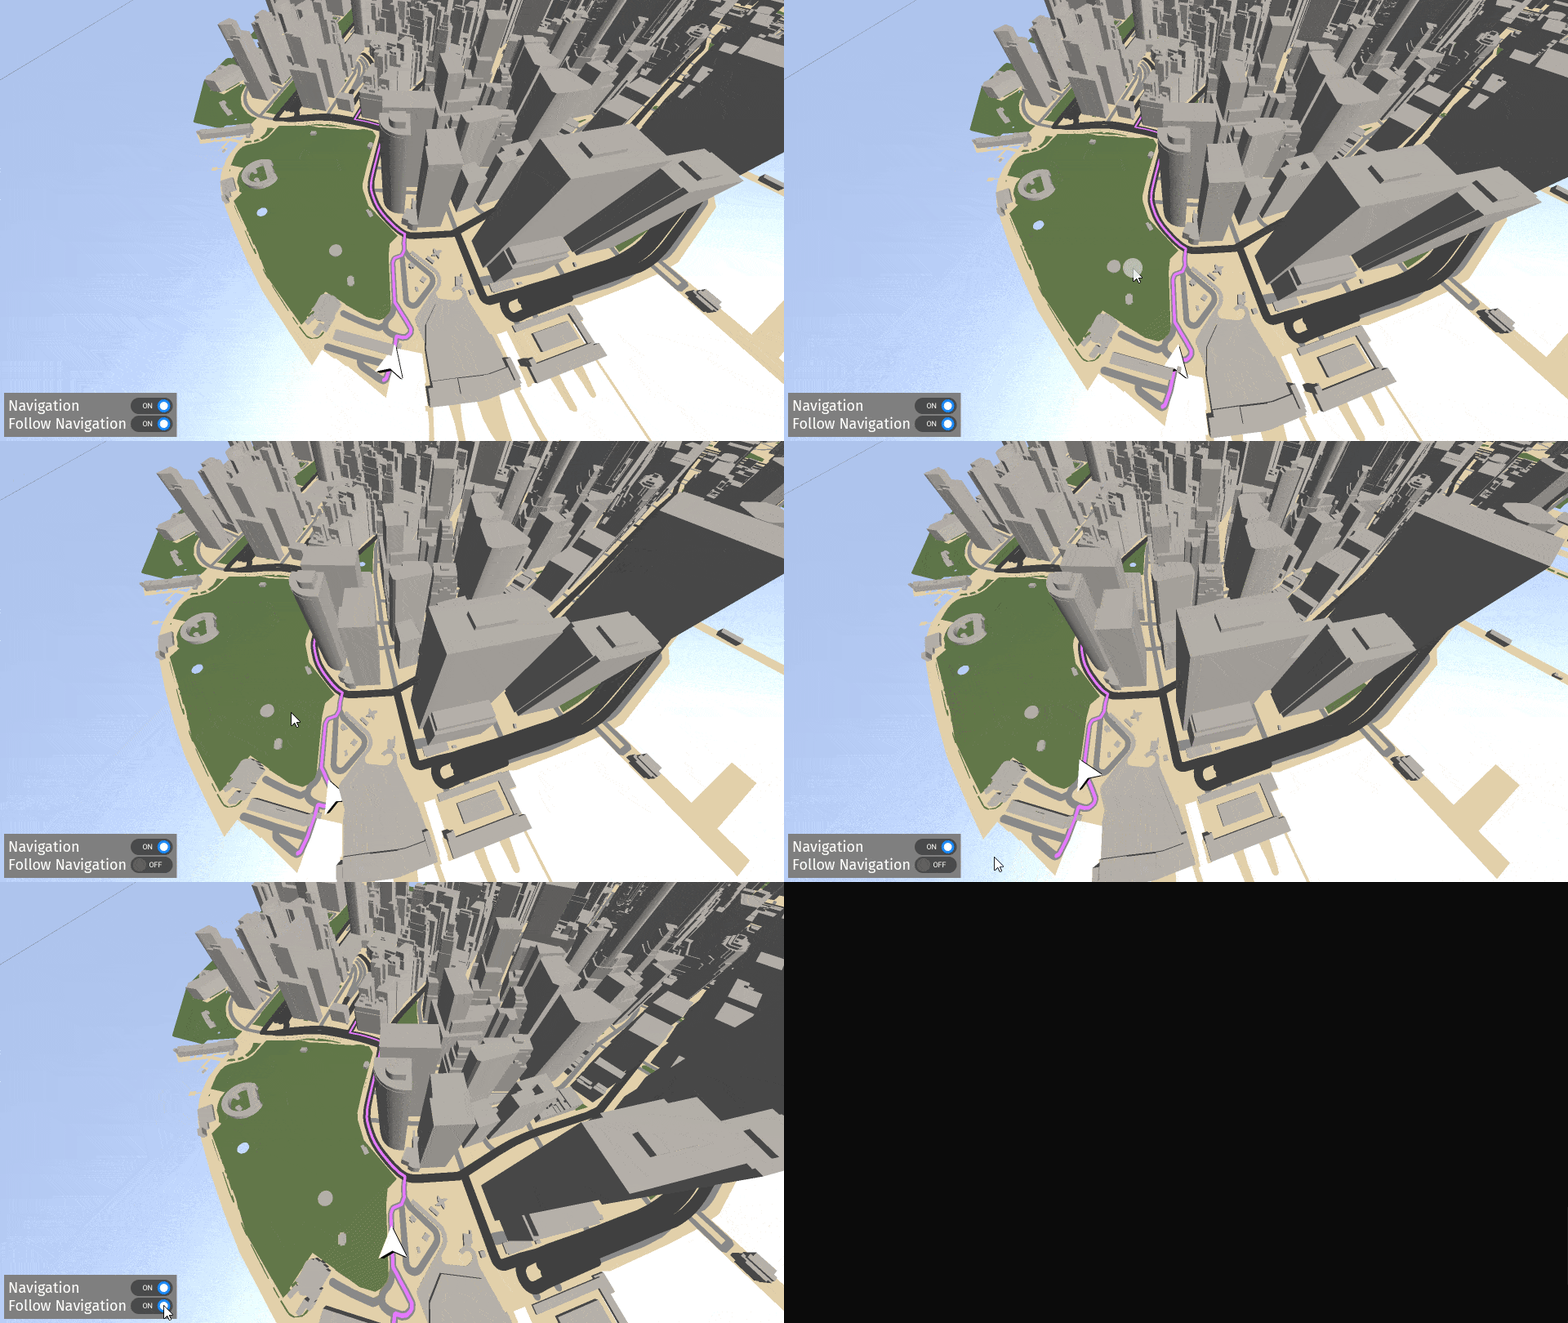
In the Preview, when you toggle on the button that controls the navigation, you see the map follow the navigation.
Create follow modes
In this section, you use a state manager to control the follow mode. You enable switching between two modes: free pan mode and centered mode.
To control the follow mode:
In the Library > Property Types, create a property type and set:
Name to AddingNavigationCamera.FollowNavigation
Display Name to Follow Navigation
Data Type to Boolean
Default Value to enabled
You use this property to control the state manager.
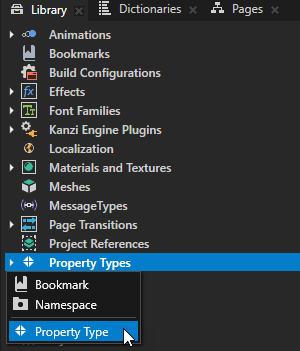
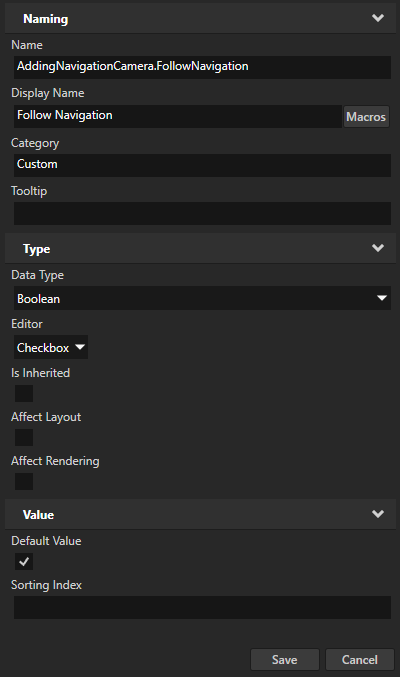
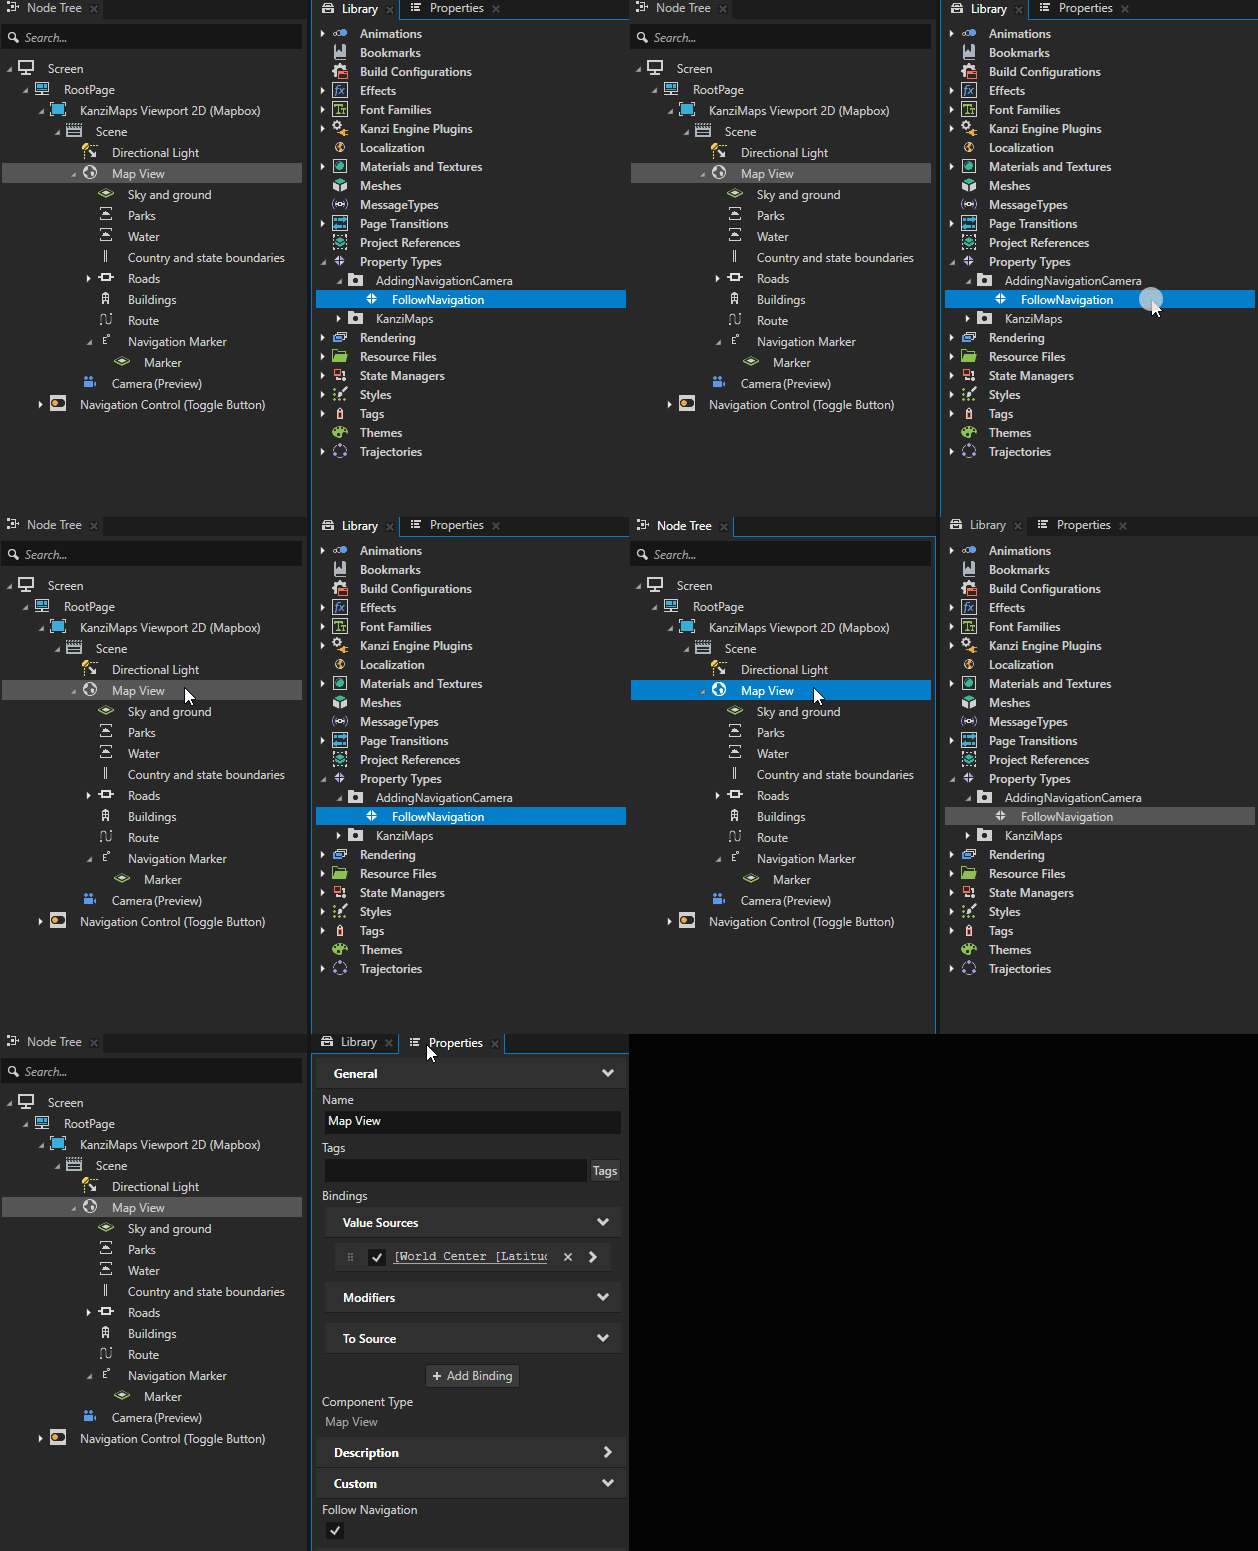
From the Library, drag the FollowNavigation property type to the Node Tree and drop it on the Map View node.
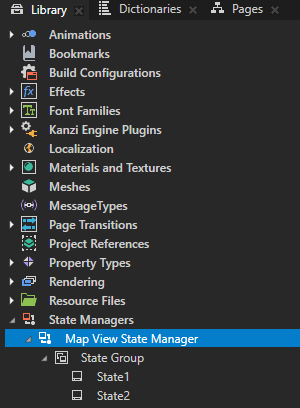
In the Library > State Managers, create a state manager named Map View State Manager.
From the Library, drag the Map View State Manager to the Node Tree and drop it on the Map View node.
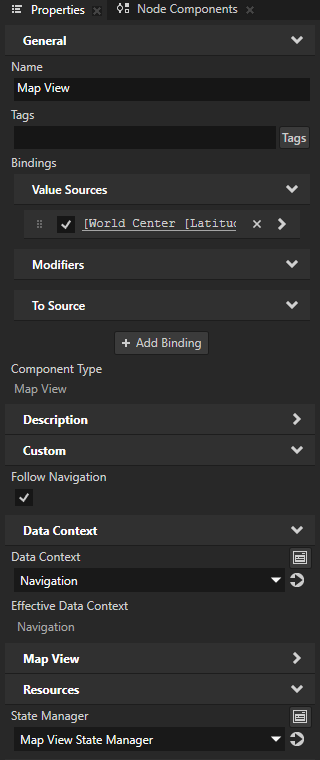
In the Library in the Map View State Manager, rename:
State Group to Navigation
State1 to Follow
State2 to Free Pan

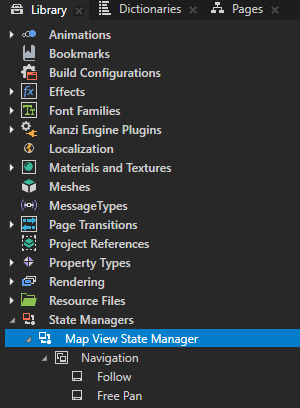
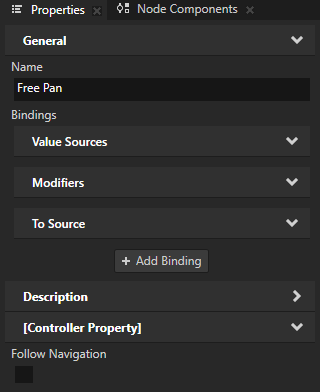
In the Library, select the Map View State Manager > Navigation state group. In the Properties, set the Controller Property to Follow Navigation.
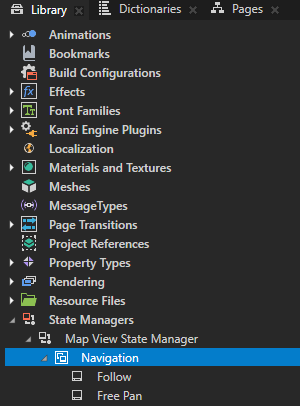
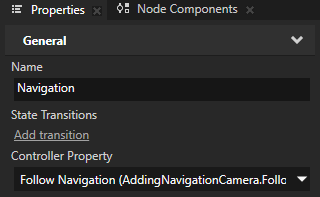
In the Library, select the Free Pan state. In the Properties, disable the Follow Navigation controller property.
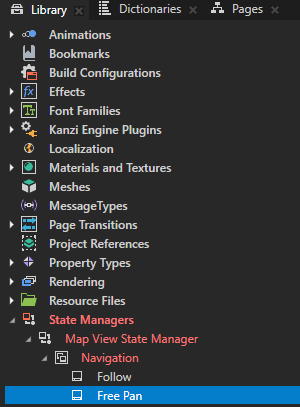
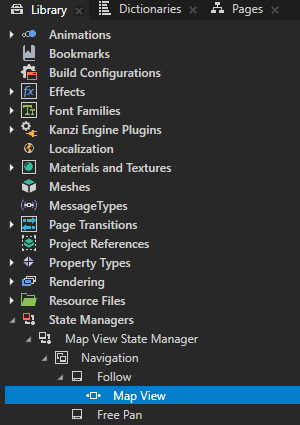
In the Library in the Follow state, create a State Object named Map View.
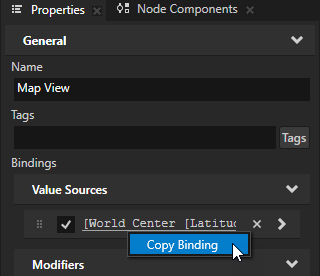
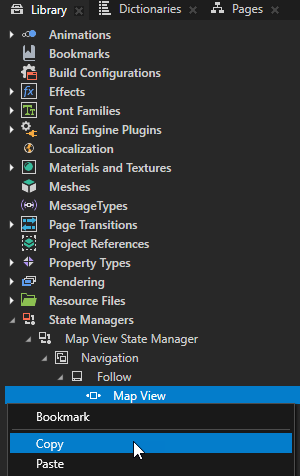
From the Map View node, copy the binding to the Map View state object.


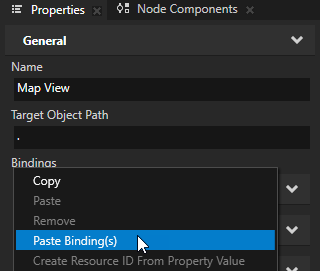
Copy the Map View state object to the Free Pan state.
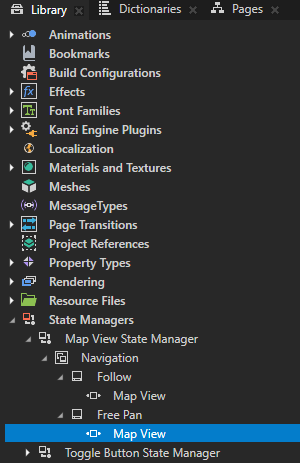
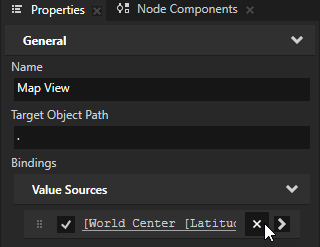
Select the Free Pan > Map View state object and in the Properties, remove the binding.
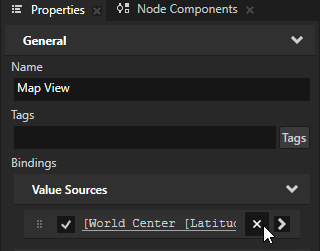
In the Node Tree, select the Map View node. In the Properties, remove the binding.

Control the follow mode
To control the follow mode:
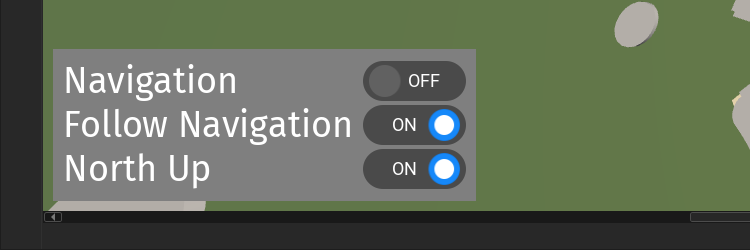
In the Node Tree in the RootPage node, create a Content Layout 2D node named Controls. In the Properties, add and set:
Background Brush property, select + Color Brush, and create a gray color brush
Horizontal Padding and Vertical Padding property fields to 10
Horizontal Alignment to Left
Vertical Alignment to Bottom
Horizontal Margin Left to 10
Vertical Margin Bottom to 10
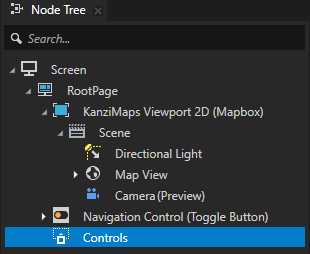

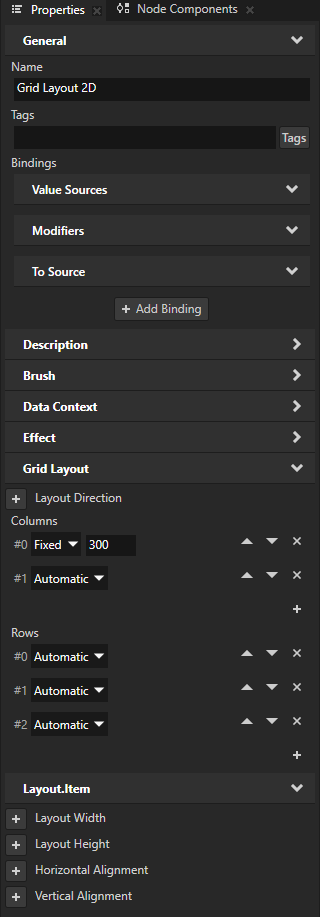
In the Node Tree in the Controls node, create a Grid Layout 2D node. In the Properties:
In the Columns property, set the width of the first column to Fixed 300 and remove the third column
Remove the Layout Width and Layout Height properties
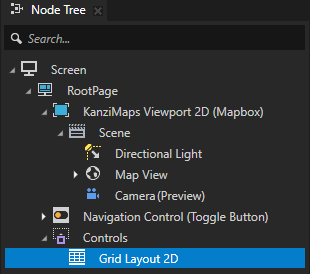
In the Grid Layout 2D node, create a Text Block 2D node and name it Navigation.
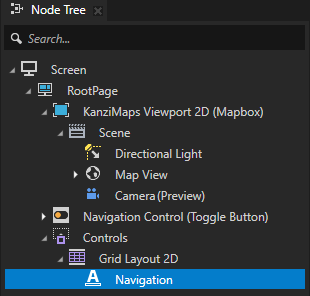
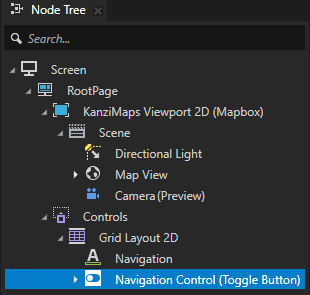
Move the Navigation Control node to the Grid Layout 2D node. In the Properties, remove the alignment and margin properties.
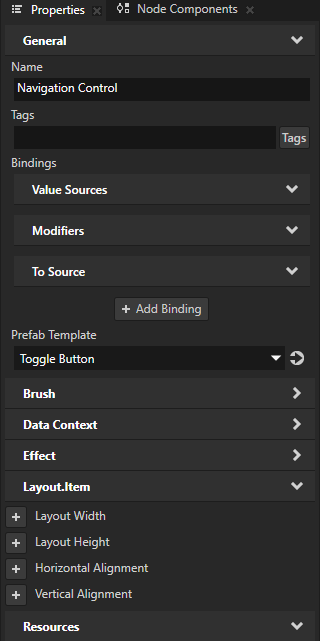
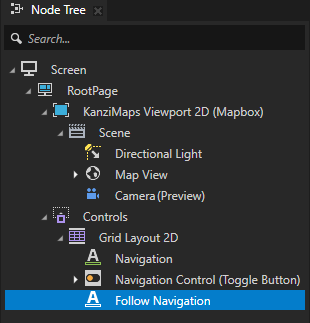
In the Grid Layout 2D node, create a Text Block 2D node and name it Follow Navigation.
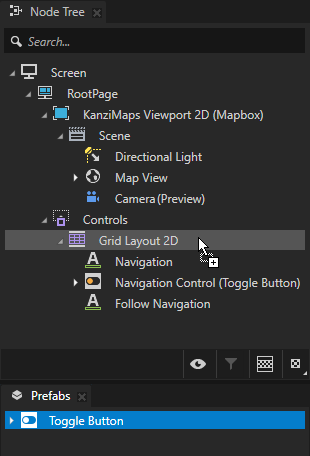
From the Prefabs, drag the Toggle Button prefab to the Node Tree and drop it on the Grid Layout 2D node to instantiate it. Rename the prefab placeholder to Follow Control.
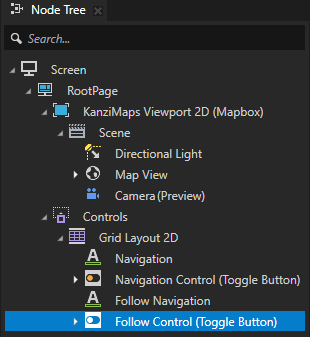

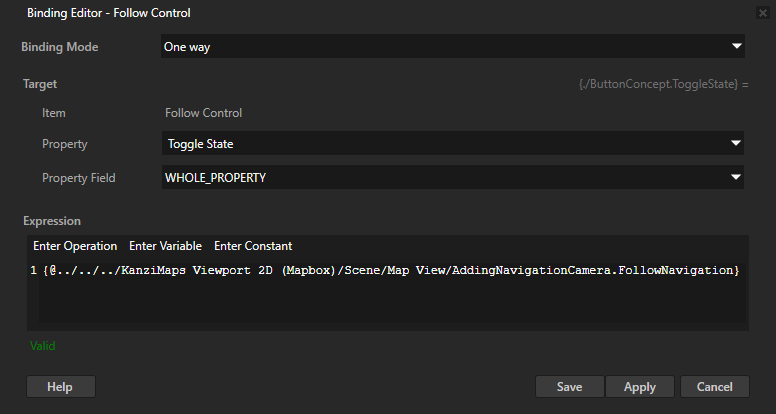
In the Node Tree, select the Follow Control node. In the Properties, click + Add binding and in the Binding Editor, set:
Binding Mode to Two way
Property to Toggle State
Expression to
{@../../../KanziMaps Viewport 2D (Mapbox)/Scene/Map View/AddingNavigationCamera.FollowNavigation}
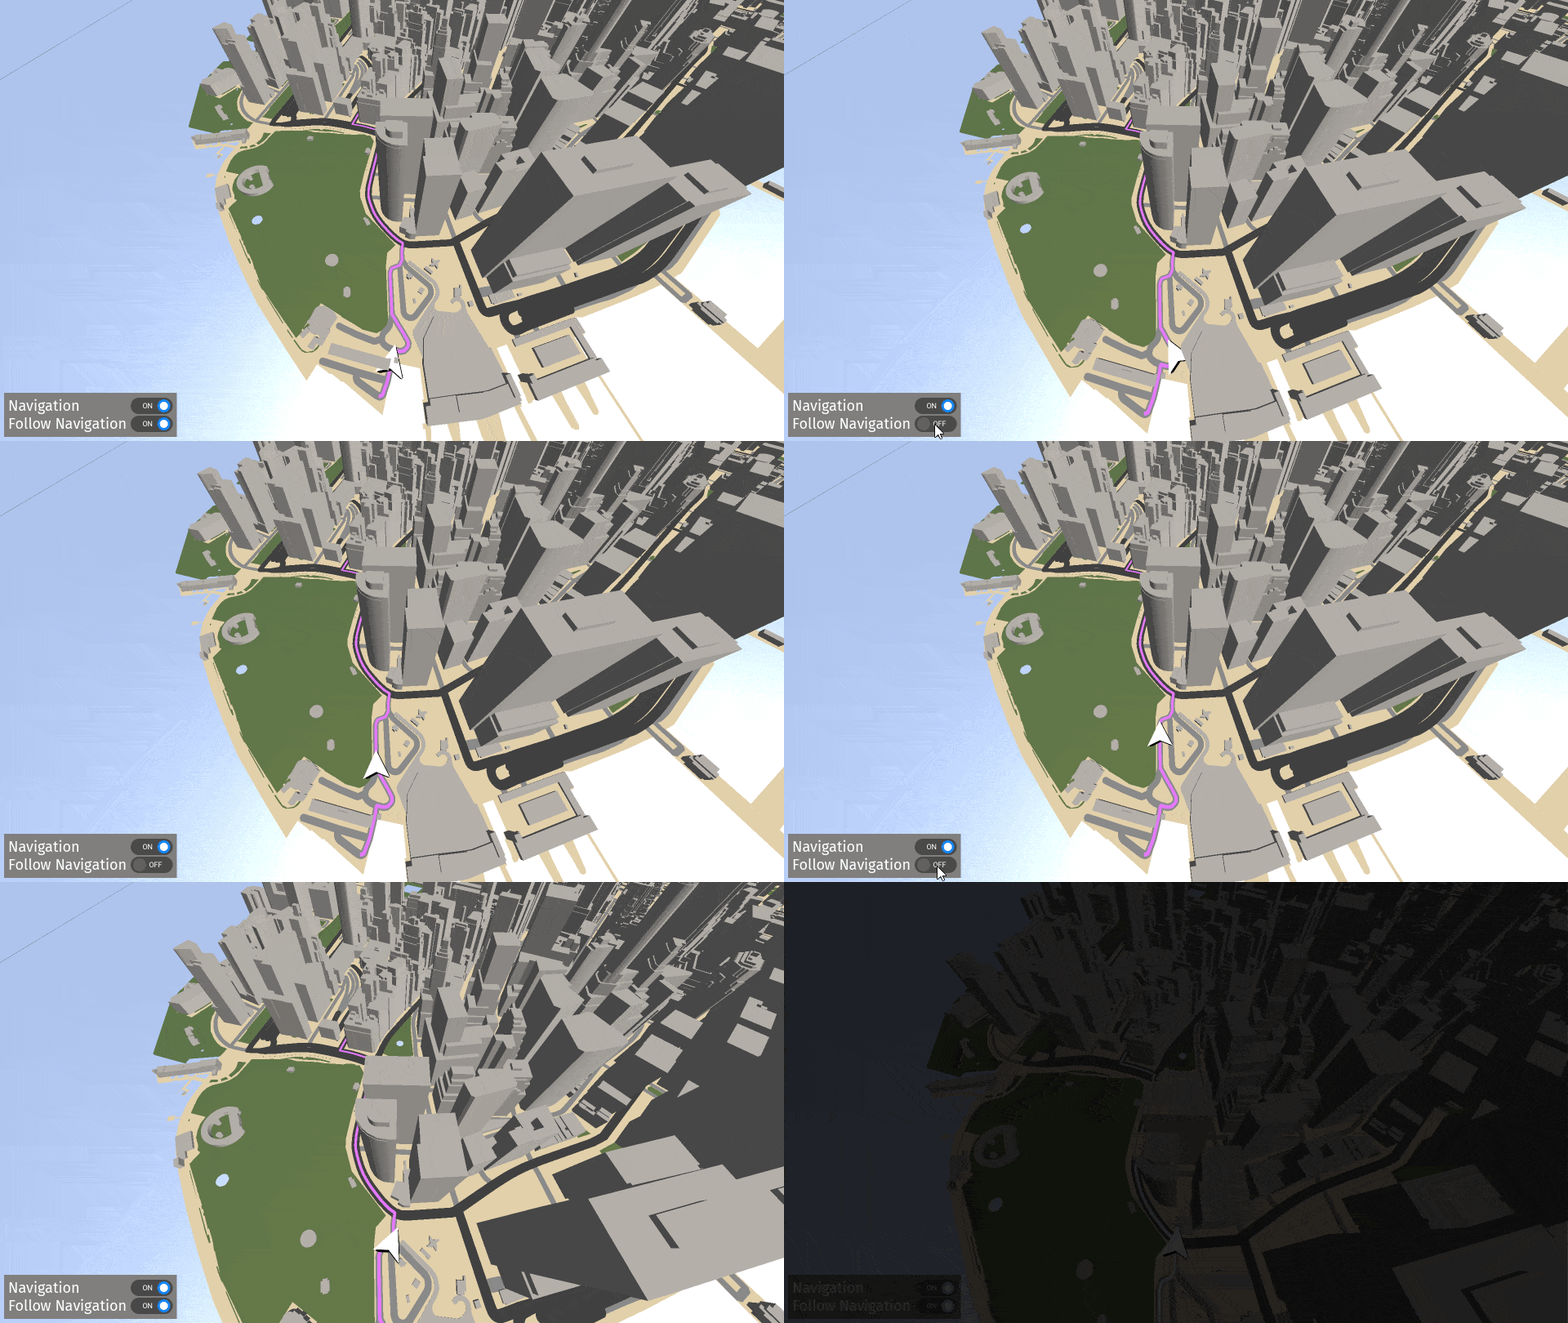
Stop following the navigation when the user pans the map
In this section, you enable the free pan mode automatically when the user starts to pan the map.
To stop following the navigation when the user pans the map:
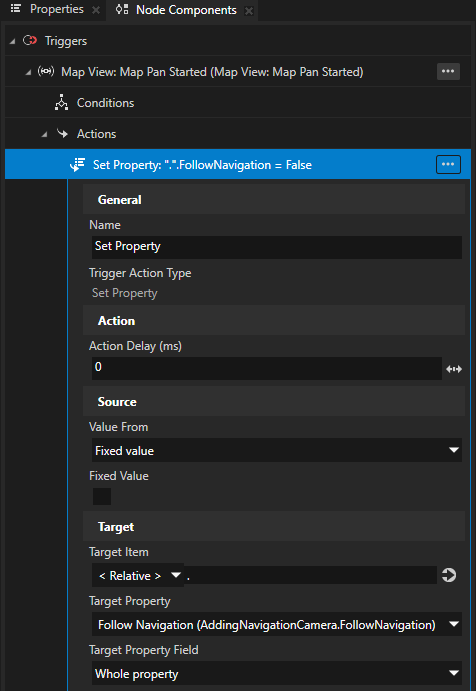
In the Node Tree, select the Map View node. In the Node Components, press Alt and right-click Triggers and select Message Trigger > Map View > Map Pan Started.

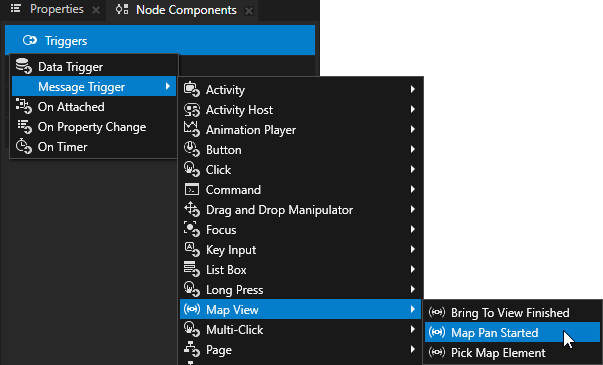
In the Map View: Map Pan Started trigger, create a Set Property action and set:
Target Property to Follow Navigation
Fixed Value to disabled
This way, you disable the Follow Navigation controller property in the Map View node when the user starts to pan the map. This sets the map in the free pan mode.
When you enable the free pan mode by toggling off the Follow Navigation control, the camera still keeps following the navigation direction. You fix this later.
Turn the camera toward the direction of navigation
In this section, you enable the user to control whether the camera looks at the north or the direction of navigation.
To turn the camera toward the direction of navigation:
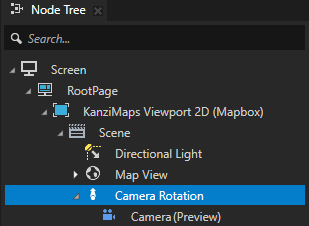
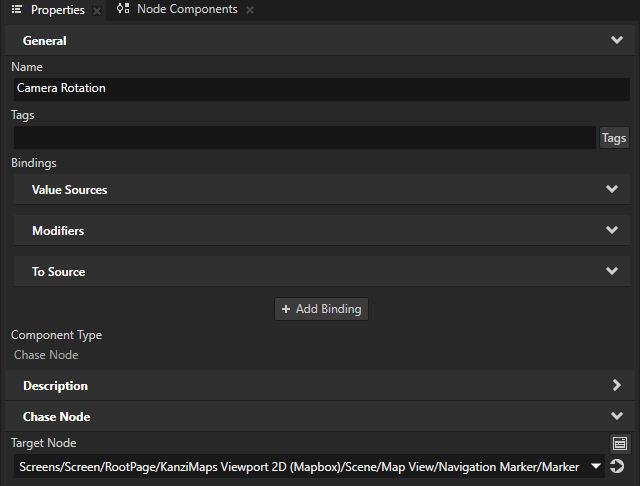
In the Node Tree in the Scene node, create a Chase Node and name it Camera Rotation.
Use the Chase Node node to rotate nodes to match the layout transformation rotation of a target node.

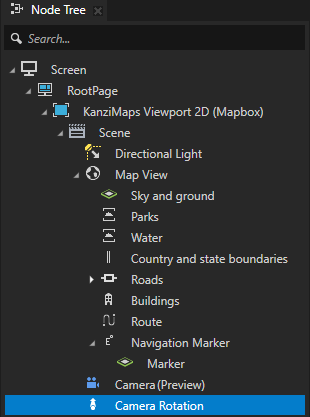
Move the Camera node to the Camera Rotation node.
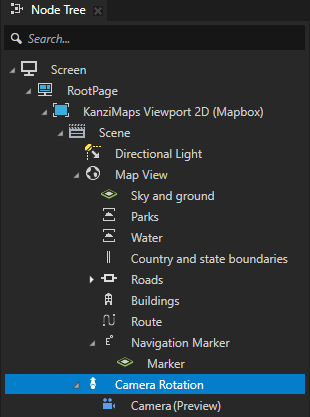
In the Properties, set the Target Node property to Screens/Screen/RootPage/KanziMaps Viewport 2D (Mapbox)/Scene/Map View/Navigation Marker/Marker.
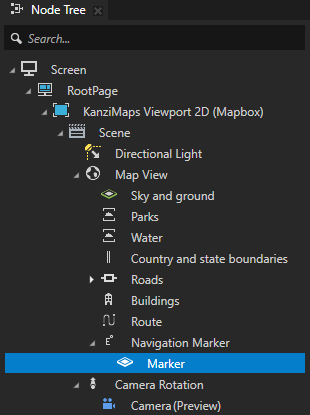
You set the camera to turn toward the same direction as the Map View > Navigation Marker > Marker node that renders the navigation marker. The Marker node has a binding that orients the navigation marker to the direction of navigation.
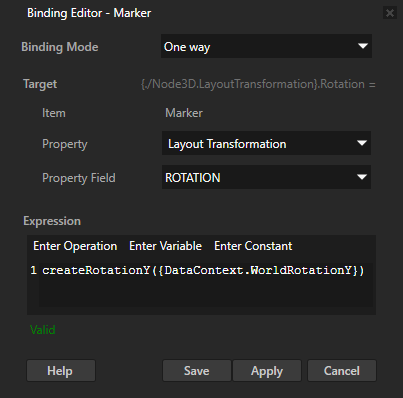
In the Node Tree, select the Marker node. In the Properties, click the binding to edit it, and in the Binding Editor, set:
Property to Layout Transformation
Property Field to ROTATION
Expression to
createRotationY({DataContext.WorldRotationY})
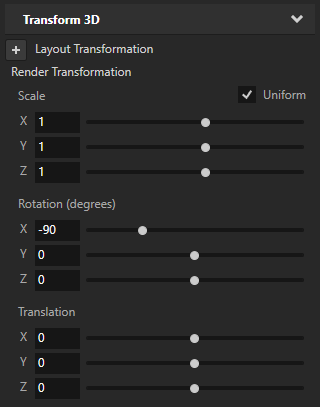
In the Properties, make sure that the Render Transformation property Rotation X property field is set to -90.
The binding no longer sets the translation.
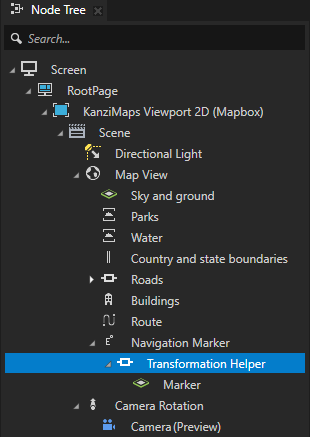
In the Node Tree in the Navigation Marker node, create an Empty Node 3D node named Transformation Helper. Move the Marker node to the Transformation Helper node.
The Navigation Marker node is a the Coordinate Renderer node, which writes a translation into the Render Transformation property. Kanzi applies the Render Transformation property after the Layout Transformation property. The translation now happens after the rotation, so the direction of the translation is wrong. You use the Transformation Helper node to fix this. The Navigation Marker node moves the Transformation Helper node and the translation happens before the rotations in the Marker node.
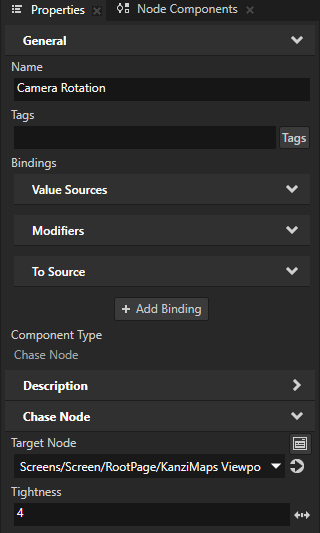
In the Node Tree, select the Camera Rotation node. In the Properties, set the Tightness property to 4.
This way, you make the camera turn quicker to follow the orientation of the navigation marker.
Keep orientation in free pan mode
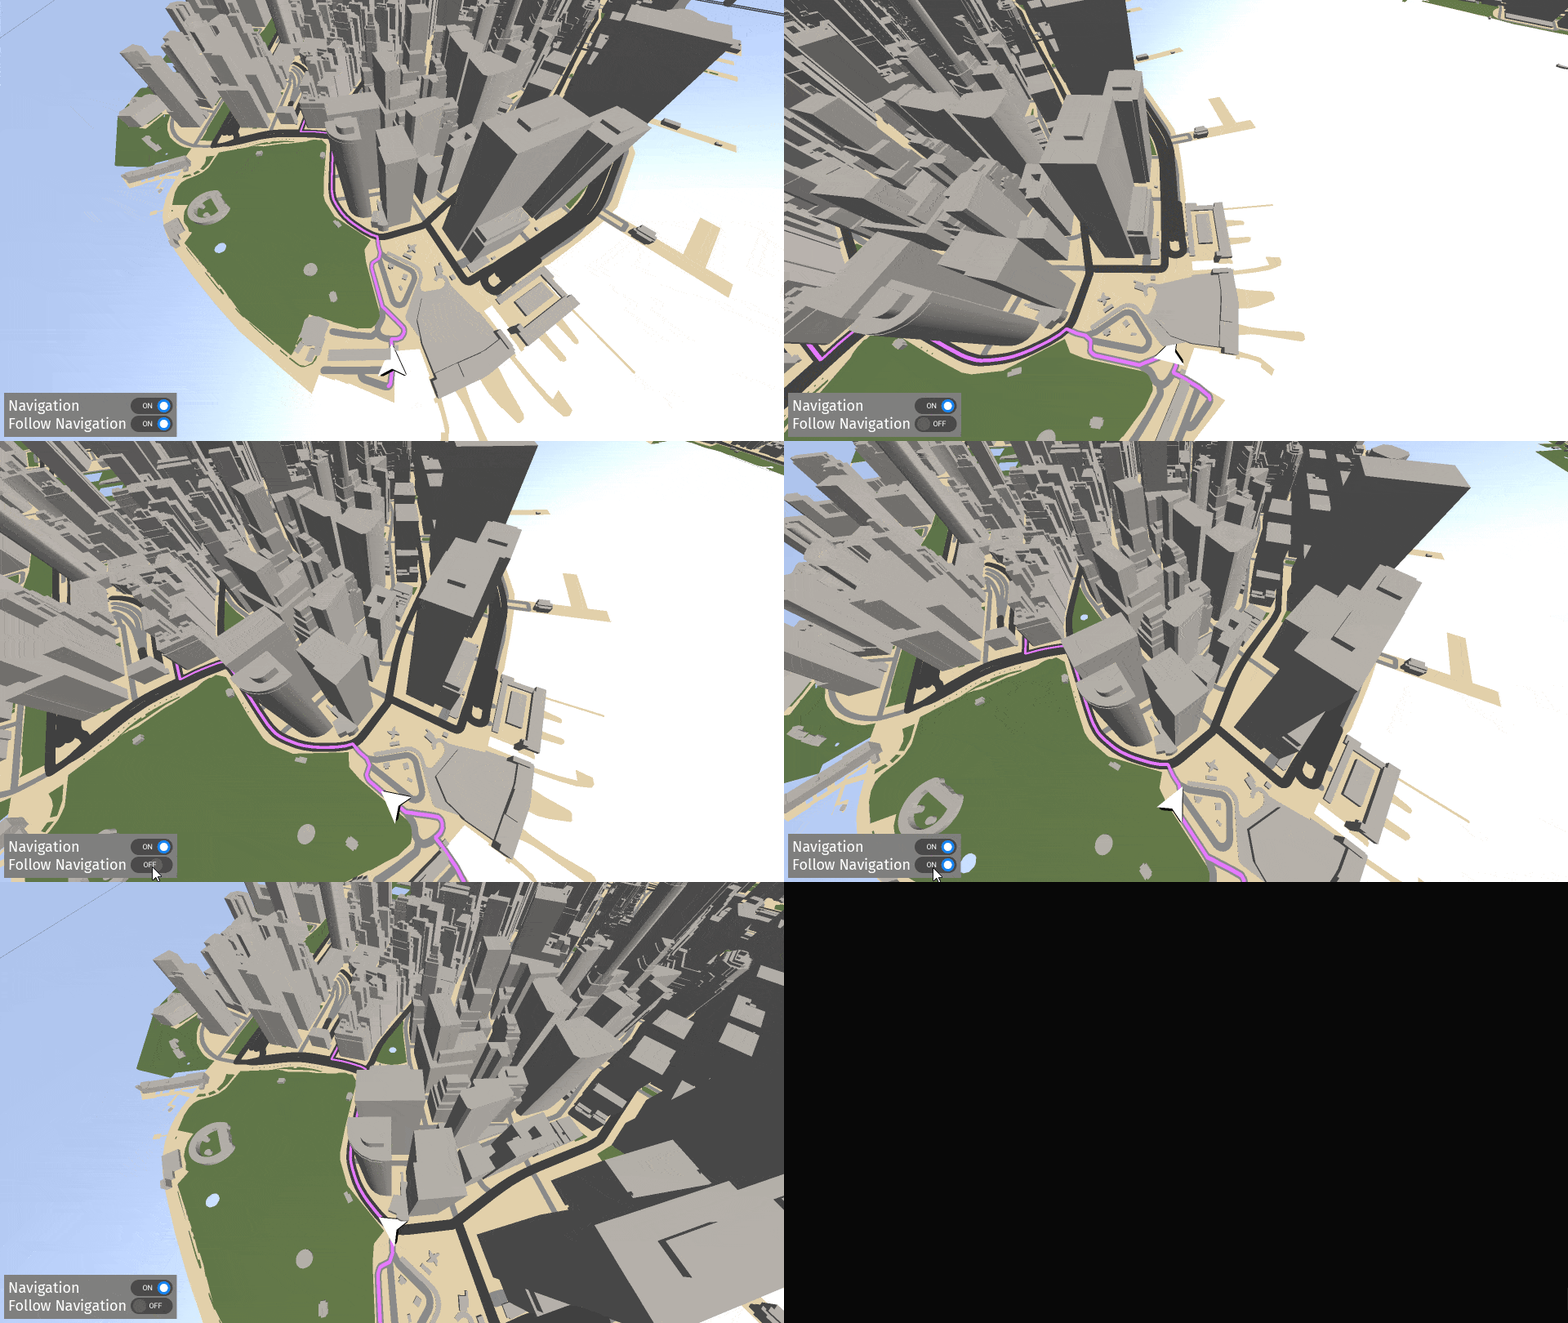
When you enable the free pan mode by toggling off the Follow Navigation control, the camera still keeps following the navigation direction. In this section, you fix this.
To keep the orientation in free pan mode:
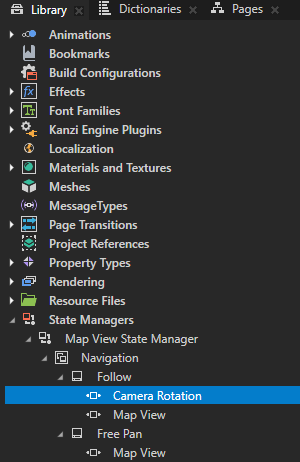
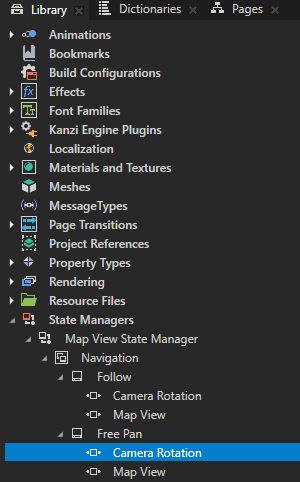
In the Library > State Managers > Map View State Manager > Navigation > Follow state, create a State Object named Camera Rotation. In the Properties, add and set:
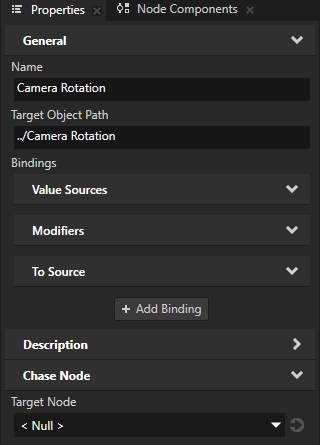
Target Object Path to ../Camera Rotation
Chase Node > Target Node to Screens/Screen/RootPage/KanziMaps Viewport 2D (Mapbox)/Scene/Map View/Navigation Marker/Transformation Helper/Marker
Tip
To add and set the Target Node property, you can drag that property from the properties of the Camera Rotation node to the Library and drop it on the Camera Rotation state object.
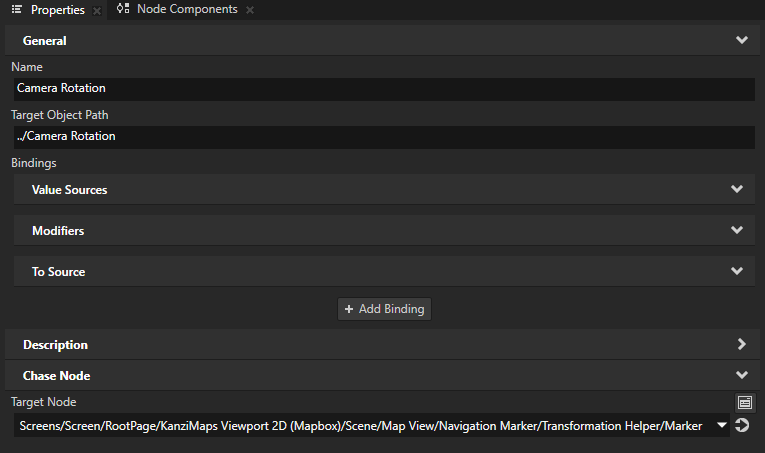
Copy the Camera Rotation state object to the Free Pan state. In the Properties, set the Target Node property to < Null >.
This way, in the free pan mode the camera does not follow the direction of navigation.
Control the orientation
In this section, you add a control for switching between following the orientation of the navigation marker and north up direction.
To control the orientation:
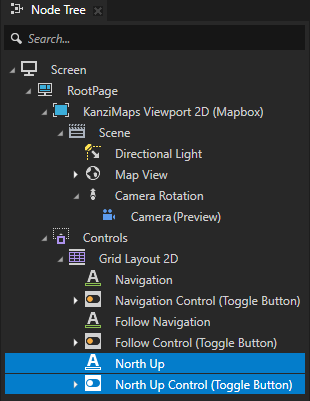
In the Node Tree in the Controls > Grid Layout 2D node, create:
A Text Block 2D node named North Up.
An instance of the Toggle Button prefab named North Up Control.
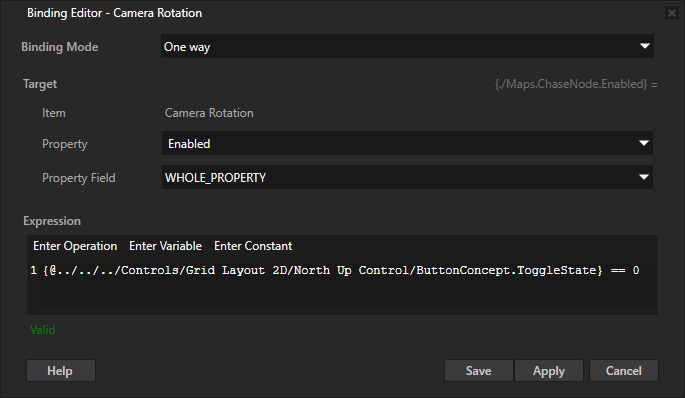
In the Node Tree, select the Camera Rotation node. In the Properties, add a binding and in the Binding Editor, set:
Property to Enabled
Expression to
{@../../../Controls/Grid Layout 2D/North Up Control/ButtonConcept.ToggleState} == 0This expression returns true when the North Up toggle button is toggled off.
