Creating virtual environments
A virtual environment is a place where the user can interact with multiple HMI screens in a lifelike setting, such as a car cockpit.
Creating virtual environments with Kanzi
When you use Kanzi to create a virtual environment, you create the environment in a Kanzi Studio project, and export it to a kzb file.
To create a virtual environment with Kanzi:
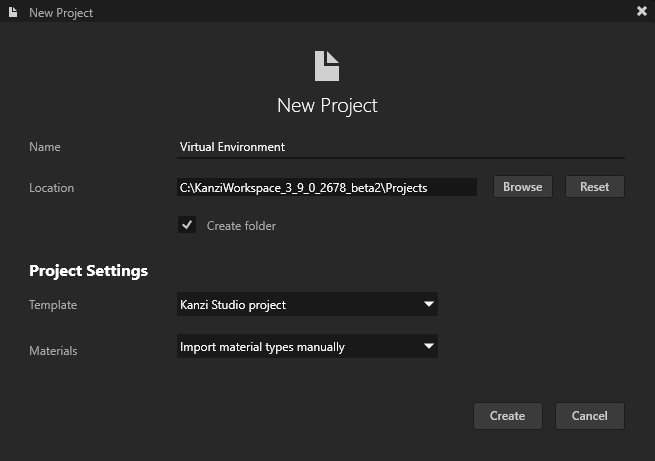
In Kanzi Studio create a project.
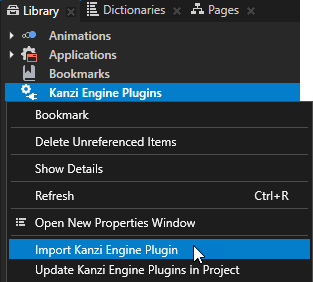
Import the Streaming Plugin.
Streaming Plugin enables you to create Receiver Nodes.
In the Library right-click Kanzi Engine Plugins and select Import Kanzi Engine Plugin.
In the Kanzi VR feature pack directory go to the
plugins-streaming\lib\Win64directory, select the plugin in the directory of the configuration that you selected in the first step, and select Open.For example, select
GL_vs2017_Release_DLL\KanziStreaming.dll.Kanzi Studio imports the Streaming Plugin to your Kanzi Studio project and brings node types to the project, such as ReceiverNode3D and ReceiverNode2D, and the Streaming Component node component type.
Create the virtual environment. Scale the virtual environment so that one unit in the virtual environment equals 1 meter.
For example, you can import a cockpit model from a 3D modelling tool and continue the creation of an environment in Kanzi Studio.
Create a ReceiverNode3D node instances in the Scene on top of the digital HMI screens. For each HMI screen:
If the screen visual is available, create a Receiver Node as child of the screen visual. Otherwise create a Receiver Node under the closest visual that is a separate node.
Set the size of the Receiver Node by setting in the Properties the Layout Width and Layout Height properties.
Position the Receiver Node and resolve Z-fighting, use the Layout Transformation property.
To connect to the correct streamer, Set an ID for the receiver with the Stream ID property. See Configuration.
To set the mesh on which a ReceiverNode3D renders a stream, use the Mesh property. You must set the GPU Memory Type property of the mesh to GPU and RAM. If you do not set the Mesh property, the ReceiverNode3D renders the stream on a rectangle.
To set the material that defines the appearance of a Receiver Node when that node is not rendering a stream, use the Inactive Stream Material property. If you do not set the Inactive Stream Material property, the Receiver Node uses a material that renders the texture coordinates of the Receiver Node.
To set the material that defines the appearance of a Receiver Node when that node is rendering a stream, use the Active Stream Material property. Use the Stream Texture property to access the contents of the stream. If you do not set the Active Stream Material property, the Receiver Node renders the stream as is.
To stop a Receiver Node from rendering a stream, set the Stream Enabled property to false.
When you want to show all screens at once, create the virtual environment in 2D instead of 3D. In this case use ReceiverNode2D instances together with other Kanzi 2D nodes, such as Image nodes.
To set the spots and angles that you want the viewer of the virtual environment to visit, create Camera nodes in the Scene. For each Camera node add a tag
VRViewingLocation. To set the order of the viewing locations, use theVRViewingLocation_<number>instead. You can use numbers up to 20.
Creating virtual environments using third-party software
The interface between Kanzi VR and other virtual environment software is a web browser component.
To create virtual environments using third-party software:
Verify that the streaming works with a browser. See Receiving streams in a browser.
Verify that the virtual environment software that you want to use can host the web browser component.
Create a web browser component in the virtual environment software and ensure that it can show the same streams as the browser.
Model the virtual environment in the software.
Place the web browser components to the locations of the HMI screens to be streamed and configure them to receive the correct streams.
You can now use the virtual environment.