Scenario example
The scenario example uses the Scenario service to allow you to interpolate the animation of data values in a Kanzi Connect service. The scenario in the example defines the parameters that you can use to change the behavior of the interpolation. For example, you can set the easing function to interpolate the values.
The scenario animates all data values synchronously with the same settings. To animate multiple data values with different animation settings, for each animation setting import a separate Interpolator scenario with a different name.
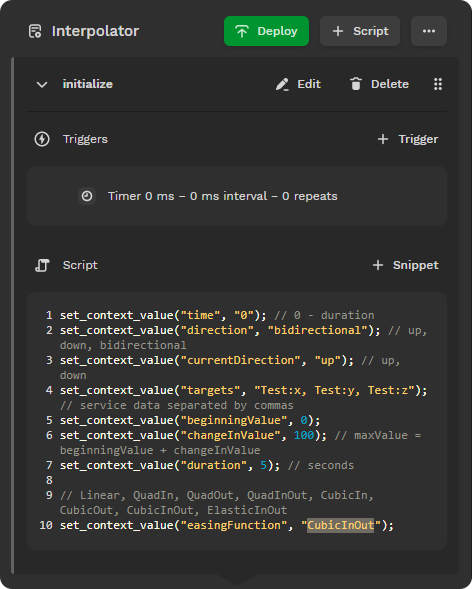
To change the interpolation, edit the values in the initialize script. The initialize script uses the set_context_value function to define the parameters of interpolation. For example, to change the scenario to interpolate data elements x and y in MyService, edit the value of the targets parameter to MyService:x, MyService:y.
You can find this example in the <KanziConnectInstallation>/SDK/examples/scenarios/interpolator directory.
Running the example
To run the example:
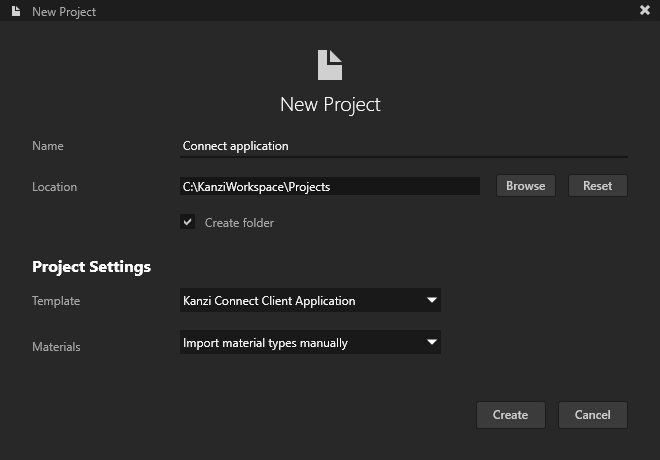
In Kanzi Studio create a project with the Kanzi Connect Client Application project template.
In the Kanzi Studio main menu select Kanzi Connect > Open Kanzi Connect Simulator.
Kanzi Studio opens the Simulator in your default browser. If you do not have Kanzi Connect Server already running on this computer, this command also starts the Kanzi Connect Server that is installed on your computer.

Note
The Kanzi Connect Simulator officially supports only the Google Chrome web browser.
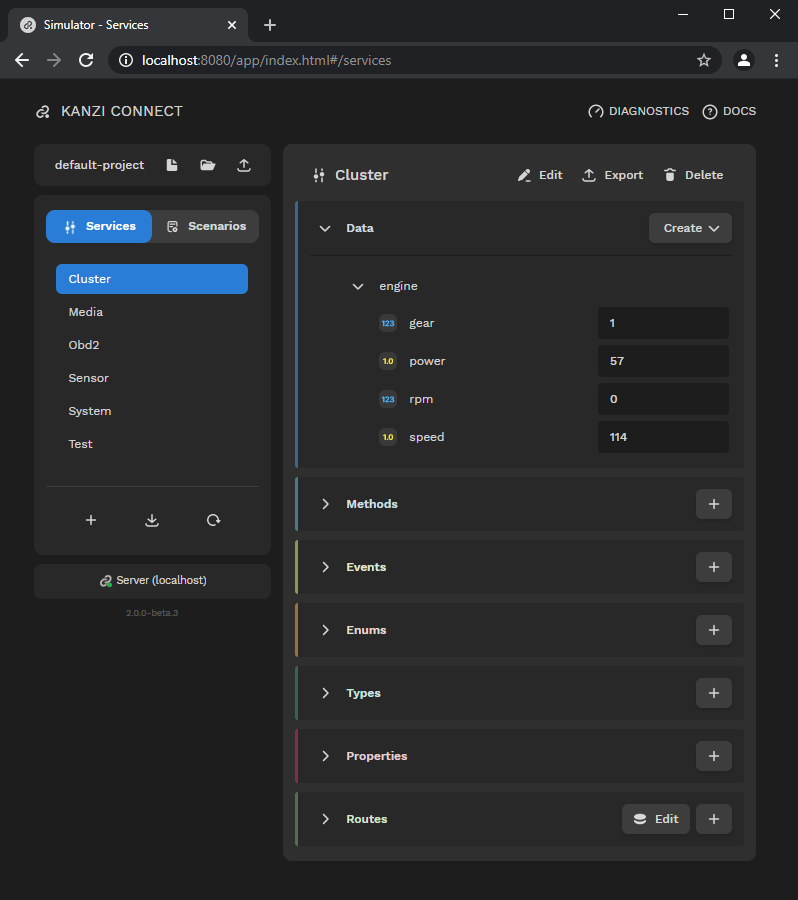
In the Simulator click Import service, go to
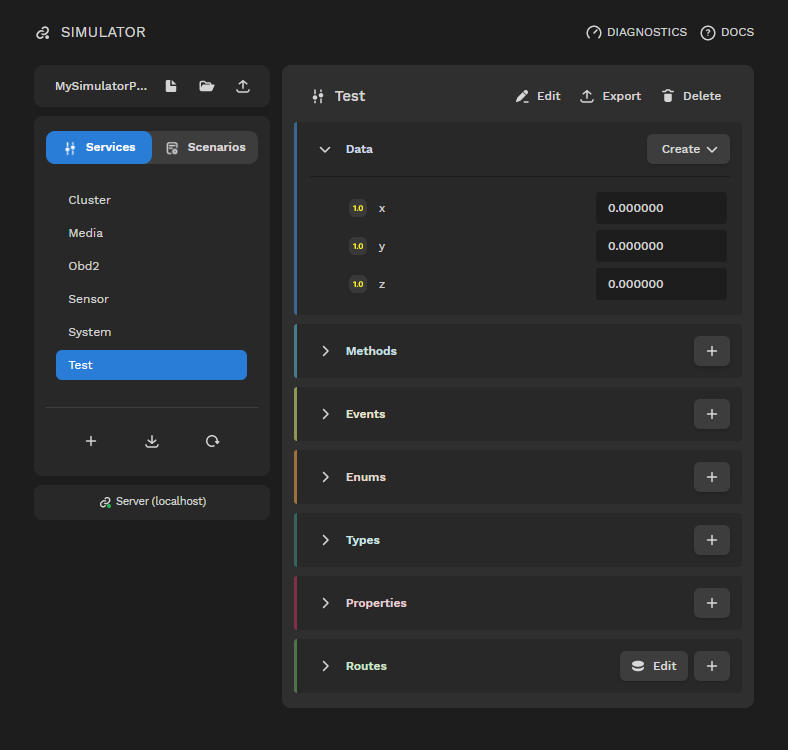
<KanziConnectInstallation>/SDK/examples/scenarios/interpolatorand import thetest_service.xmlservice.The Test service defines the data values on which you use the Interpolator scenario.
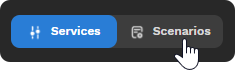
In the Simulator select Scenarios.
In the Simulator click Import scenario, go to
<KanziConnectInstallation>/SDK/examples/scenarios/interpolatorand import theinterpolator_scenario.xmlscenario.The Interpolator scenario defines the triggers and scripts for this scenario. The Interpolator scenario depends on the Test scenario. This means that when you want to use the Interpolator scenario in an application, that application must contain the Test scenario. You can change the dependency services for a scenario by clicking Edit.
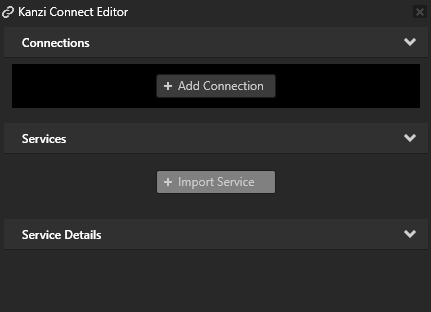
In the Kanzi Studio main menu select Kanzi Connect > Open Kanzi Connect Editor.
Use the Kanzi Connect Editor to create and manage connections to Kanzi Connect servers and services.

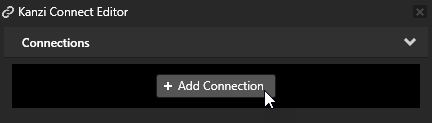
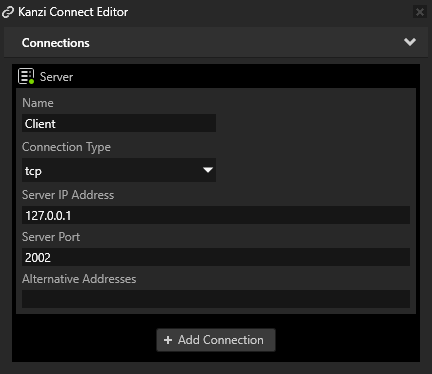
In the Kanzi Connect Editor click + Add Connection and in the Select Connect Server window click Connect.
That way you create a connection to a Kanzi Connect Server. You can see the connection in the Kanzi Connect Editor.
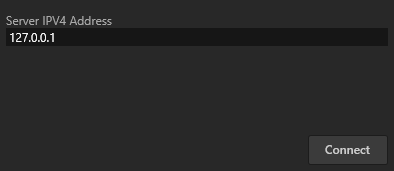
The Server IPV4 Address property sets the IP address of the Kanzi Connect Server that the Kanzi Studio Preview uses to connect to the server and look for Kanzi Connect services available on that server.
Here you use the default Kanzi Connect Server running on the local host at the IP address 127.0.0.1.
The Server IP Address property sets the address of the Kanzi Connect Server that the client application uses during runtime.
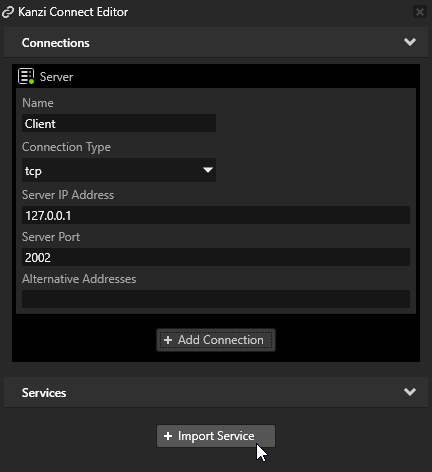
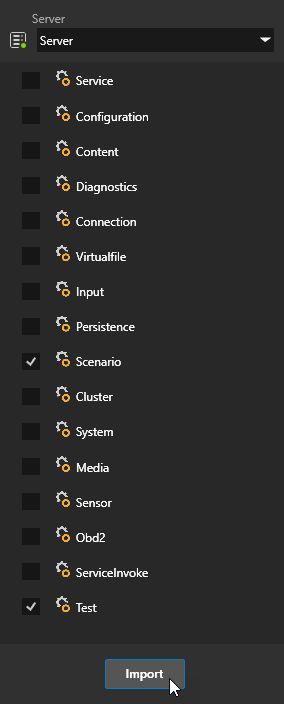
In Kanzi Studio in the Kanzi Connect Editor click + Import Service, in the Import Connect Services window select the Scenario and Test services, and click Import. This way you import from the Kanzi Connect Server the Scenario service and Test service on which the Scenario service depends.
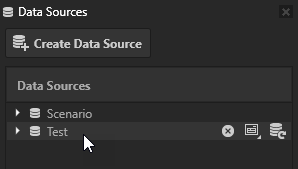
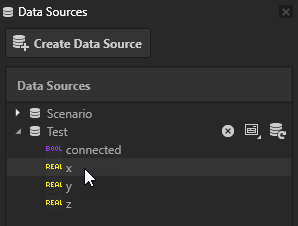
Use the x data object from the Test service:
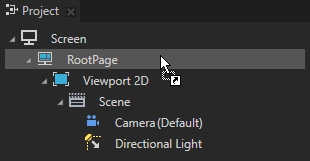
From the Data Sources window drag the Test data source to the RootPage node in the Project.
This way you set the Data Context property of the RootPage node to the Test data source. By setting the Data Context property you tell your application from which data source it receives data. Now all the data in the Test data source is visible to the RootPage node and all its child nodes.
In the Project create a node where you want to interpolate a value using the Interpolator scenario.
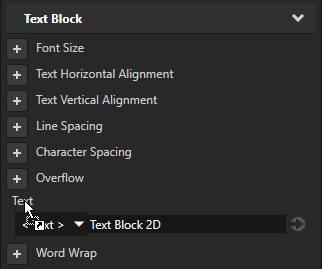
For example, in the RootPage create a Text Block 2D node.

From the Data Sources window drag the Test > x data object to the Properties window Text property.
The Text Block 2D now shows the value that comes from the Cluster service.
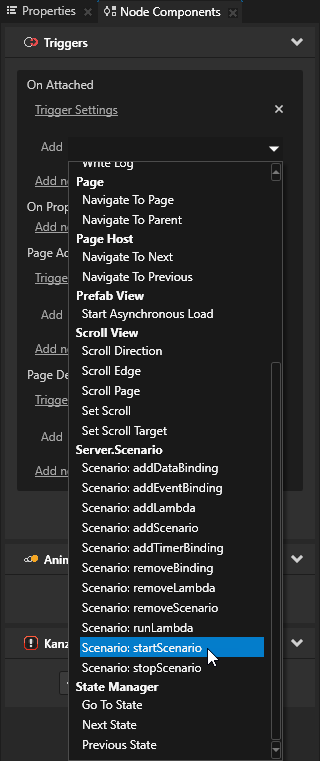
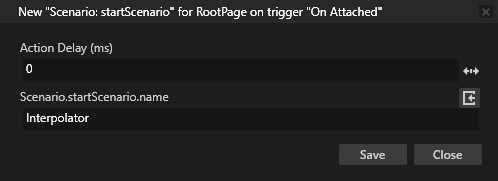
Start the Interpolator scenario. In the Project select the RootPage node, in the Node Components add the On Attached trigger, add to that trigger the Scenario: startScenario action, and set the Scenario.startScenario.name to Interpolator.
You set the RootPage node to start the Interpolator scenario when Kanzi attaches the RootPage node.
In the Preview you can see that the Interpolator scenario interpolates the value of the Text property of the Text Block 2D node between 0 and 250 using the ElasticInOut easing function in two seconds.
Modify the Interpolator scenario:
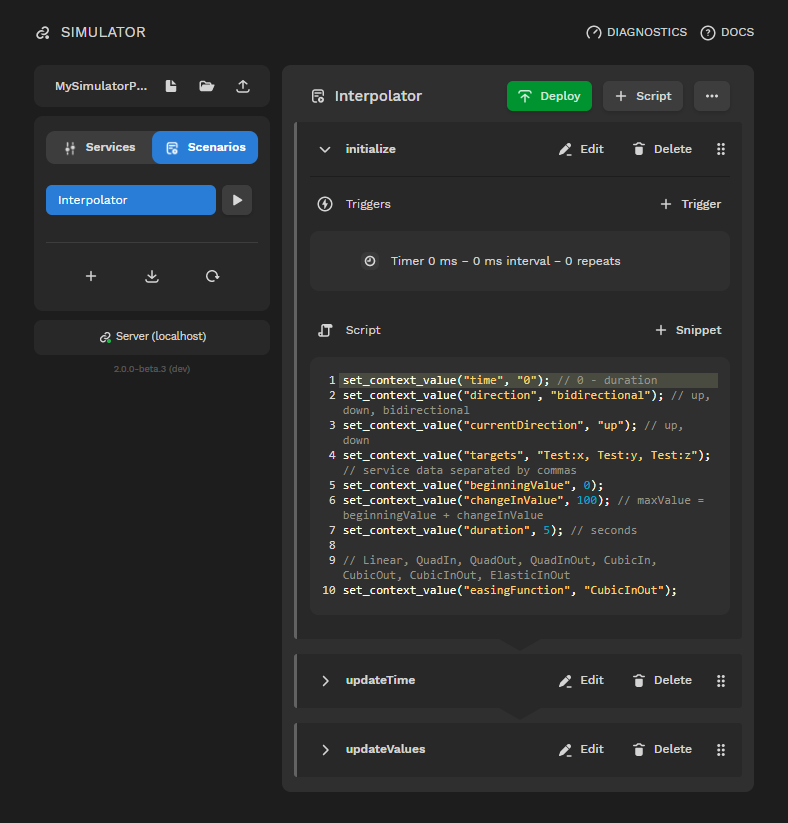
In the Simulator > Scenarios edit the initialize script. For example, set:
changeInValue to 100
duration to 5
easingFunction to CubicInOut
This way you set the Interpolator scenario to interpolate between values 0 and 100 using the CubicInOut easing function in five seconds.
In the Simulator click
 .
The Simulator applies the changes to your Kanzi Studio project.
.
The Simulator applies the changes to your Kanzi Studio project.