Using the services Simulator
When you want to define the content that you want the Simulator to generate, you must create a service which contains the elements that generate the data.
Creating a service in the Simulator
To create a service in the Simulator:
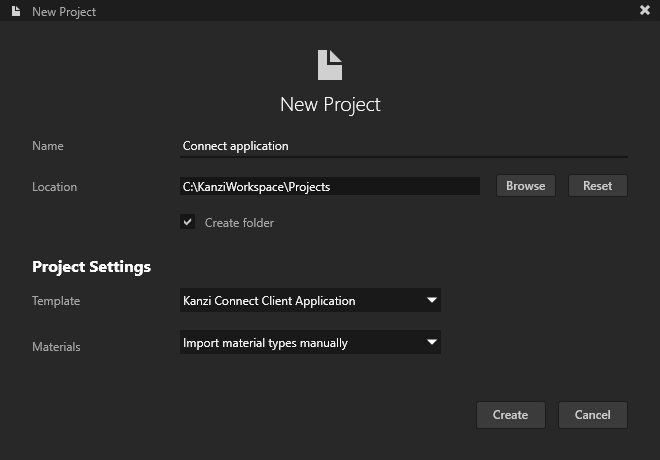
In Kanzi Studio create a project with the Kanzi Connect Client Application project template.
In the Kanzi Studio main menu select Kanzi Connect > Open Kanzi Connect Simulator.
Kanzi Studio opens the Simulator in your default browser. If you do not have Kanzi Connect Server already running on this computer, this command also starts the Kanzi Connect Server that is installed on your computer.

Note
The Kanzi Connect Simulator officially supports only the Google Chrome web browser.
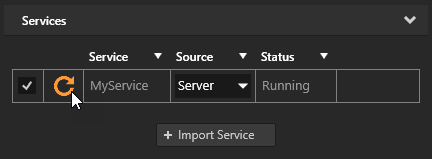
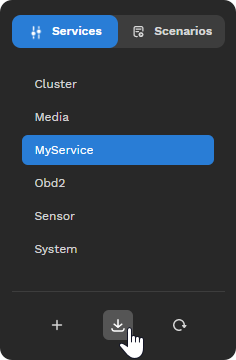
In the Services panel click
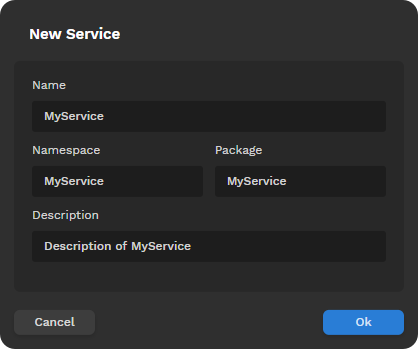
 and in the New Service window set:
Name to the name that you want to use
For example, this name appears in Kanzi Studio when you import services.
Namespace to the namespace that this service uses for code generation
Package to the name for this service that you want to use on Android
Description to a brief description that you want to use for this service in Kanzi Studio.

In the Kanzi Studio main menu select Kanzi Connect > Open Kanzi Connect Editor.
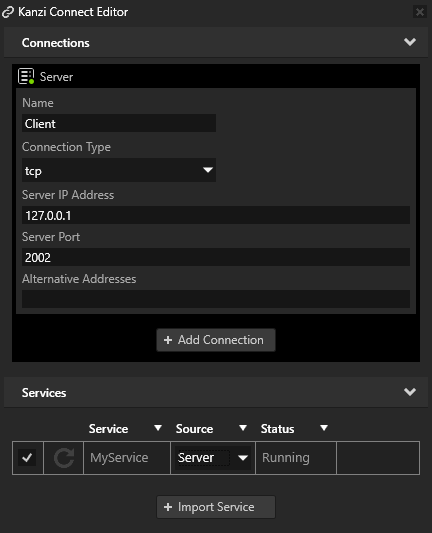
Use the Kanzi Connect Editor to create and manage connections to Kanzi Connect servers and services.

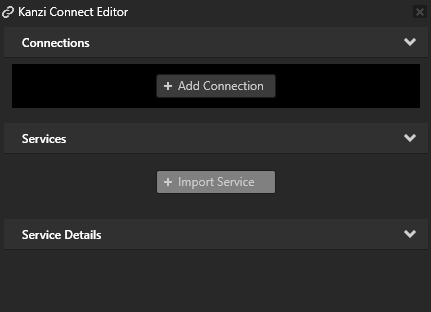
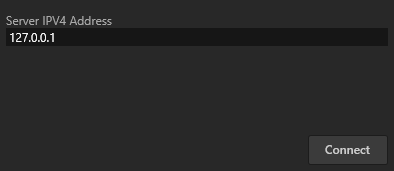
In the Kanzi Connect Editor click + Add Connection and in the Select Connect Server window click Connect.
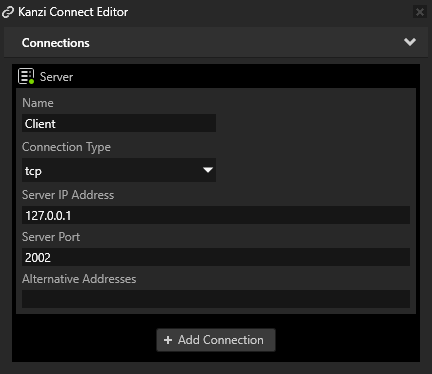
That way you create a connection to a Kanzi Connect Server. You can see the connection in the Kanzi Connect Editor.
The Server IPV4 Address property sets the IP address of the Kanzi Connect Server that the Kanzi Studio Preview uses to connect to the server and look for Kanzi Connect services available on that server.
Here you use the default Kanzi Connect Server running on the local host at the IP address 127.0.0.1.
The Server IP Address property sets the address of the Kanzi Connect Server that the client application uses during runtime.

In Kanzi Studio in the Kanzi Connect Editor click + Import Service, in the Import Connect Services window select the service that you created, and click Import.
This way you import from the Kanzi Connect Server a service and the data source that this service provides. You use the data source to receive data from the Simulator.
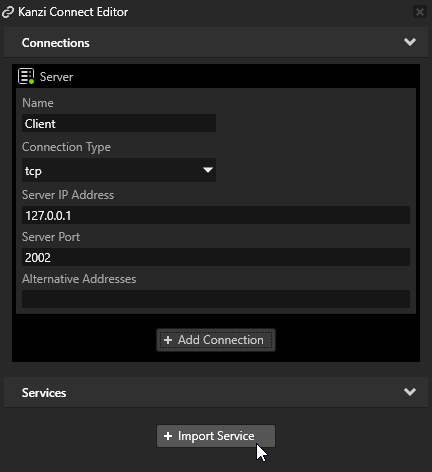
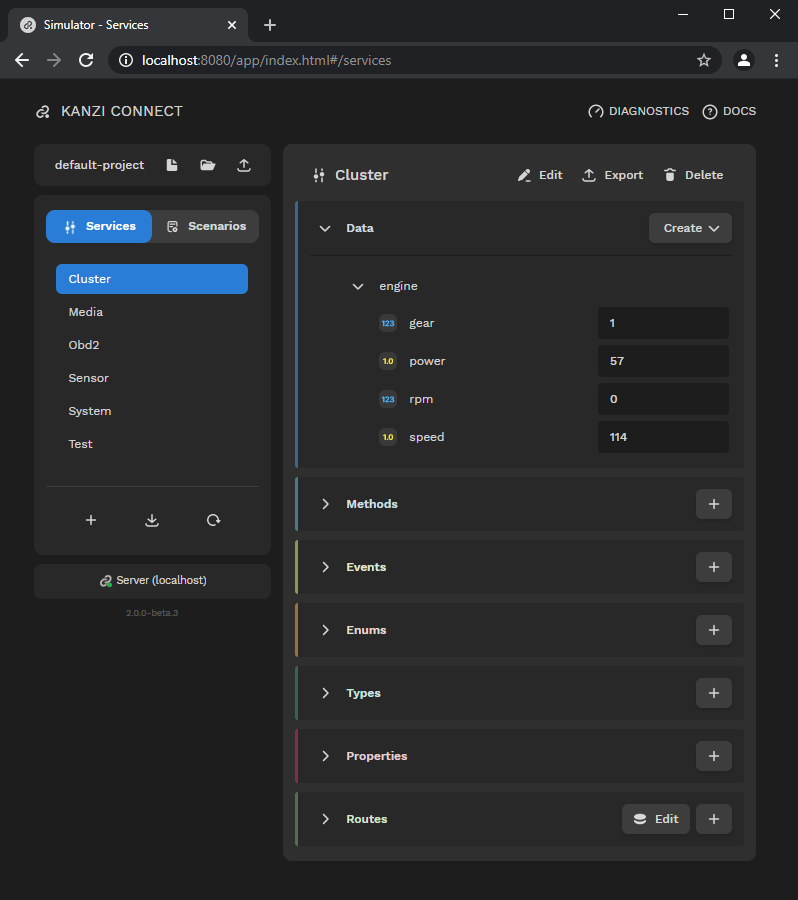
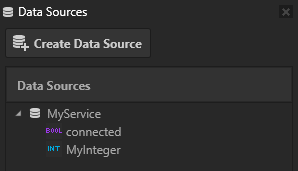
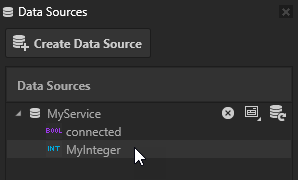
When you import a service, the Kanzi Connect Editor shows that service and the Data Sources shows the data source that this service provides. Now you can add content to that service. See Adding content to a service.
Adding content to a service
After you create a service in the Simulator add content to that service.
To add content to a service:
Create a service in the Simulator. See Creating a service in the Simulator.
Create the elements that define the content of your service.
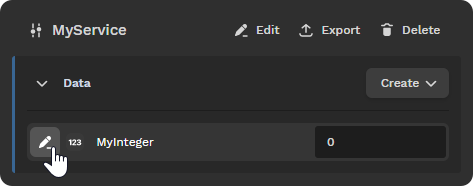
For example, in the Data section click
 , select Data, create an integer data element called MyInteger, and set its Default Value to 50.
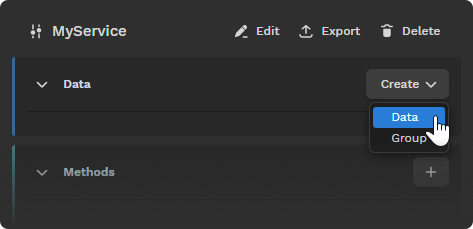

In Kanzi Studio in the Kanzi Connect Editor next to the service click
 .
.Note
Before you update a service, in Kanzi Studio stop the Preview by pressing F8 and after you update the service, start the Preview by pressing F5.
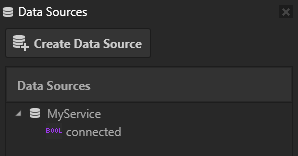
This way you update a service that you changed. When you update a service, Kanzi updates the content of that service in your project, such as data source, methods, and events that that service defines. For example, in the Data Sources you can see the integer that you created.
In the project use the content that you defined in the service:
From the Data Sources window drag the MyService data source to the RootPage node in the Project.
This way you set the Data Context property of the RootPage node to the MyService data source. By setting the Data Context property you tell your application from which data source it receives data. Now all the data in the MyService data source is visible to the RootPage node and all its child nodes.
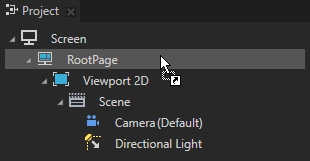
In the Project create a node where you want to use the data from the Simulator.
For example, in the RootPage create a Text Block 2D node.

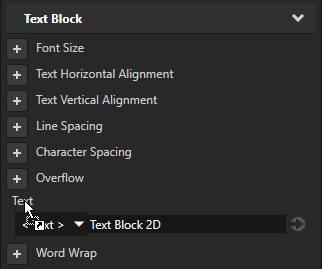
From the Data Sources window drag the data object to the property of the node for which you want to get the value from the Simulator.
For example, drag the MyInteger data object to the Text Block 2D node Text property.
The Text Block 2D now shows the value that comes from the Simulator.

Importing a service to the Simulator
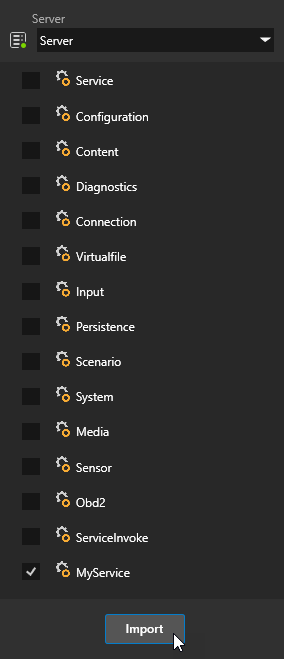
To import a service to the Simulator, in the services panel click  , select the service description XML file for the service that you want to import, and click OK. See Writing Kanzi Connect service descriptions.
Exporting a service from the Simulator
To export a service from the Simulator, select the service and click Export to the right of the SERVICES panel. The Simulator exports the service description XML file for the service to your download directory.

Editing an element or element group
To edit an element or element group:
Hover on the left side of the item and click
 .
.
Edit the item in the editor.
Using Simulator projects
Use a Simulator project to group a set of Simulator services and scenarios into a project file that you can export and share with those who work on the same project.
Creating a Simulator project
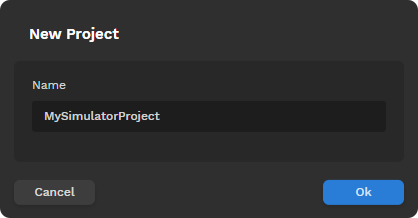
To create a Simulator project, at the top of the Simulator window click  and name the Simulator project. When you create a Simulator project, the Simulator deletes any existing services and scenarios from the currently open Simulator project.

Exporting a Simulator project
To export a Simulator project, at the top of the Simulator window click  . The Simulator exports the project as a zip file that you can store on your computer.

Importing a Simulator project
To import a Simulator project:
At the top of the Simulator window click
 and select the zip file that contains a Simulator project.
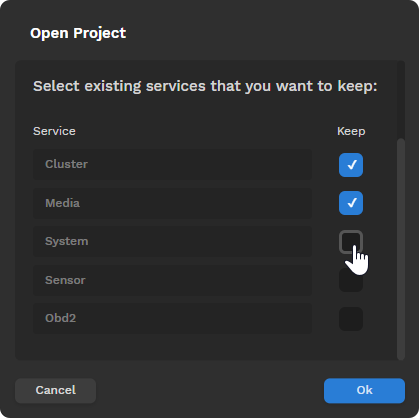
In the Open Project window, select the services from the current Simulator project that you want to keep and click
 .
.