Text
Kanzi has these text nodes:
Use the Text Block nodes to show a small amount of text in your application.
See Using the Text Block nodes.

Use the Text Box nodes to add single-line text input to your application.

Font type
The default font family in Kanzi is Fira Sans Regular. The font file is stored in <KanziInstallation>/Studio/Asset Library/Fonts. When you want to use your own font, import it to your Kanzi Studio project.
See Importing fonts.
You can use these font types in your Kanzi applications:
TrueType and OpenType fonts (ttf and otf files)
iType linked fonts (ltt files). See iType linked fonts.
Bitmap fonts (fnt files). See Using bitmap fonts.
Make sure that the font you use includes all the glyphs for the text that you want to include in your Kanzi application.
Font size
Kanzi sets the size of fonts in pixels. When you set the Font Size property, Kanzi passes that value to the Freetype library, which Kanzi uses to render fonts, using the FT_Set_Char_Size function with the default dpi value of 72.
For example, both of these display the letter H of the same size:
Text Block or Text Box nodes with these properties set:
Text to H
Font Family to Arial
Font Size to 36
HTML markup
<p style="font-family:arial; font-size:36px;">H</p>
If you want to control the dpi scaling or set the font size in units other than pixels, you must implement that functionality in your Kanzi application. For example, if you want to automatically select the content that the images and layouts in your project use based on the dpi setting, implement that functionality in your Kanzi application.
Setting the font engine for the Preview
Kanzi supports two font rendering backends:
FreeType is an open-source based font engine included with Kanzi. It is suitable for most general use cases and supports a wide range of font formats. It uses the FreeType rasterizer, HarfBuzz shaper, ICU bidirectional library, and libunibreak for line breaking. This is the default font engine.
iType is a commercial software based font engine that requires a separate license from Monotype. It offers advanced font rendering features and optimizations. It uses the Monotype iType rasterizer and WorldType® Shaper™ for shaping. See Installing the iType font engine.
To set the font engine for the Preview:
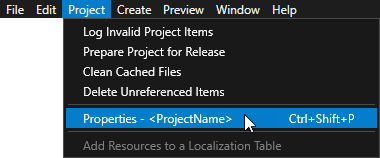
In the main menu select Project > Properties.
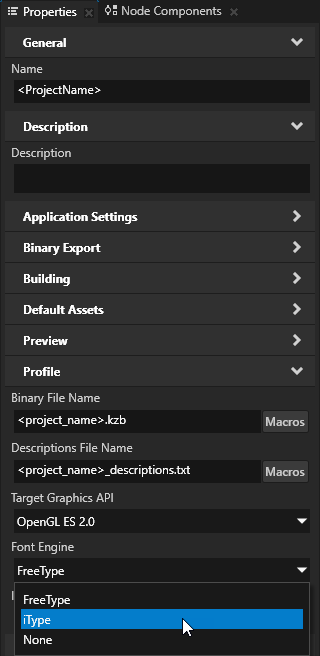
In the Properties, under Profile, set the Font Engine property to:
FreeType to use the FreeType font engine.
iType to use the iType font engine.
None to not load a font engine. When you do not load a font engine, Kanzi does not render the text in your application.
To learn how to set which font engine to load at application startup, see FontEngine.
Note
iType and FreeType font engines use different rendering and shaping algorithms. As a result, some differences in text rendering and layout can be expected. In certain cases, these font engines may also interpret different parts of the font file.
If you switch from one Font Engine to the other, updating or adjusting the font file itself may be needed to minimize or eliminate these differences.
Setting font hinting
Font hinting provides instructions for rasterization: mapping the outlines of fonts to screen pixels. Font hinting aims to both maintain the design aesthetic of a font and optimize the readability of the font at different sizes.
Text nodes in Kanzi by default use the font hinting data included in a font.
For example, font hinting can affect the height and width of characters, the width of lines, edge contrast, and the space between characters.
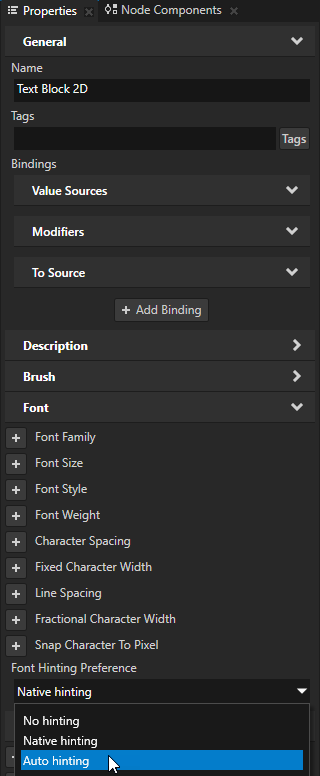
To set font hinting for a Text Block or Text Box node, in the Node Tree select that node, in the Properties add the Font Hinting Preference property, and set it to:
No hinting to render text without font hinting.
Native hinting to render text using the hinting data included in the font. If the font does not contain hinting data, Kanzi uses the hinter of the font engine rasterizer. This is the default value.
Auto hinting to render text using the hinter of the font engine rasterizer. See Setting the font engine for the Preview.
Customizing word wrapping in Thai text with iType font engine
You can customize how Kanzi iType font engine wraps words in Thai text by setting a Thai dictionary that you want to use instead of the one that is built into the iType font engine.
WorldType® SDK comes with:
Thai dictionary
Python utility that creates a Thai dictionary that your application can use
You can find these resources in the WorldType® SDK in the wtle/product/tools/language_dictionaries/thai directory.
To wrap words automatically in Thai text:
Create a Thai dictionary for the iType font engine by passing to
GenerateThaiDictionary.py:Thai dictionary in plain-text format
File where you want to store the generated dictionary
py -2 GenerateThaiDictionary.py thai-dictionary.txt thai-dictionary.wtd
GenerateThaiDictionary.pycreates a wtd file that you set in the application configuration of your Kanzi application:Reading lines from file "thai-dictionary.txt"... done. Extracting, filtering, and normalizing words... done. Adding words to trie... done. number of words: 8 number of characters: 31 longest word length: 7 number of trie nodes: 32 number of trie edges: 31 Compressing trie into a DAWG (Directed Acyclic Word Graph)... done. number of edges in root node: 9 number of DAWG nodes: 24 number of DAWG edges: 30 edges / characters = 96.8 % dawgEdges / trieEdges = 96.0 % dawgNodes / trieNodes = 75.0 % DAWG array elements: 31 Writing DAWG to file "thai-dictionary.wtd"... done. file size: 0 k
To set your application to use the Thai dictionary that you created, in a text editor set the iType font engine dictionary in the
<ProjectName>/Application/bin/application.cfgfile:# Set additional backend dictionaries. ITypeDictionaryUrls = file:///usr/share/itype/thai-dictionary.wtd
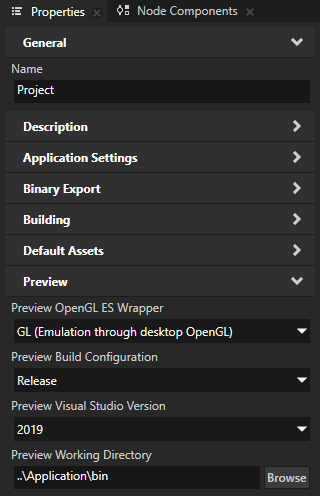
(Optional) To set the Kanzi Studio Preview to correctly render Thai text when you use the iType font engine, in Kanzi Studio open your project and in the main menu select Project > Properties. In the Properties set the Preview Working Directory property to the directory that contains the
application.cfgfile that you created in the previous step.