Tutorial: Limit the draw distance
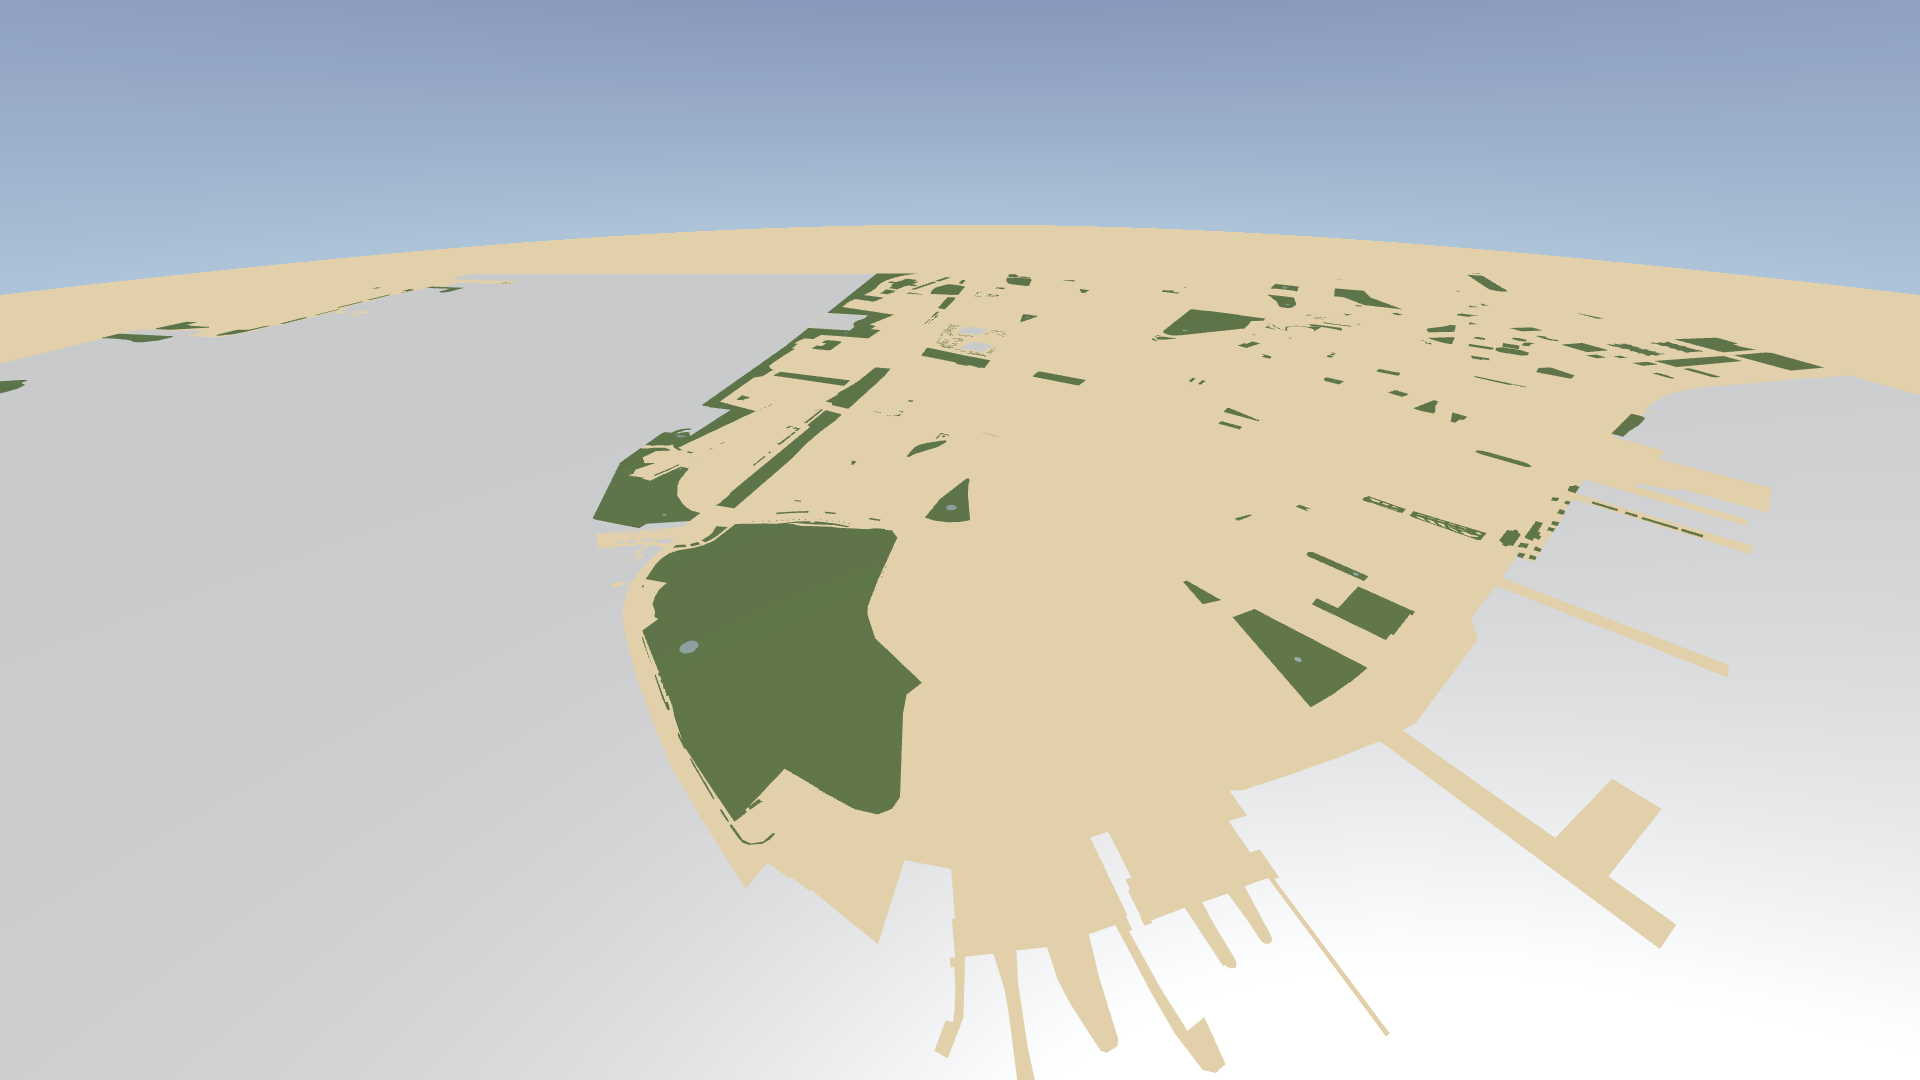
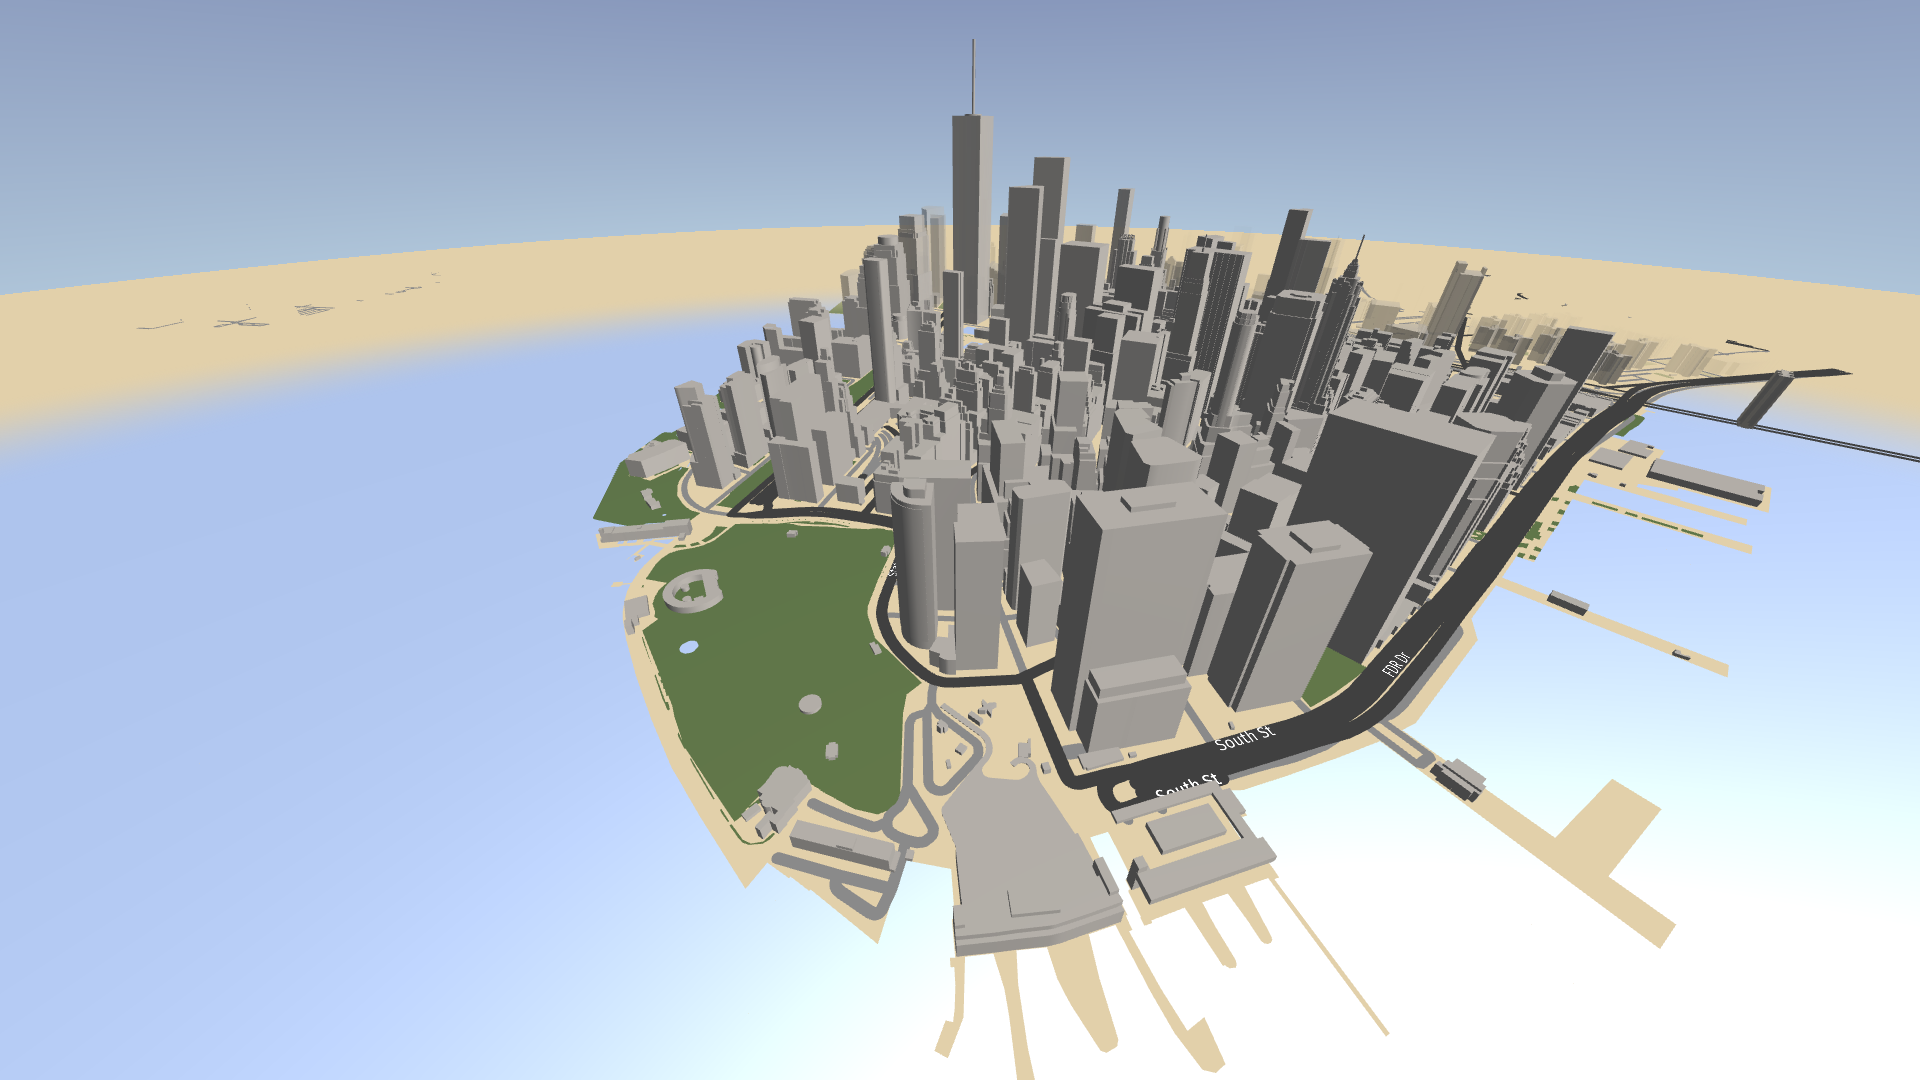
In this tutorial, you learn how to control the distance until which you render content on a map. You configure the distance of the sky dome horizon and create distance fog to make the horizon look more realistic.
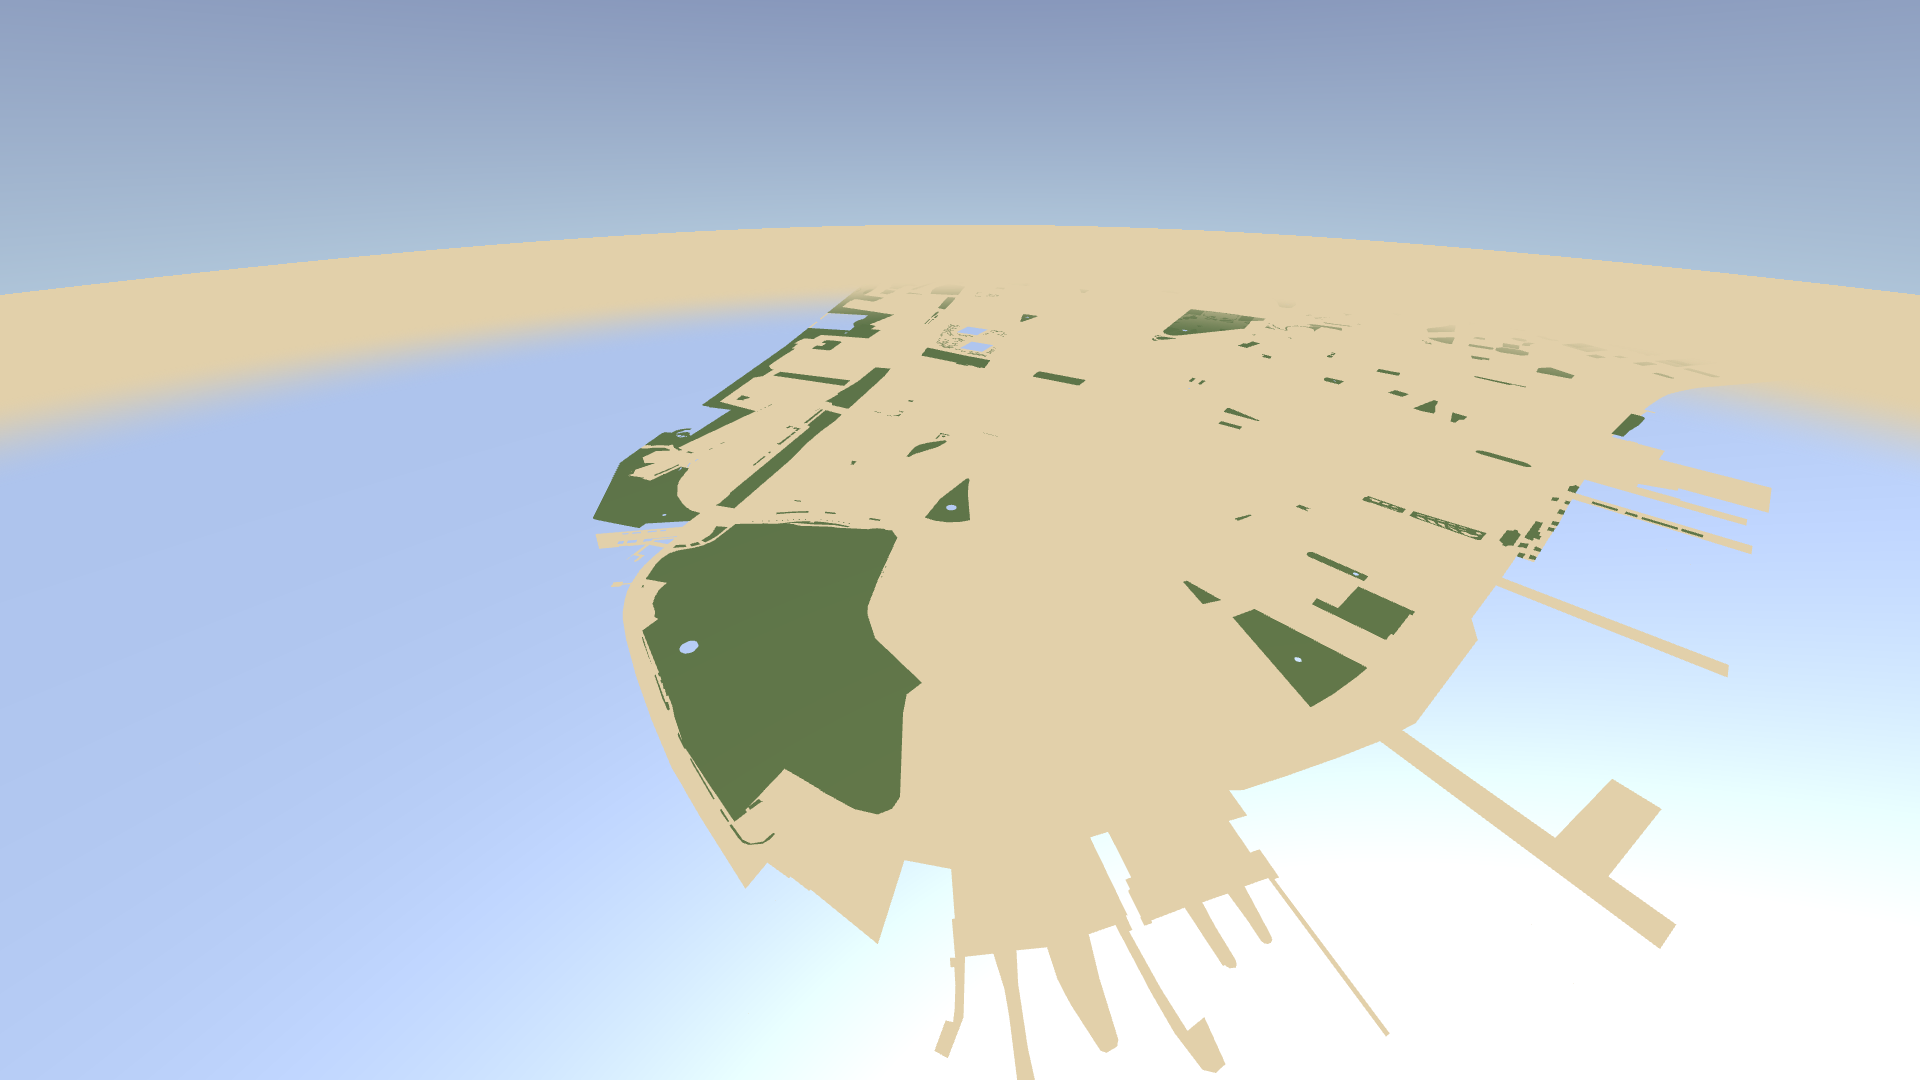
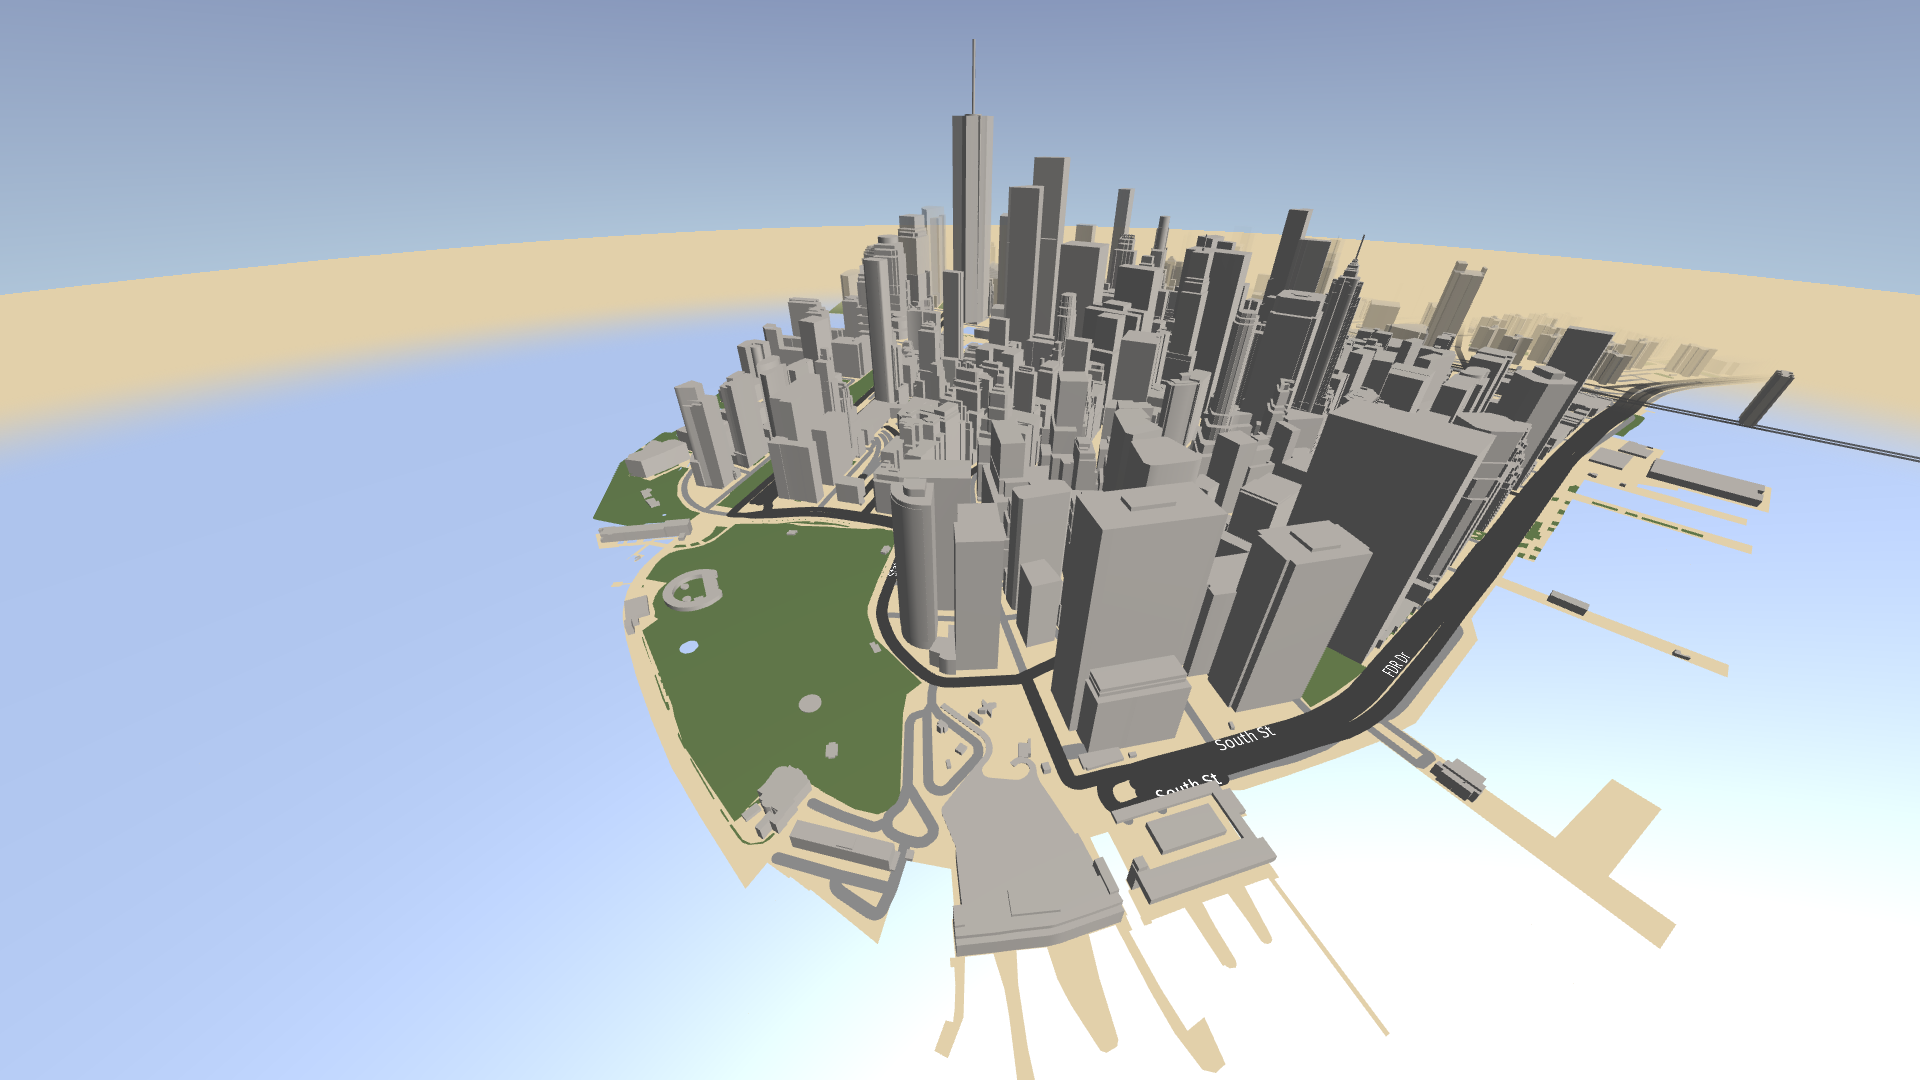
This video shows the result of the tutorial.
Assets for the tutorial
The starting point of this tutorial is the <KanziWorkspace>/Engine/plugins/maps/tutorials/LimitingDrawDistance/Start/Tool_project/LimitingDrawDistance.kzproj Kanzi Studio project.
You can find the completed tutorial in the <KanziWorkspace>/Engine/plugins/maps/tutorials/LimitingDrawDistance/Completed directory.
The starting point project contains the content that you need to complete this tutorial:
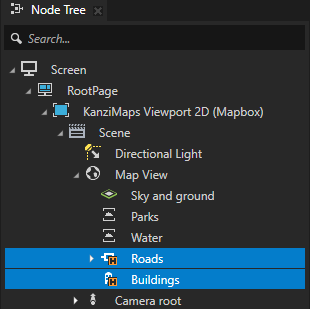
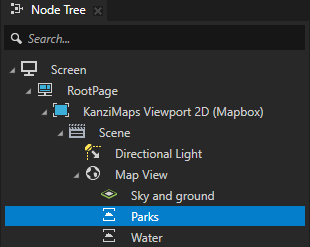
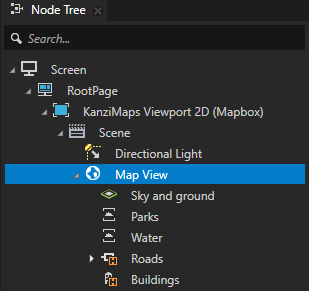
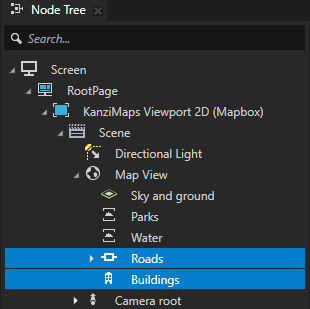
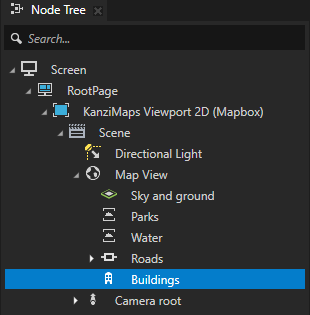
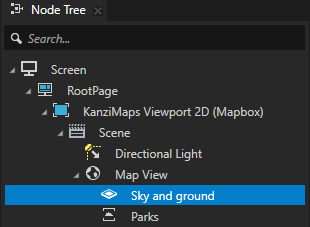
Map View node that contains Renderer nodes for sky and ground, park and water areas, roads, and buildings.
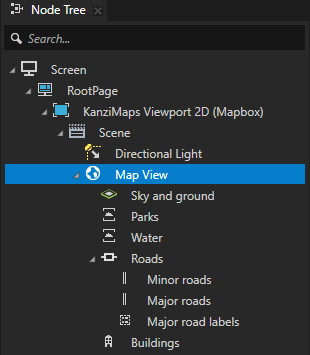
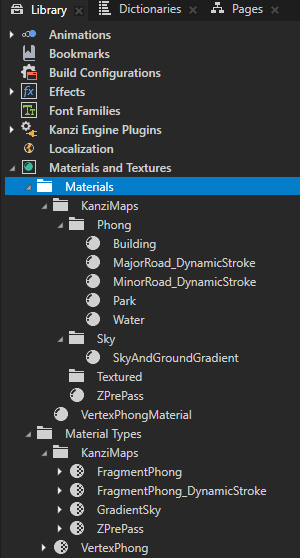
Materials used by the Renderer nodes.
Create distance fog for water and park areas
In this section, you create distance fog that fades the water and park areas of the map based on their distance from the camera.
To create distance fog for water and park areas:
In Kanzi Studio, open the
<KanziWorkspace>/Engine/plugins/maps/tutorials/LimitingDrawDistance/Start/Tool_project/LimitingDrawDistance.kzprojproject.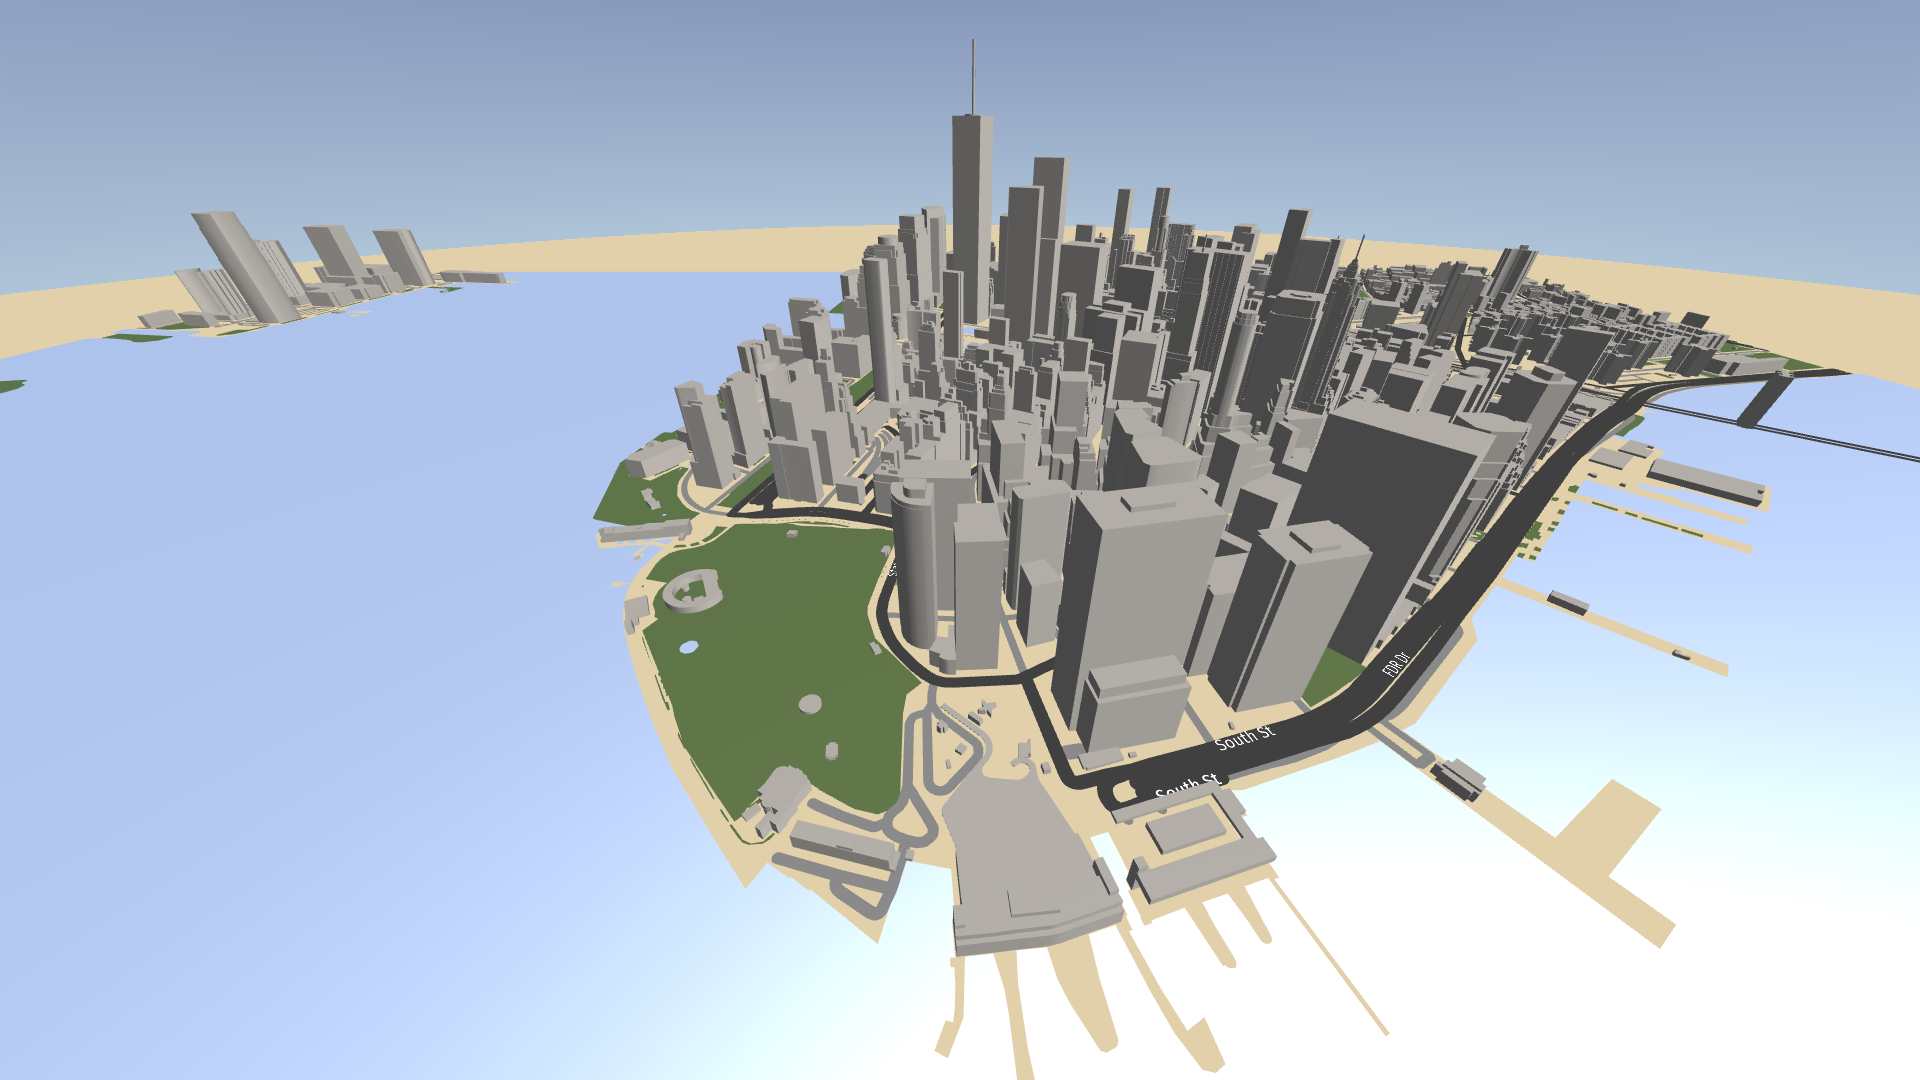
Set up Kanzi Maps and your Mapbox credentials. See Setting up Kanzi Maps.
In the Node Tree in the Map View node, select the Roads and Buildings nodes, and press the Ctrl H keys.
You quick-hide the roads and buildings to make it easier to see the effect of the changes that you make to the rendering of the water and park areas.
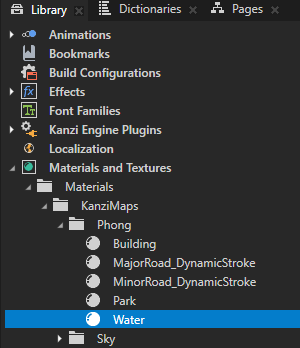
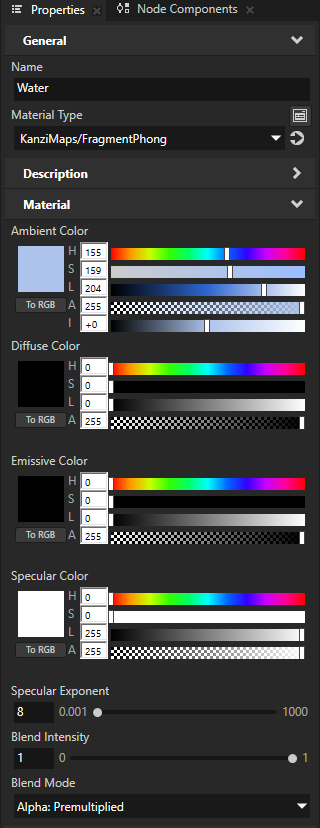
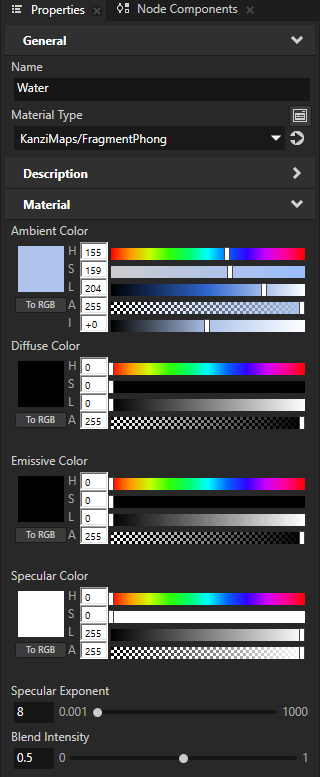
In the Library > Materials and Textures > Materials, select the KanziMaps > Phong > Water material that sets the appearance of the water areas rendered by the Water node. In the Properties, set the Blend Mode property to Alpha: Premultiplied.
This way, you enable color blending for the material. To make map content fade to the sky, you need blending.
To see how the water areas blend with the ground, in the Properties, adjust the value of the Blend Intensity property.
For example, set the Blend Intensity to 0.5.
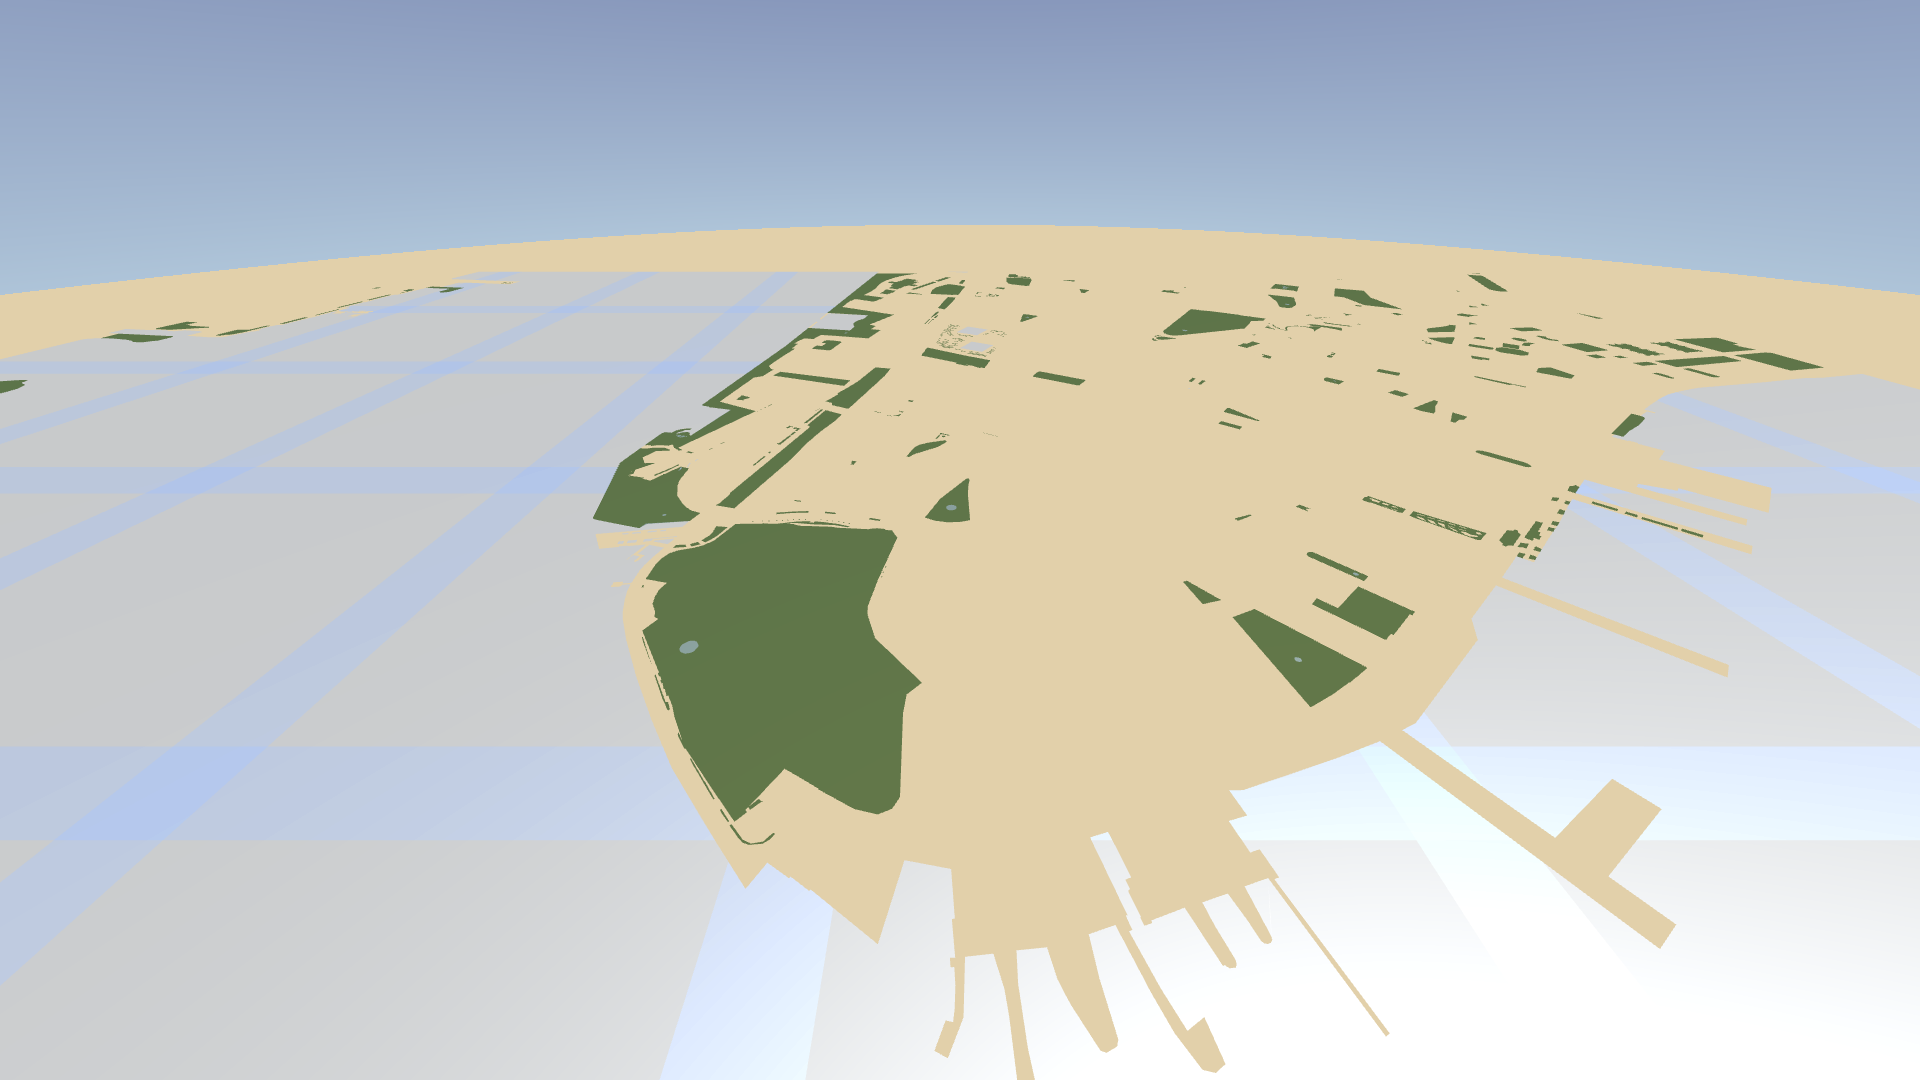
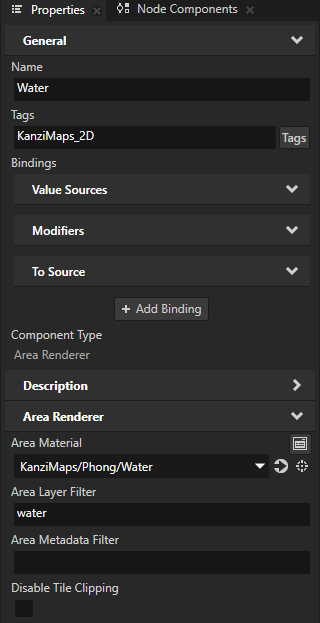
In the Node Tree, select the Water node. In the Properties, set the Disable Tile Clipping property to disabled.
By default, an Area Renderer node does not clip the geometry to tile boundaries, which causes overlapping of map tiles. By enabling clipping to tile boundaries, you get rid of the grid-like pattern in the water areas.
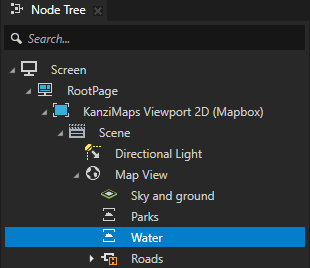
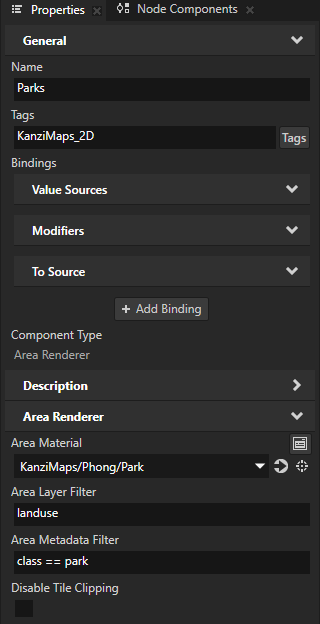
In the Node Tree, select the Parks node. In the Properties, set the Disable Tile Clipping property to disabled.
The nodes that render roads and buildings in the project already have this property set to disabled.
In the Library > Materials and Textures > Materials, select the Water material. In the Properties, set the value of the Blend Intensity property back to 1.
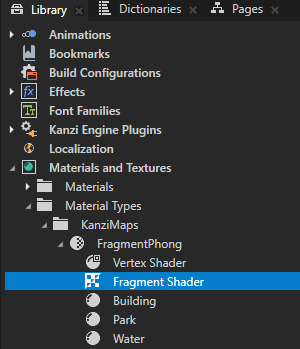
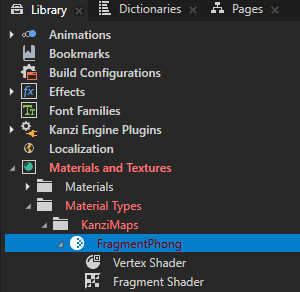
In the Library > Materials and Textures > Material Types > KanziMaps > Fragment Phong material type, double-click the Fragment Shader to open it in the Shader Source Editor.
To create the distance fog, you need:
The distance between the current fragment and the camera.
The distance from the camera at which to blend the fog completely to the sky. You want to be able to set this distance in the material.
The distance between the point where the fog starts to appear and the point where the fog completely blends to the sky. You want to be able to set this distance in the material.
In the Shader Source Editor:
Before the
mainfunction, declare theDrawDistanceandFogDepthuniforms:// Defines the distance where the fog completely blends to the sky. uniform mediump float DrawDistance; // Defines the distance between the point where the fog starts to appear and // the point where the fog completely blends to the sky. uniform mediump float FogDepth;
In the end of the shader, replace
gl_FragColor = vec4(color, baseColor.a) * BlendIntensity;
with
float cameraDistance = length(vViewDirection.xz);
float visibility = smoothstep(DrawDistance, DrawDistance - FogDepth, cameraDistance);
gl_FragColor = vec4(color, baseColor.a) * BlendIntensity * visibility;
To calculate the distance from the camera to the current fragment, you use the
vViewDirectionvarying input. The length of thevViewDirectionvector provides the distance, but the side effect is that the distance between the camera and the ground affects the amount of fog. Sometimes that is desirable, but in the case of a map you want to use the distance along the xz plane. For this reason, you use only the x and z components of the vector to calculate the distance.You then perform a smooth interpolation that returns a value between 0 and 1 depending on the distance between the current fragment and the camera. The value is 1 from the camera until the point
DrawDistance - FogDepthwhere the fog starts to appear. When the distance grows, the value decreases, until it reaches 0 atDrawDistancewhere the fog completely blends to the sky. You multiply the final color with this value.Click Save.
Create property types for the uniforms that you declared in the fragment shader:
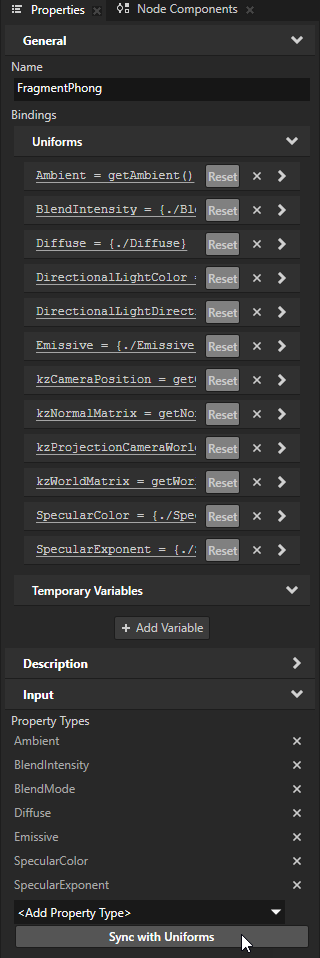
In the Library > Materials and Textures > Material Types, select the KanziMaps > Fragment Phong material type. In the Properties, click Sync with Uniforms.
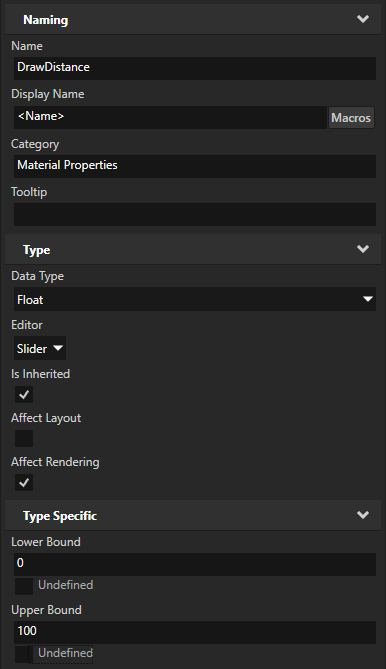
In the Create Property Type dialog, click Yes to create a property type for the
DrawDistanceuniform. In the Property Type Editor, set:Is Inherited to enabled
This way, you enable nodes to inherit the value of this property from their ancestor nodes.
Upper Bound to 100
Repeat the previous step to create a property type for the
FogDepthuniform.
You can now set the draw distance and fog depth in the materials that use the KanziMaps/FragmentPhong material type.
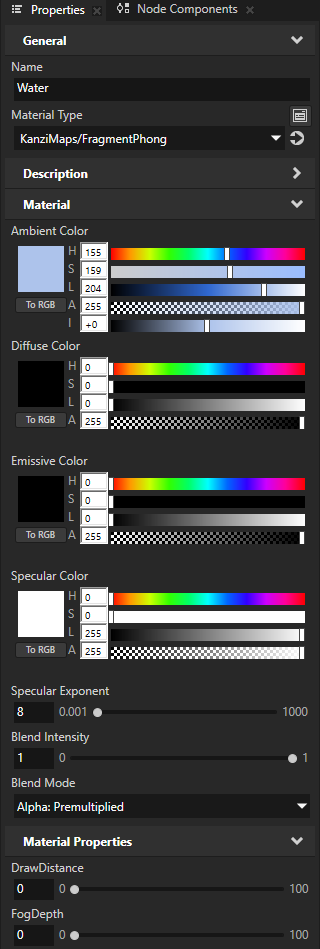
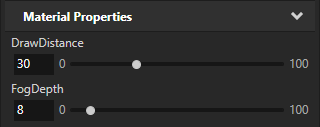
In the Node Tree, select the Map View node. In the Properties, add and set:
Material Properties > DrawDistance to 30
Tip
If you want to increase the draw distance beyond this value, you must also increase the values of the Layout Width and Layout Height properties in the Map View node. This way, you increase the size of the area where the map has content.
Material Properties > FogDepth to 8
Because you enabled the Is Inherited setting in the DrawDistance and FogDepth property types, the child nodes of the Map View node inherit the values of these properties.
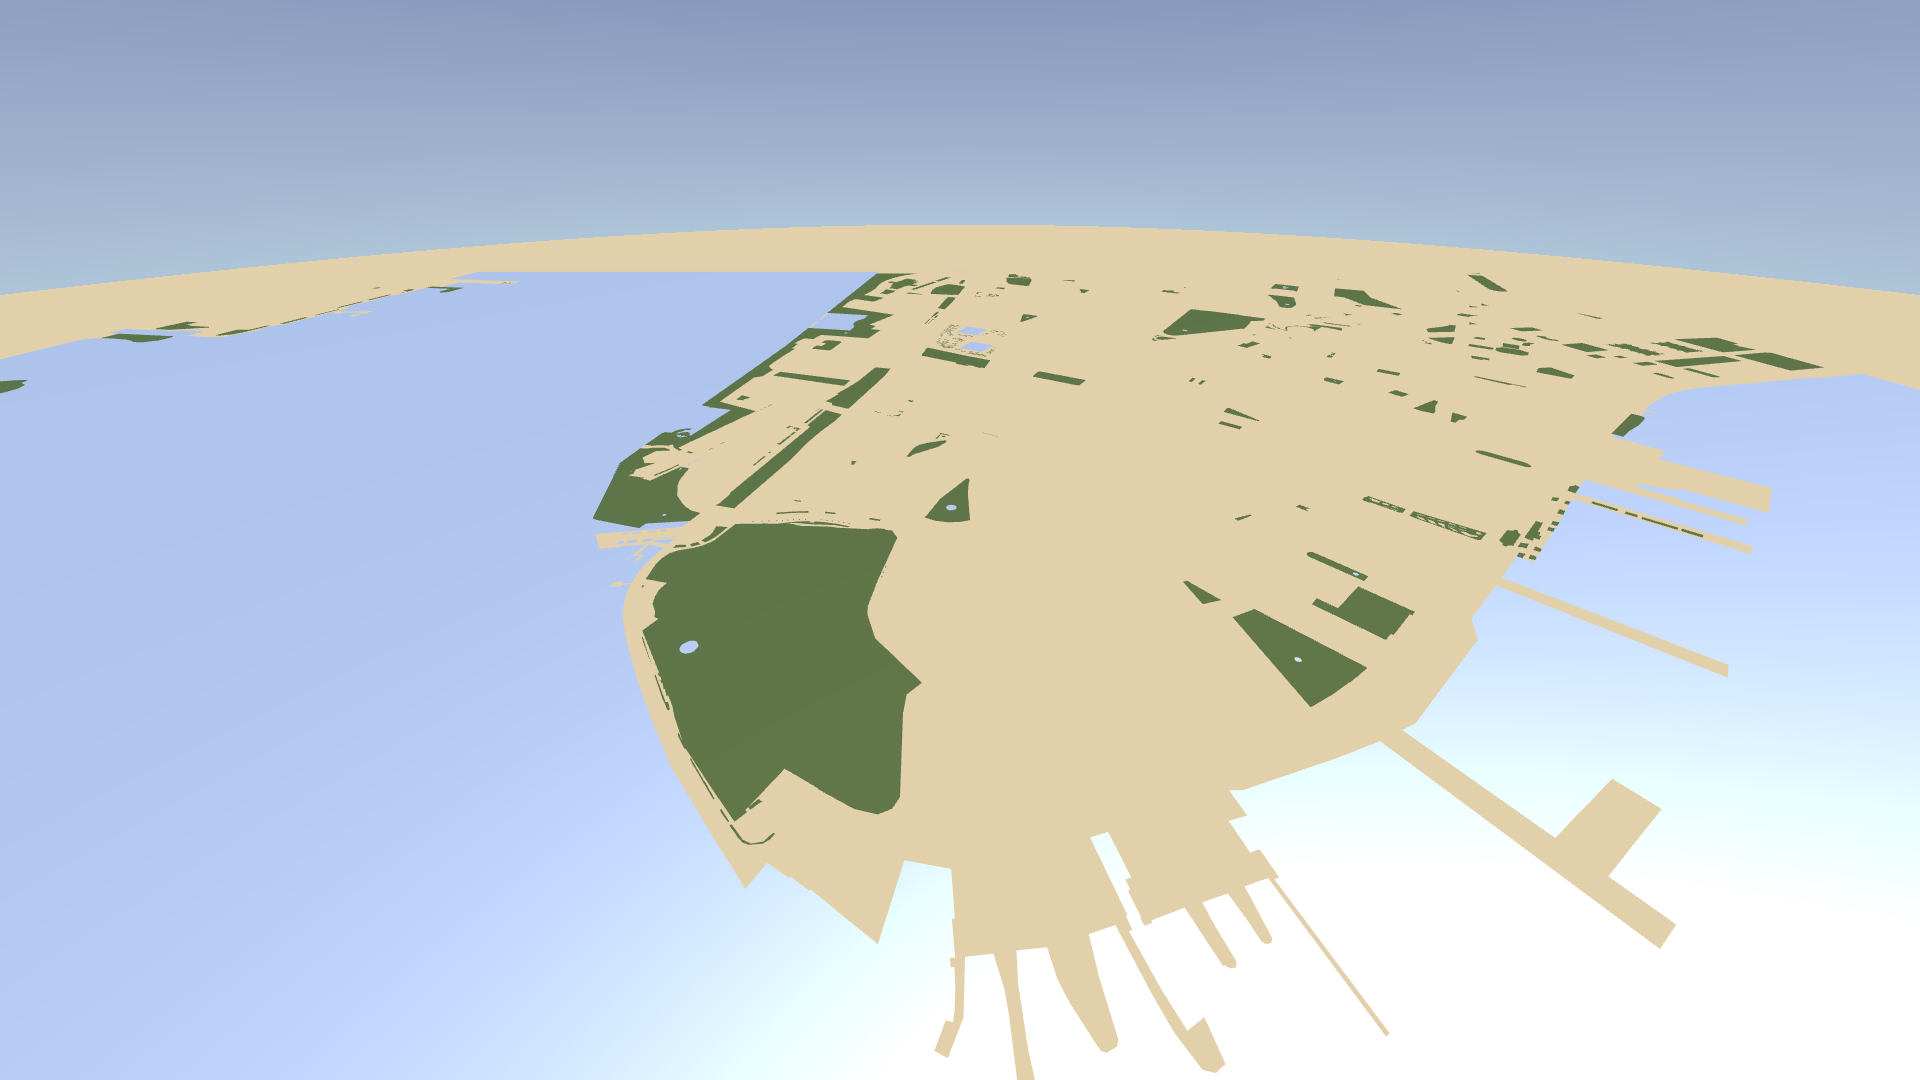
In the Preview, you see that the water areas fade correctly into the distance, but the parks fade to black.

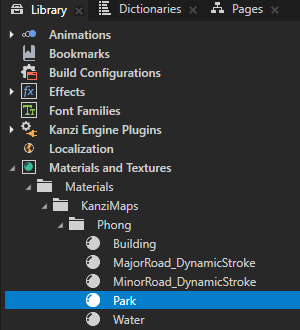
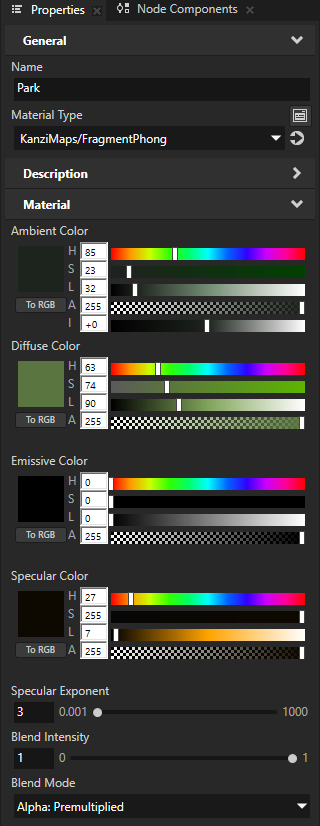
In the Library > Materials and Textures > Materials, select the KanziMaps > Phong > Park material. In the Properties, set the Blend Mode property to Alpha: Premultiplied.
This way, you blend the park areas with the ground.
Create distance fog for buildings and roads
To create distance fog for buildings and roads:
In the Node Tree, select the Roads and Buildings and press the Ctrl H keys.
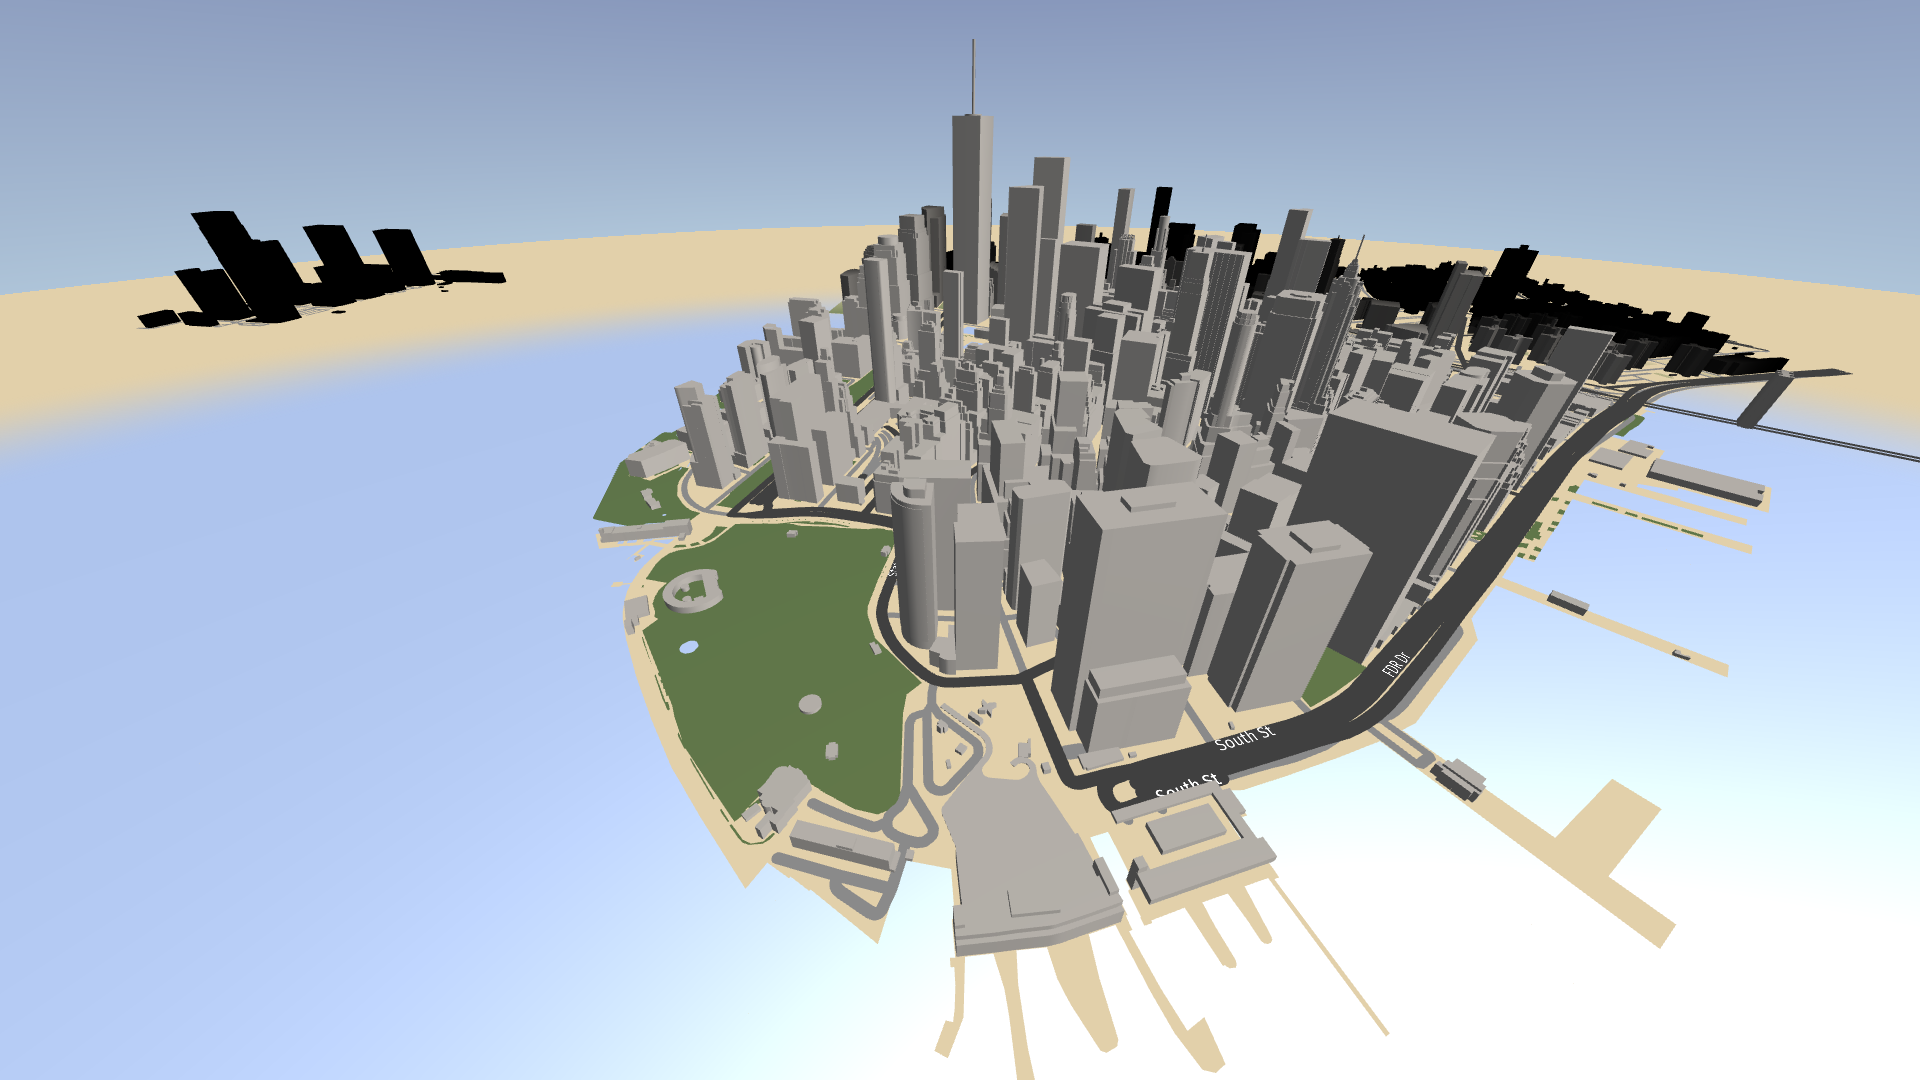
In the Preview, you see that the buildings in the distance fade to black.
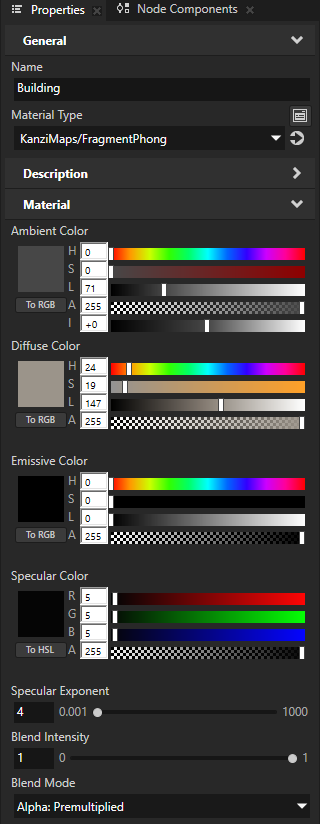
In the Library > Materials and Textures > Materials, select the KanziMaps > Phong > Building material. In the Properties, set the Blend Mode property to Alpha: Premultiplied.
This way, you enable color blending for the material that you use to render the buildings.
This is not enough to fix the fading of the buildings. Buildings are opaque and to reduce overdraw, the render passes depth-kill the sky or ground against the building.
In the Library > Rendering > Render Pass Prefabs > KanziMaps_Default render pass prefab, drag the Gather Lights Render Pass > Disable depth write > Draw Sky render pass after the Clear render pass.
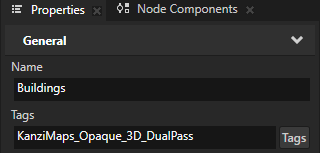
In the Node Tree, select the Buildings node. In the Properties, set the Tags property to KanziMaps_Opaque_3D_DualPass.
This way, you remove possible flicker in the buildings where they partly fade into the distance.
You change the rendering of the buildings from normal 3D rendering to dual-pass rendering. Kanzi first draws the buildings with a z-only pass to get them into the depth buffer, and then without depth writes, so that only the front-most surfaces survive. This works, because the z-only pass uses a small offset along the z axis to reduce the z-fighting surfaces to rendering as if without z-testing. Only surfaces with significant z-difference get depth killed.
Fix the rendering of the roads:
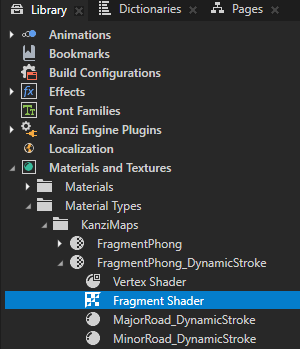
In the Library > Materials and Textures > Material Types > KanziMaps > FragmentPhong_DynamicStroke, open the Fragment Shader for editing.
In the Shader Source Editor, do the same edits as you did in the fragment shader used by the water and park areas:
Before the
mainfunction, declare theDrawDistanceandFogDepthuniforms:// Defines the distance where the fog completely blends to the sky. uniform mediump float DrawDistance; // Defines the distance between the point where the fog starts to appear and // the point where the fog completely blends to the sky. uniform mediump float FogDepth;
In the end of the shader, replace
gl_FragColor = vec4(color, baseColor.a) * BlendIntensity;
with
float cameraDistance = length(vViewDirection.xz);
float visibility = smoothstep(DrawDistance, DrawDistance - FogDepth, cameraDistance);
gl_FragColor = vec4(color, baseColor.a) * BlendIntensity * visibility;
Click Save.
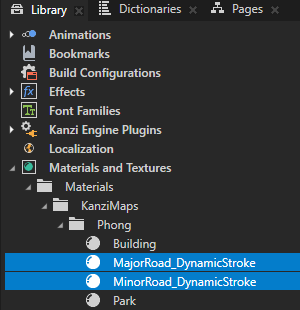
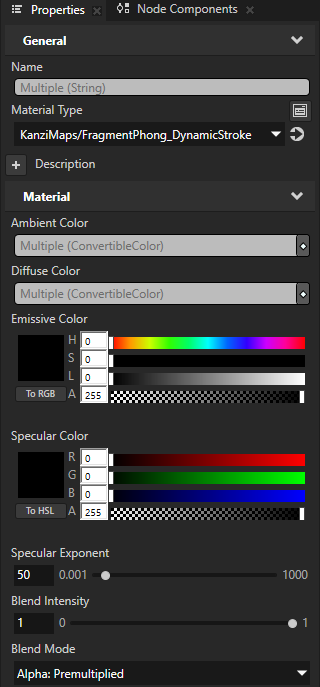
In the Library > Materials and Textures > Materials > KanziMaps > Phong, select the MajorRoad_DynamicStroke and MinorRoad_DynamicStroke materials. In the Properties, set the Blend Mode property to Alpha: Premultiplied.
The roads now fade into the distance as expected.
Add fog to the skydome
To add fog to the skydome:
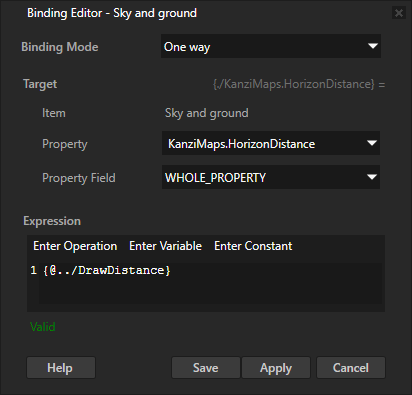
In the Node Tree, select the Sky and ground node. In the Properties, click + Add Binding, and in the Binding Editor, set:
Property to KanziMaps.HorizonDistance
Expression To
{@../DrawDistance}
You bind the KanziMaps.HorizonDistance property in the KanziMaps/Sky/SkyAndGroundGradient material to the DrawDistance property in the Map View node.
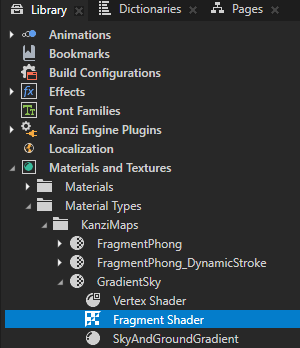
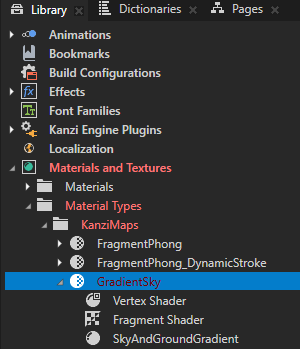
In the Library > Materials and Textures > Material Types > KanziMaps > GradientSky, open the Fragment Shader for editing.
In the Shader Source Editor:
Declare the
FogDepthuniform, just like you did in the fragment shader of the Fragment Phong material type:uniform mediump float FogDepth;
After the declaration of the
normalizedDir, add:float cameraDistance = length(-normalizedDir.xz * kzCameraPosition.y / normalizedDir.y); float visibility = smoothstep(HorizonDistance, HorizonDistance - FogDepth, cameraDistance);
You calculate the amount of fog the same way as you did for the water and park areas, but you handle the distance differently. The GradientSky material type is a raycaster, where the vertex shader calculates the view ray, which the fragment shader casts to either the sky or the ground.
Given that
normalizedDiris the direction of the ray andkzCameraPositionis the starting point, a point along the ray path is:p = kzCameraPosition + t * normalizedDir.To calculate the distance between the fragment and the camera along the xz plane, you need to solve
tsuch thatp.yis 0:t = -kzCameraPosition.y / normalizedDir.y.The xz-vector from the camera to the fragment is
normalizedDir.xz * (-kzCameraPosition.y / normalizedDir.y).Replace
vec4 color = adjustedSkyHorizon > 0.0 ? mix(SkyHorizonColor, SkyColor, adjustedSkyHorizon) :
                                        mix(GroundHorizonColor, GroundColor, adjustedGroundHorizon);
with
vec4 color = mix(mix(SkyHorizonColor, SkyColor, adjustedSkyHorizon),
                 mix(GroundHorizonColor, GroundColor, adjustedGroundHorizon),
                 adjustedSkyHorizon > 0.0 ? 0.0 : visibility);
The GradientSky material assigns each fragment to either the sky or the ground. You change this so that in the foggy area you gradually blend from ground to sky using the amount of visibility that you calculated.
The xz-vector calculation can return a negative vector when the direction vector points toward the sky. You add the ternary check to make sure that you do not apply the ground to the middle of the sky.
Click Save.
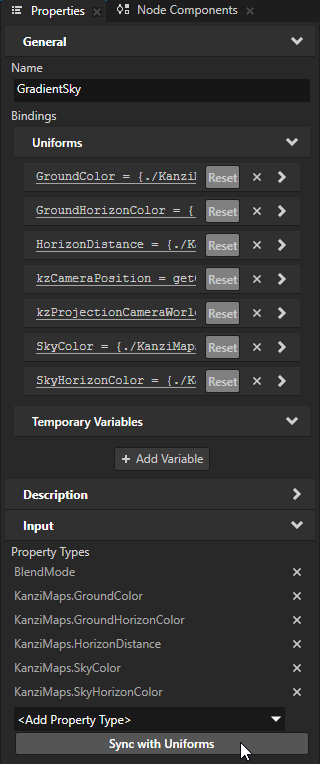
In the Library > Materials and Textures > Material Types > KanziMaps, select the GradientSky material type. In the Properties, click Sync with Uniforms.
You add the FogDepth property type to the GradientSky material type and to the SkyAndGroundGradient material.
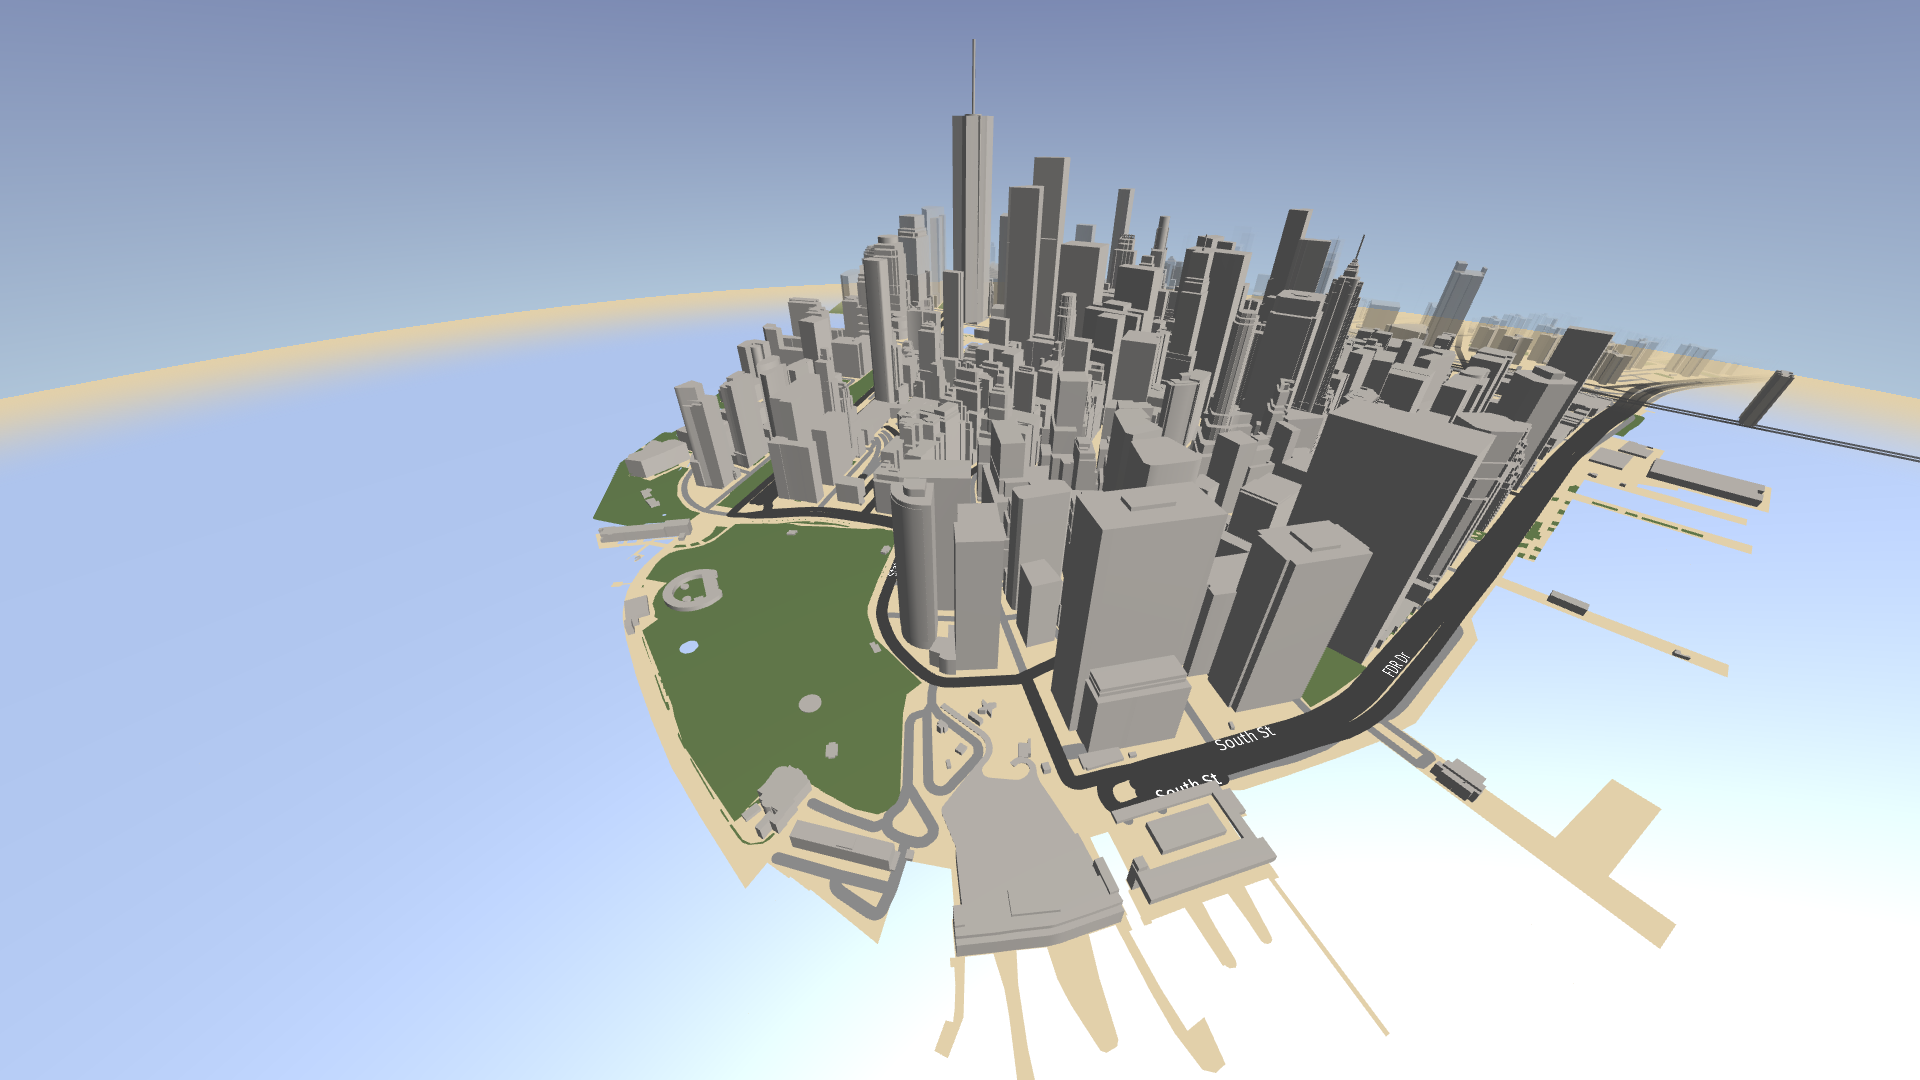
In the Preview, you can see the fog cover the horizon. There is still some yellowish haze in the horizon. This is the result of blending the water over the ground.

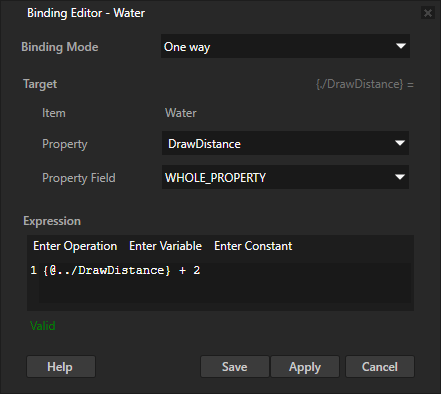
In the Node Tree, select the Water node. In the Properties, add a binding and set:
Property to KanziMaps.HorizonDistance
Expression To
{@../DrawDistance} + 2
With this binding, you extend the draw distance of the water beyond the draw distance of the sky and ground. This way, you get rid of the yellowish haze in the horizon.
In the Preview, when you click and drag the left mouse button to pan the map, you see the map content appear from the fog.
See also
To learn more about using the Area Renderer node, see Using the Area Renderer node.
To learn more about using the Stroke Renderer node, see Using the Stroke Renderer node.
To learn more about using the Structure Renderer node, see Using the Structure Renderer node.