Using the Stroke Extrusion Renderer node
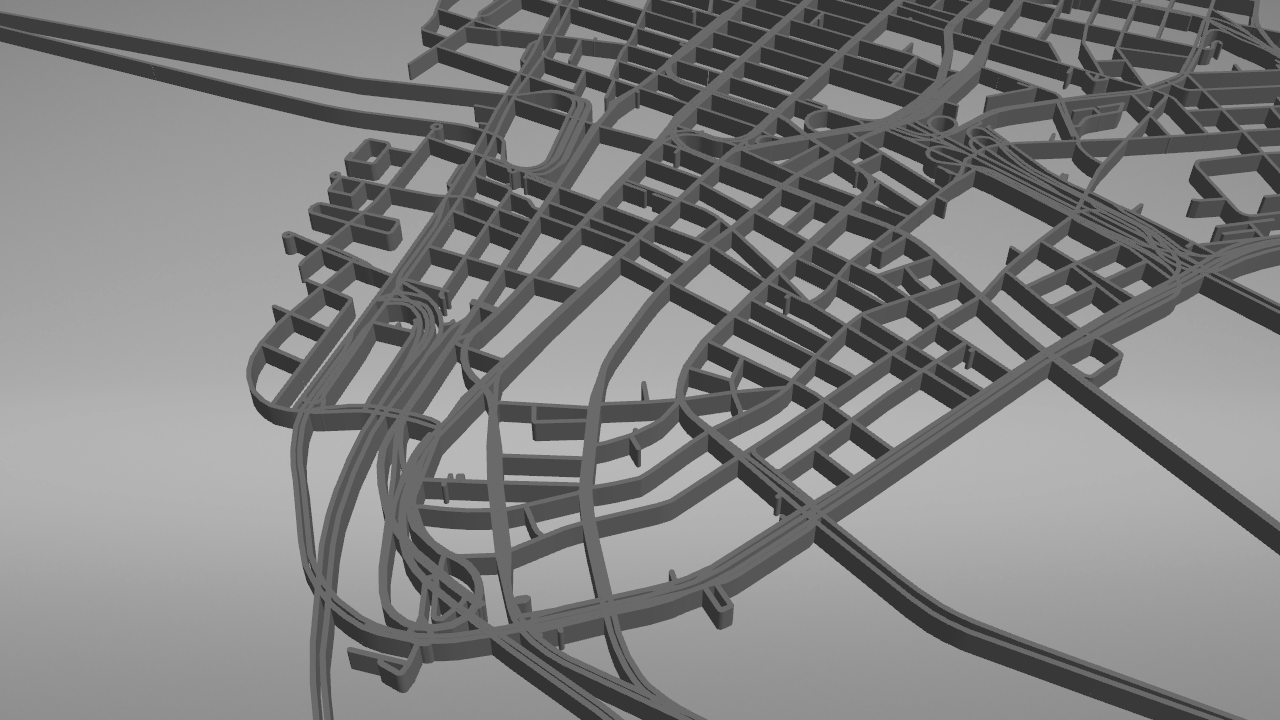
Use the Stroke Extrusion Renderer node to render strokes with 3D extrusion.
The Stroke Extrusion Renderer extends the Stroke Renderer with 3D extrusion capability. You can configure the roof of the extruded strokes almost exactly as with the Stroke Renderer. The only exception is that extruded strokes do not support dynamic width nor 3D line strings. See Using the Stroke Renderer node.
The walls of extruded strokes mostly follow the texturing capabilities of the Structure Renderer. In addition, with textured materials you can use the Use Roof UV.u with Walls property to make the wall U coordinate follow the stroke from start to end, matching the roof. By default, the U coordinate follows the perimeter of the stroke. See Using the Structure Renderer node.
Creating a Stroke Extrusion Renderer
To create a Stroke Extrusion Renderer:
In the Node Tree, press Alt and right-click the Map View node where you want to render extruded stroke and select Stroke Extrusion Renderer.

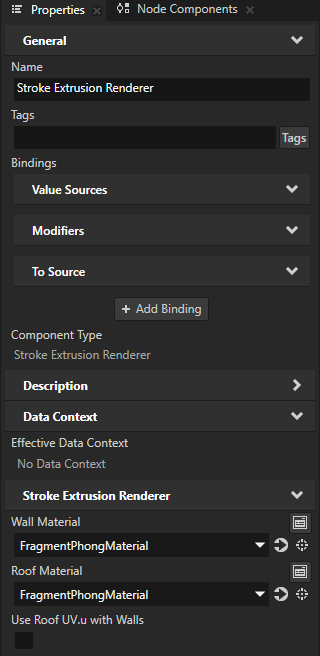
In the Properties, set the materials that set the appearance of the extruded stroke:
Wall Material property to the material that you want to use for the stroke extrusion walls.
Roof Material property to the material that you want to use for the stroke extrusion roofs.
Use a material that supports rendering stroke.
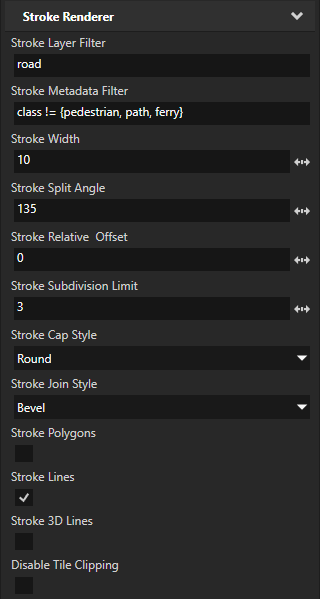
In the Properties, set the Stroke Renderer properties to configure the stroke extrusion roofs.
For example, set:
Stroke Layer Filter to the name of the layer that provides the type of content that you want to show.
For example, if you use Mapbox and want to show roads, set Stroke Layer Filter to road. The
roadlayer contains lines, points, and polygons for features such as roads, railways, paths and their labels. See Supported backends.(Optional) Stroke Metadata Filter to the metadata filter expression required to render only specific type of content from the layer.
For example, if you use Mapbox and want to render all roads expect for ferry lines, paths, and pedestrian roads, set it to
class != {pedestrian, path, ferry}Tip
You can use the Renderer Editor to set layer and metadata filters. See Using the Renderer Editor.
Stroke Width to the width in target projection meters that you want for the stroke extrusion roofs.
See Using the Stroke Renderer node.
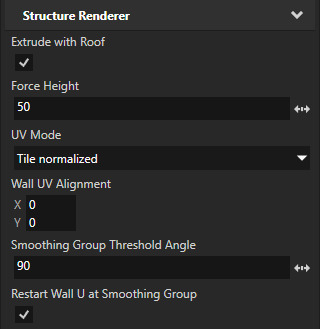
In the Properties, set the Structure Renderer properties to configure the stroke extrusion walls.
For example, set Force Height to the height in meters that you want for the stroke extrusion walls.
See Using the Structure Renderer node.
Controlling the visibility of content based on zoom level
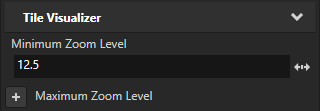
To avoid visual clutter in your map, you can show content only at a specific range of zoom levels. Use the Minimum Zoom Level and Maximum Zoom Level properties to set the range of zoom levels at which a tile-based Renderer renders its content.
For example, in the Node Tree, select a Renderer node. In the Properties, add and set the Minimum Zoom Level property to 12.5.
This way, you hide the content rendered by the Renderer when in the Map View node the value of the Zoom Level property is less than 12.5.
Clipping geometry to the boundaries of map tiles
The Disable Tile Clipping property sets whether the Stroke Extrusion Renderer node clips geometry to the boundaries of map tiles. By default, the Stroke Extrusion Renderer node clips the geometry.
If overlapping geometry on tile boundaries is not an issue with the material that you use, you can disable clipping by setting the Disable Tile Clipping property to enabled. This can reduce tile processing time.