Using the Prefab Feature Renderer node
Use the Prefab Feature Renderer node to instantiate a prefab in place of all instances of a specific map feature, such as place of interest or street label.
The Prefab Feature Renderer can render 2D point or 2D line string feature geometry.
Kanzi Maps sources the map features from a data source that provides a list data object named features, where each item contains either:
latitude and longitude data objects.
geometry data object, where geometry is of type
DataObjectGeometry. This is available only through the Kanzi Maps plugin.
The Prefab Feature Renderer typically uses the Tile Data Source. See Using the Tile Data Source.
Learn how to use the Prefab Feature Renderer node by completing a tutorial. See Tutorial: Points of interest and labels.
Creating a Prefab Feature Renderer using the Palette
This section explains how to use the Kanzi Maps Palette to quickly create and set up a Prefab Feature Renderer that renders the labels of major roads, places of interest, cities, or countries.
To create a Prefab Feature Renderer using the Palette:
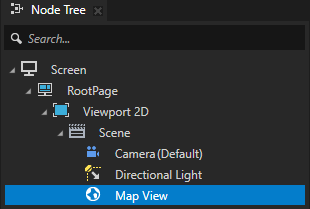
In the Node Tree, select the Map View node where you want to render prefab features.
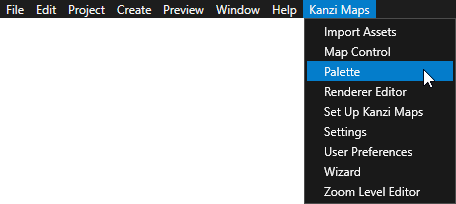
In the Kanzi Studio main menu, select Kanzi Maps > Palette.
When Kanzi Studio asks whether you want to import assets, click Yes.
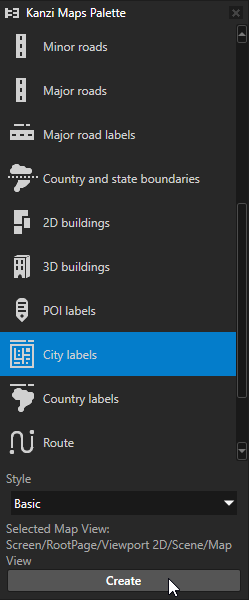
In the Kanzi Maps Palette, select the type of prefab features that you want to render and click Create.
You can use the Palette to render these types of prefab features:
Major Road labels
POI labels
City labels
Country labels
For example, select City labels and click Create.
In the Confirm modifications dialog, click Apply Modifications to let Kanzi Studio modify your project as needed to render the content that you selected.
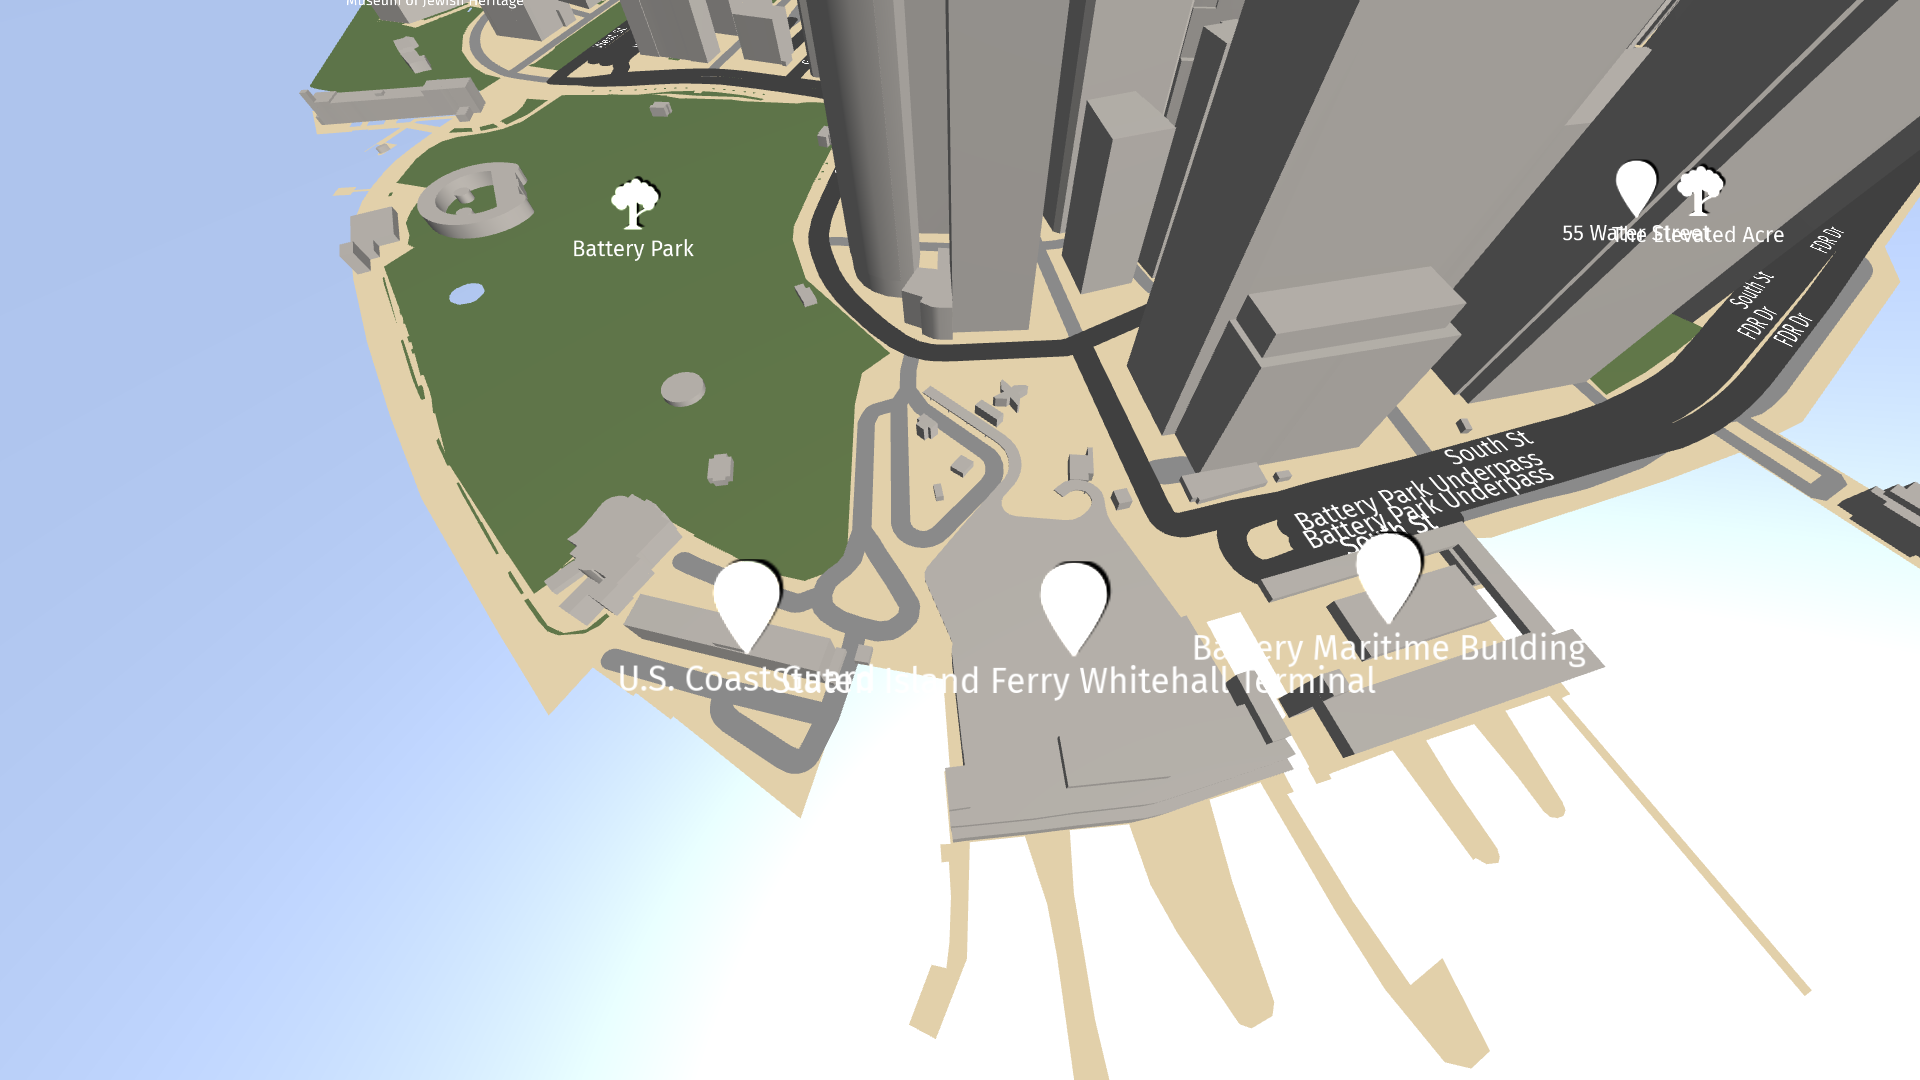
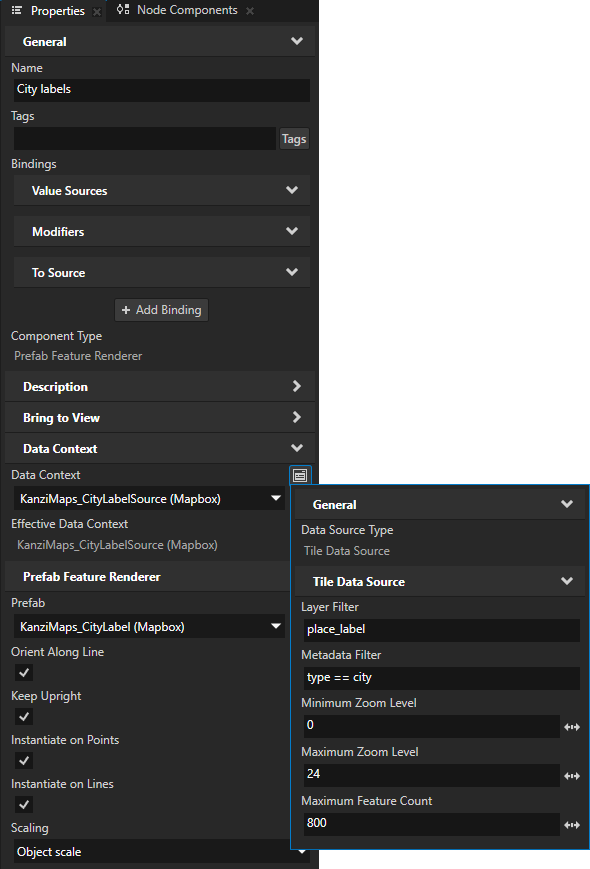
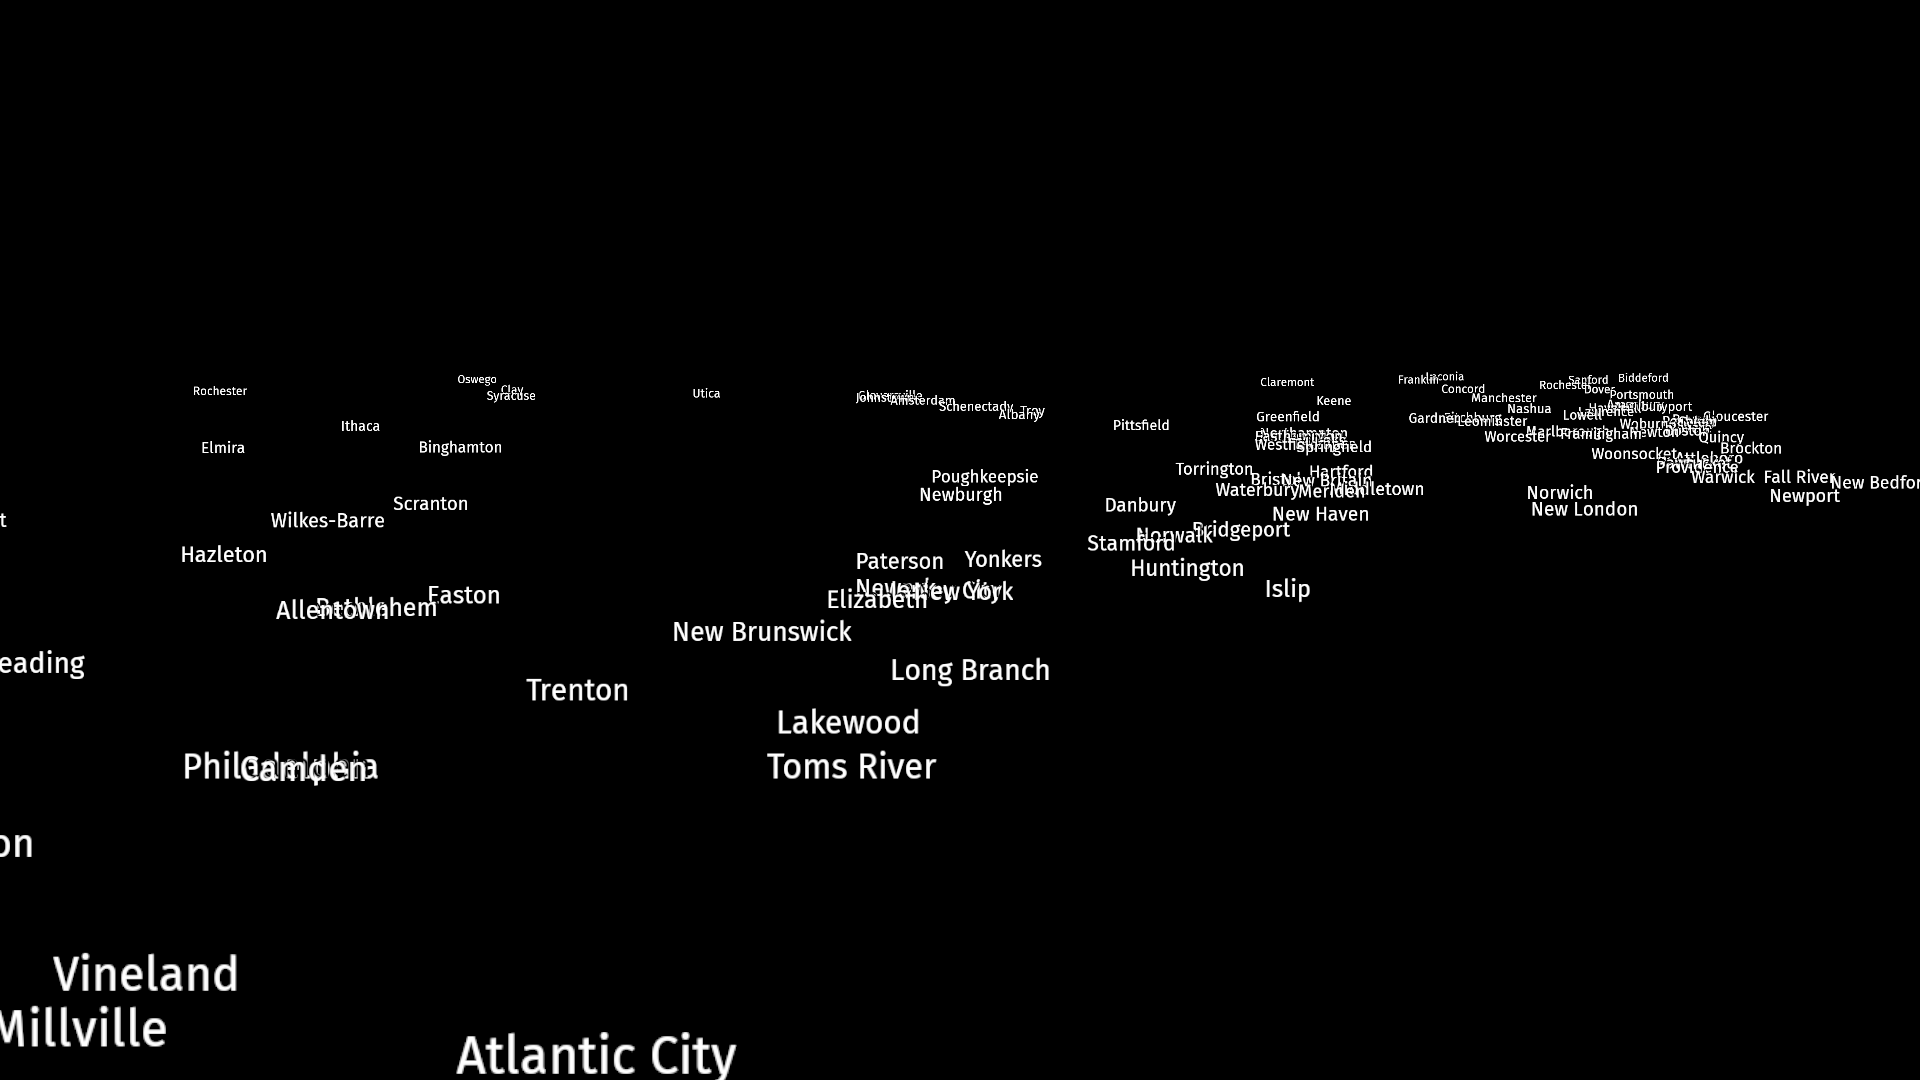
Kanzi Maps creates in the Map View node a Prefab Feature Renderer node named City Labels, which gets the city labels from a Tile Data Source. The KanziMaps_CityLabel prefab defines the look of the labels.
In the Map Control, decrease the zoom level to see more city labels.
Creating a Prefab Feature Renderer manually
To create a Prefab Feature Renderer manually:
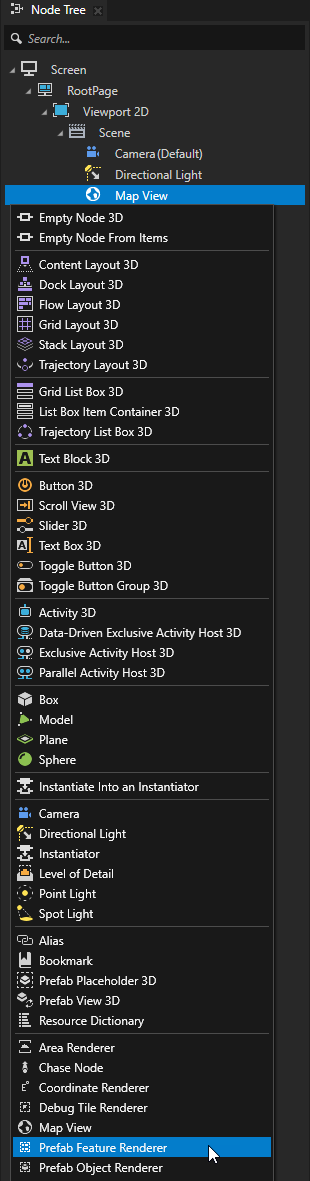
In the Node Tree, press Alt and right-click a Map View node and select Prefab Feature Renderer.
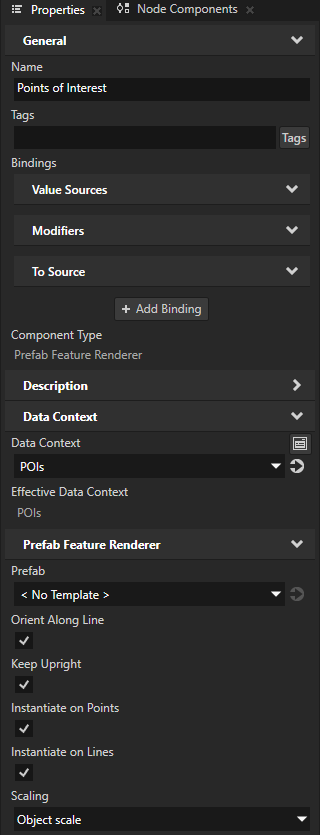
For example, create a Prefab Feature Renderer node that you use to render the labels of places of interest, and name it Points of Interest.
Create and configure the data source:
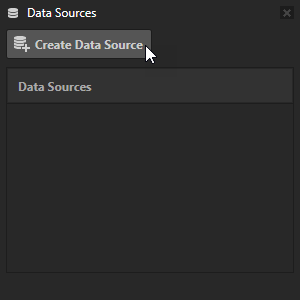
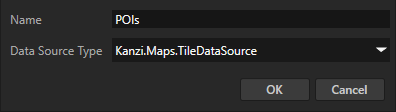
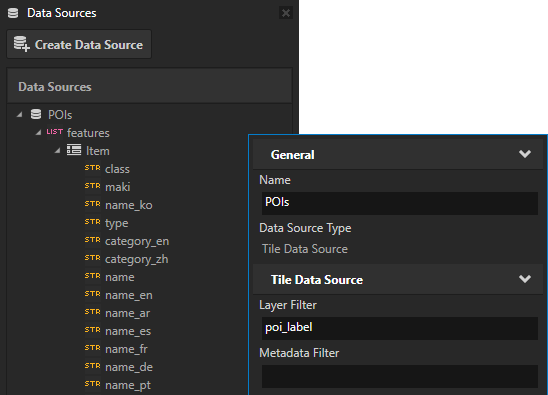
In the Data Sources window, click Create Data Source and set the Data Source Type to Kanzi.Maps.TileDataSource.
This way, you create a Tile Data Source that exposes all map features in the currently visible map area as a flat list.
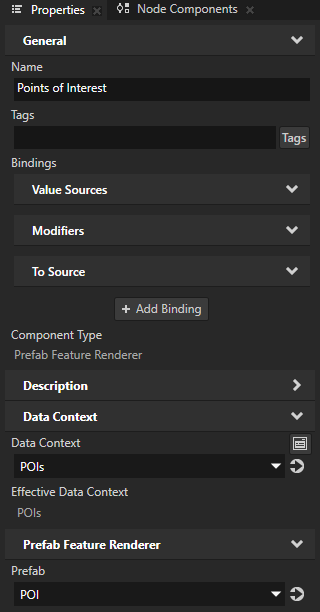
In the Node Tree, select the Prefab Feature Renderer node. In the Properties, add and set:
Data Context > Data Context to the Tile Data Source that you created.
This way, you enable the Prefab Feature Renderer node to access the map features from the Tile Data Source.
Tip
To set the Data Context property, you can drag a data source from the Data Sources window to the Effective Data Context property in the Properties.
(Optional) Scaling to Object scale
This way, the size of the items stays the same when the zoom level of the map changes.
Select Kanzi Maps > Renderer Editor.
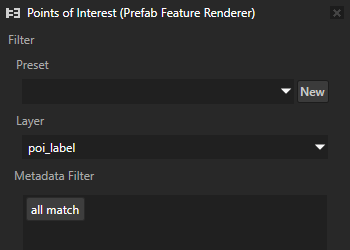
Use the Renderer Editor to set layer and metadata filters that define the map features that a Renderer node renders.

Make sure that the Prefab Feature Renderer node is selected in the Node Tree.
In the Renderer Editor, set the Layer to the name of the layer from which you want the Tile Data Source to get map features.
For example, to get the icons and labels for points of interest, set it to poi_label.
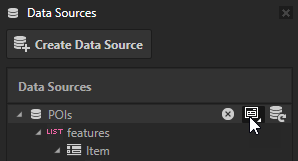
In the Data Sources window, click
 next to the POIs data source to create data objects from that data source.
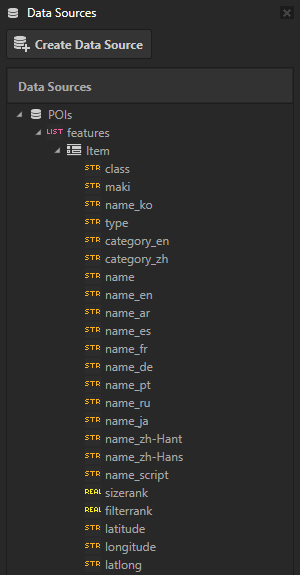
Tip
To view the configuration of a Tile Data Source, in the Data Sources next to that data source click
 .
.
Create and configure the prefab template:
In the Prefabs, create a prefab that defines the look of each instance of a map feature that the Prefab Feature Renderer node renders.
For example:
Create an Empty Node 3D node named POI.
In the POI prefab, create a Text Block 3D node named Name.
Select the Name node.
From the Data Sources > Tile Data Source, drag the features > Item > name_en data object to the Properties and drop it on the Text property.
You set the Name node to show the English name of a point of interest that is set in the name_en data object. When you drop a data object on a property, Kanzi Studio binds the value of that property type to the value of the data object.
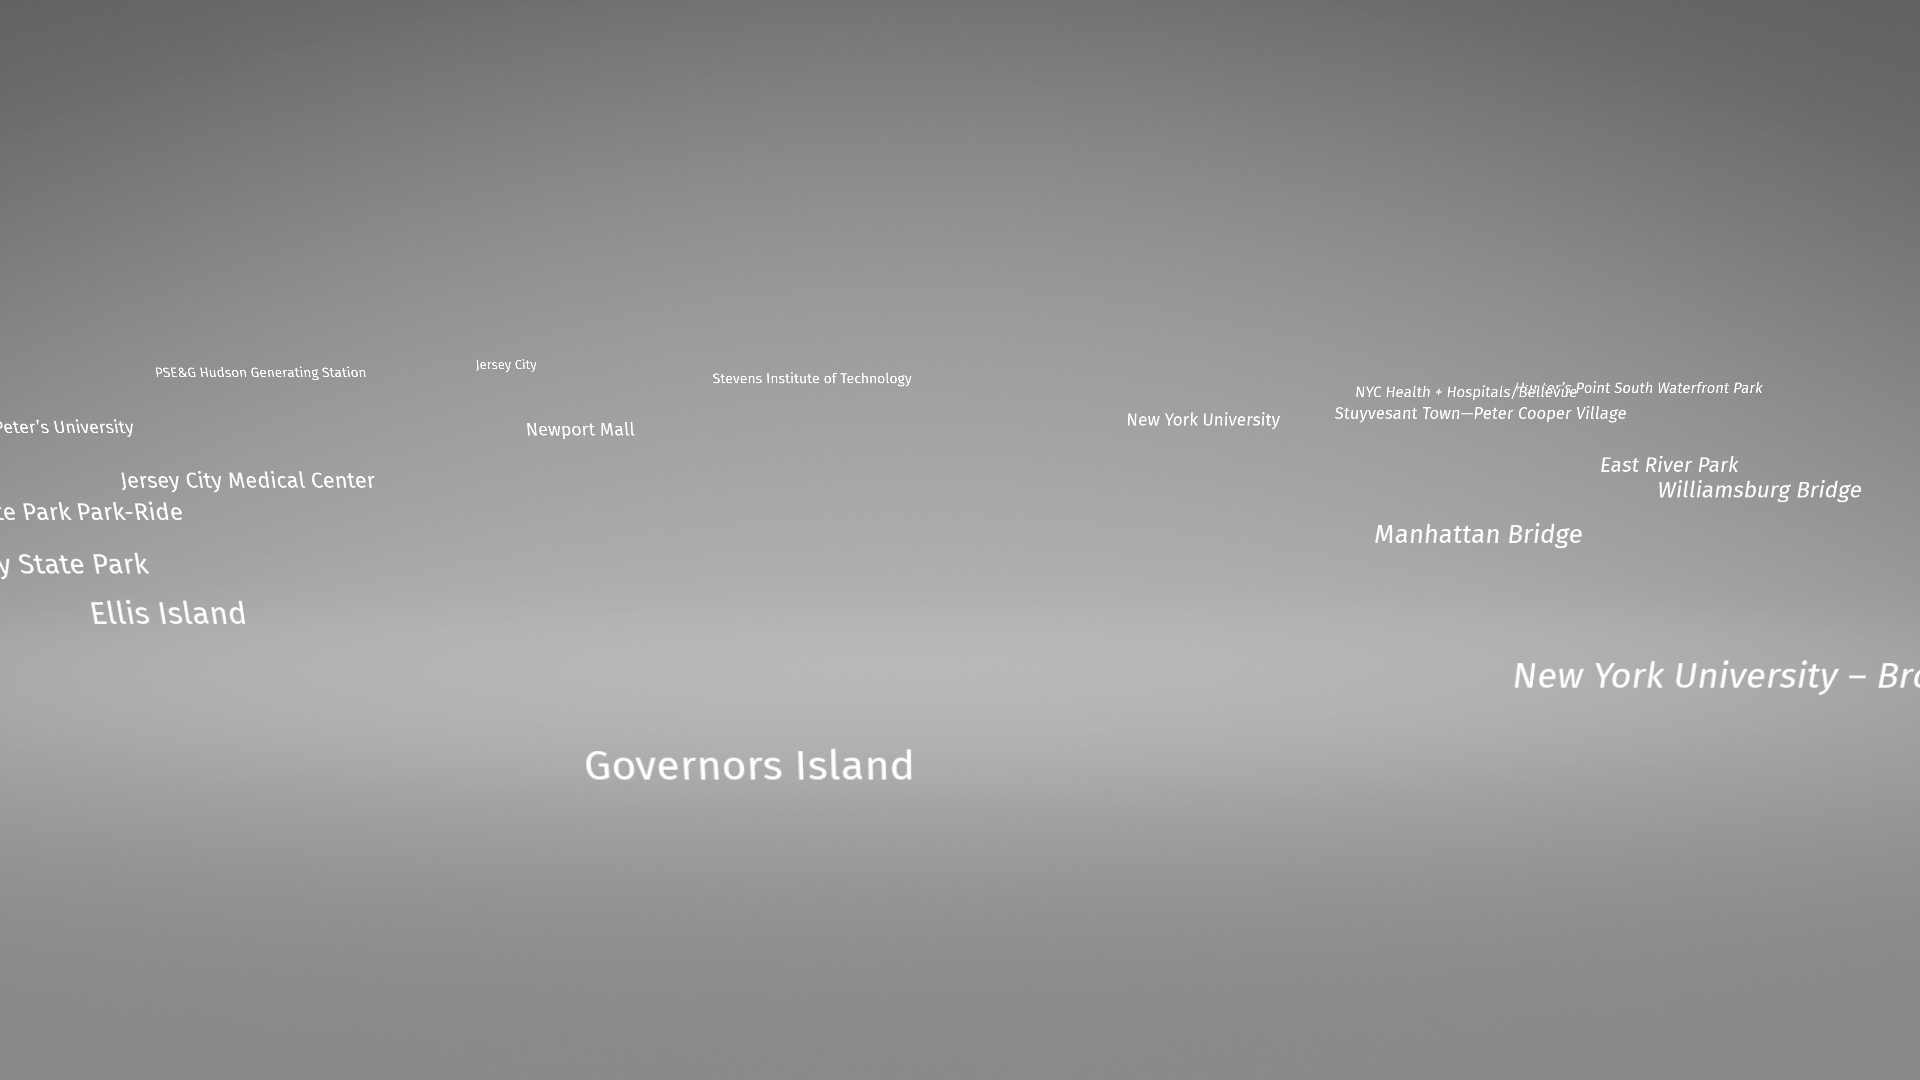
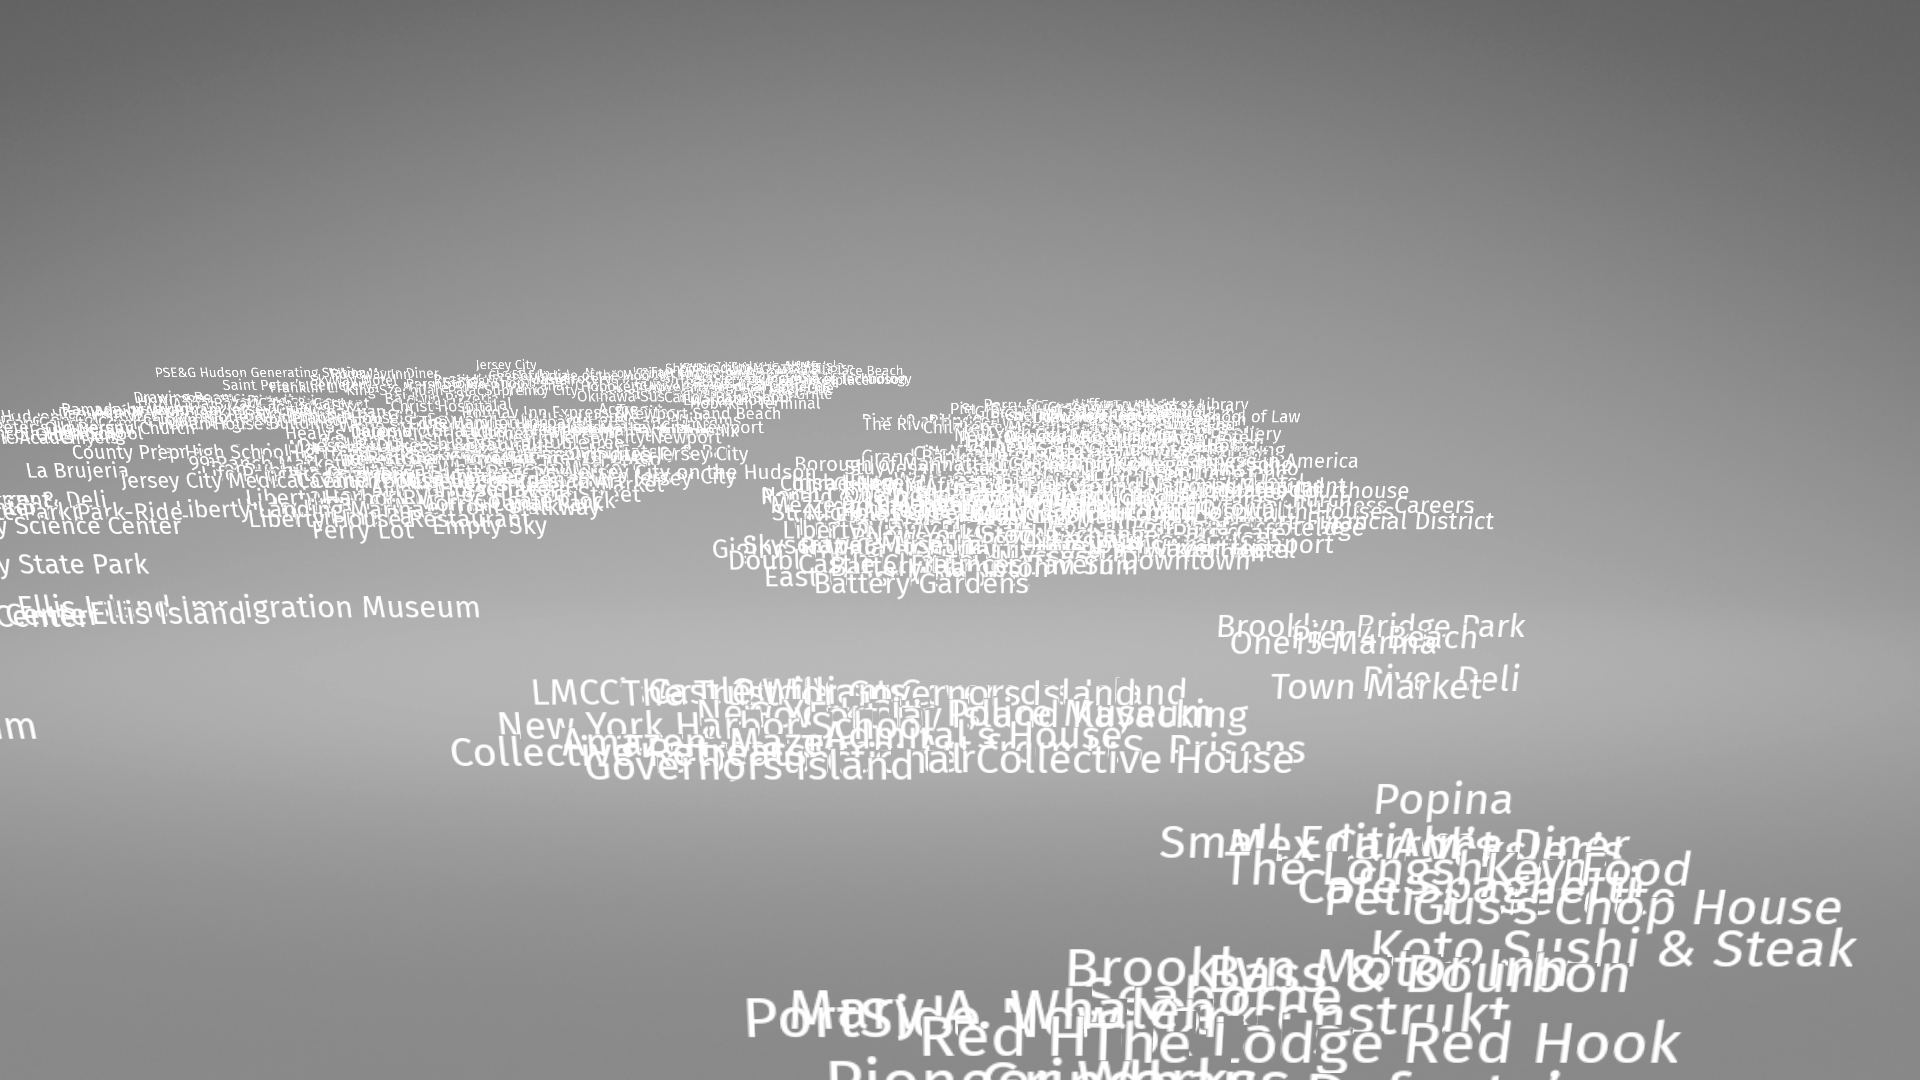
In the Node Tree, select the Prefab Feature Renderer node. In the Properties, set the Prefab property to the prefab template that you created.
In the Preview, you can see an instance of the prefab at every instance of the map feature that you configured the Tile Data Source to get.
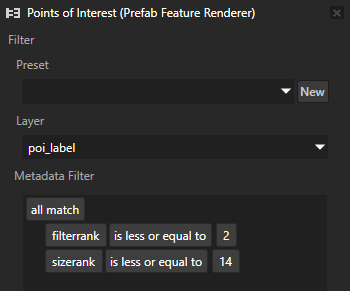
To filter the map features that the Prefab Feature Renderer node renders, either:
In the Properties, next to the Data Context property, click
and set the Metadata Filter.For example, set it to
filterrank <= 2 && sizerank <= 14
You use the
filterrankfield to show only prominent labels and thesizerankfield to filter features based on their size relative to the current zoom level.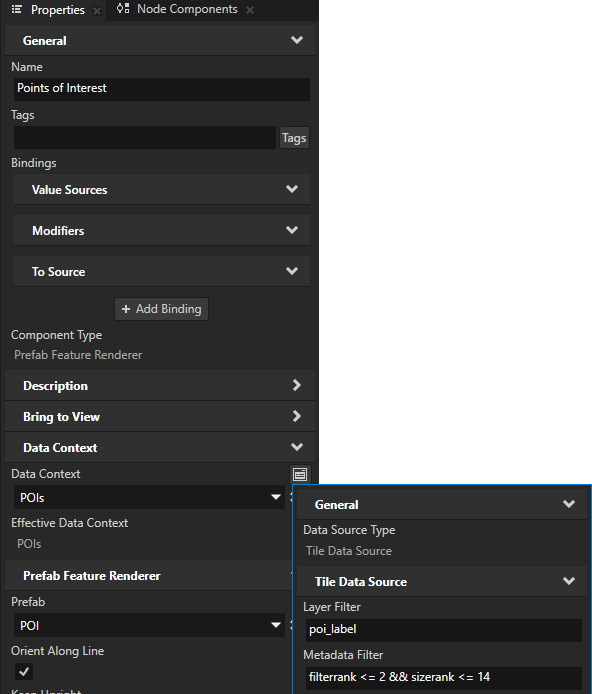
In the Renderer Editor, define the metadata filter. See Using the Renderer Editor.