Setting up your Kanzi Studio project
Before you can create vector shapes in your Kanzi application, you must set up your Kanzi Studio project to use Kanzi Shapes.
To set up your Kanzi Studio project:
Install Kanzi Shapes. See Installing the plugin.
Make sure that the solution configuration you use in Visual Studio to build your application and plugin projects matches the settings of your Kanzi Studio project.
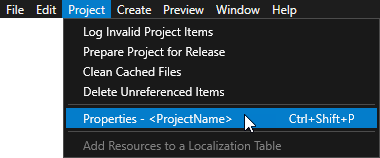
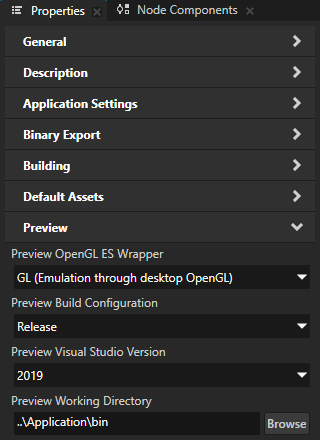
For example, if you use the Release solution configuration in Visual Studio 2019, in your Kanzi Studio project in the Project > Properties set:
Preview OpenGL ES Wrapper to GL (Emulation through desktop OpenGL)
Preview Build Configuration to Release
Preview Visual Studio Version to 2019
Preview Working Directory to
../Application/bin.With these settings you set the Kanzi Studio Preview to work with the plugin.
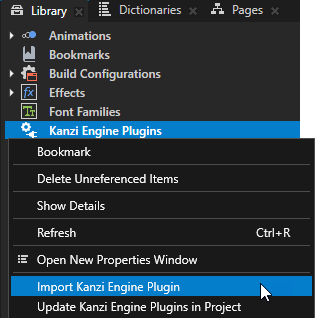
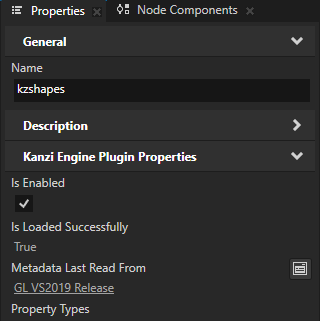
In the Library right-click Kanzi Engine Plugins and select Import Kanzi Engine Plugin.
In the Kanzi Shapes package go to the
libdirectory, select the plugin in the directory of the configuration that you selected in the first step, and click Open.For example, select
Win64/GL_vs2019_Release_DLL/kzshapes.dll. Kanzi Studio imports Kanzi Shapes to your Kanzi Studio project. Kanzi Shapes contains the elements that you need to show vector graphics and gradients in your Kanzi application.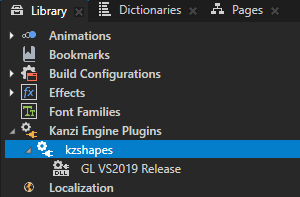
You can now create vector shape nodes in your project. See Working with ….