Filling a shape
You can adjust the appearance of a shape node by filling:
A 2D shape node with a brush. See Filling a 2D shape node.
A 3D shape node with a material. See Filling a 3D shape node.
Filling a 2D shape node
Use a brush to fill the shape in a 2D shape node.
To fill a 2D shape:
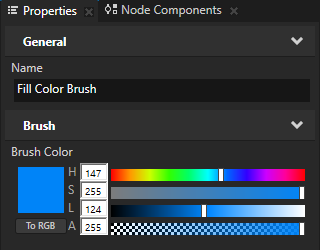
In the Library > Materials and Textures > Brushes create the brush that you want to use to fill a 2D shape node.
For example, create a Color Brush.
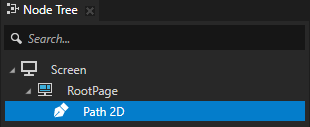
Create or select a 2D shape node that you want to fill.
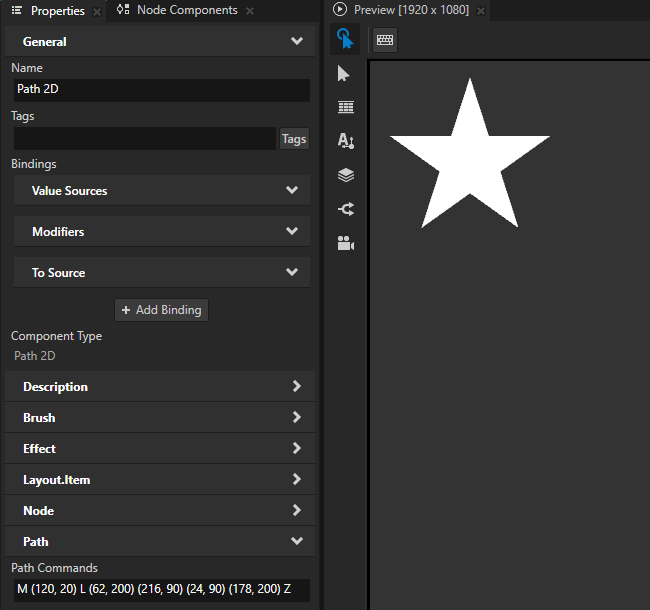
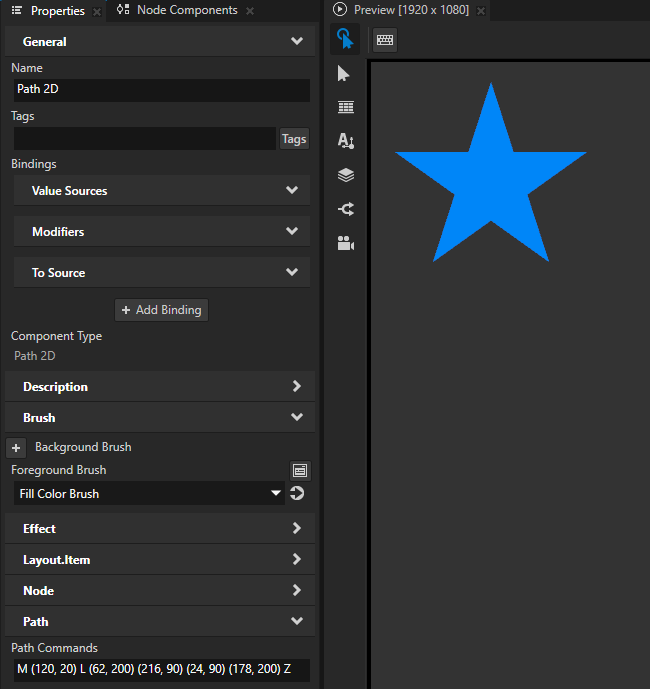
For example, in the Node Tree create a Path 2D node and in the Properties set the Path Commands property to
M (120, 20) L (62, 200) (216, 90) (24, 90) (178, 200) Z
When you create a closed 2D shape, that shape by default has a white fill and no stroke.
In the Properties add the Foreground Brush property, and set it to the brush that you created.
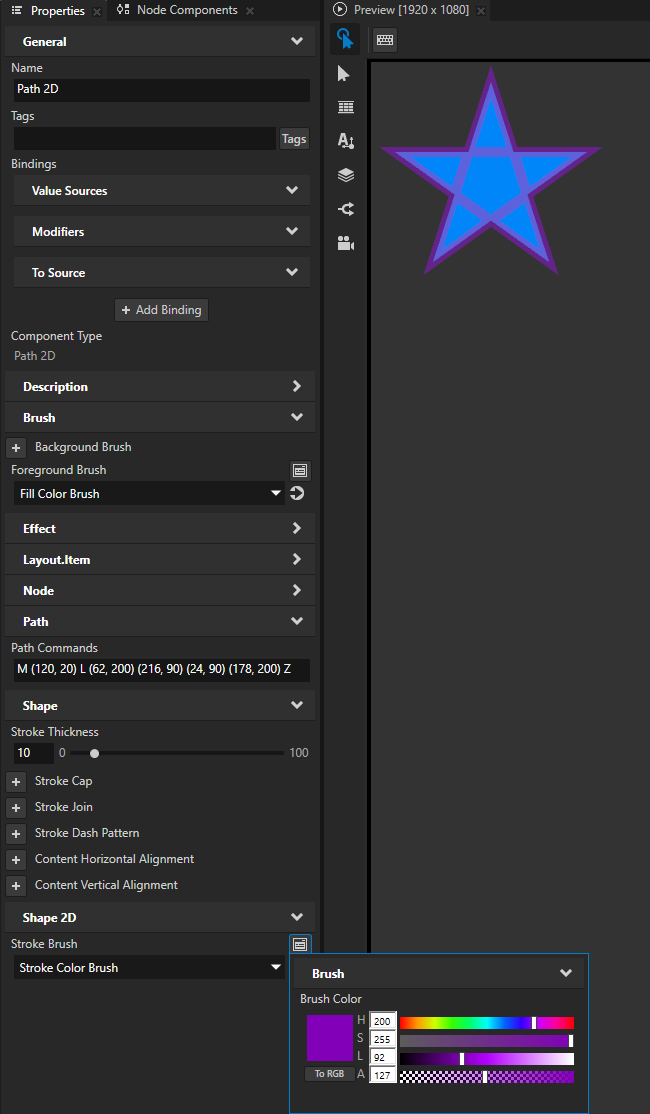
(Optional) To set the appearance of the outline of the 2D shape, add and set the Stroke Brush and Stroke Thickness properties. See Using stroke.
Kanzi renders the outline on top of the fill and blends the two brushes.
Filling a 3D shape node
Use a material to fill the shape in a 3D shape node.
To fill a 3D shape:
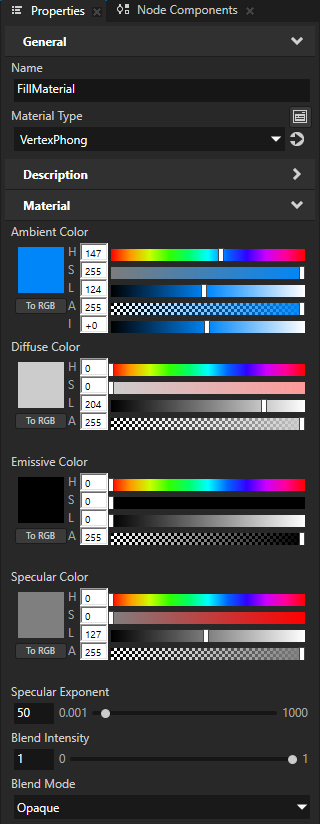
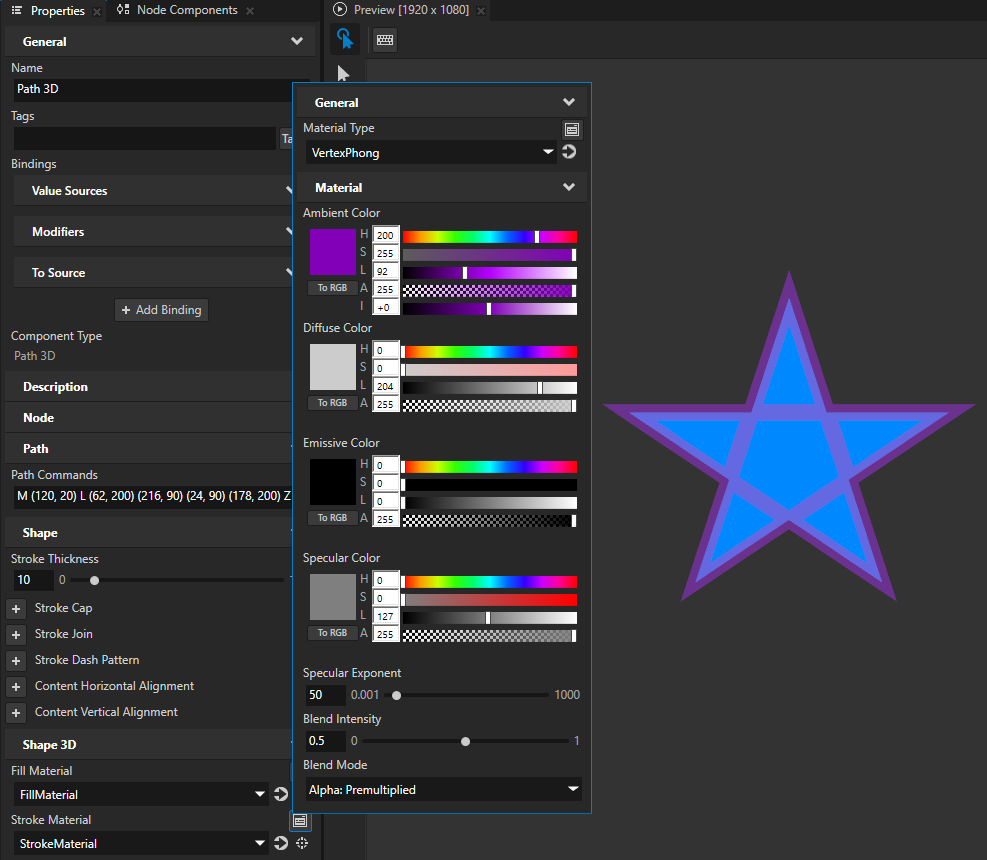
In the Library > Materials and Textures create the material that you want to use to fill a 3D shape node.
For example, create a material that uses the VertexPhong material type.
Tip
If your project does not contain the VertexPhong material type, in the Library > Materials and Textures press Alt and right-click Material Types, and select VertexPhong.
Create or select a 3D shape node that you want to fill.
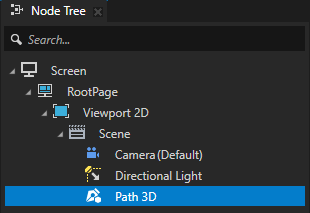
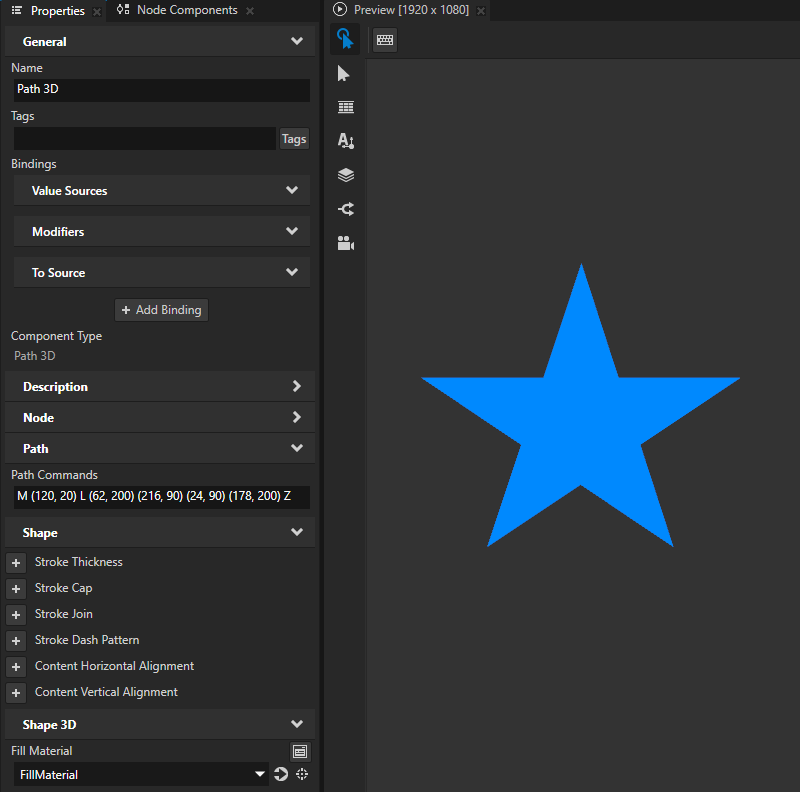
For example, in the Node Tree create a Path 3D node and in the Properties set the Path Commands property to
M (120, 20) L (62, 200) (216, 90) (24, 90) (178, 200) Z
When you create a closed 3D shape, that shape by default has a black fill and no stroke.
In the Properties add the Fill Material property and set it to the material that you created.
(Optional) To set the appearance of the outline of the 3D shape, add and set the Stroke Material and Stroke Thickness properties. See Using stroke.
Kanzi renders the outline on top of the fill and blends the two materials.
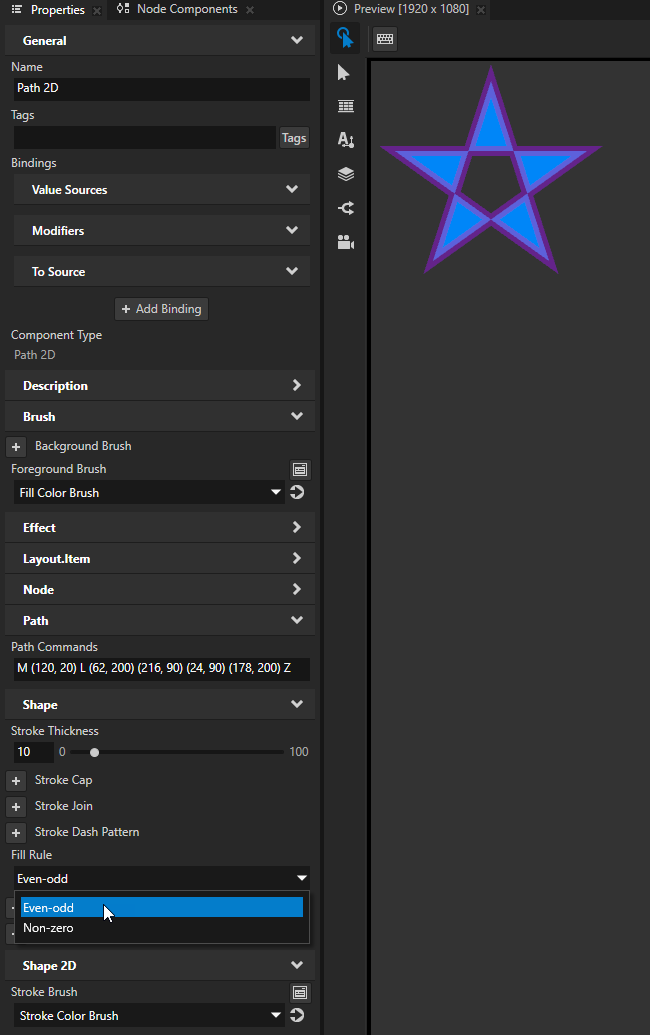
Setting the fill rule
When you want to determine what is the inside part of a shape to fill, use the Shape > Fill Rule property.
To set which parts of a shape to fill:
Create or select a shape node and fill it. See Filling a 2D shape node and Filling a 3D shape node.
In the Properties add the Shape > Fill Rule property and set it to:
Even-odd determines whether a point is inside a shape by drawing a ray from that point to infinity in any direction and counting the number of path segments from the given shape that the ray crosses. If this number is odd, the point is inside the path. Otherwise, the point is outside the path.

Non-zero determines whether a point is inside a shape by drawing a ray from that point to infinity in any direction and then examining the places where a segment of the shape crosses the ray. Starting with a count of zero, the algorithm adds one each time a path segment crosses the ray from left to right and subtracts one each time a path segment crosses the ray from right to left. If the final result is zero, the point is outside the path. Otherwise, the point is inside the path.
This is the default fill rule.