Using the Rectangle nodes
Use the Rectangle nodes to draw rectangles.
Creating a rectangle
To create a rectangle:
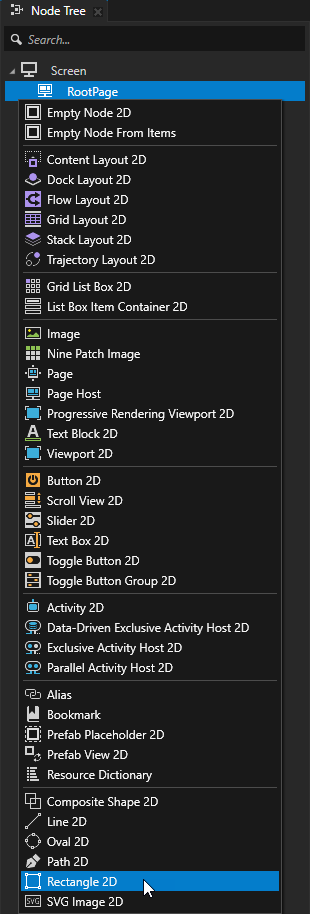
In the Node Tree or Prefabs press Alt and right-click the node where you want to create a Rectangle node and select either Rectangle 3D, or Rectangle 2D.
Note that you can create a 3D node only inside 3D nodes, and a 2D node only inside 2D nodes.
Set the fill and stroke of the rectangle. See Filling a shape and Using stroke.
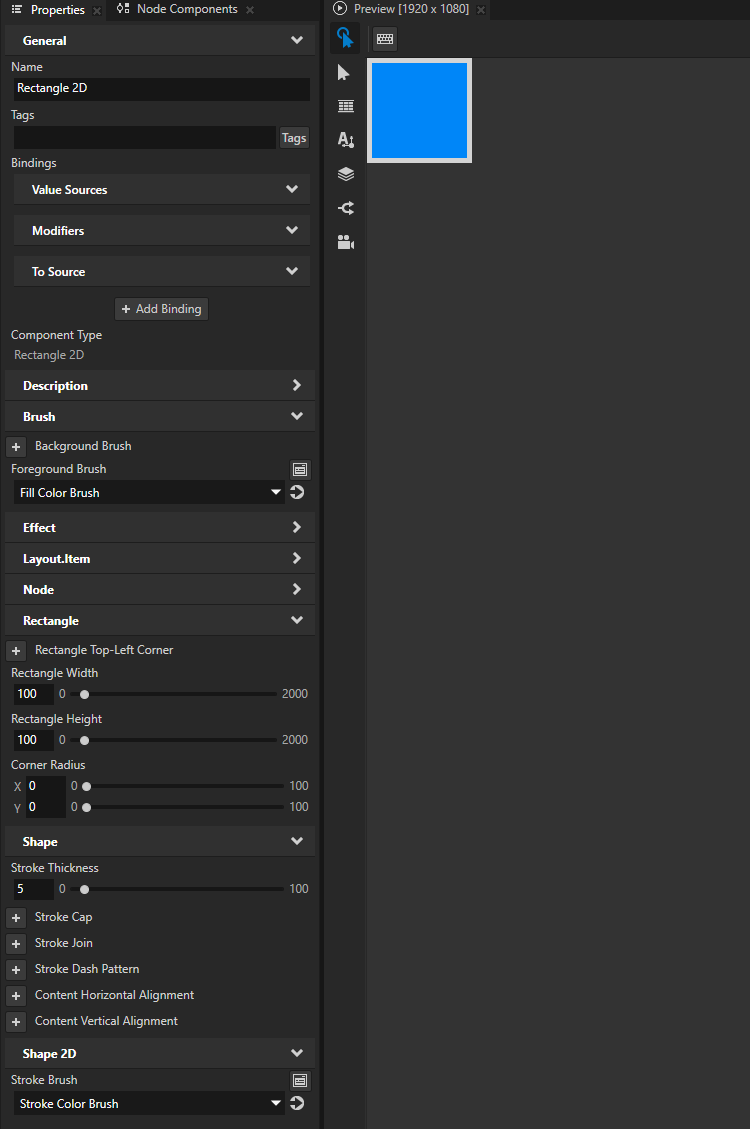
In the Properties add and set:
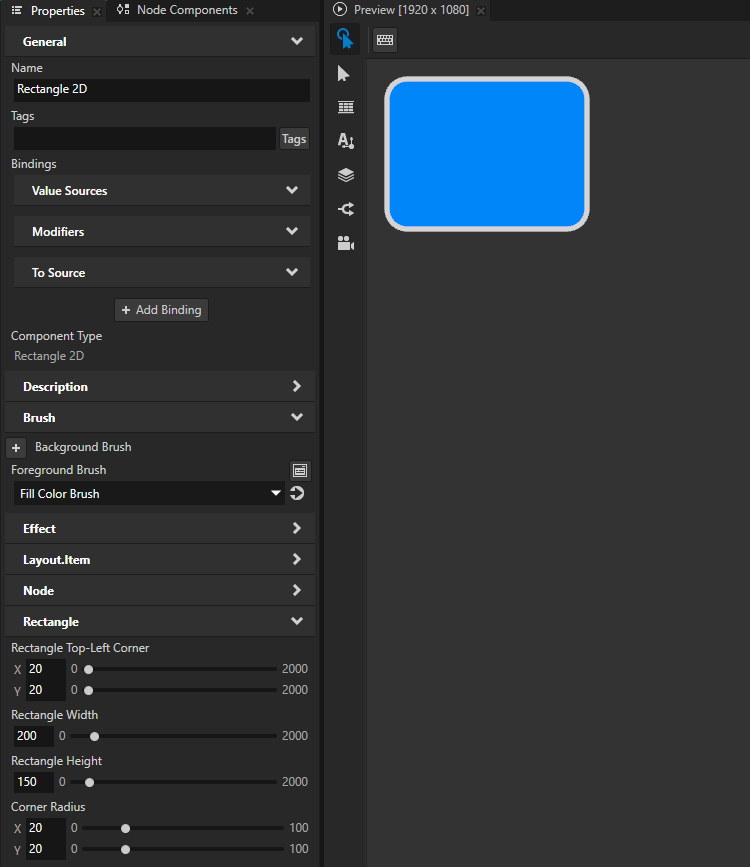
Rectangle Width and Rectangle Height to set the size of the rectangle
Rectangle Top-Left Corner to the position along the x and y axis where you want to set the top-left corner of the rectangle
Corner Radius to the amount of roundness that you want for the corners of the rectangle along the x and y axis
Setting the input area for a Rectangle 2D node
When you enable hit testing for a node with the Input > Hit Testable property, the entire area of that node receives input by default.
To make only the area formed by the composited geometry of the shapes in a 2D shape node receive input, in the Node Tree or Prefabs select that node and in the Properties add and enable the Shape > Exact Hit Test property.
To learn about handling user input in Kanzi, in the Kanzi framework documentation see Working with > Input.