Tutorial: Using 3D terrain and satellite images
In this tutorial, you learn how to use the 3D Terrain Renderer node, use satellite images as textures for 3D terrain, render roads on 3D terrain, and show points of interest on terrain with elevation data.
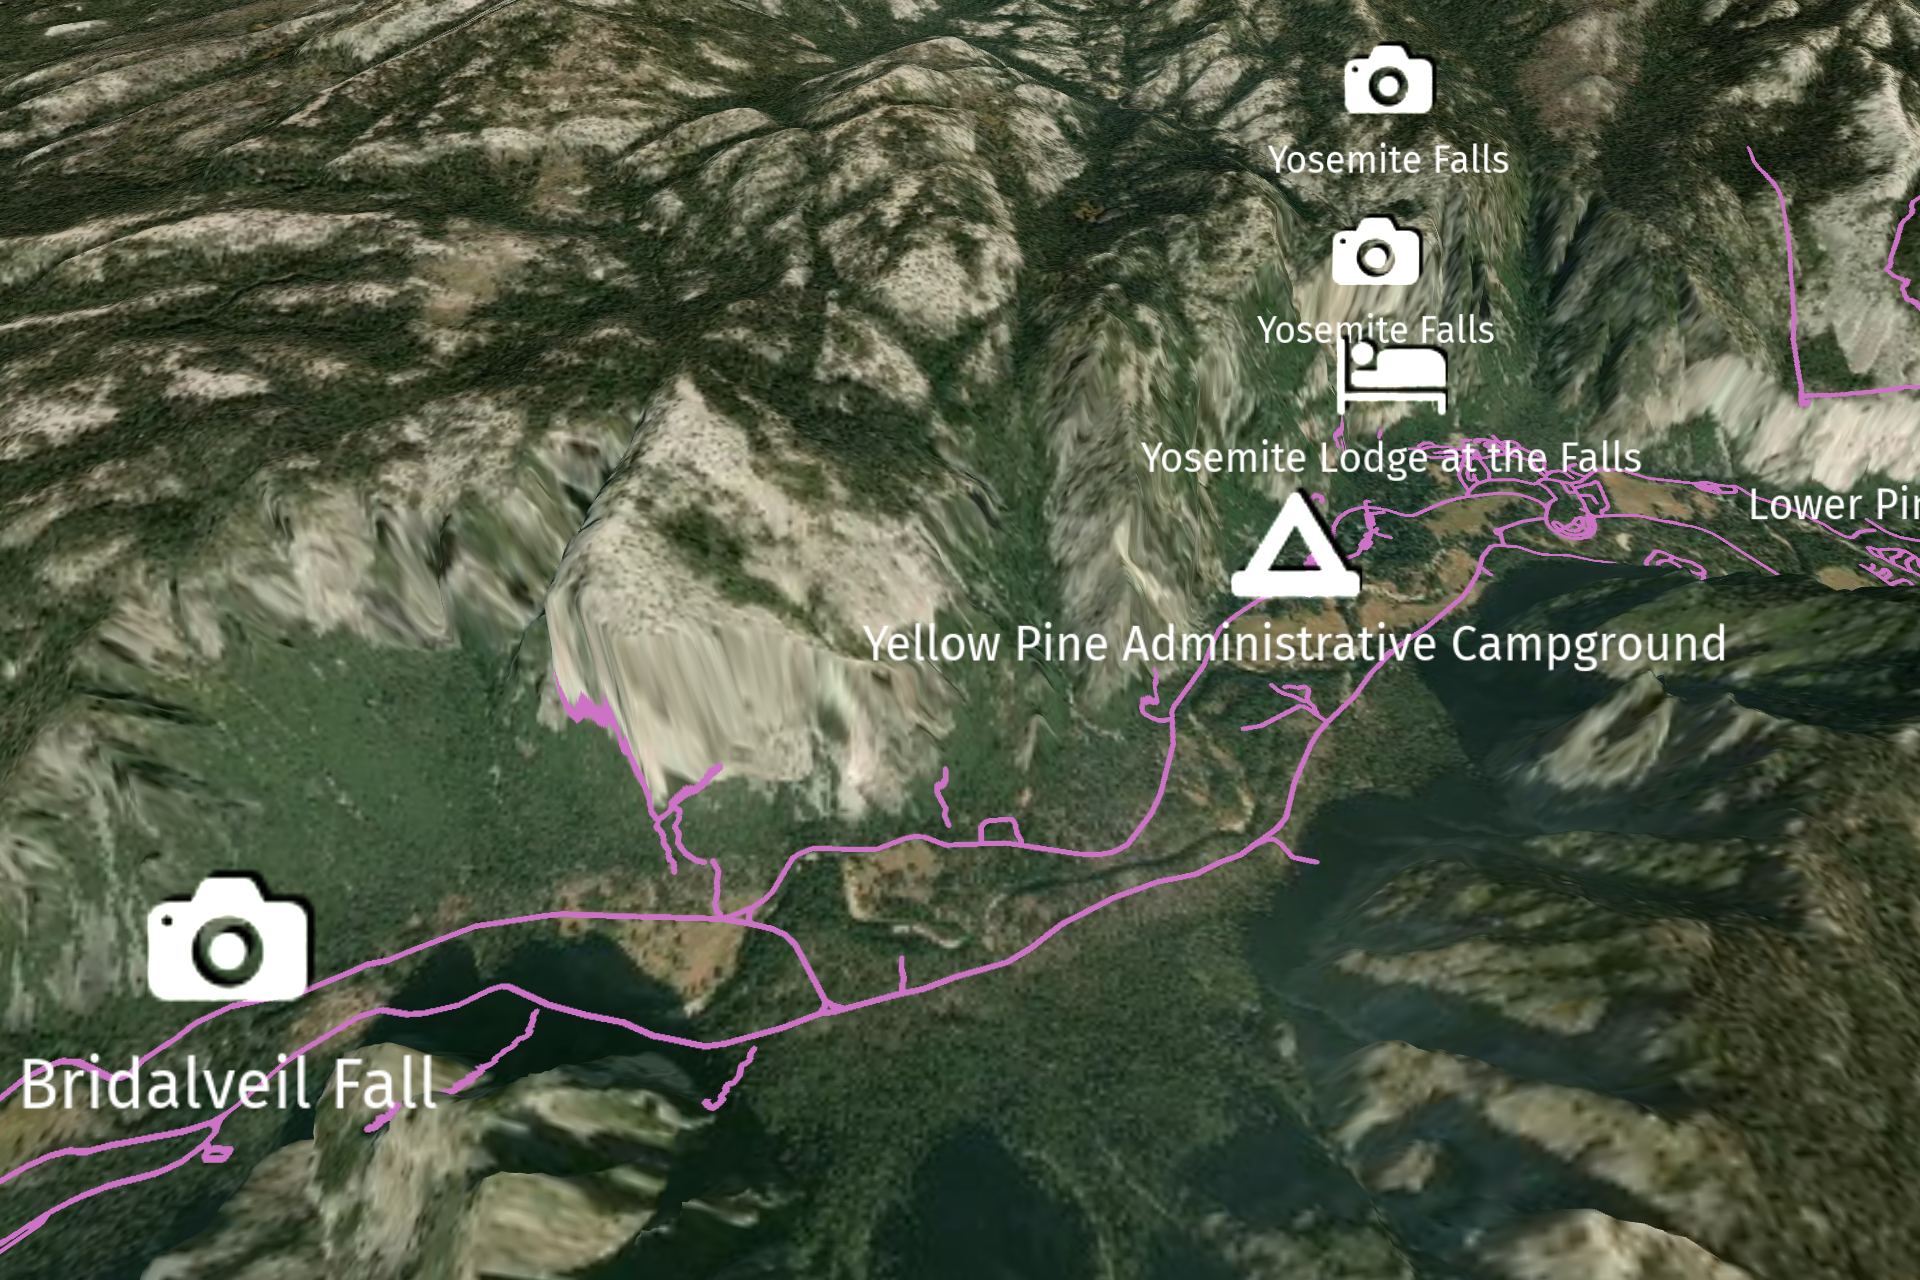
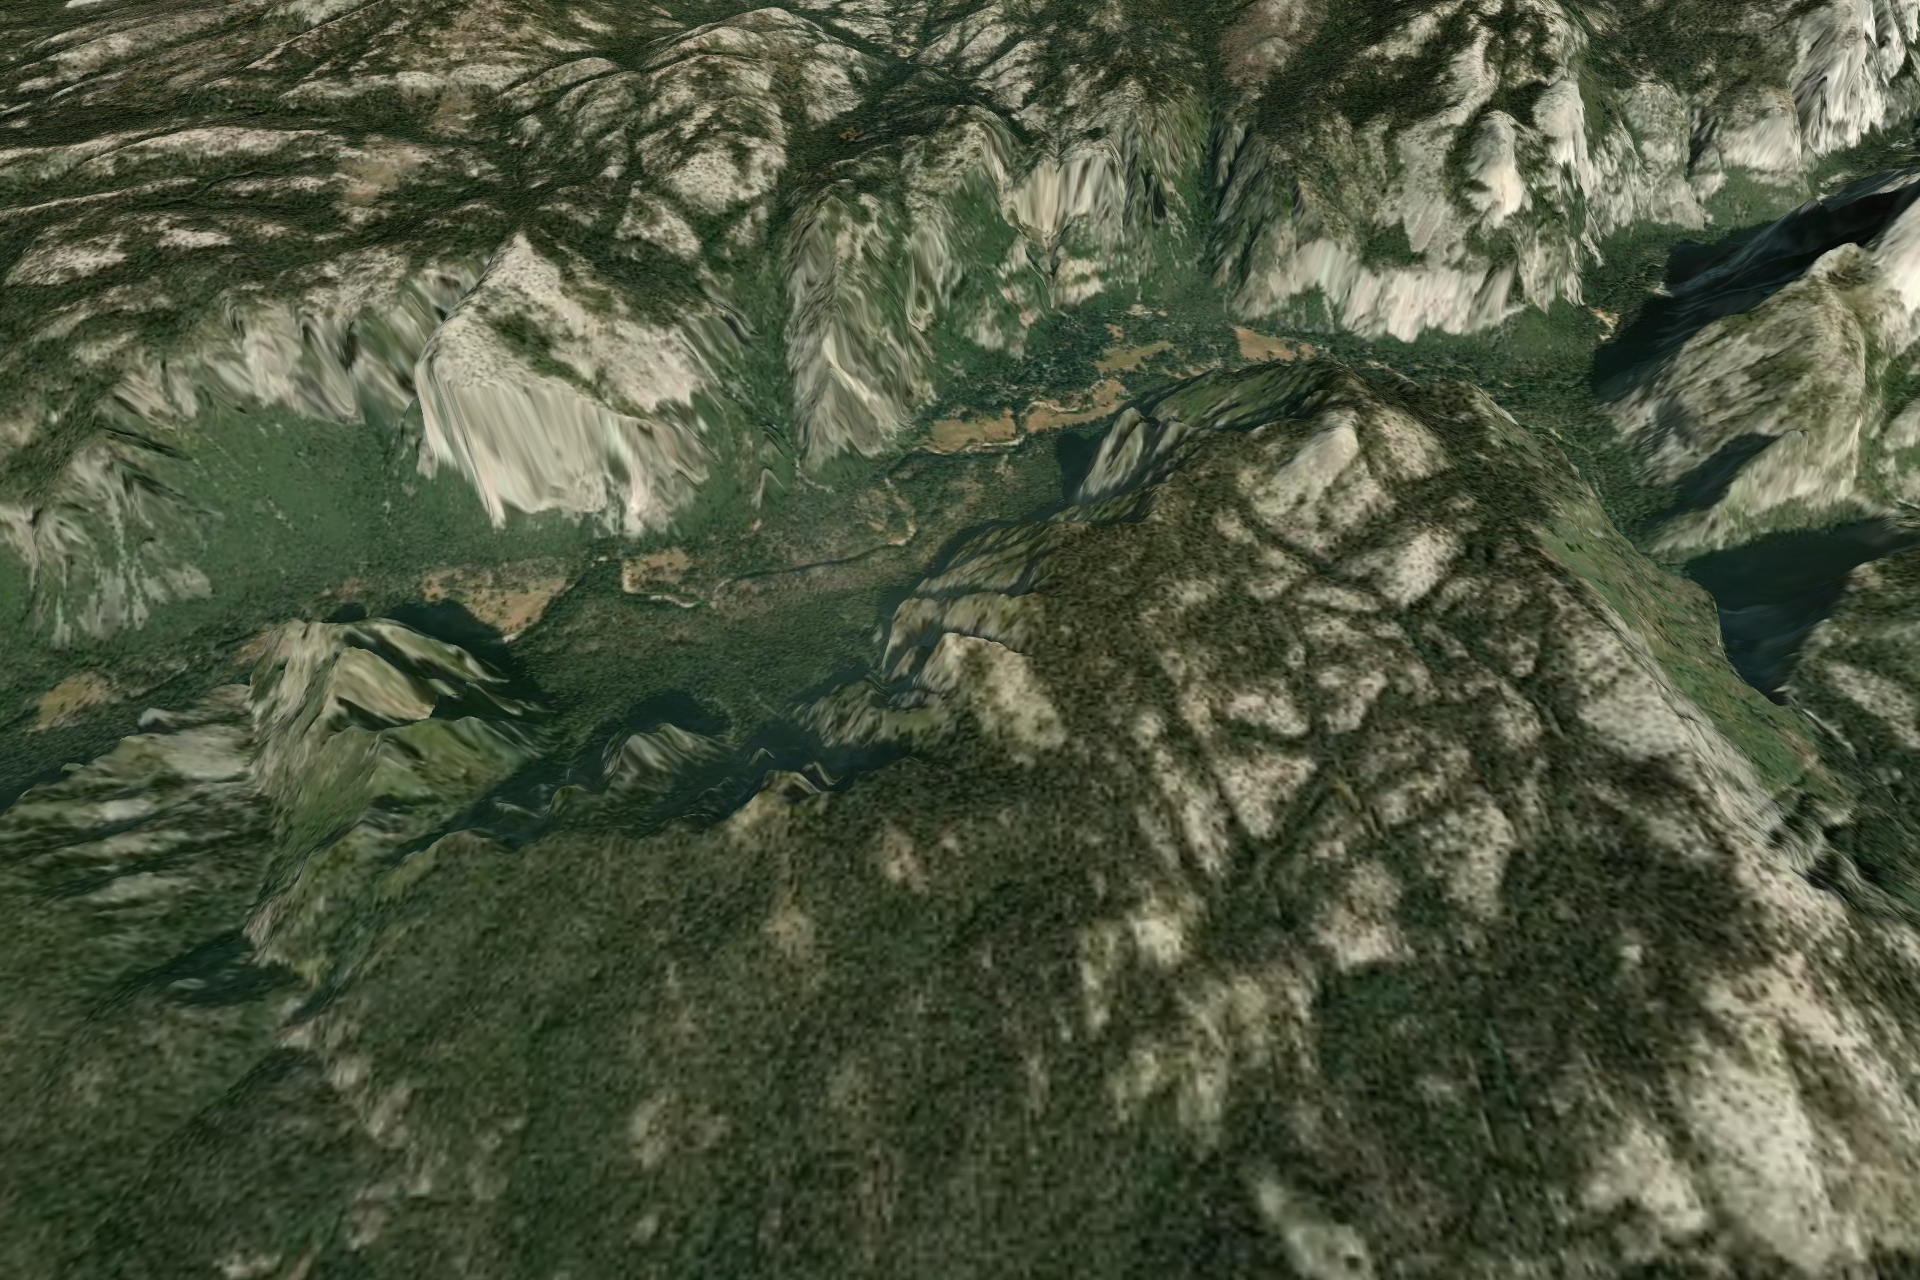
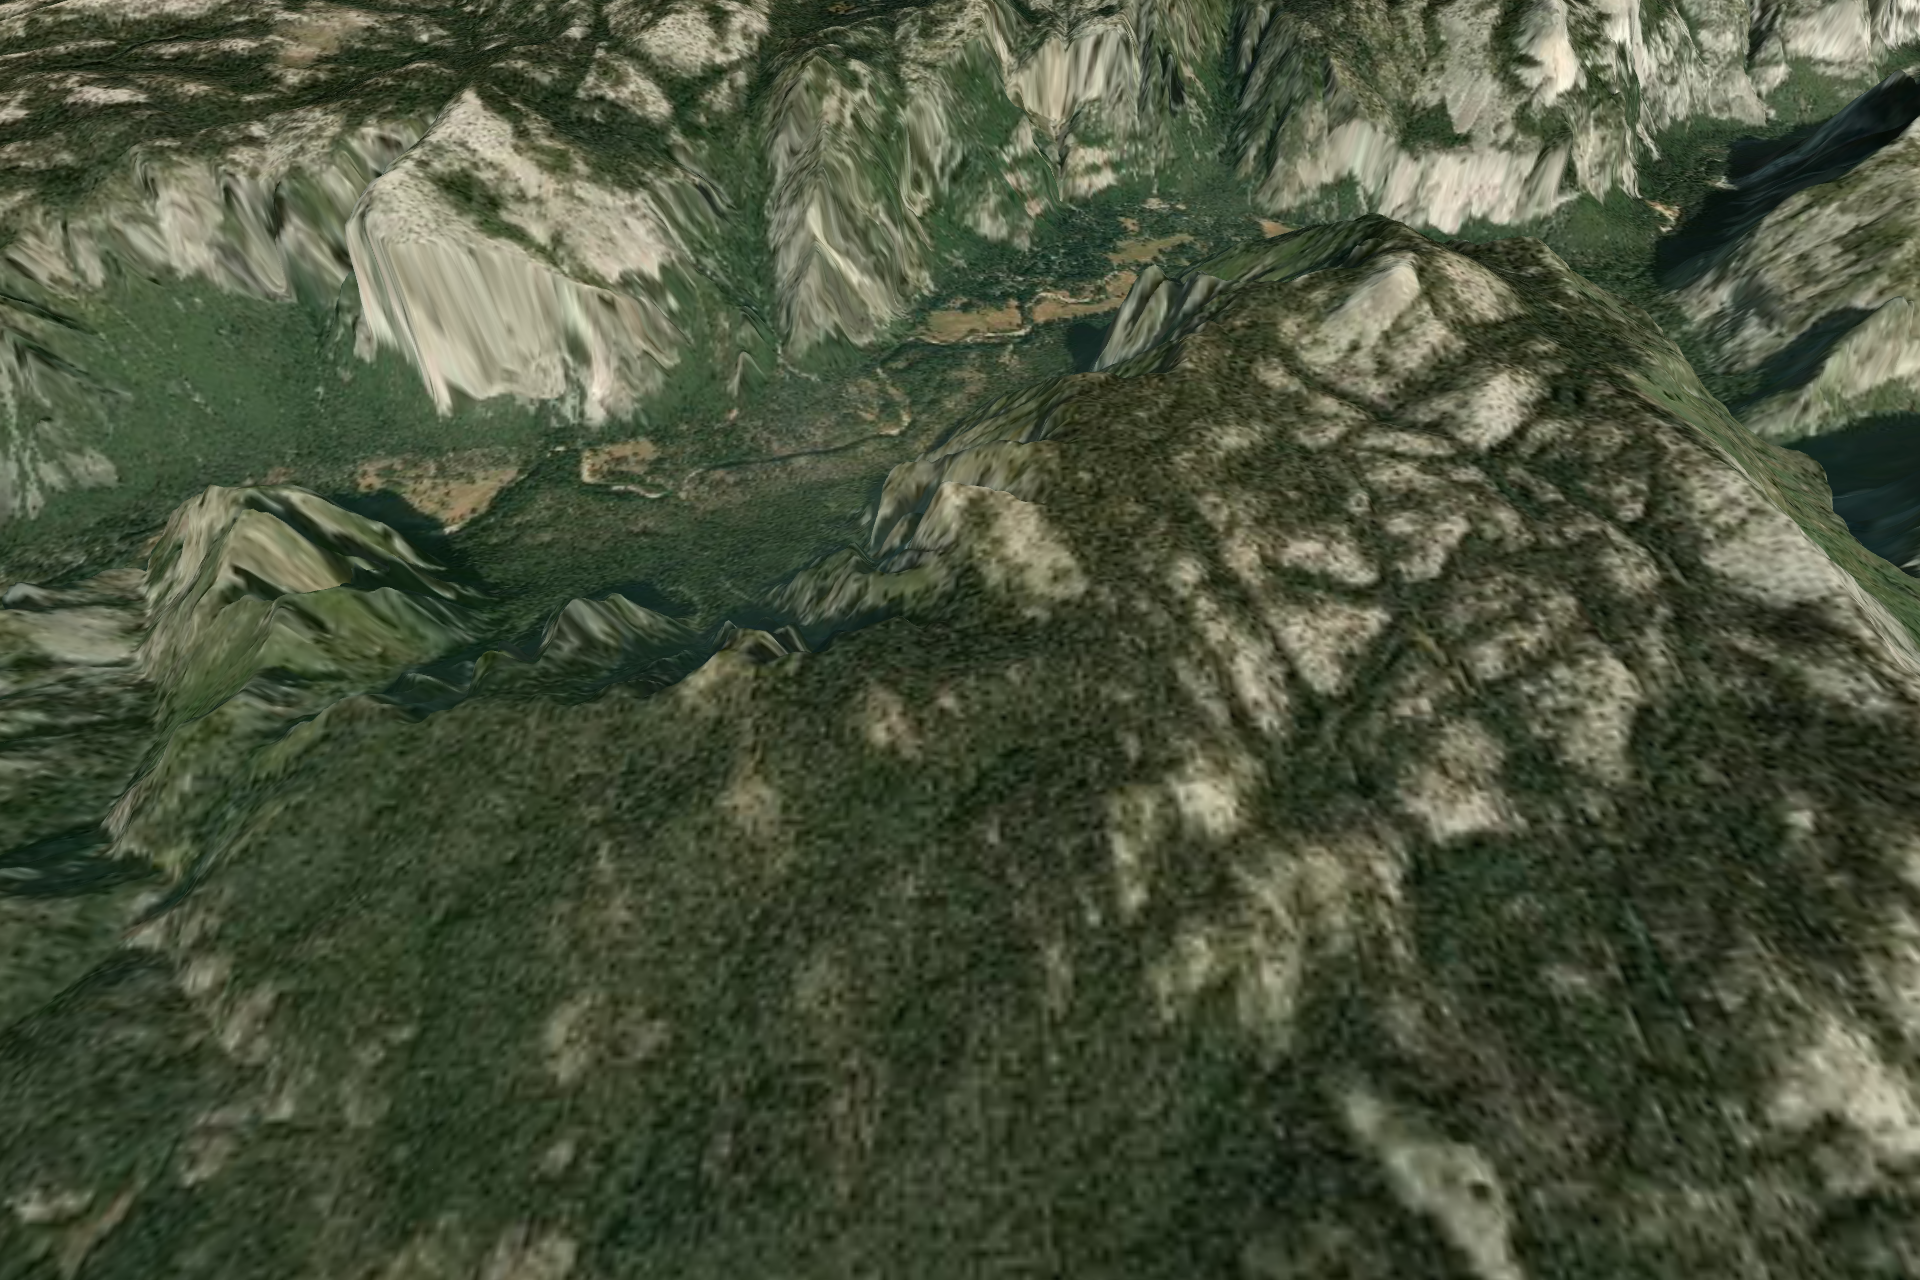
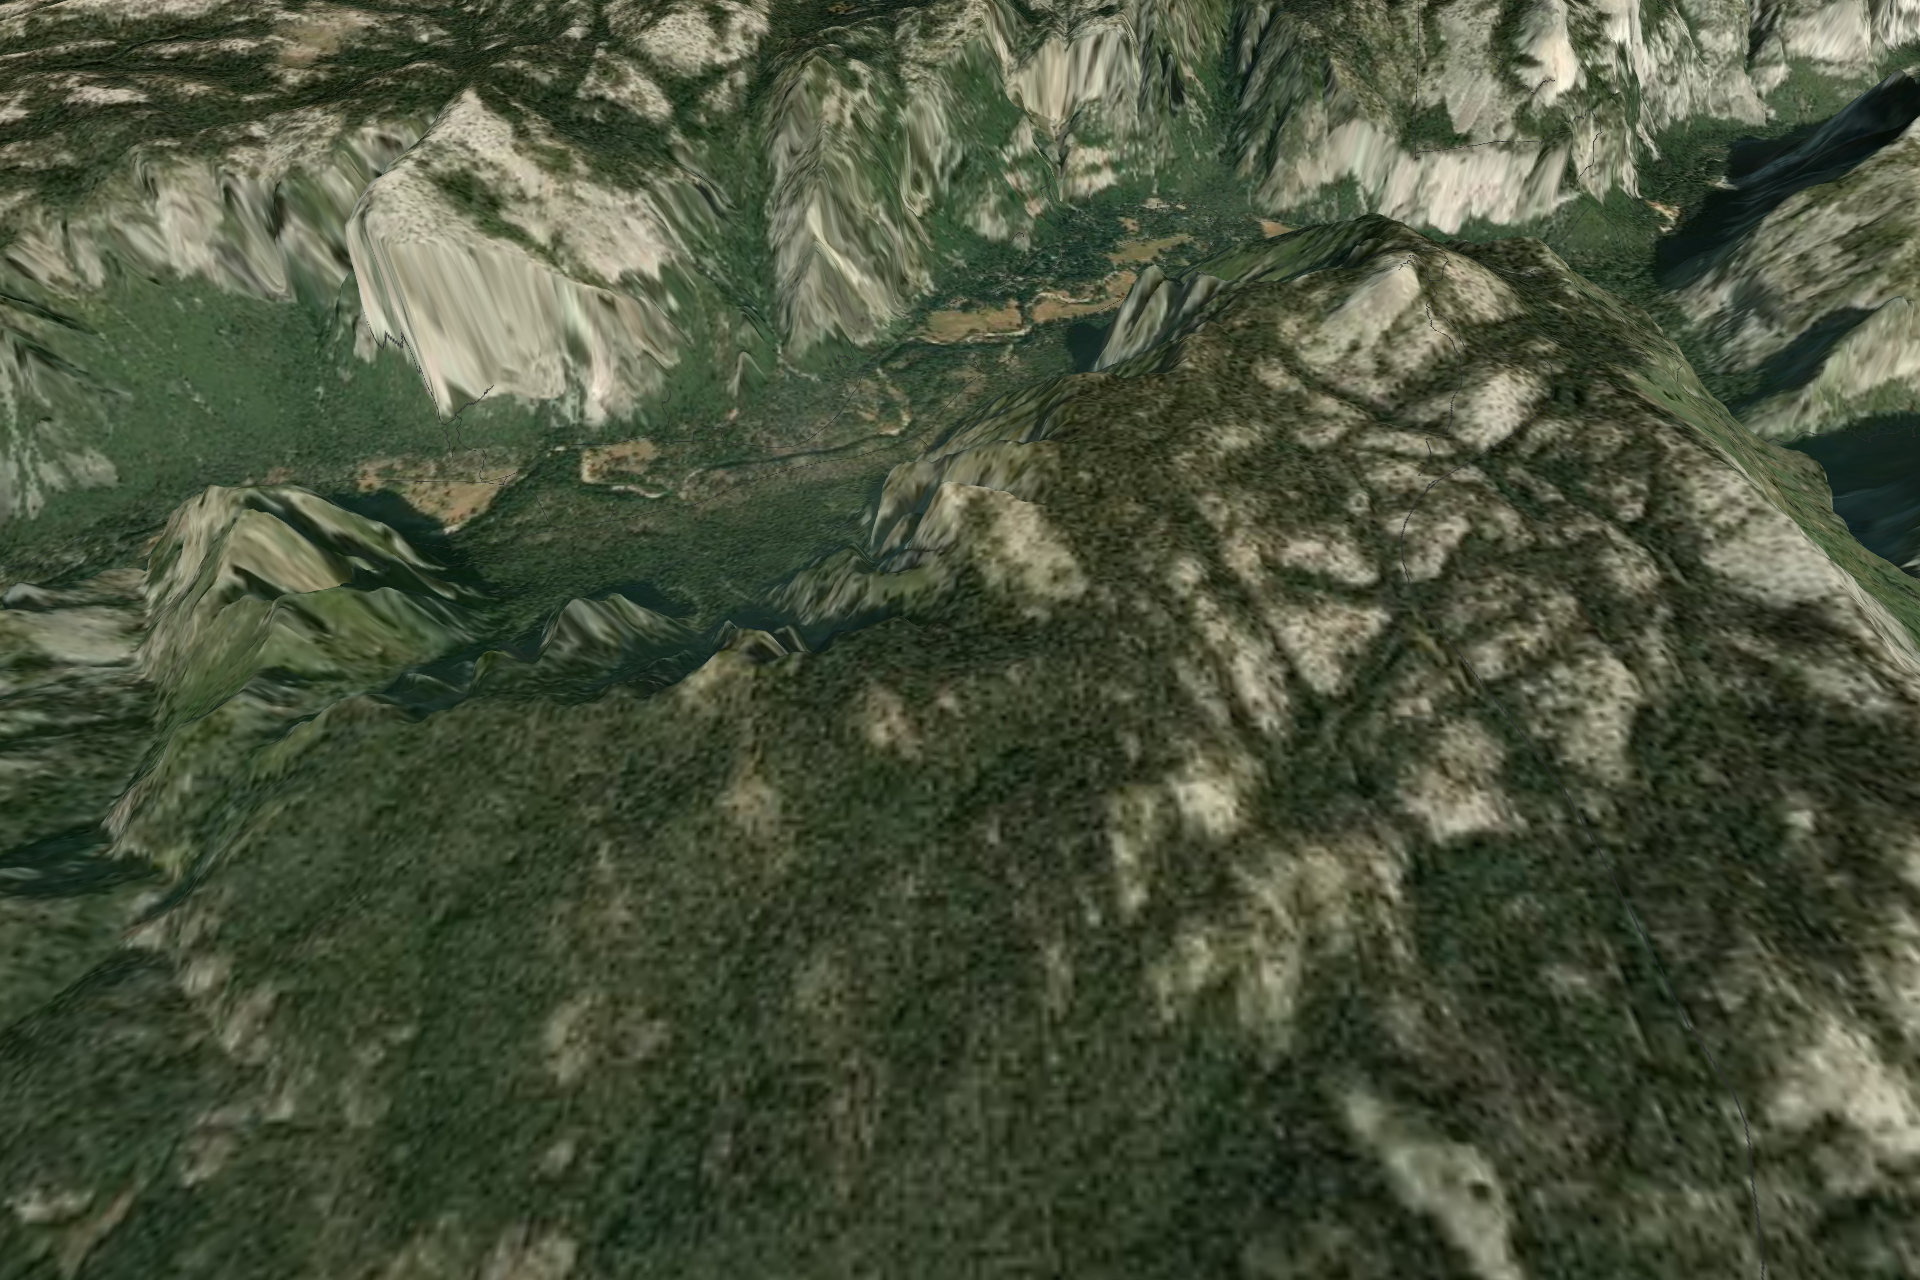
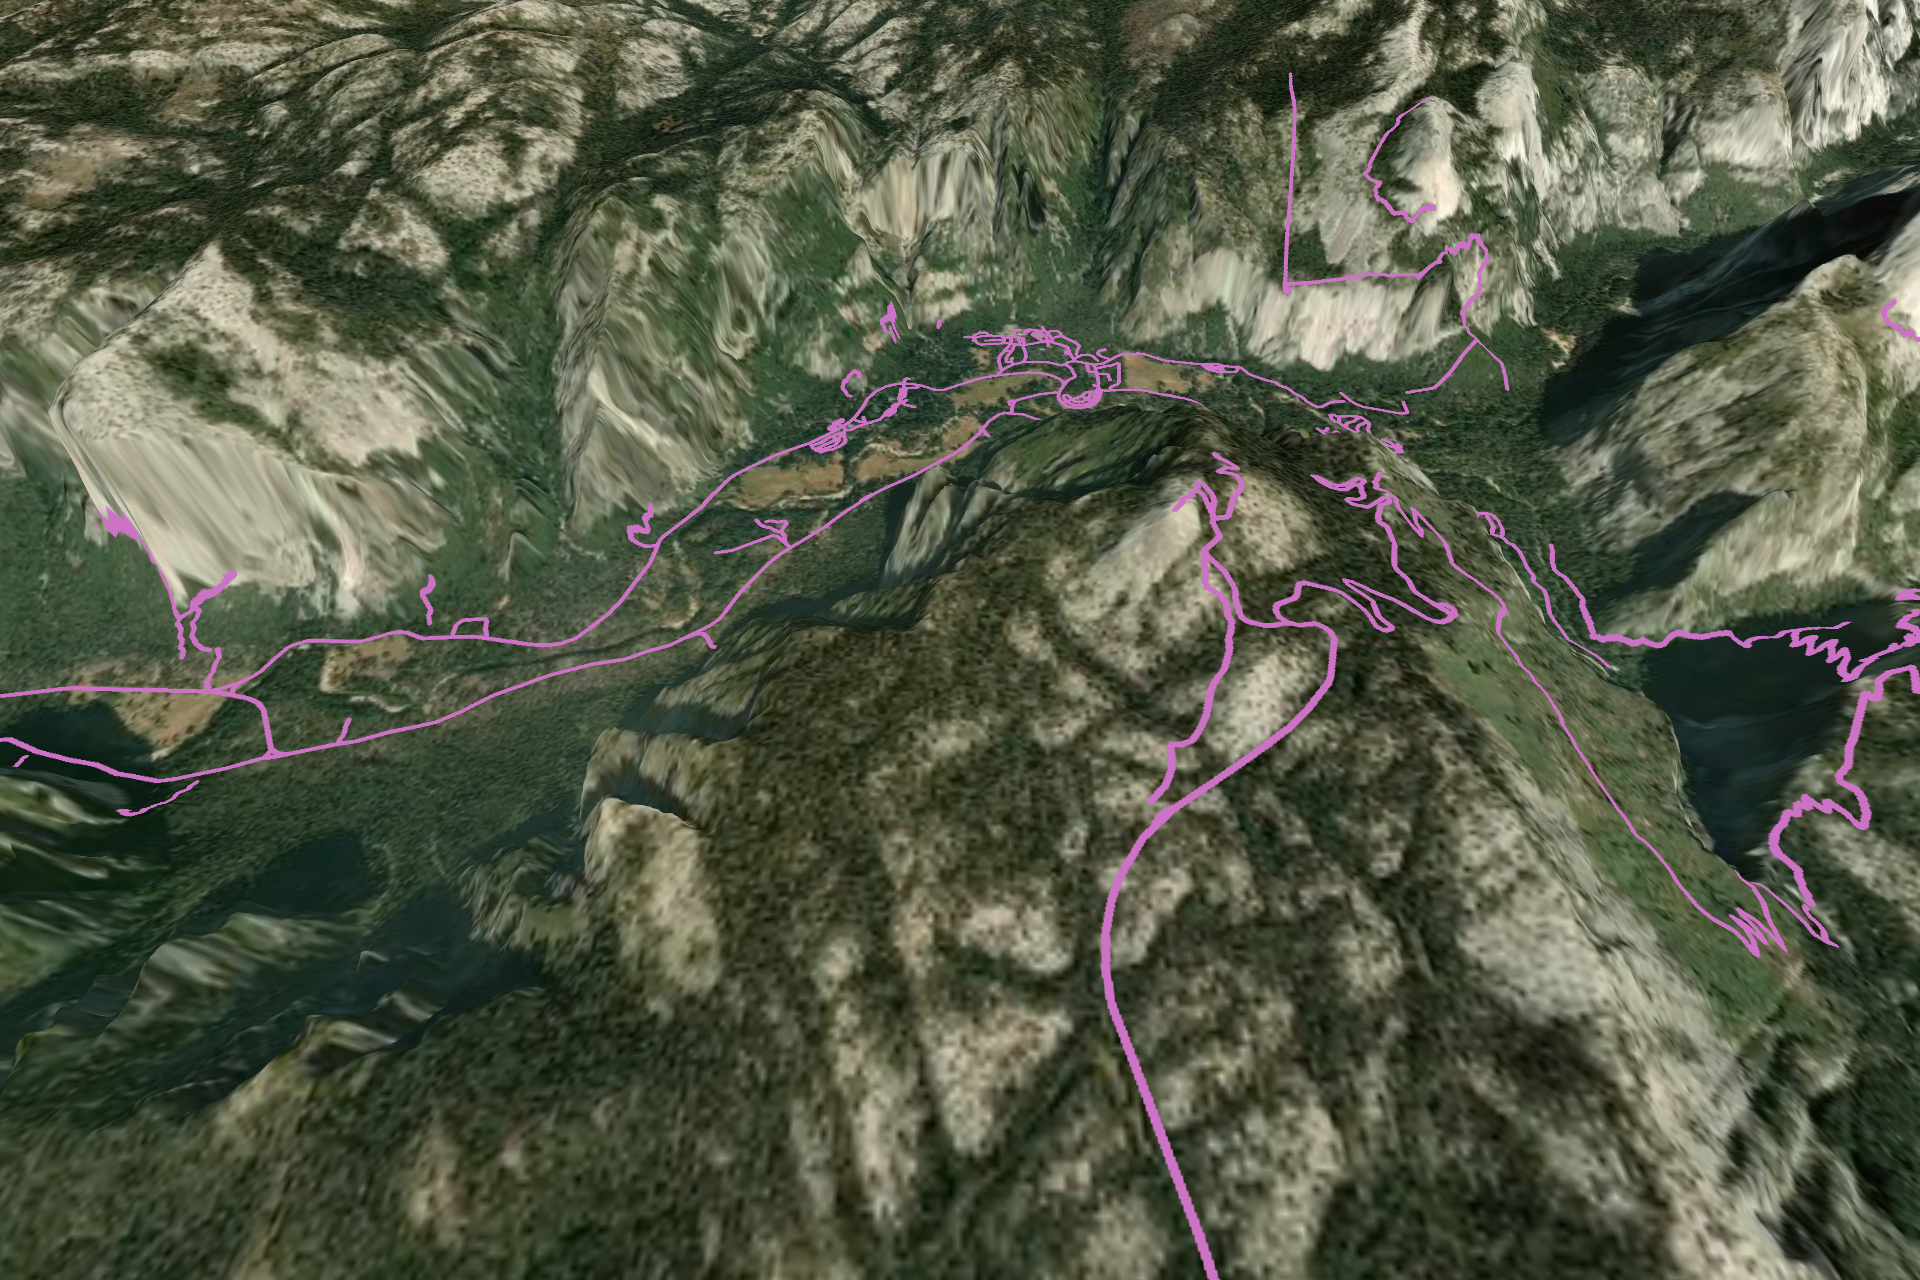
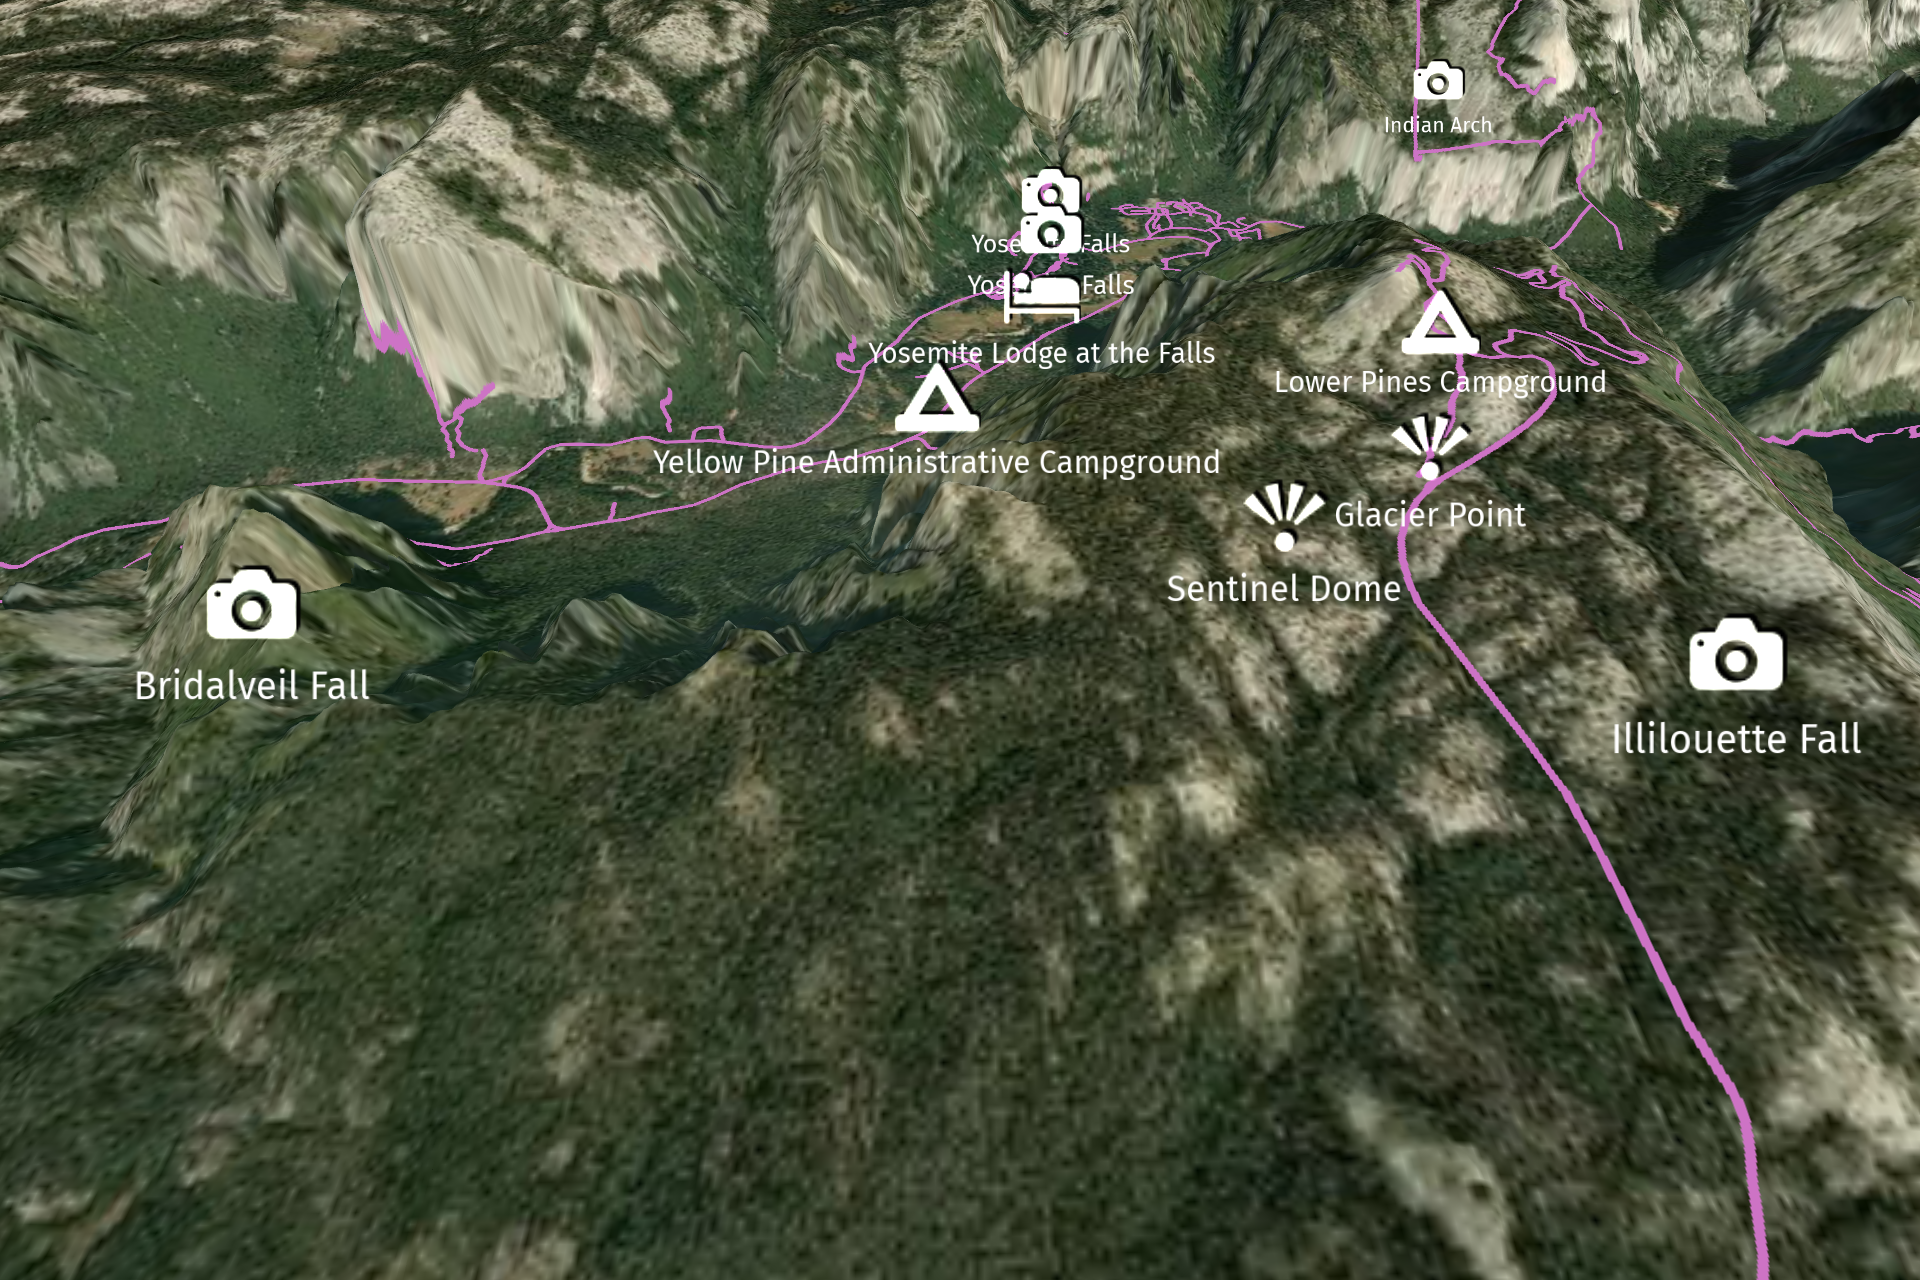
This image shows the result of the tutorial.
Assets for the tutorial
The starting point of this tutorial is the <KanziWorkspace>/Engine/plugins/maps/tutorials/Using3DTerrainAndSatelliteImages/Start/Tool_project/Using3DTerrainAndSatelliteImages.kzproj Kanzi Studio project.
You can find the completed tutorial in the <KanziWorkspace>/Engine/plugins/maps/tutorials/Using3DTerrainAndSatelliteImages/Completed directory.
In Kanzi Studio, to see the tutorial project in the Preview, in the main menu select Kanzi Maps > Set Up Kanzi Maps. This way, you copy the Kanzi Maps library files to the Application/bin directory of the tutorial project.
The starting point project contains the content that you need to complete this tutorial:
An empty Map View node.
The resource dictionary of the Viewport 2D node contains the alias that points to the Map View node. You use this alias to access that node.

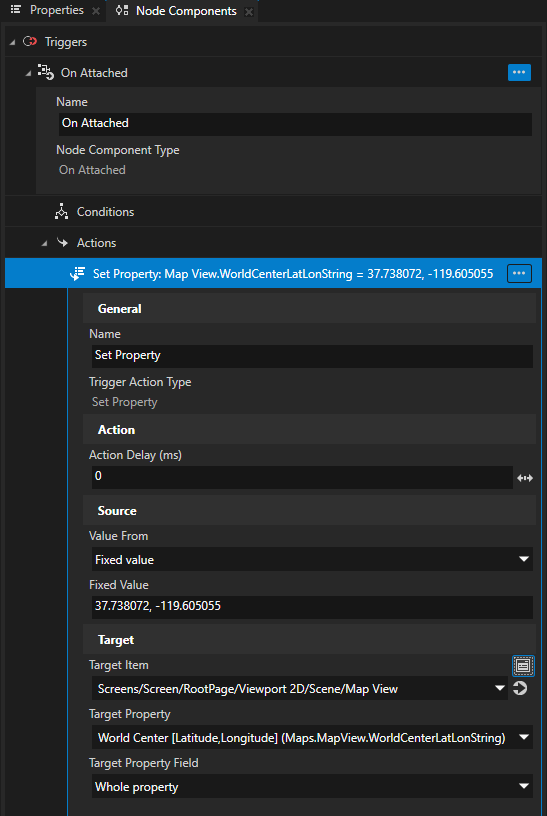
The Screen node has an On Attached trigger with a Set Property action that sets the center of the Map View node to Yosemite Valley, California.
The materials that you use to render 3D terrain and roads.
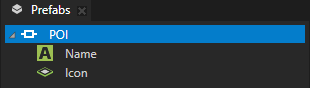
The POI prefab that renders the name and icon of a point of interest.
To learn how to create this prefab, complete the Tutorial: Points of interest and labels.
The POIs data source, which is a Tile Data Source configured to get map features from the poi_label layer.
Tile Data Source exposes all map features in the currently visible map area as a flat list. The poi_label layer provides labels for points of interest.
The Metadata Filter uses the
filterrankfield to get only the most prominent labels.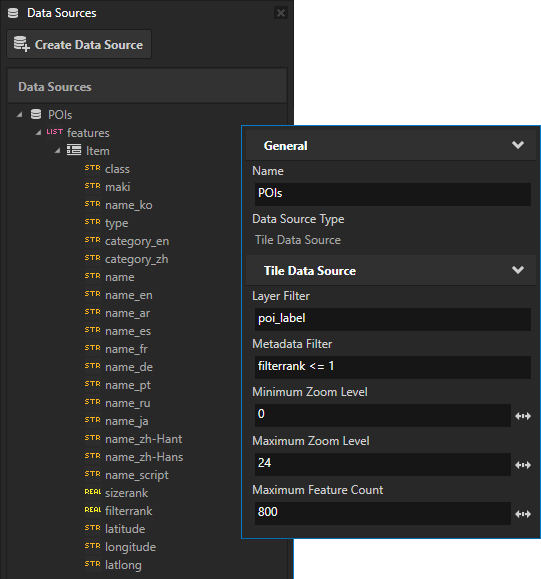
Render 3D terrain
In this section, you learn how to use the 3D Terrain Renderer node to render 3D terrain.
To render 3D terrain:
In Kanzi Studio, open the
<KanziWorkspace>/Engine/plugins/maps/tutorials/Using3DTerrainAndSatelliteImages/Start/Tool_project/Using3DTerrainAndSatelliteImages.kzprojproject.In the Kanzi Studio main menu, select Kanzi Maps > Set Up Kanzi Maps.
This way, you copy the Kanzi Maps library files to the
Application/bindirectory of the tutorial project.
If Kanzi Studio asks whether you want to set the map plugin credentials, click Yes and set up your Mapbox credentials. See Setting up your Mapbox credentials.
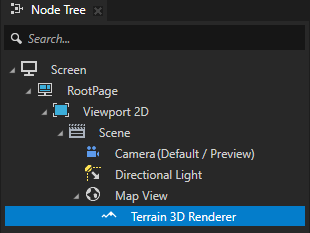
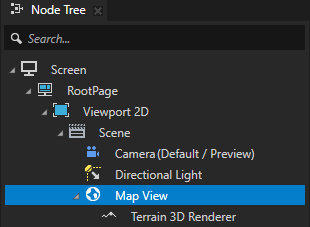
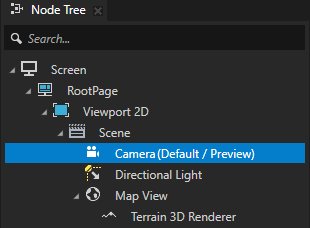
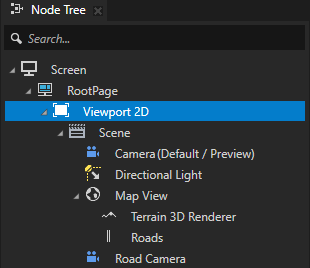
In the Node Tree, press Alt and right-click the Map View node and select Terrain 3D Renderer.
Use the Terrain 3D Renderer node to render a 3D terrain as a mesh. Kanzi Maps creates the mesh using a height map that you provide from a map layer.
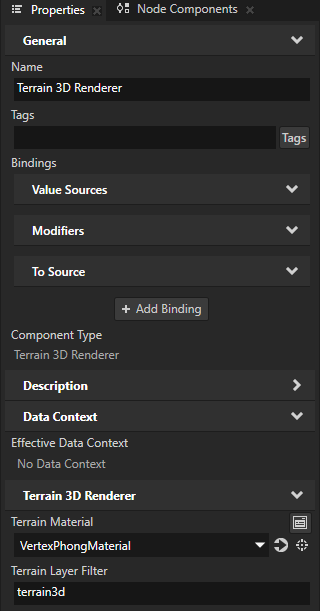
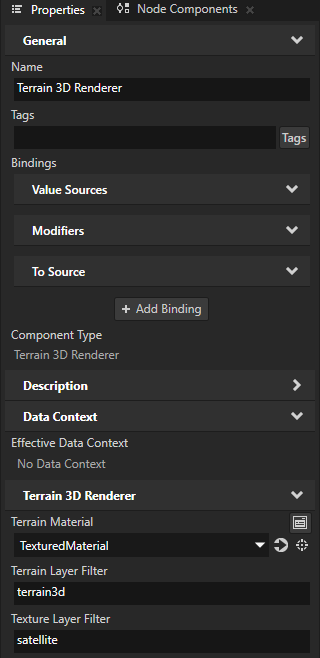
In the Properties, set:
Terrain Material to VertexPhongMaterial
Terrain Layer Filter to terrain3d
This way, you set the Terrain 3D Renderer to get the height map, which provides the elevation data for the terrain, from the
terrain3dmap layer.
In the Properties, set:
Terrain Material to TexturedMaterial
This material renders texture data.
Texture Layer Filter to satellite
This way, you set the Terrain 3D Renderer to get the texture for the Terrain Material from the
satellitemap layer. Kanzi Maps applies the texture to the Texture property of the material.
Follow the terrain elevation with the camera
The camera does not follow the elevation differences in the terrain. In this section, you use the Height Component node component to get the terrain height. You then use the height to control the position of the camera.
To follow the terrain elevation with the camera:
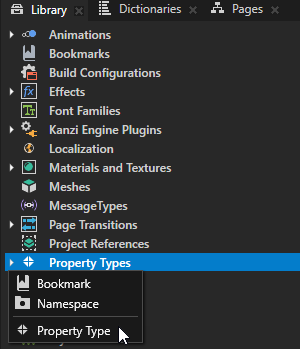
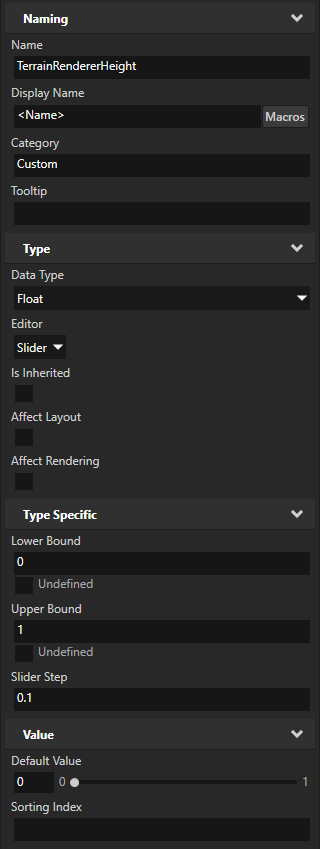
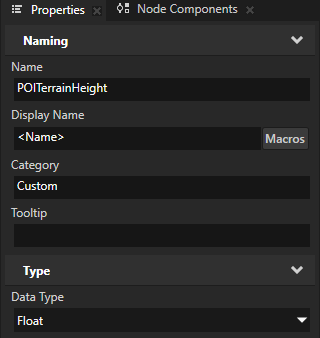
In the Library > Property Types, create a property type and name it TerrainRendererHeight. Leave the Data Type set to the default value Float.
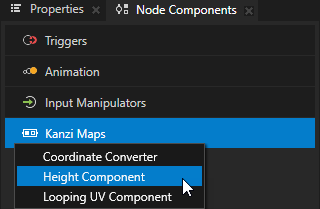
In the Node Tree, select the Terrain 3D Renderer node. In the Node Components > Kanzi Maps, create a Height Component.
Use the Height Component node component to get either the elevation at a specific location, or the minimum or maximum elevation within the currently visible map area.
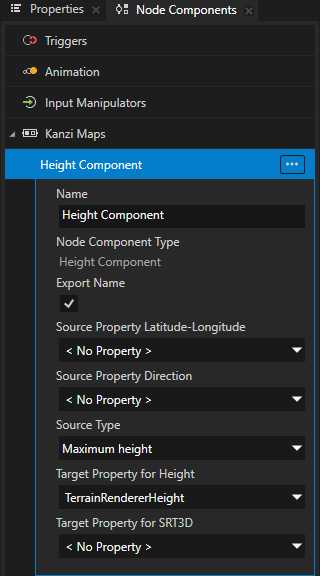
In the Height Component, set:
Source Type to Maximum height
You set the Height Component to get the maximum height value in the currently visible area of the Map View node.
Target Property for Height to TerrainRendererHeight
You set the Height Component to write the maximum height value to the TerrainRendererHeight property in the Terrain 3D Renderer node.
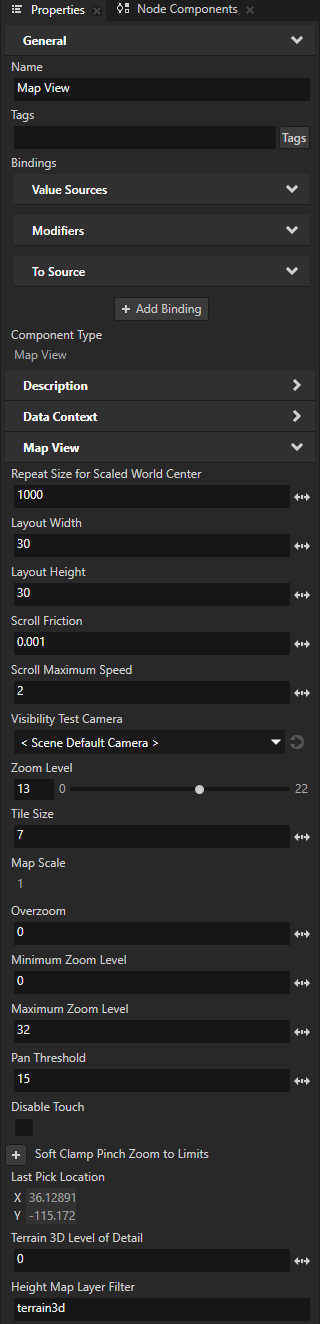
In the Node Tree, select the Map View node. In the Properties, set the Height Map Layer Filter property to terrain3d.
The Height Component node component, which you created, uses this filter.
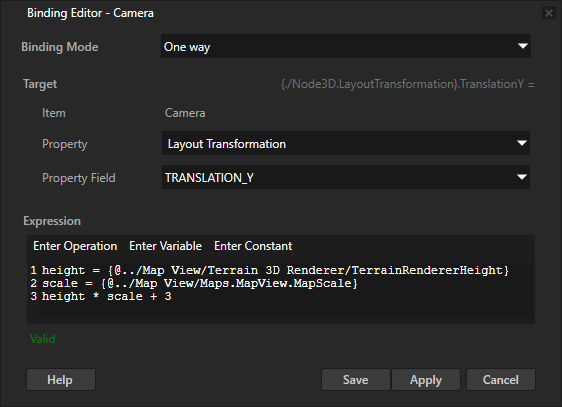
In the Node Tree, select the Camera node. In the Properties, click + Add Binding and in the Binding Editor, set:
Property to Layout Transformation
Property Field to TRANSLATION_Y
Expression to
height = {@../Map View/Terrain 3D Renderer/TerrainRendererHeight}
scale = {@../Map View/Maps.MapView.MapScale}
height * scale + 3
You bind the position of the camera on the y axis to the height of the terrain. You scale the height value by the Map Scale property of the Map View node. This way, you convert the height value from Mercator meters to Kanzi world space. You add a fixed offset of 3 units to make sure that the camera stays well above the surface of the terrain.
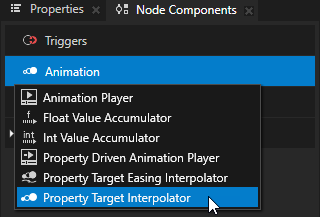
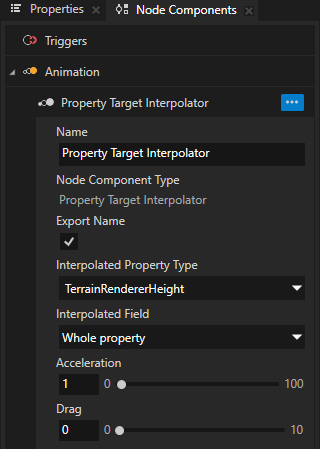
In the Node Tree, select the Terrain 3D Renderer node. In the Node Components > Animation, create a Property Target Interpolator and set the Interpolated Property Type to TerrainRendererHeight.
The Property Target Interpolator interpolates the value of a property from its current value to the target value over time, emulating the behavior of a spring-damper system which never overshoots.
You use Property Target Interpolator to animate the changes in the camera height. This way, you make the camera follow the terrain smoothly.
Tip
To pan the map in the Preview, click and drag the left mouse button.
Render roads on 3D terrain
In this section, you render roads on the 3D terrain. You use the Stroke Renderer node that renders 2D roads, which is why you need to first render the roads to a texture and then apply that texture to the terrain mesh.
To render roads on 3D terrain:
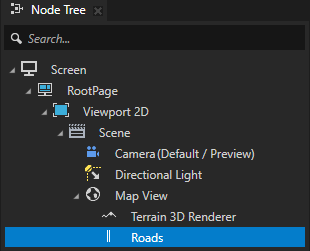
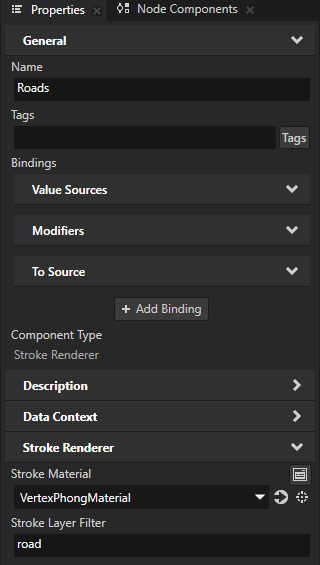
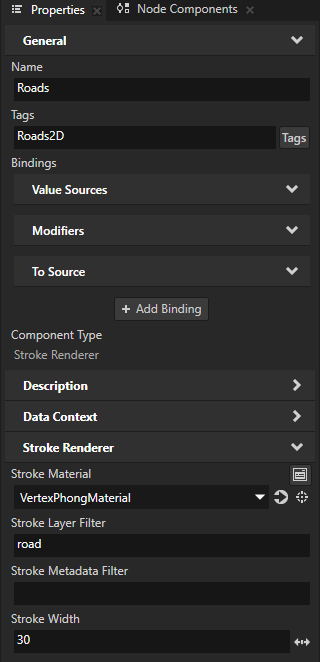
In the Node Tree in the Map View node, create a Stroke Renderer node and name it Roads.
Use the Stroke Renderer node to render roads, rivers, and borders. The Stroke Renderer renders stroked 2D and 3D line string geometry and stroked 2D polygons.
In the Properties, set:
Stroke Material to VertexPhongMaterial
Stroke Layer Filter to road
You do not yet see the roads in the Preview because Kanzi renders the roads under the elevated terrain.
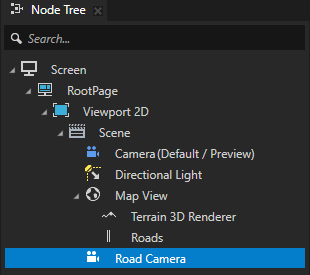
In the Node Tree in the Scene node, create a Camera node and name it Road Camera. In the Properties, set:
Projection Type to Orthographic
You use an orthographic camera to view the roads from top, so that you can render the roads to a texture.
Orthogonal Plane Size to 15
This property defines the half width or half height of the view plane of the orthographic camera. You set the property to half of the Layout Width and Layout Height of the Map View node. This way, the camera covers the active area of the Map View.
Layout Transformation property fields:
Rotation X to -90
Translation Y to 10
You position the camera directly above the Map View, facing down.
Tip
To activate a camera in the Preview, double-click that camera in the Node Tree.
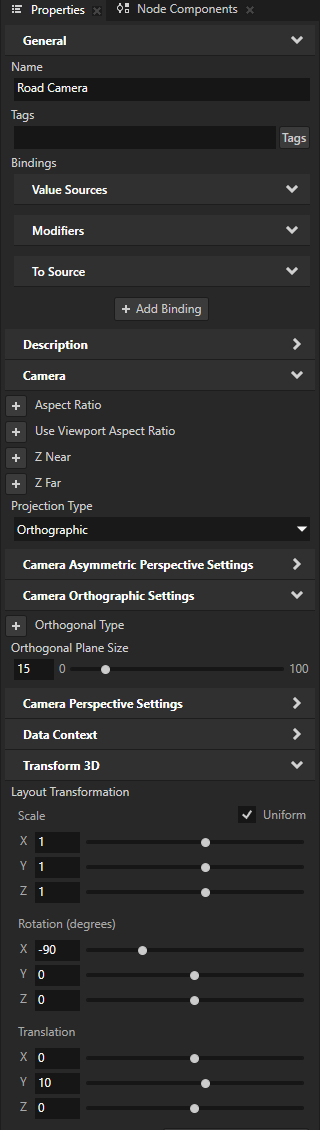
In the Library > Materials and Textures > Textures, create a Render Target Texture and name it RoadsTexture. In the Properties, set the Width and Height properties to 4096.
You render all roads in the viewport to this one texture. By setting the size of the texture to 4096 by 4096 pixels, you enable Kanzi to render the roads at a high enough resolution.

Create a filter that picks the Roads node for rendering:
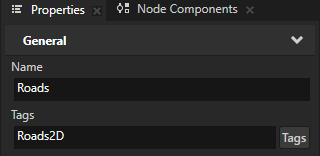
In the Node Tree, select the Roads node. In the Properties, set the Tags property to a unique tag. For example, set it to Roads2D.
Use tags to group, find, and filter nodes in your project.
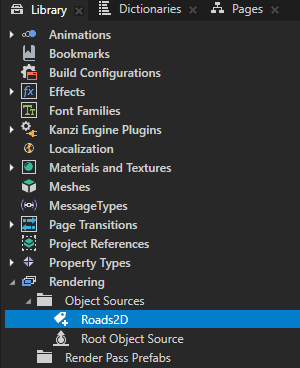
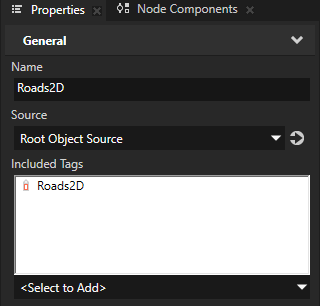
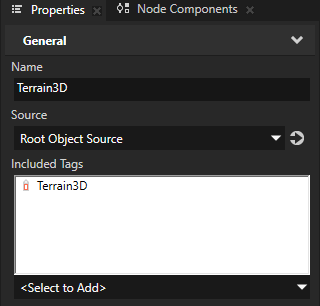
In the Library > Rendering > Object Sources, create a Tag Filter and name it Roads2D. In the Properties, set the Included Tags property to the tag that you created in the previous step.
Tag Filter collects 3D nodes that have a specific tag assigned.
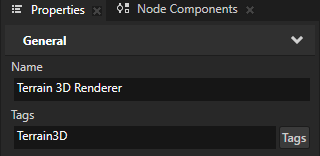
Repeat the previous step for the Terrain 3D Renderer node. For example, name the tag and filter Terrain3D.
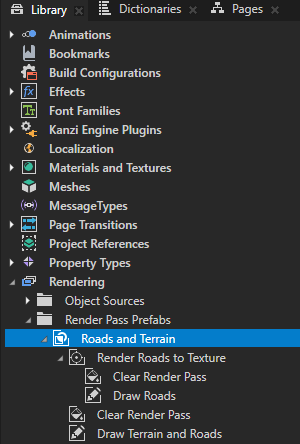
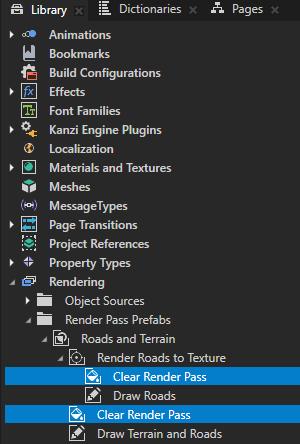
In the Library > Rendering > Render Pass Prefabs, create a Group Render Pass and name it Roads and Terrain. In the Roads and Terrain render pass prefab, create these render passes:
Composition Target Render Pass named Render Roads to Texture
Clear Render Pass
Draw Objects Render Pass named Draw Roads
Clear Render Pass
Draw Objects Render Pass named Draw Terrain and Roads
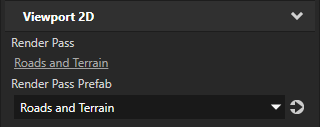
In the Node Tree, select the Viewport 2D node. In the Properties, set the Render Pass Prefab property to Roads and Terrain.
Kanzi now renders all content in the Viewport 2D node using the render passes in the Roads and Terrain render pass prefab. The render passes do not yet draw the roads on the screen, which is why you do not see any change in the Preview.
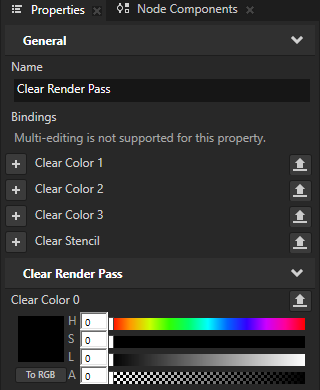
In the Library in the Roads and Terrain render pass prefab, select the Clear Render Pass render passes. In the Properties, add the Clear Color 0 property and set:
Lightness (L) to 0
Alpha (A) to 0
This way, you clear the color buffer with transparent black color before each draw pass.
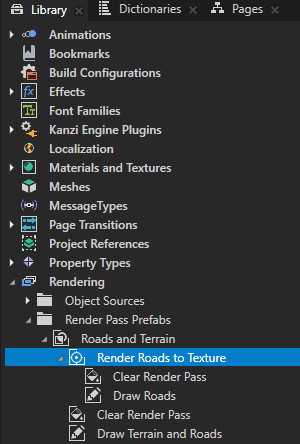
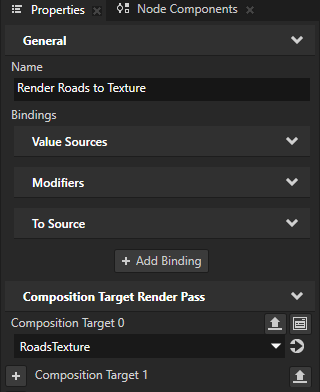
In the Library in the Roads and Terrain render pass prefab, select the Render Roads to Texture render pass. In the Properties, add the Composition Target 0 property and set it to RoadsTexture.
You set the Render Roads to Texture render pass to render itself to the RoadsTexture render target texture.
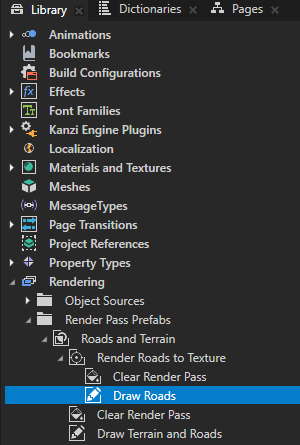
In the Library in the Roads and Terrain render pass prefab, select the Draw Roads render pass. In the Properties, add and set:
Camera to Screens/Screen/RootPage/Viewport 2D/Scene/Road Camera
Object Source to Roads2D
You set the Draw Roads render pass to use the Road Camera camera to render the Roads node. The Render Roads to Texture render pass now renders the roads to the RoadsTexture render target texture, but you do not yet use that texture anywhere.
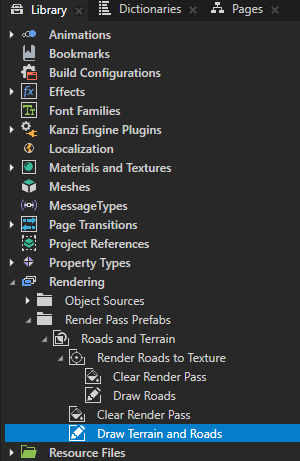
In the Library in the Roads and Terrain render pass prefab, select the Draw Terrain and Roads render pass. In the Properties, add the Object Source property and set it to Terrain3D.
You set the Draw Terrain and Roads render pass to render the Terrain 3D Renderer node.
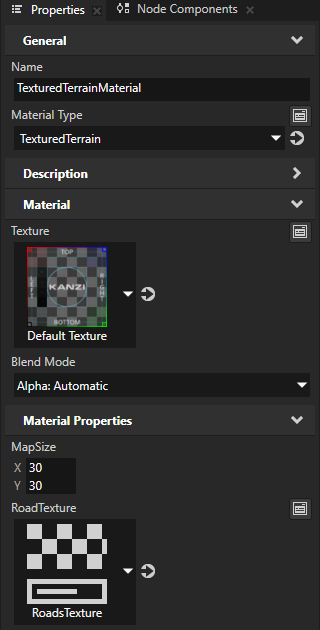
In the Node Tree, select the Terrain 3D Renderer node. In the Properties, set the Material property to TexturedTerrainMaterial.
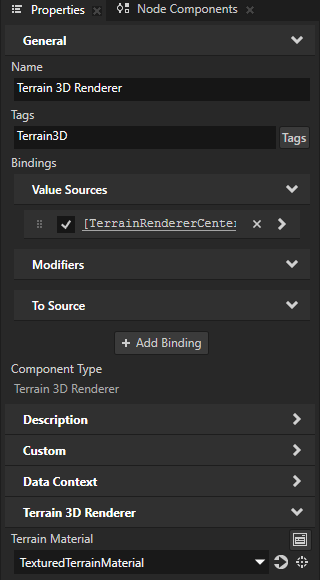
In the Properties, click
 next to the Material property to go to the TexturedTerrainMaterial and set:
MapSize X and RoadTextureY to 30
You set the size to match the layout size of the Map View node.
RoadTexture to the RoadsTexture render target texture
The vertex shader of the TexturedTerrain material type calculates the UVs for the roads texture:
attribute vec3 kzPosition;
attribute vec2 kzTextureCoordinate0;
uniform highp mat4 kzProjectionCameraWorldMatrix;
uniform highp mat4 kzWorldMatrix;
uniform mediump vec2 MapSize;

varying mediump vec2 vTexCoord;
varying mediump vec2 vRoadTexCoord;

void main()
{
    precision mediump float;

    vTexCoord = kzTextureCoordinate0;
    vRoadTexCoord = vec2(1.0, -1.0)*((kzWorldMatrix * vec4(kzPosition.xyz, 1.0)).xz / MapSize) + 0.5;
    gl_Position = kzProjectionCameraWorldMatrix * vec4(kzPosition.xyz, 1.0);
}
Kanzi now renders the roads on the terrain, but they are barely visible.
In the Node Tree, select the Roads node. In the Properties, set the Stroke Width property to 30.
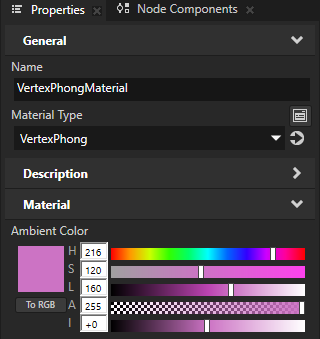
In the Properties, click
next to the Stroke Material property to go to the VertexPhongMaterial and set the Ambient Color property to a color that stands out from the terrain.For example, set:
Hue (H) to 216
Saturation (S) to 120
Lightness (L) to 160
Render points of interest on 3D terrain
To render points of interest on 3D terrain:
In the Node Tree in the Map View node, create a Prefab Feature Renderer node and name it Points of Interest.
Use the Prefab Feature Renderer node to instantiate a prefab in place of all instances of a specific map feature, such as place of interest or street label.
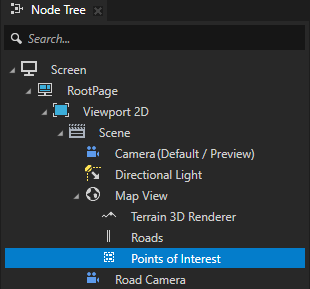
In the Properties, add and set:
Data Context > Data Context to POIs
This enables the Points of Interest Prefab Feature Renderer to access the map features from the POIs data source.
Prefab to POI
This sets the Points of Interest node to instantiate the POI prefab in place of all point-of-interest instances.
Scaling to Object scale
This keeps the size of each POI prefab instance the same at different zoom levels.
In the Preview, you do not yet see any points of interest on the map because:
Kanzi renders the points of interest below the terrain.
The Roads and Terrain render pass prefab renders only the Terrain 3D Renderer node and Roads node - not the Points of Interest node.
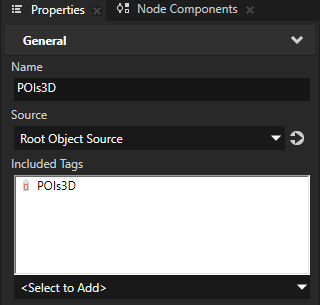
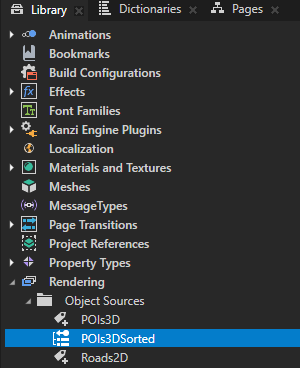
In the Library > Rendering > Object Sources, create a Tag Filter and name it POIs3D. In the Properties, set the Included Tags property to the POIs3D tag.
You use this filter to collect for rendering the instances of the POI prefab, which uses the POIs3D tag.
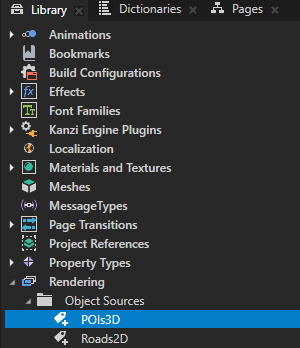
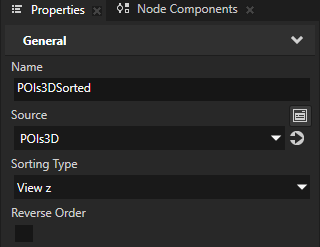
In the Library > Rendering > Object Sources, create a Sorting Filter and name it POIs3DSorted. In the Properties, set the Source property to the POIs3D tag filter.
You use this filter to arrange the points of interest by their position along the z axis.
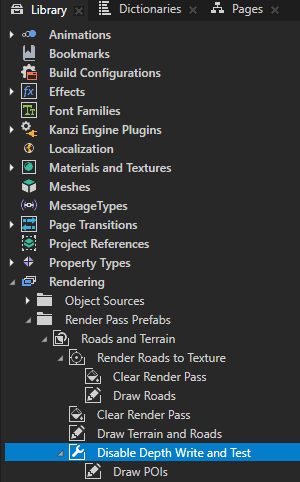
In the Library > Rendering > Render Pass Prefabs > Roads and Terrain render pass prefab, create a Pipeline State Render Pass and name it Disable Depth Write and Test.
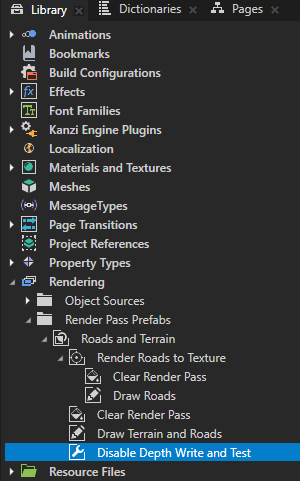
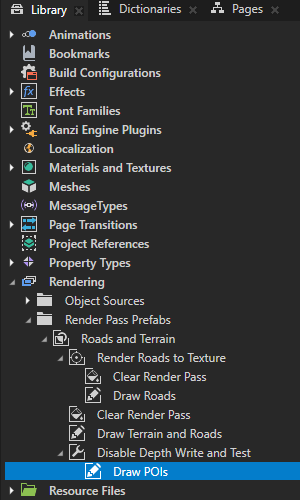
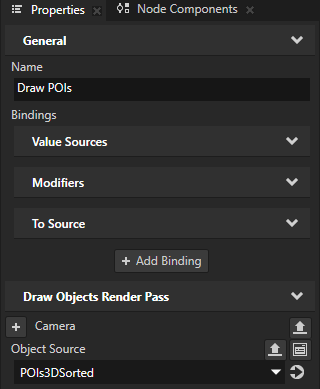
In the Library in the Disable Depth Write and Test render pass, create a Draw Objects Render Pass and name it Draw POIs. In the Properties, add and set the Object Source property to the POIs3DSorted filter.
Kanzi now renders the points of interest, but you do not see them because they are below the terrain.
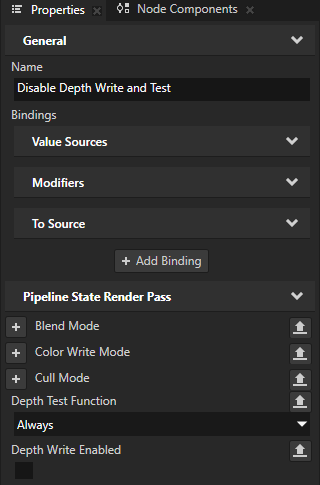
In the Library, select the Disable Depth Write and Test render pass. In the Properties, add and set:
Depth Test Function to Always
This way, you disable the depth test, so that Kanzi renders the points of interest over the terrain.
Depth Write Enabled to disabled
This way, you set the render pass to not write to the depth buffer.
Fine-tune the position of the points of interest
In this section, you position each point of interest based on the height of the terrain at the location of that point of interest.
To fine-tune the positioning of the points of interest:
In the Library > Property Types, create these property types:
POILatLonString whose Data Type you set to Text
POITerrainHeight whose Data Type you leave set to Float

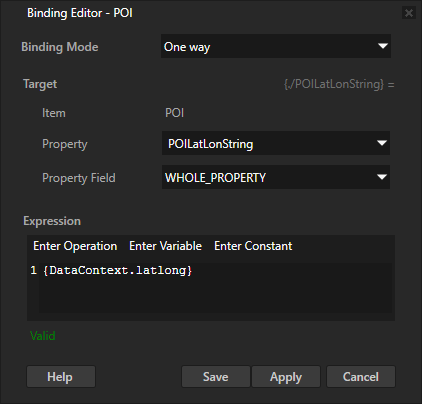
In the Prefabs, select the POI prefab. In the Properties, click + Add Binding and in the Binding Editor, set:
Property to POILatLonString
Expression to
{DataContext.latlong}
You bind the POILatLonString property to the POIs > features > Item > latlong string data object, which provides the latitude-longitude coordinates of a point of interest.
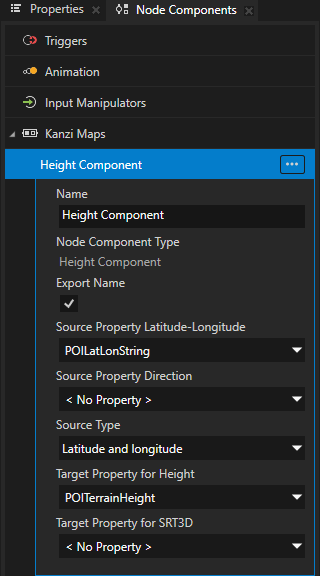
In the Node Components > Kanzi Maps, create a Height Component and set:
Source Property Latitude-Longitude to POILatLonString
Source Type to Latitude and longitude
Target Property for Height to POITerrainHeight
This way, you set the Height Component to:
Sample the height of the terrain in the location given in the POILatLonString property.
Write the height value to the POITerrainHeight property.
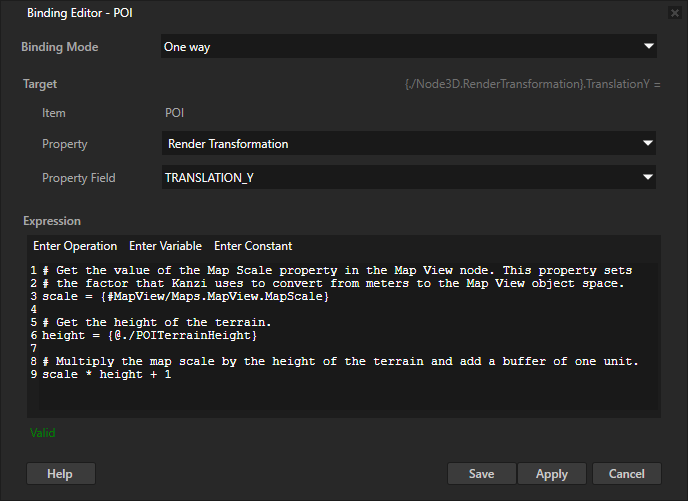
In the Properties, add another binding and set:
Property to Render Transformation
Property Field to TRANSLATION_Y
Expression to
# Get the value of the Map Scale property in the Map View node. This property sets
# the factor that Kanzi uses to convert from meters to the Map View object space.
scale = {#MapView/Maps.MapView.MapScale}

# Get the height of the terrain.
height = {@./POITerrainHeight}

# Multiply the map scale by the height of the terrain and add a buffer of one unit.
scale * height + 1
With this binding, you position the points of interest along the y axis based on the elevation of the terrain.
See also
To learn more about using the Terrain 3D Renderer node, see Using the Terrain 3D Renderer node.
To learn more about using the Stroke Renderer node, see Using the Stroke Renderer node.
To learn more about using the Prefab Feature Renderer node, see Using the Prefab Feature Renderer node.