Tutorial: Getting started with Kanzi Maps
In this tutorial, you learn how to install Kanzi Maps and create your first map.
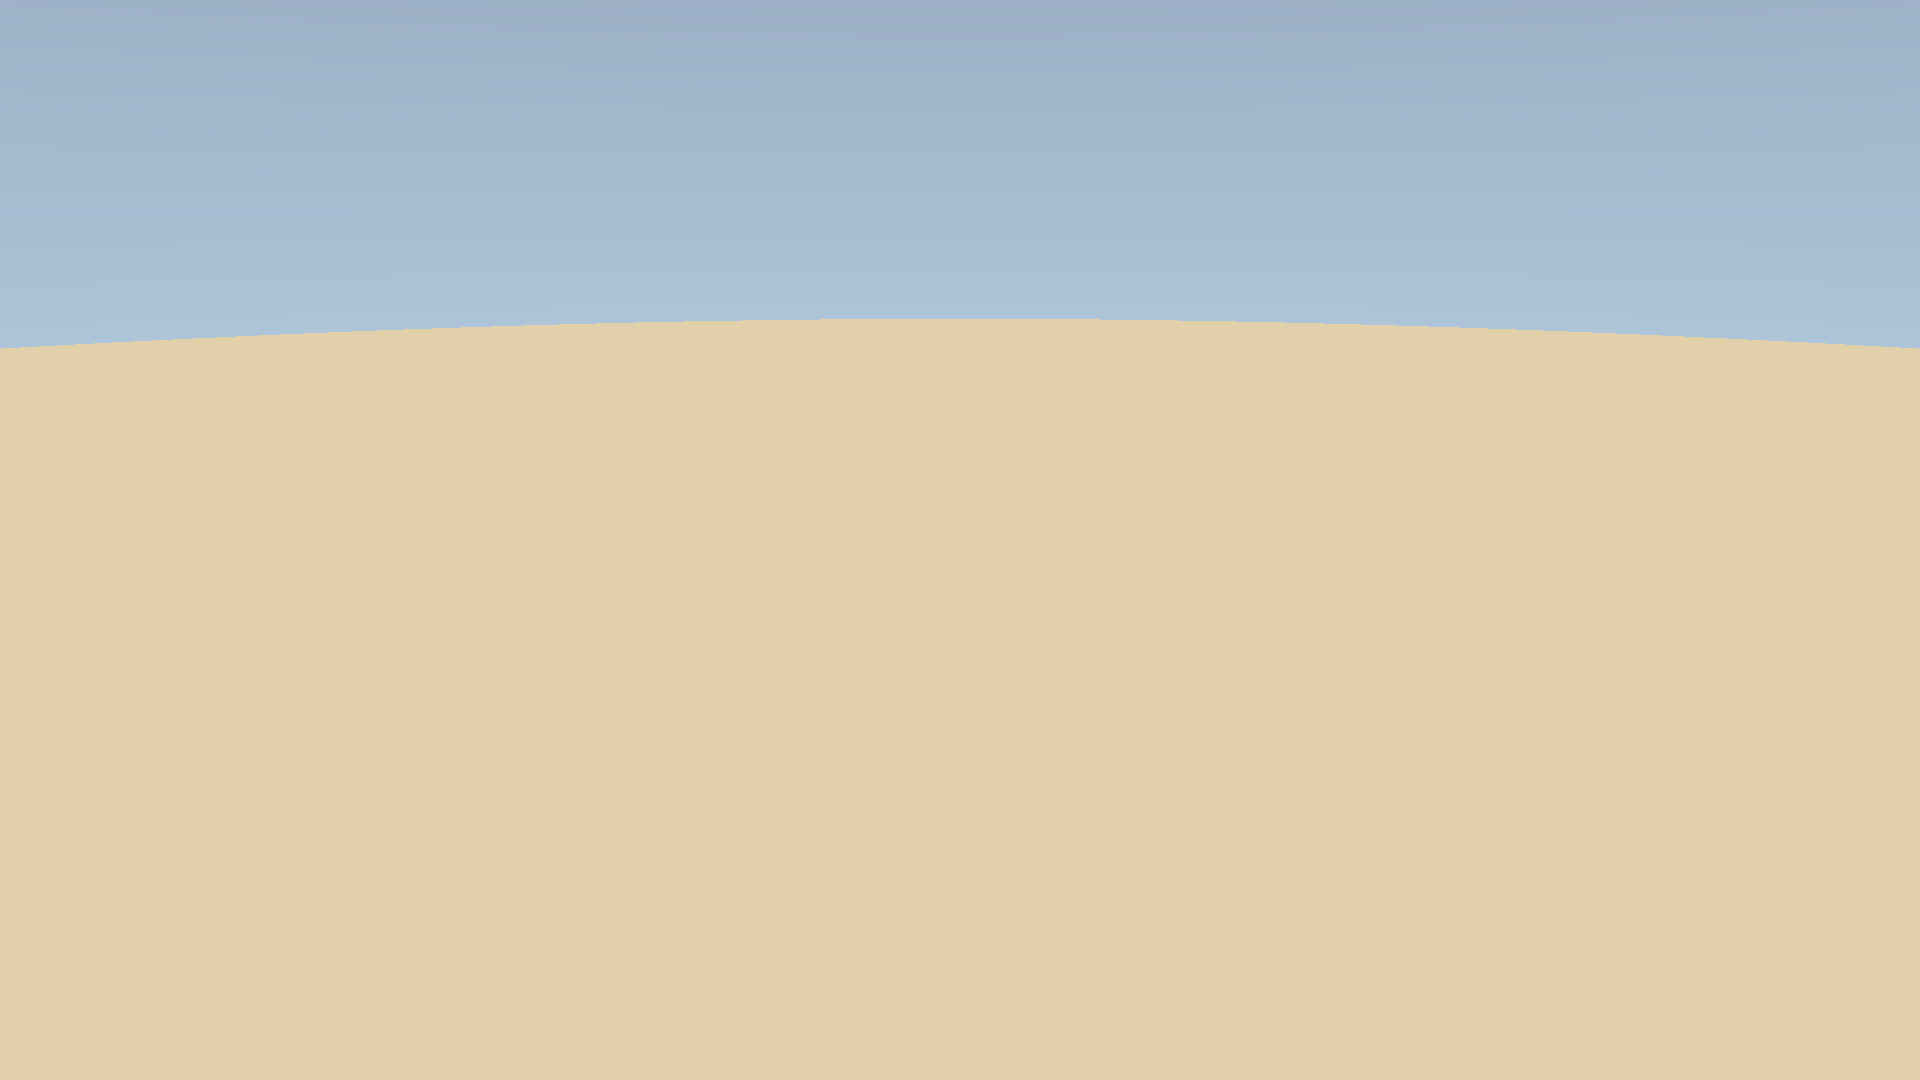
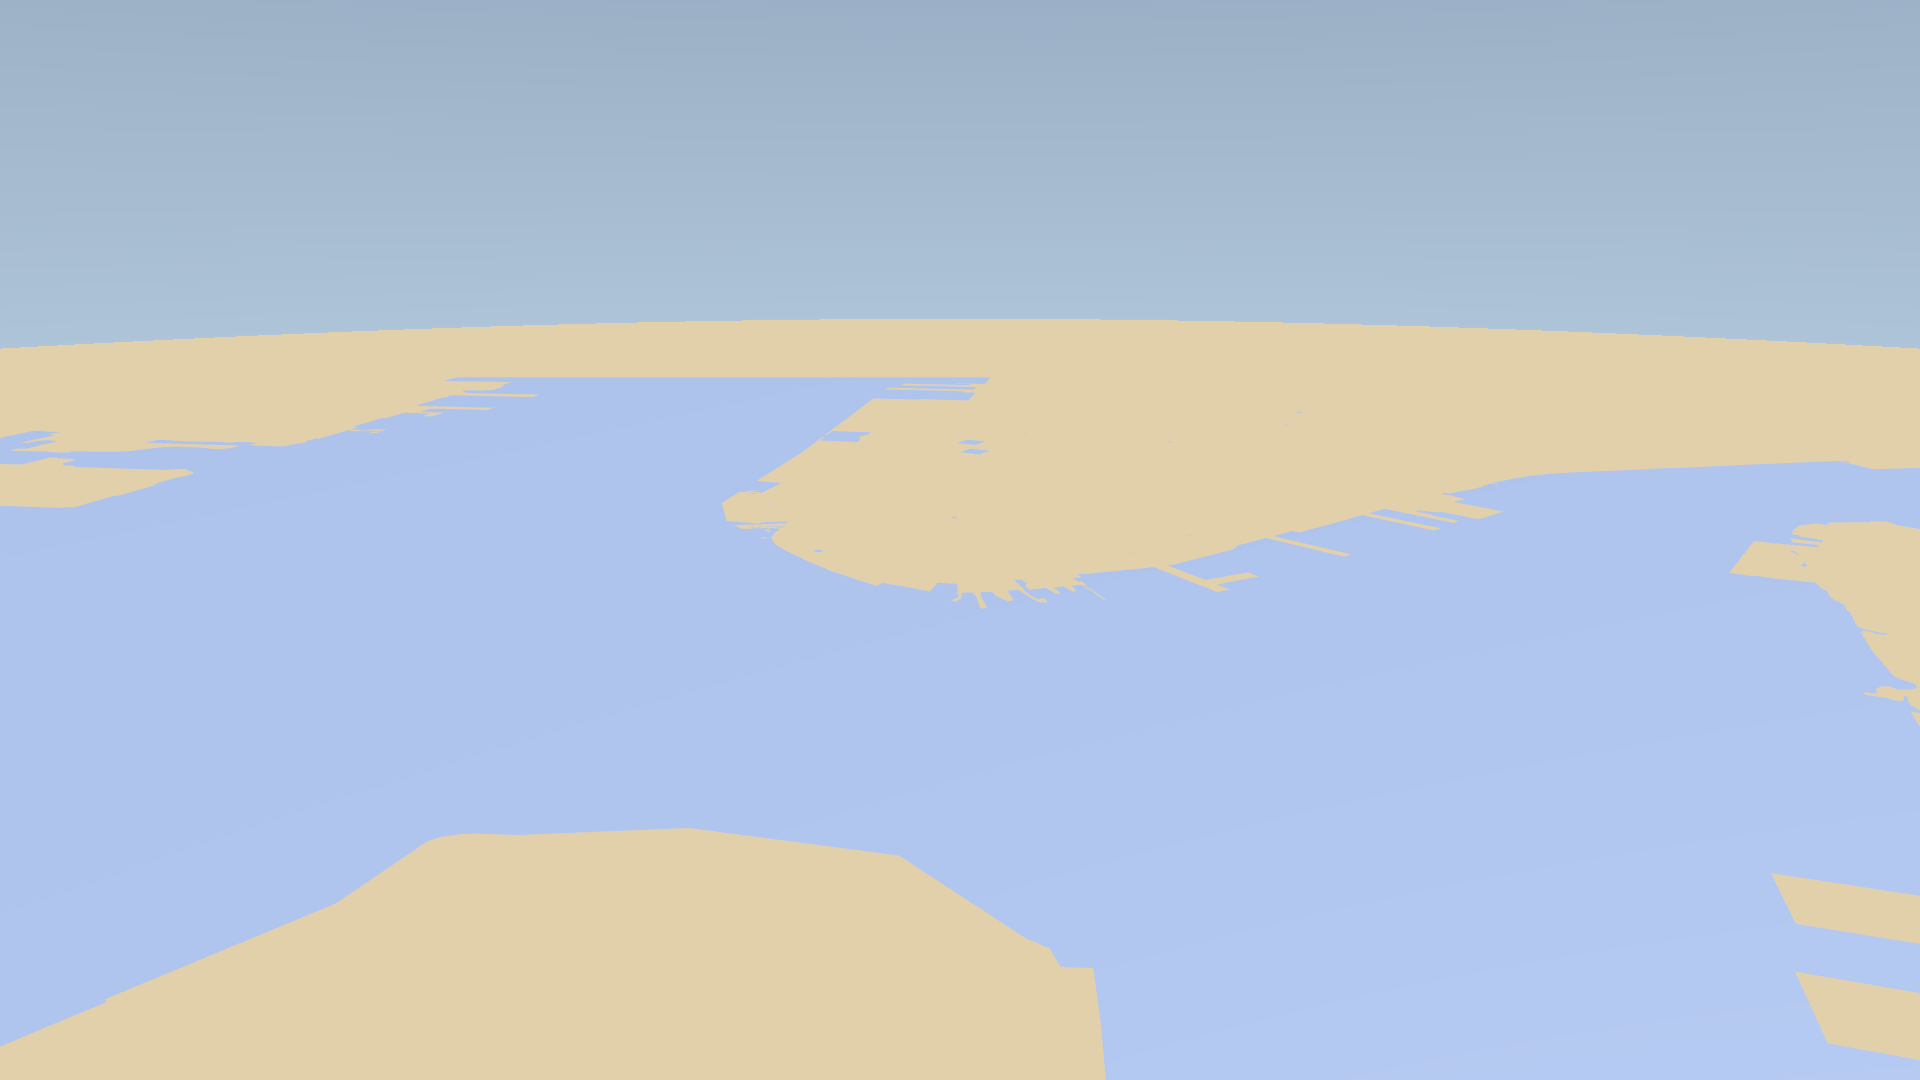
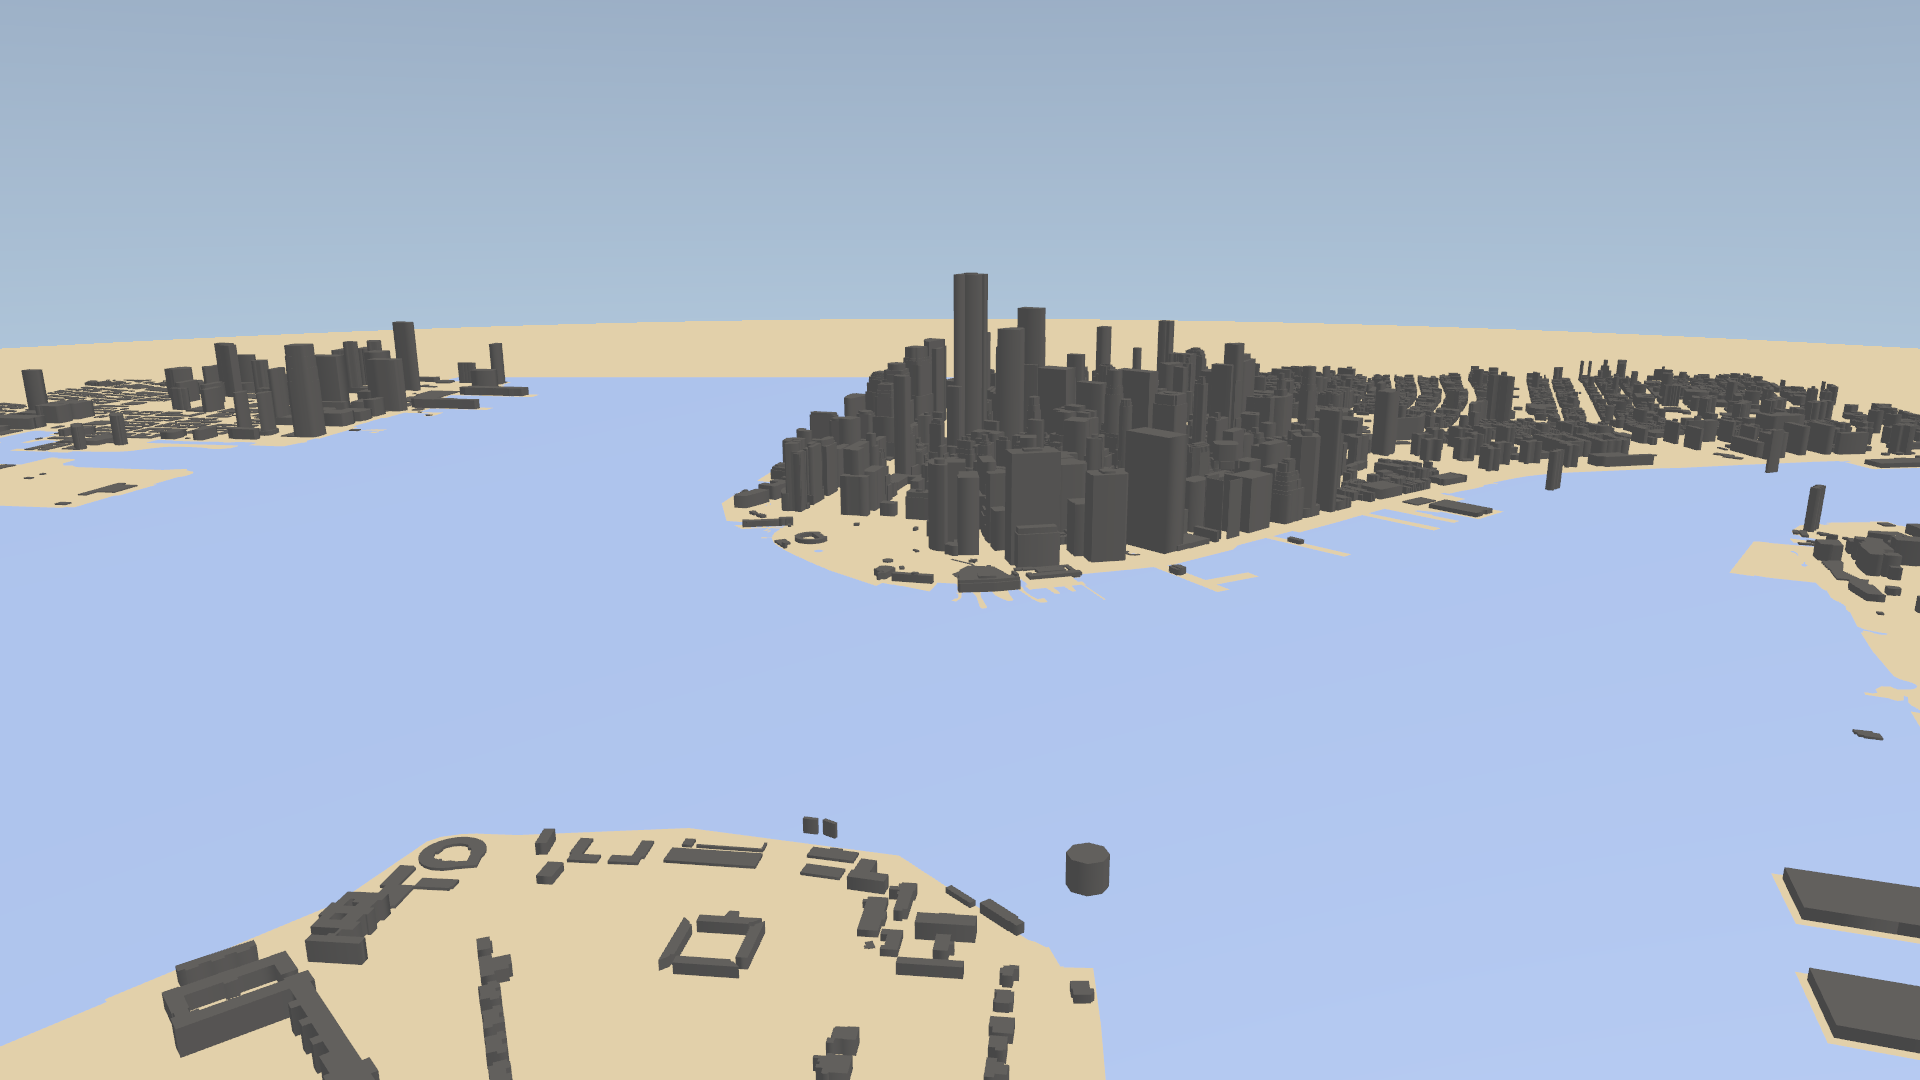
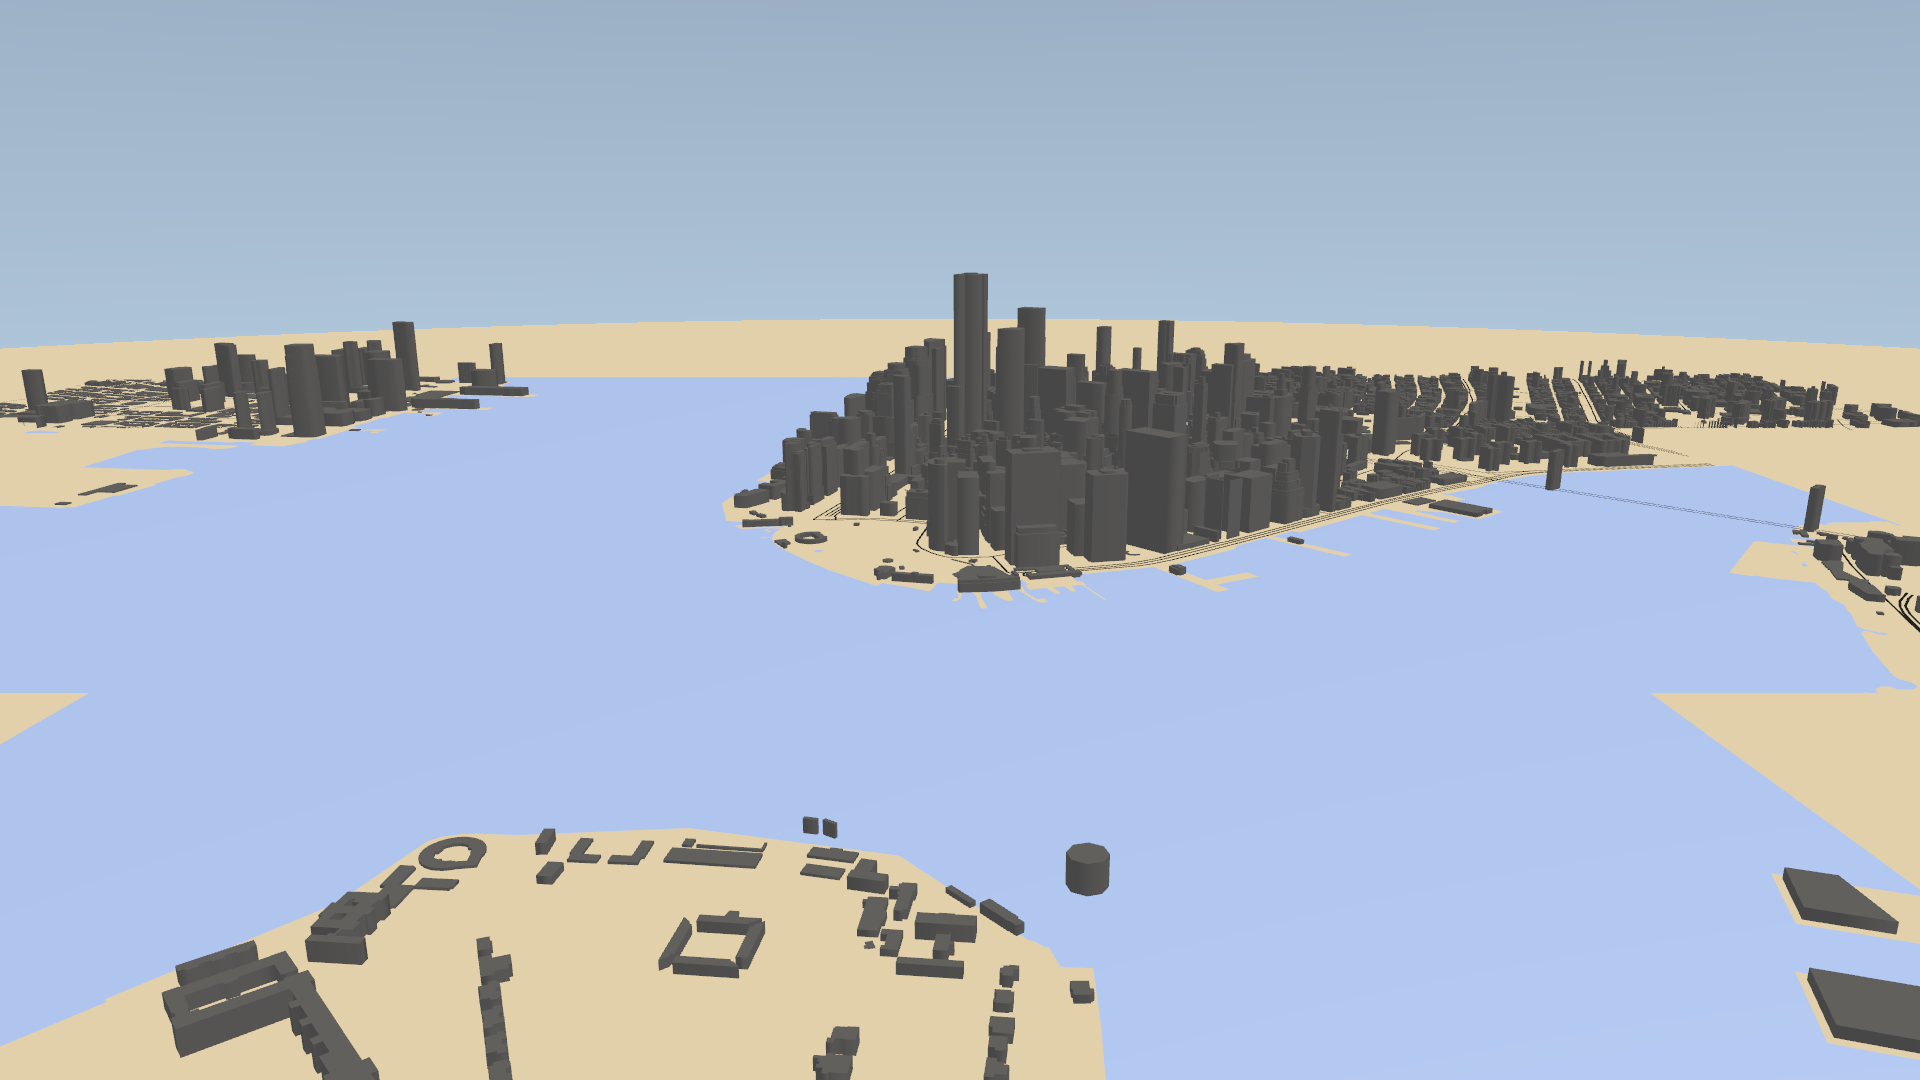
This video shows the result of the tutorial.
Assets for the tutorial
You can find the completed tutorial in the <KanziWorkspace>/Engine/plugins/maps/tutorials/GettingStarted/Completed directory.
In Kanzi Studio, to see the tutorial project in the Preview, in the main menu select Kanzi Maps > Set Up Kanzi Maps. This way, you copy the Kanzi Maps library files to the Application/bin directory of the tutorial project.
Create a project in Kanzi Studio
In this section, you create a Kanzi Studio project from the Kanzi Maps application template.
To create a project in Kanzi Studio:
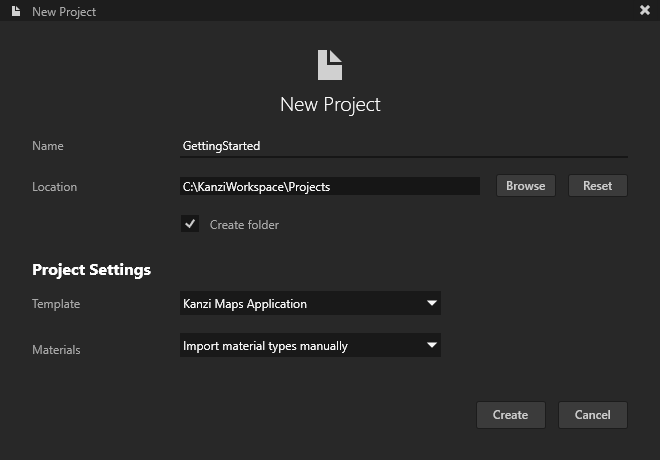
In Kanzi Studio, create a project and in the New Project window set:
Name to GettingStarted.
Template to Kanzi Maps Application.
Kanzi Maps Application template creates a Kanzi Studio project with a Kanzi application that contains a Kanzi Maps plugin.
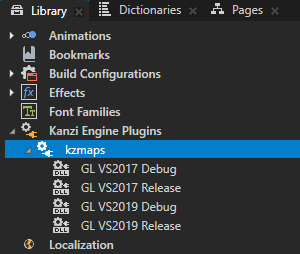
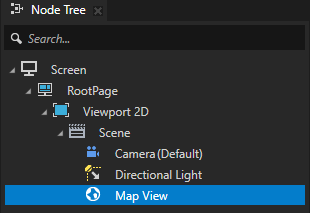
The project contains:
In the Library > Kanzi Engine Plugins, the Kanzi Maps Kanzi Engine plugin.
In the Node Tree, the Map View node.
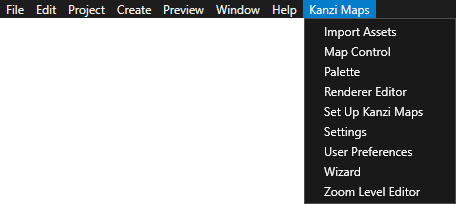
In the main menu the Kanzi Maps Kanzi Studio plugin menu.
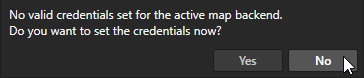
When the Kanzi Studio Preview starts, Kanzi Studio asks whether you want to set the credentials for the active map backend. In the Kanzi Maps backend credentials dialog, click No. You set up the credentials in the next section of the tutorial.
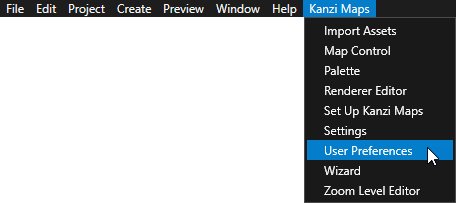
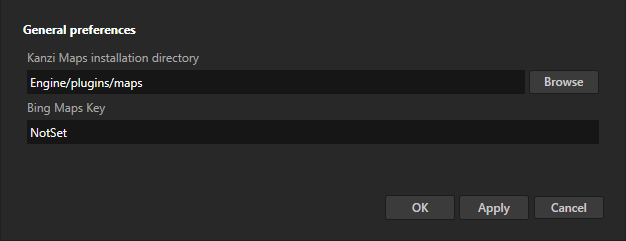
In the Kanzi Studio main menu, select Kanzi Maps > User Preferences and set the Kanzi Maps installation directory to point to the directory where you extracted the Kanzi Maps package.
Set up your Mapbox credentials
To set up your Mapbox credentials:
Create your Mapbox access token at https://www.mapbox.com/.
In Kanzi Studio, select Kanzi Maps > Settings.
When you make changes in the Kanzi Maps settings, you edit the
<Project>/Application/bin/map_settings.xmlfile.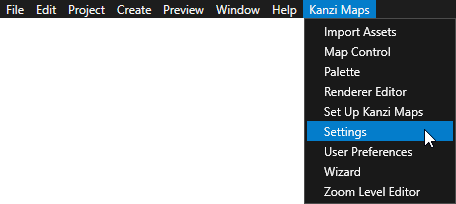
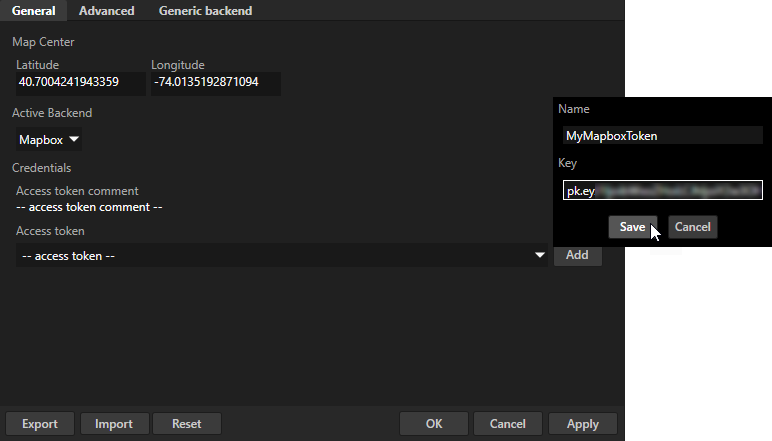
In the Kanzi Maps settings on the General tab in Access token, click Add, and paste your access token to the Key field.
Create a map manually
In this section, you create your first map manually by adding map features one by one. In the next section, you use the Kanzi Maps Wizard to create the map from a preset template.
To create a map manually:
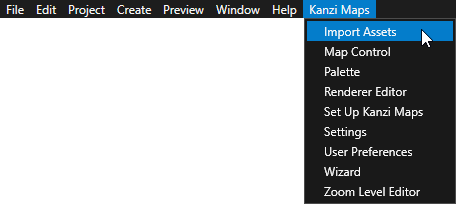
In the Kanzi Studio main menu, select Kanzi Maps > Import Assets.
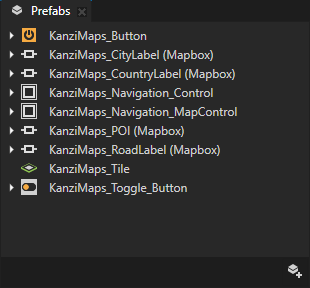
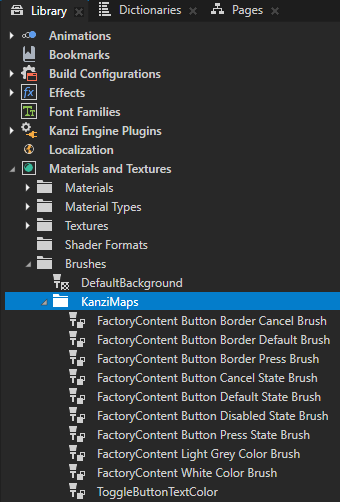
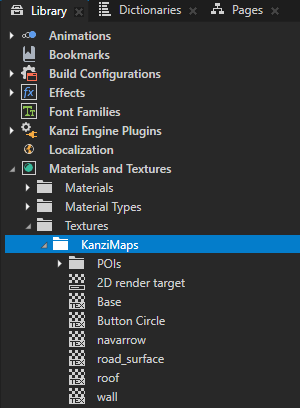
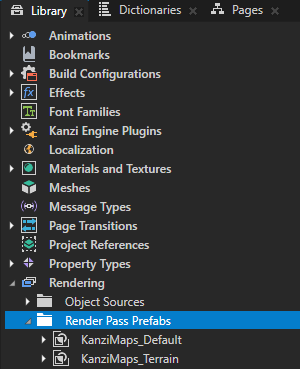
Kanzi Studio adds these assets to your project:
Prefabs
In the Library > Materials and Textures materials, brushes, and textures
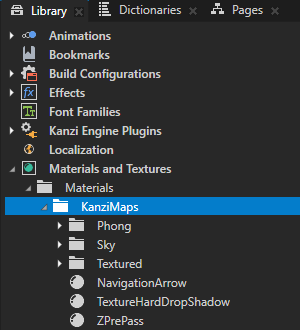
In the Library > Rendering > Render Pass Prefabs render passes
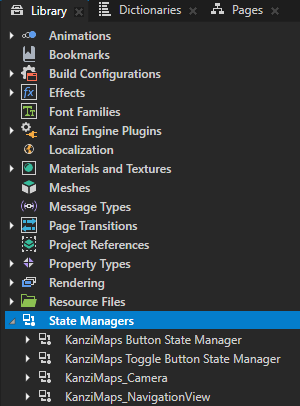
In the Library > State Managers
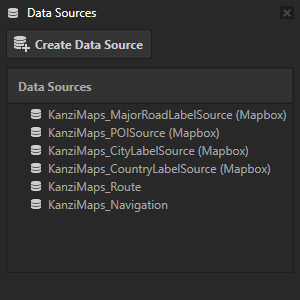
Data Sources
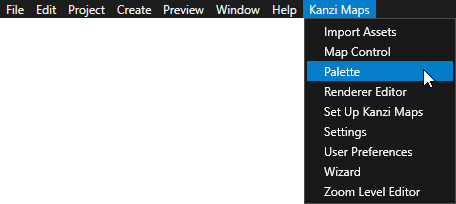
In the Kanzi Maps main menu, select Palette.
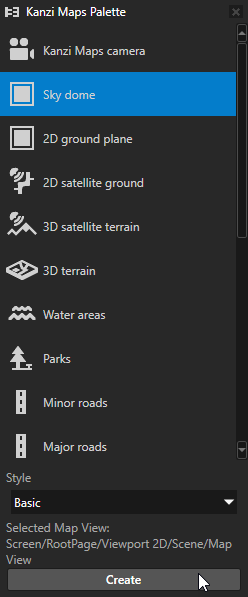
Use the Kanzi Maps Palette to quickly add typical features to your map.

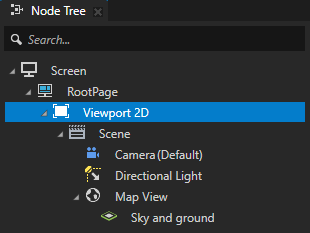
In the Node Tree, select the Map View node. In the Kanzi Maps Palette, select Sky Dome and click Create. In the Confirm modifications dialog click Apply Modifications.
Kanzi Studio:
Creates in the Map View node a Plane node named Sky and ground.

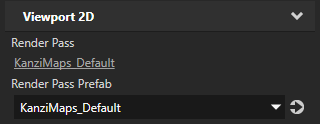
Sets the RootPage > Viewport 2D node to use the KanziMaps_Default render pass prefab.
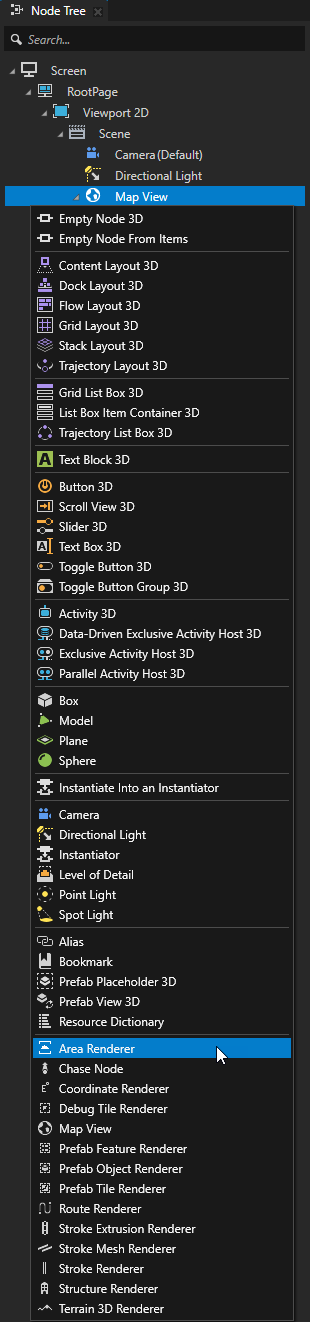
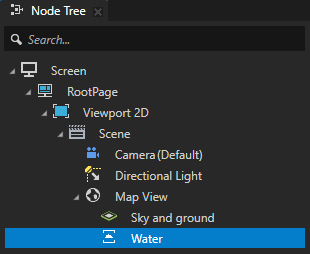
In the Node Tree, press Alt and right-click Map View, select Area Renderer, and name it Water.
Use the Area Renderer node to render 2D map areas, such as land and water, and 3D surfaces, such as road lanes. The Area Renderer renders filled 2D and 3D polygons, 2D triangle lists, and 3D strips.
Always create Renderer nodes as descendants of a Map View node.
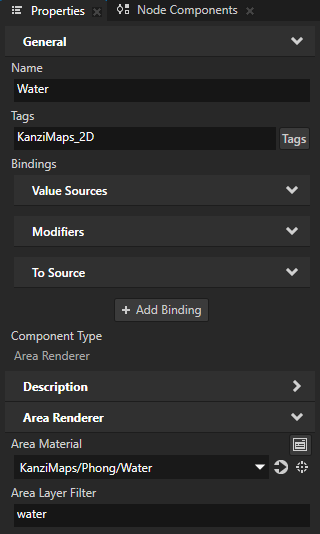
In the Properties, set:
Tags to KanziMaps_2D
This way, you let the KanziMaps_Default render pass prefab know that the Water node renders 2D content.
Area Material to KanziMaps/Phong/Water
Area Layer Filter to water
This way, you set the name of the layer from which Kanzi Maps gets the map feature that the Area Renderer node renders.
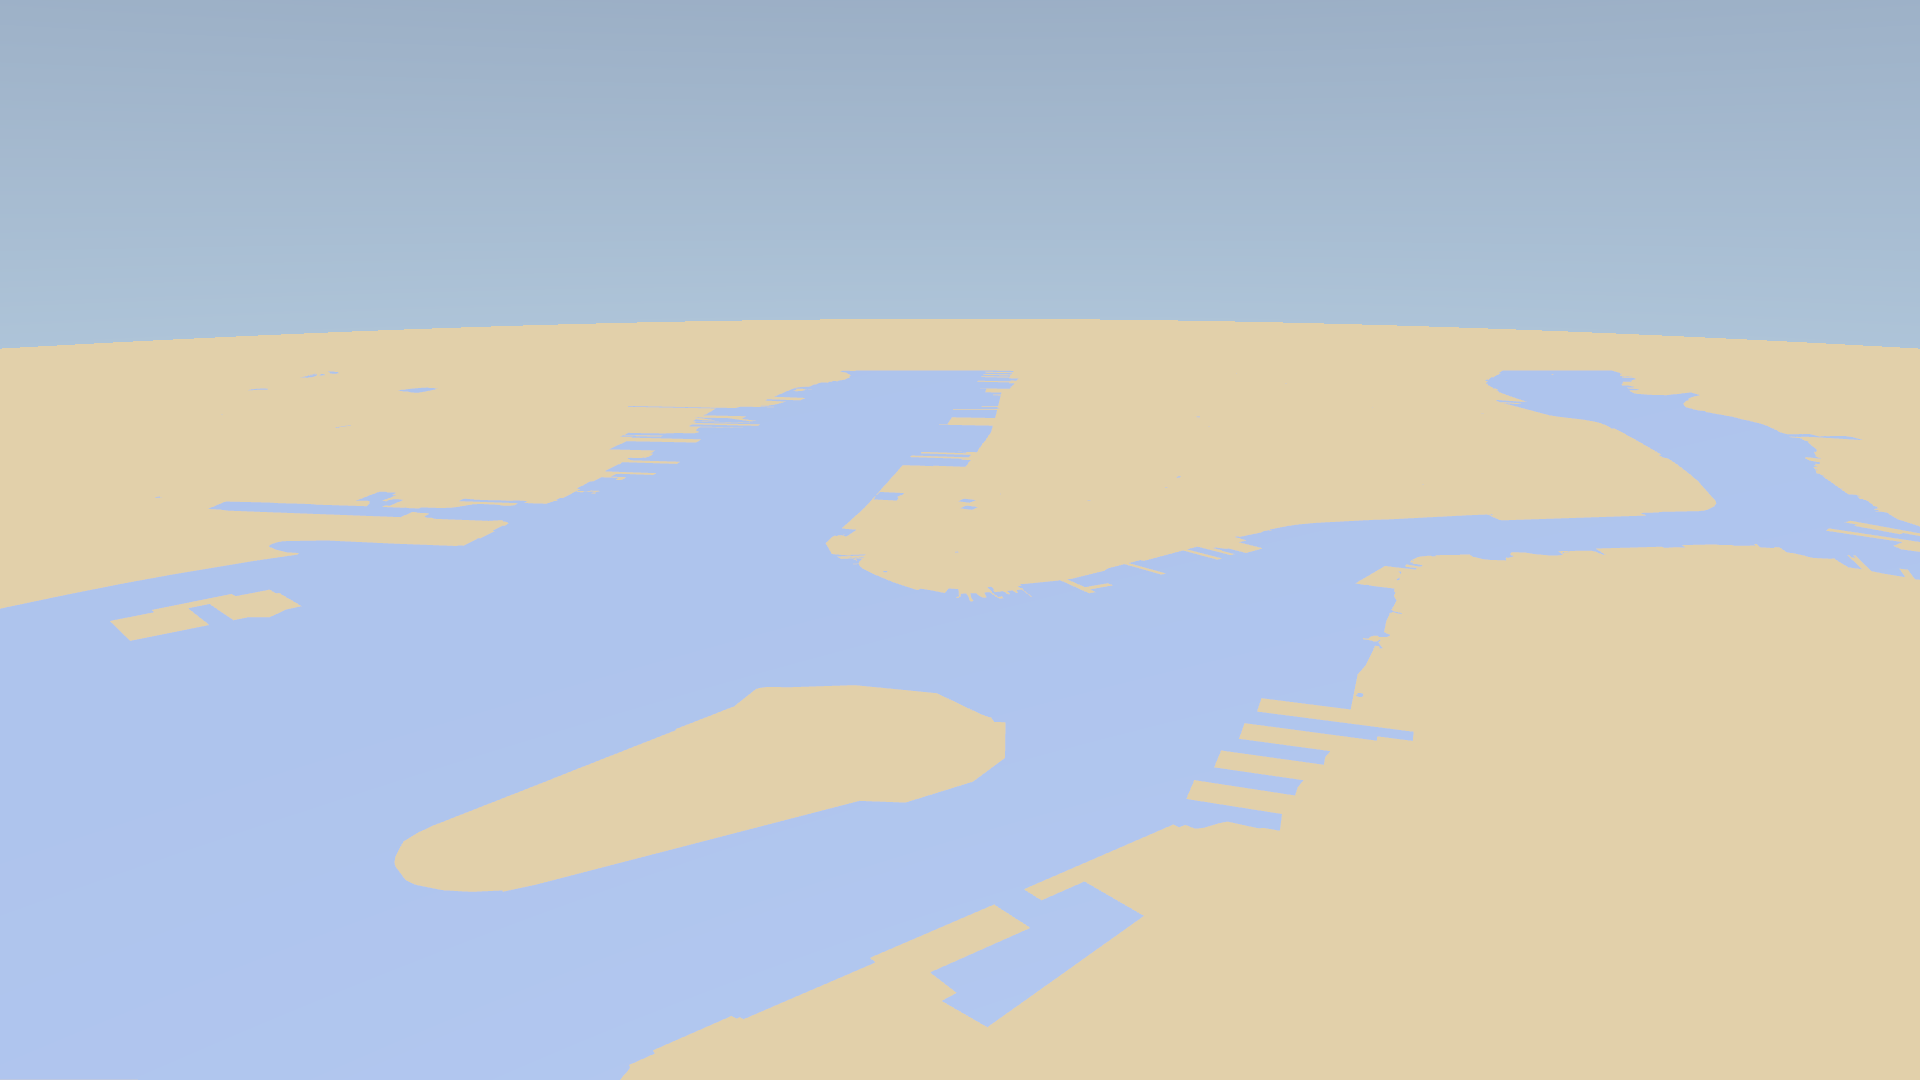
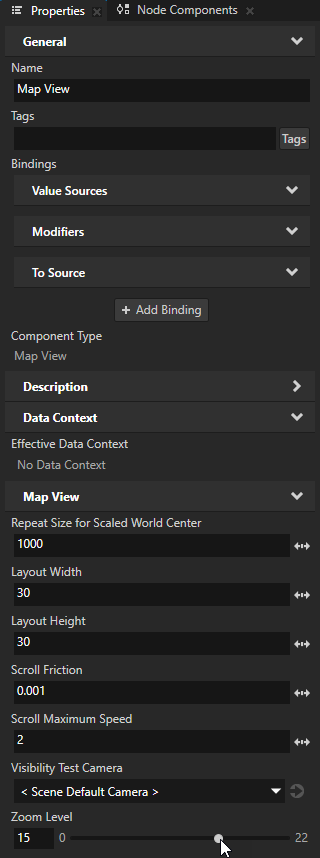
In the Node Tree, select the Map View node. In the Properties, set the Zoom Level property to 15.
This way you set Kanzi Maps to zoom in on the map view.
Tip
To pan the map in the Preview, click and drag the left mouse button.
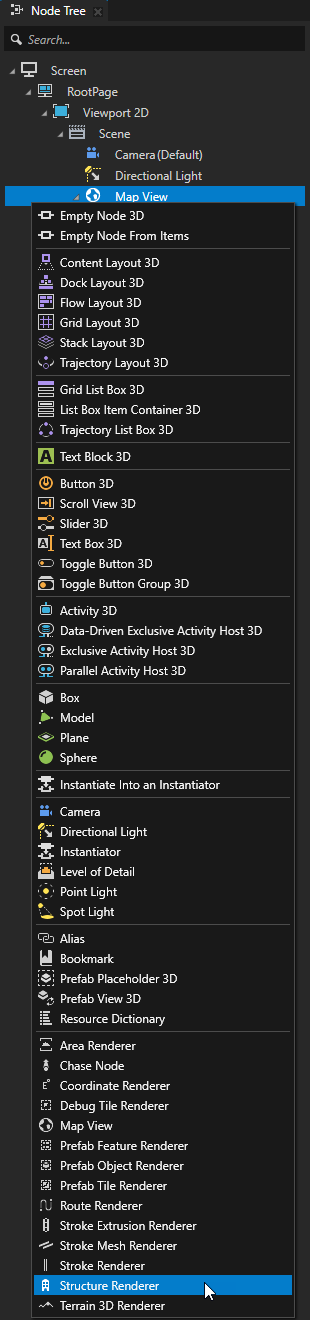
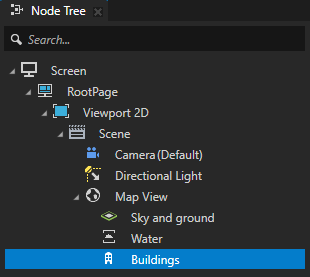
In the Map View node, create a Structure Renderer node and name it Buildings.
Use the Structure Renderer node to render structures, such as 3D buildings and landmarks. The Structure Renderer renders extruded 2D polygons and 3D meshes.
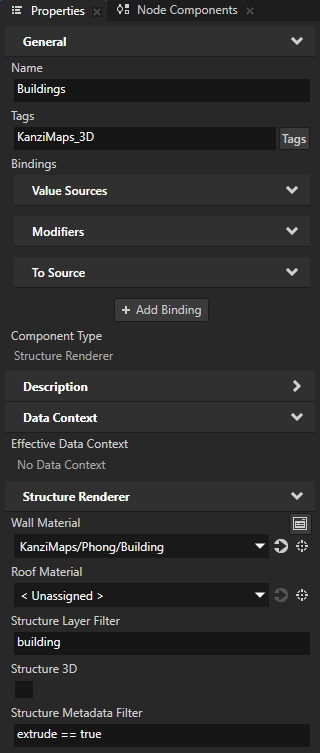
In the Properties, set:
Tags to KanziMaps_3D
This way, you let the KanziMaps_Default render pass prefab know that the Buildings node renders 3D content.
Wall Material to KanziMaps/Phong/Building
This material sets the appearance of the walls of the buildings.
Structure Layer Filter to building
This way, you set the Buildings node to render buildings.
Structure Metadata Filter to extrude == true
With this metadata filter you pick for rendering the footprints of only those buildings that are meant for extrusion. For example, 3D buildings.
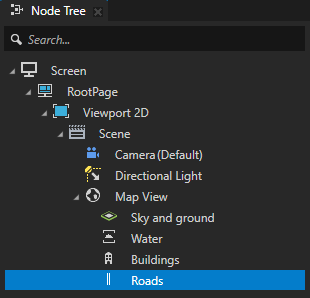
In the Node Tree in the Map View node, create a Stroke Renderer node and name it Roads.
Use the Stroke Renderer node to render roads, rivers, and borders. The Stroke Renderer renders stroked 2D and 3D line string geometry and stroked 2D polygons.
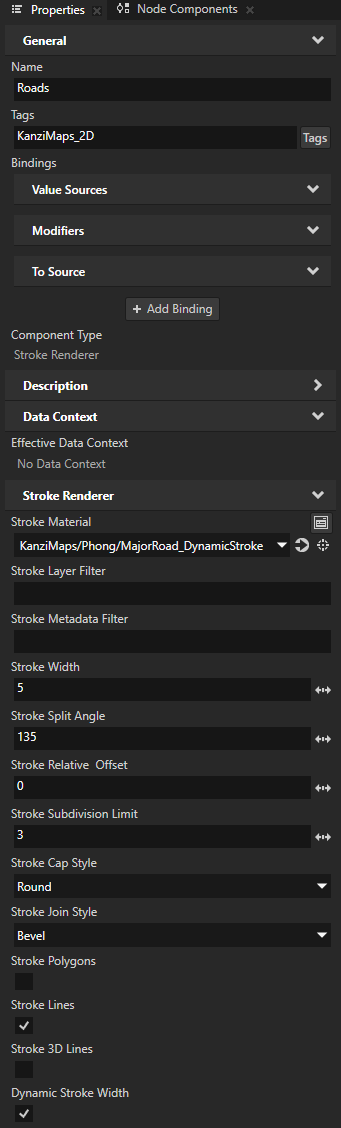
In the Properties, set:
Tags to KanziMaps_2D
Stroke Material to KanziMaps/Phong/MajorRoad_DynamicStroke
Dynamic Stroke Width to enabled
This way, you enable Kanzi Maps to vary the width of roads in the shader, instead of baking the road width to the mesh.
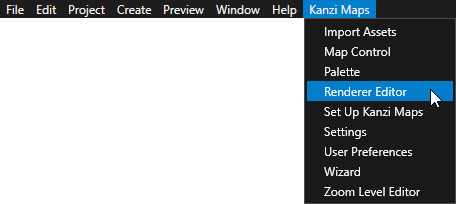
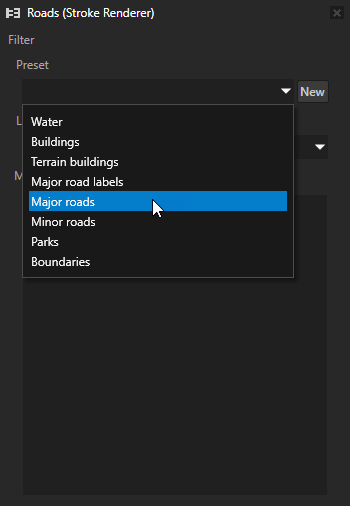
Select Kanzi Maps > Renderer Editor.
Use the Renderer Editor to set layer and metadata filters that define the map features that a Renderer node renders.
In the Renderer Editor in the Preset dropdown, select Major roads.
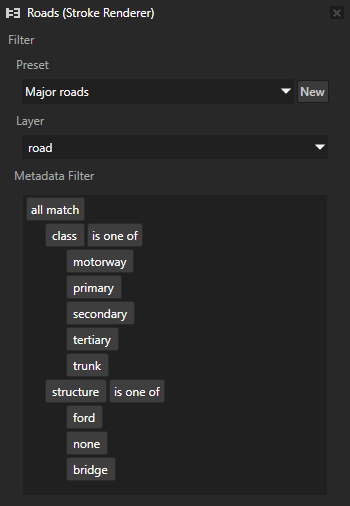
The preset automatically updates the Metadata filter to show an editable visual presentation of the filter and in the Roads node, sets:
Stroke Layer Filter to roads
Stroke Metadata Filter to
class == {motorway, primary, secondary, tertiary, trunk} && structure == {ford, none, bridge}
Create a map using the Kanzi Maps Wizard
In this section, you use the Kanzi Maps Wizard to create a map. Kanzi Maps Wizard enables you to create entire maps from preset templates.
To create a map using the Kanzi Maps Wizard:
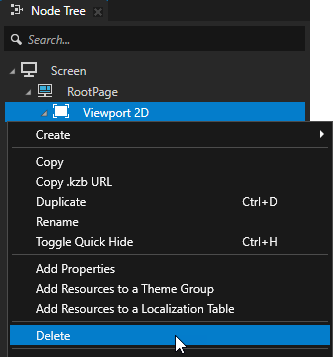
In the Node Tree, delete the Viewport 2D node.
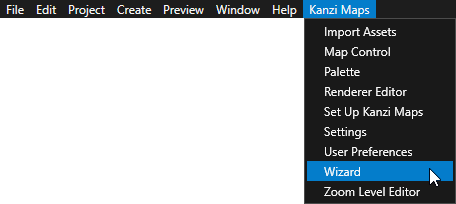
Select Kanzi Maps > Wizard.
Use Kanzi Maps Wizard to create maps from predefined templates.
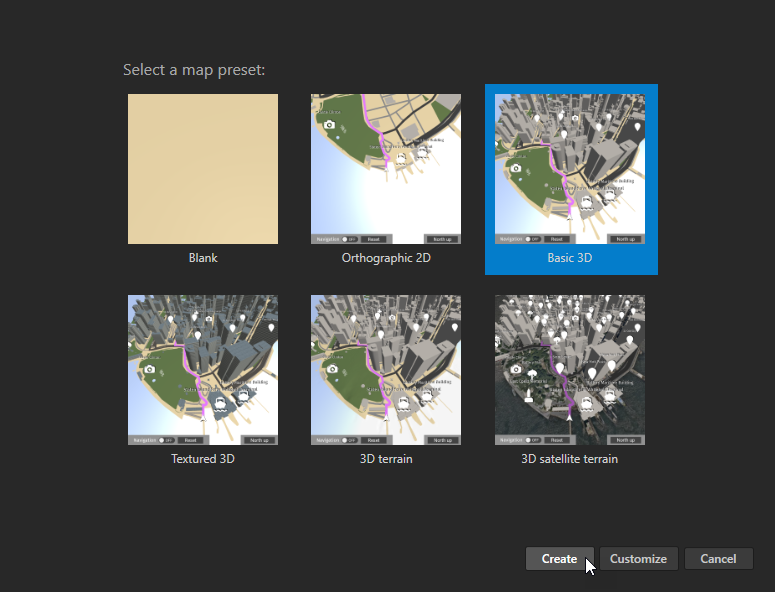
In Kanzi Maps Wizard, select the Basic 3D map preset and click Create.
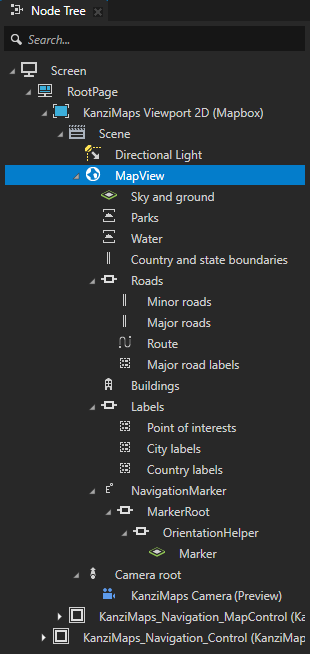
Kanzi Maps Wizard creates:
Viewport 2D node that contains a Map View node with a skydome and these Renderer nodes:
Area Renderer nodes Parks and Water render 2D park and water areas from planar polygonal map content.
Stroke Renderer nodes Country and state boundaries, Minor roads, and Major roads render line string content.
Route Renderer node Route renders the currently active route using data provided by the KanziMaps_Route data source.
Prefab Feature Renderer nodes:
Major road labels renders content from the KanziMaps_MajorRoadLabelSource (Mapbox) data source by instantiating the KanziMaps_RoadLabel (Mapbox) prefab.
Point of interests renders content from the KanziMaps_POISource (Mapbox) data source by instantiating the KanziMaps_POI (Mapbox) prefab.
City labels renders content from the KanziMaps_CityLabelSource (Mapbox) data source by instantiating the KanziMaps_CityLabel (Mapbox) prefab.
Country labels renders content from the KanziMaps_CountryLabelSource (Mapbox) data source by instantiating the KanziMaps_CountryLabel (Mapbox) prefab.
Structure Renderer node Buildings renders extruded 3D buildings from planar polygonal map content.
Coordinate Renderer node Navigation Marker and its child nodes render the location and orientation of the car.
KanziMaps_Navigation_MapControl node that contains the controls for how the map and camera follow navigation.
KanziMaps_Navigation_Control node contains controls for navigation simulation.
In the Screen node an On Attached trigger with Set Route Waypoint actions that configure the default route.
See also
To learn more about the Map View node, see Using the Map View node.
To learn more about the Palette, see Using the Palette.
To learn more about using the Area Renderer node, see Using the Area Renderer node.
To learn more about using the Structure Renderer node, see Using the Structure Renderer node.
To learn more about using the Stroke Renderer node, see Using the Stroke Renderer node.