Using the Area Renderer node
Use the Area Renderer node to render 2D map areas, such as land and water, and 3D surfaces, such as road lanes. The Area Renderer renders filled 2D and 3D polygons, 2D triangle lists, and 3D strips.
Creating an Area Renderer using the Palette
This section explains how to use the Kanzi Maps Palette to quickly create and set up an Area Renderer that renders water areas, parks, or 2D buildings. To learn how to create and set up an Area Renderer manually, see Creating an Area Renderer manually.
To create an Area Renderer using the Palette:
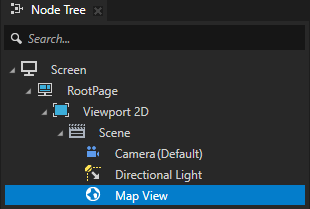
In the Node Tree, select the Map View node where you want to render areas.
In the Kanzi Studio main menu, select Kanzi Maps > Palette.

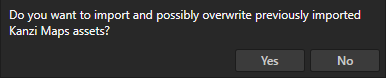
When Kanzi Studio asks whether you want to import assets, click Yes.
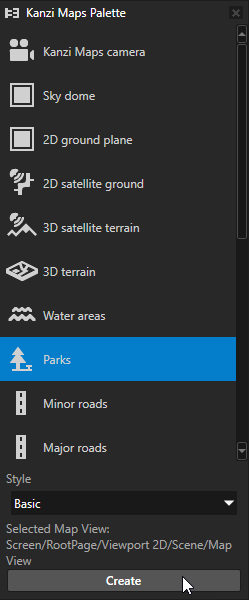
In the Kanzi Maps Palette, select the type of area that you want to render and click Create.
You can use the Palette to render these types of areas:
Water areas
Parks
2D buildings
For example, select Parks and click Create.
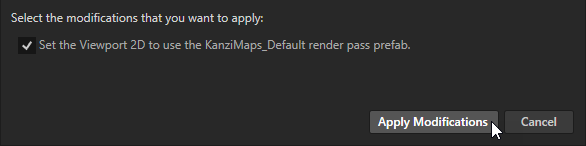
In the Confirm modifications dialog, click Apply Modifications to let Kanzi Studio modify your project as needed to render the content that you selected.
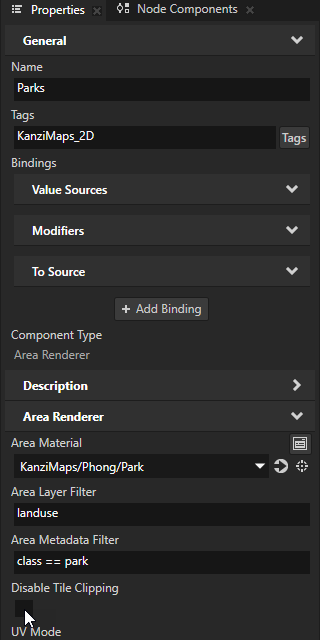
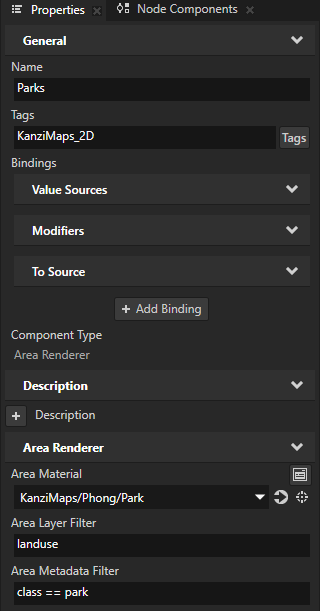
Kanzi Studio creates in the Map View node an Area Renderer node that renders the type of areas that you selected in the Palette, and in that node sets:
Area Material to the material that defines the appearance of the areas rendered by that node.
Area Layer Filter to the name of the layer that provides the rendered areas.
For example, if you use Mapbox and create Parks, Kanzi Studio sets the Area Layer Filter to landuse. The
landuselayer includes polygons that represent landuse and landcover. See Supported backends.(Optional) Area Metadata Filter to the metadata filter expression required to render only specific types of areas from the layer.
For example, if you use Mapbox and create Parks, Kanzi Studio sets the Area Metadata Filter to
class == park
This picks from the
landuselayer the park-like areas, such as city parks, village greens, playgrounds, national parks, and nature reserves.

Creating an Area Renderer manually
This section explains how you can create and set up an Area Renderer manually. To learn how to use the Kanzi Maps Palette to quickly render areas, see Creating an Area Renderer using the Palette.
Creating an Area Renderer
In this example, you create an Area Renderer that renders wooded areas.
To create an Area Renderer manually:
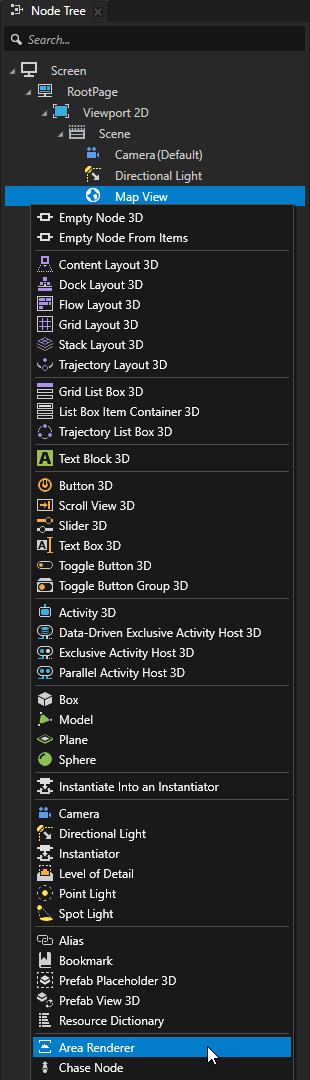
In the Node Tree, press Alt and right-click the Map View node where you want to render areas and select Area Renderer.
For example, create an Area Renderer node that you use to render wooded areas, and name it Woods.
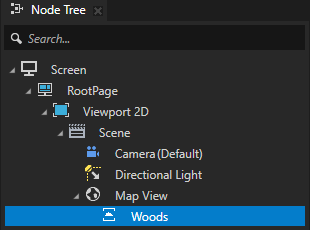
In the Properties, set:
Area Material to the material that you want to use to set the appearance of the areas.
Area Layer Filter to the name of the layer that provides the type of areas that you want to show.
For example, if you use Mapbox and want to show forests, set Area Layer Filter to landuse. The
landuselayer includes polygons that represent landuse and landcover. See Supported backends.(Optional) Area Metadata Filter to the metadata filter expression required to render only specific types of areas from the layer.
For example, if you use Mapbox and want to show forests, set it to
class == wood
This way, you pick from the
landuselayer only wooded areas and forests.
Tip
You can use the Renderer Editor to set layer and metadata filters. See Using the Renderer Editor.
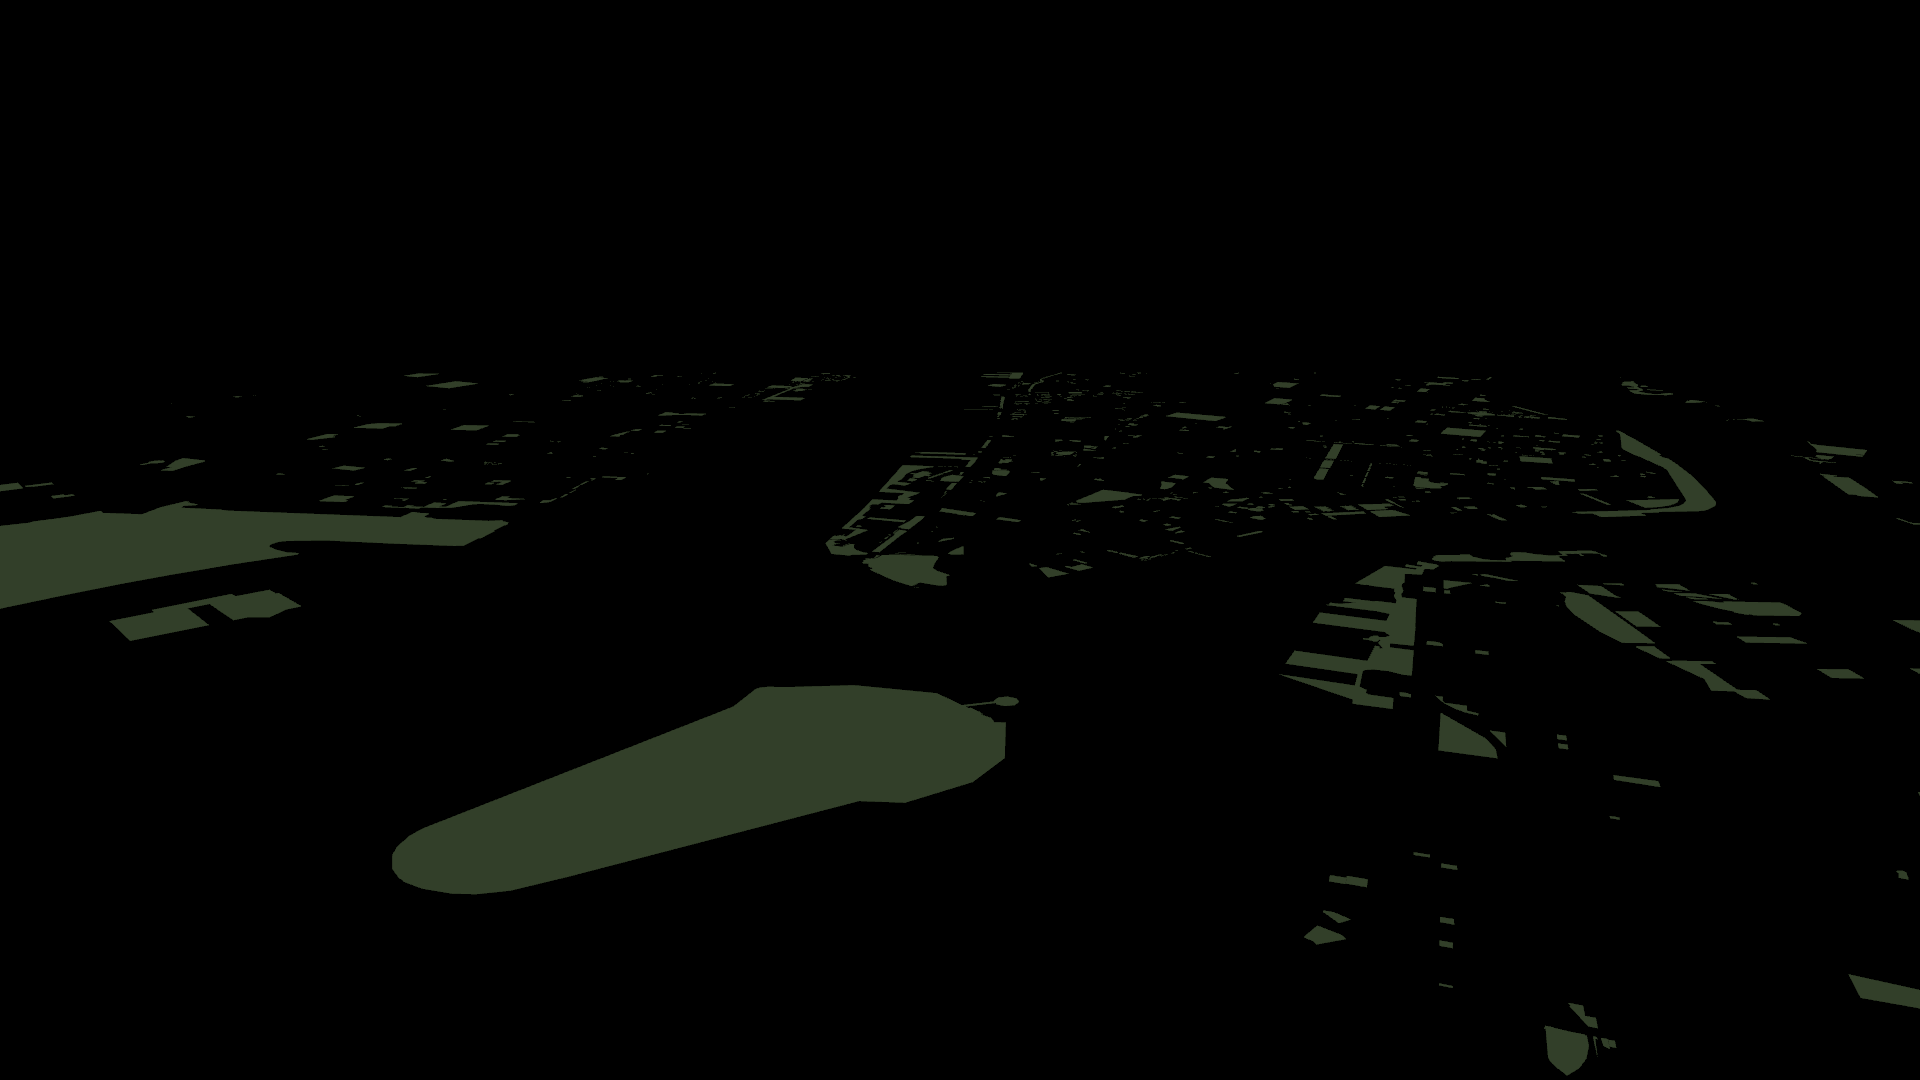
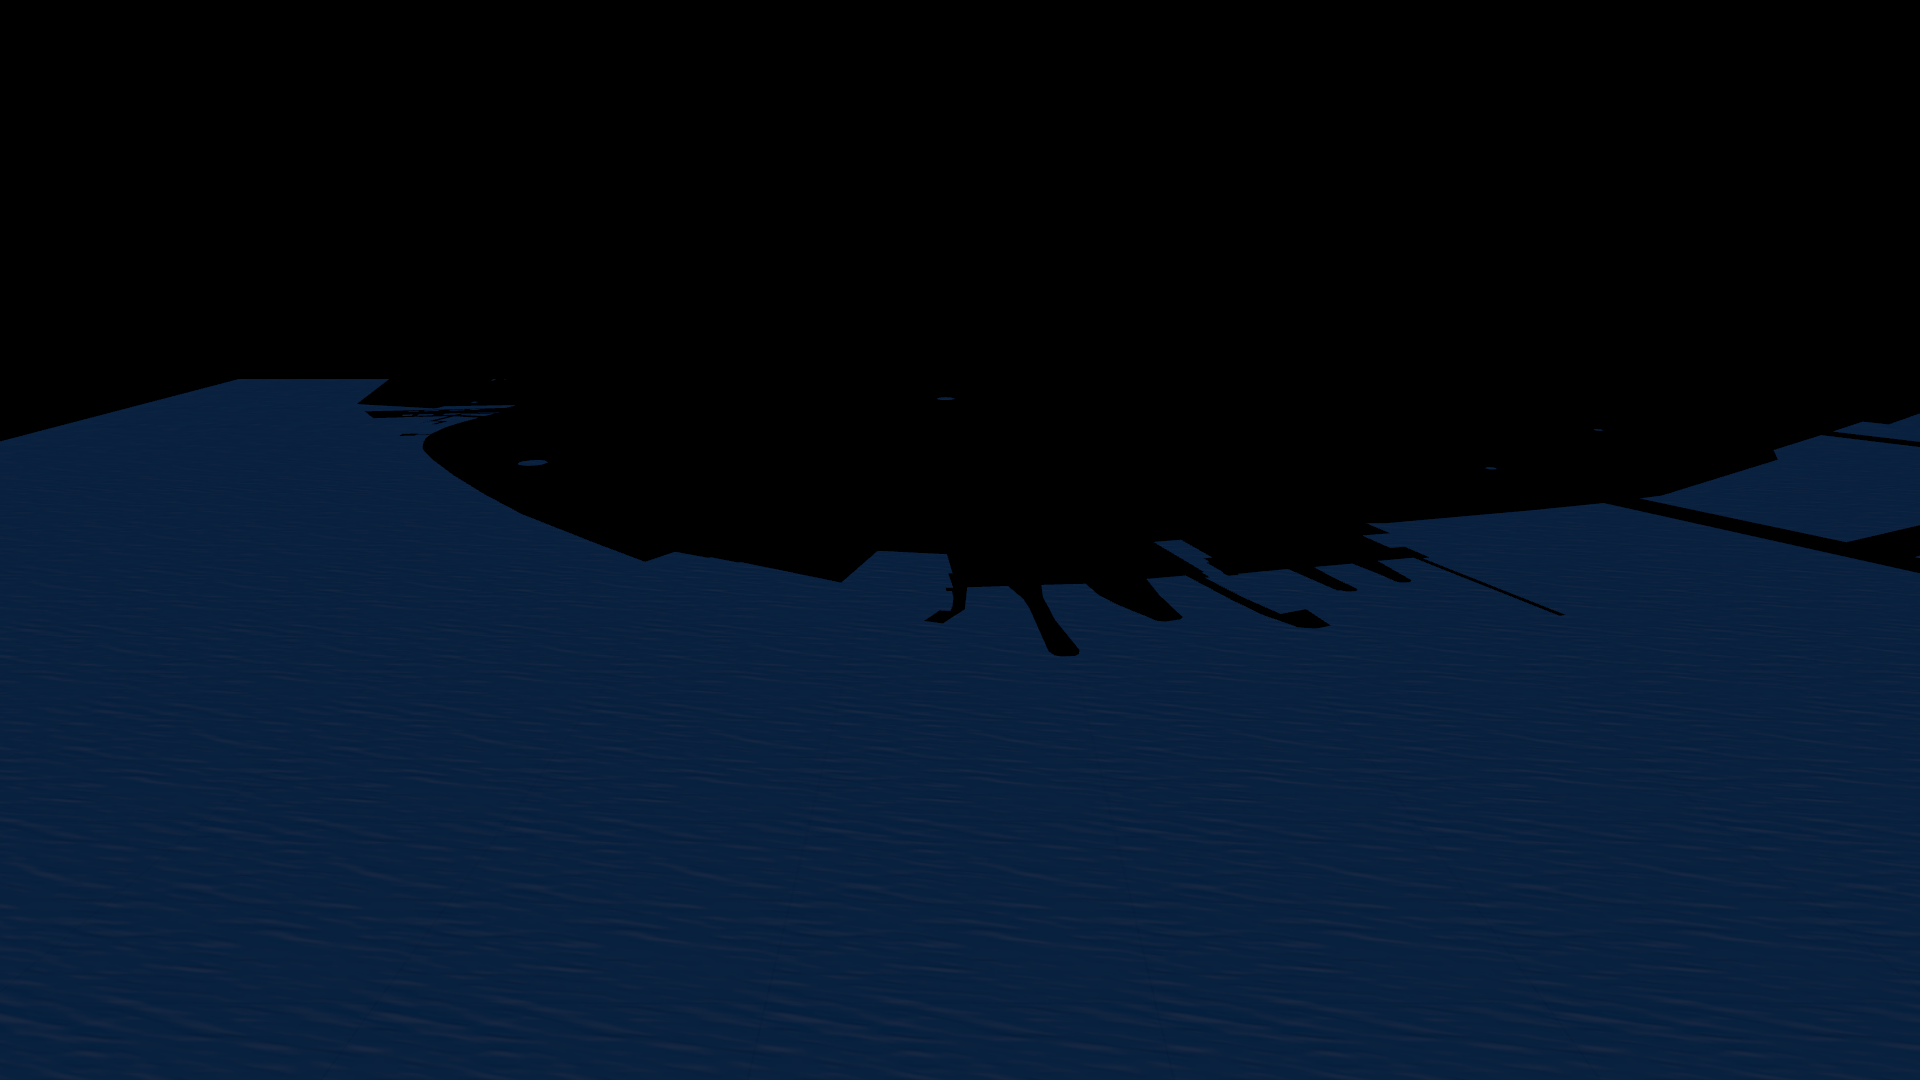
In the Preview, you can see the wooded areas rendered using the material that you set with the Area Material property. To see more wooded areas, decrease the zoom level. For example, in the Kanzi Studio main menu, select Kanzi Maps > Map Control, and set the Zoom Level to 10.

Creating an Area Renderer that renders areas with a textured material
In this example, you create an Area Renderer that renders bodies of water using a textured material.
To create an Area Renderer that renders areas with a textured material:
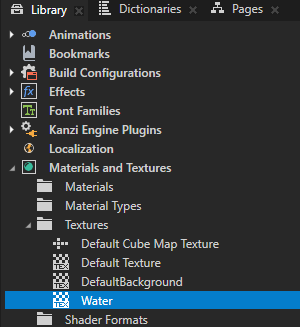
In the Assets, click Import Assets and import the texture image that you want to use to set the appearance of the area that you render.

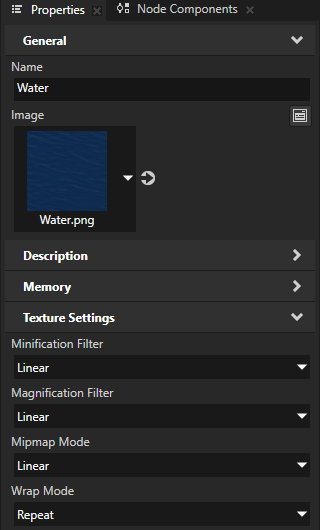
In the Library > Materials and Textures > Textures, select the texture that you imported. In the Properties, set:
Mipmap Mode to Linear
Wrap Mode to Repeat
This way, you set the texture to repeat to cover the geometry.
In the Library, right-click Materials and Textures and select Load Material Type from Disk. Go to
<KanziWorkspace>/Engine/plugins/maps/assets/MaterialTypesand load theKanziMaps_FragmentPhong_MeterTiledTextured.kzmatfile.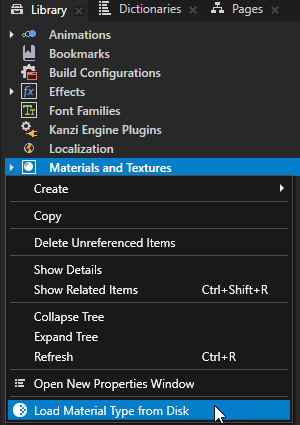
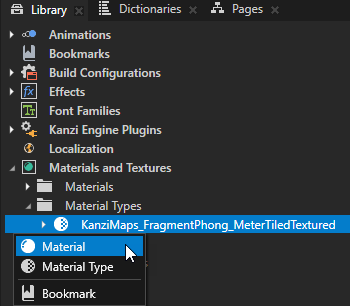
In the Library > Materials and Textures > Material Types, press Alt and right-click KanziMaps_FragmentPhong_MeterTiledTextured, select Material, and name the material.
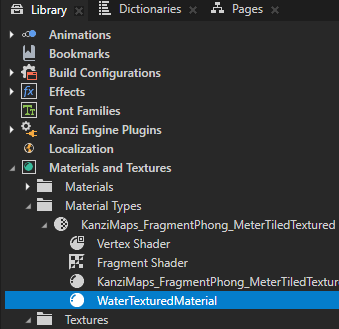
In the Library > Materials and Textures > Materials, select the material that you created. In the Properties, set:
Texture to the texture that you imported
TextureHeightInMeters to the height in meters that you want the texture image to represent

In the Node Tree, press Alt and right-click the Map View node where you want to render areas, select Area Renderer, and name it.

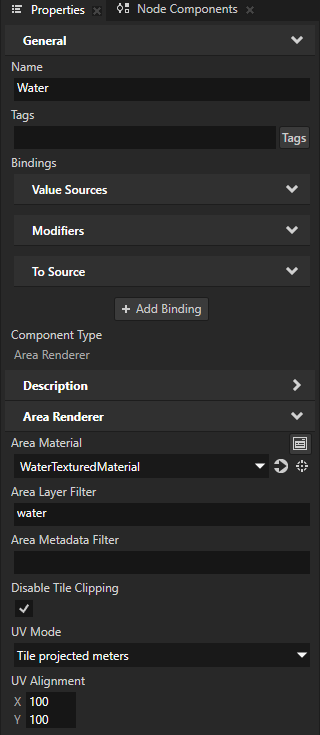
In the Node Tree, select the Area Renderer node that you created. In the Properties, set:
Area Material to the textured material that you created
Area Layer Filter to the name of the layer that provides the type of areas that you want to show
For example, if you use Mapbox and want to show bodies of water, set it to water. See Supported backends.
UV Mode to Tile projected meters
This sets the Area Renderer node to generate UVs in projected meters across a tile.
UV Alignment property X and Y property fields to the value that you set in the TextureHeightInMeters property of your textured material
This way, you make sure that Kanzi wraps the texture correctly at the borders of map tiles.
In the Preview, you can see the areas rendered using the material that you set with the Area Material property. To see the texture better, increase the zoom level. For example, in the Kanzi Studio main menu, select Kanzi Maps > Map Control, and set the Zoom Level to 17.
Controlling the visibility of content based on zoom level
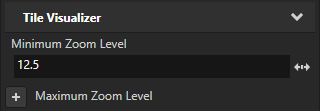
To avoid visual clutter in your map, you can show content only at a specific range of zoom levels. Use the Minimum Zoom Level and Maximum Zoom Level properties to set the range of zoom levels at which a tile-based Renderer renders its content.
For example, in the Node Tree, select a Renderer node. In the Properties, add and set the Minimum Zoom Level property to 12.5.
This way, you hide the content rendered by the Renderer when in the Map View node the value of the Zoom Level property is less than 12.5.
Clipping geometry to the boundaries of map tiles
The Disable Tile Clipping property sets whether the Area Renderer node clips geometry to the boundaries of map tiles. By default, the Disable Tile Clipping property is enabled and the Area Renderer node does not clip the geometry. This can reduce tile processing time.
If overlapping geometry on tile boundaries is an issue with the material that you use, enable clipping by setting the Disable Tile Clipping property to disabled. For example, enable clipping when you cross-fade map content. See Cross-fading map content.