Tutorial: Points of interest and labels
In this tutorial, you learn how to add points of interest (POIs) and street labels to a map.
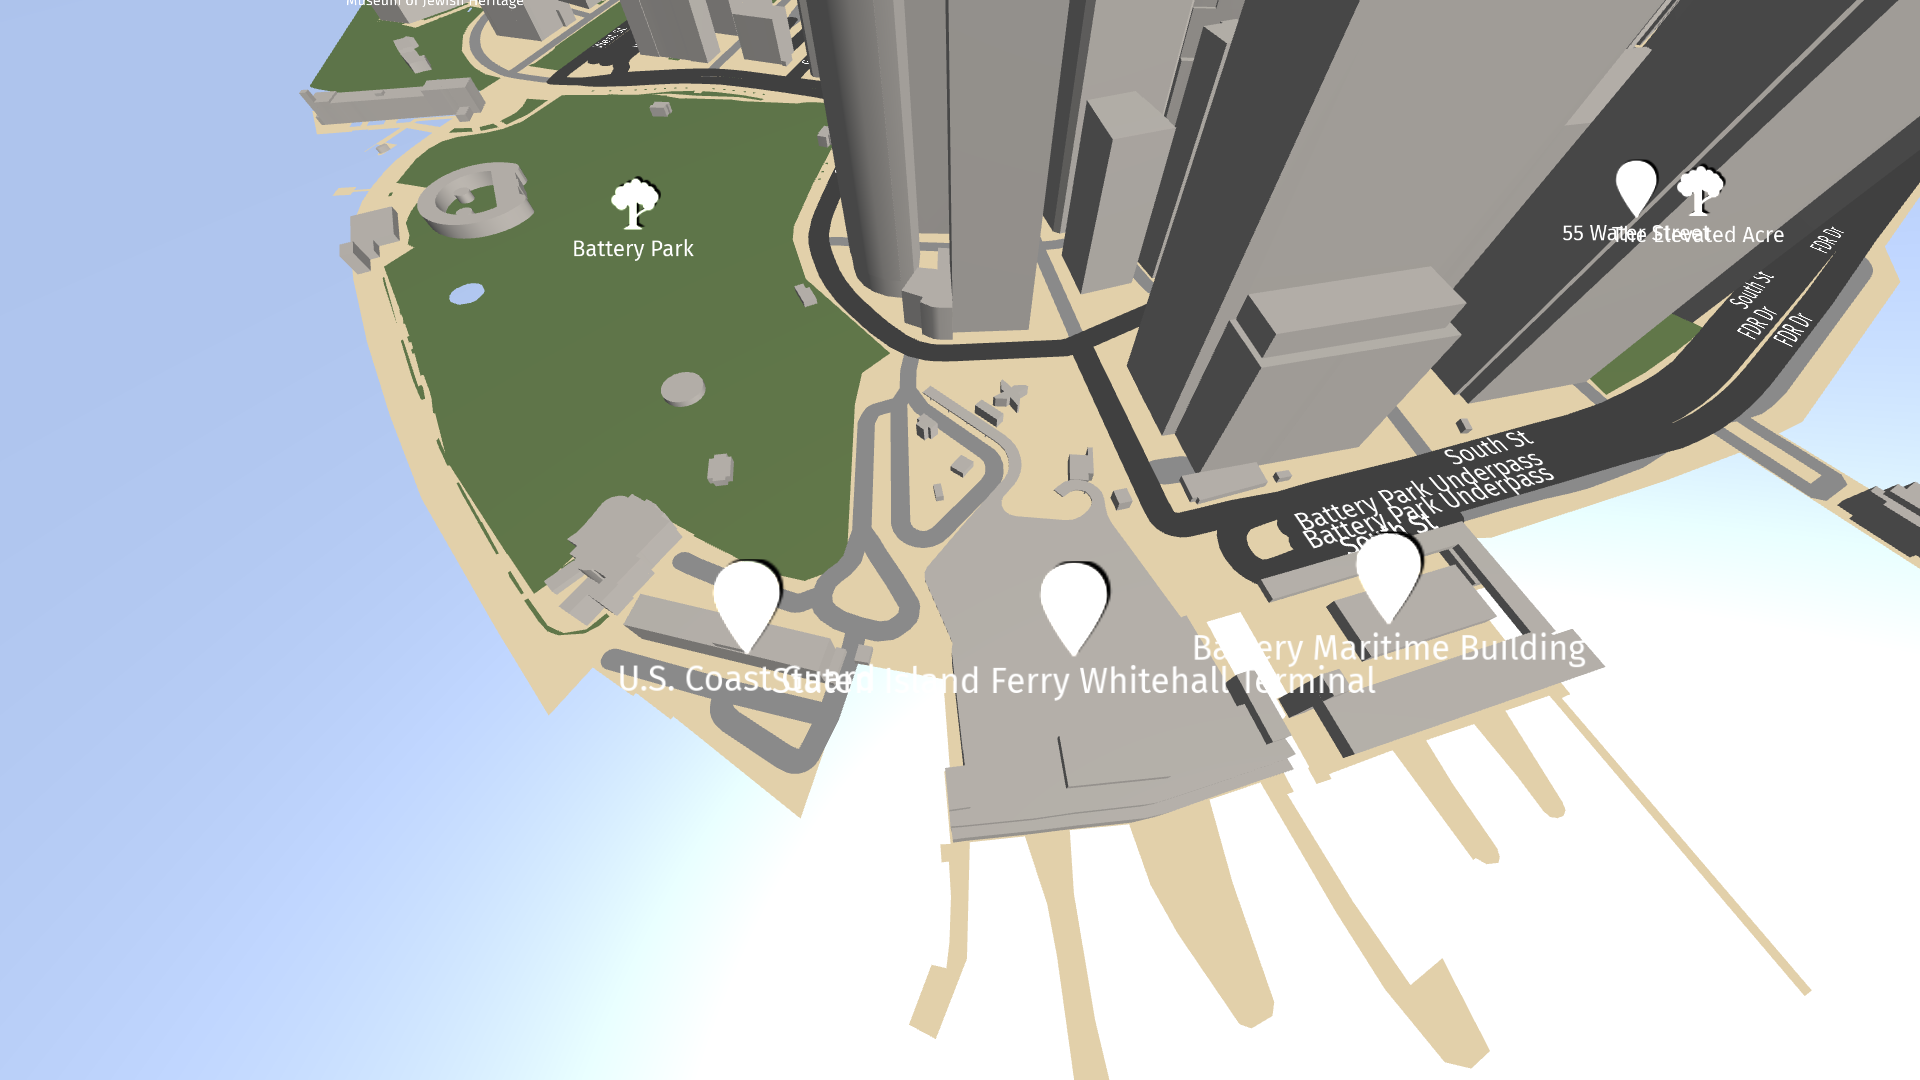
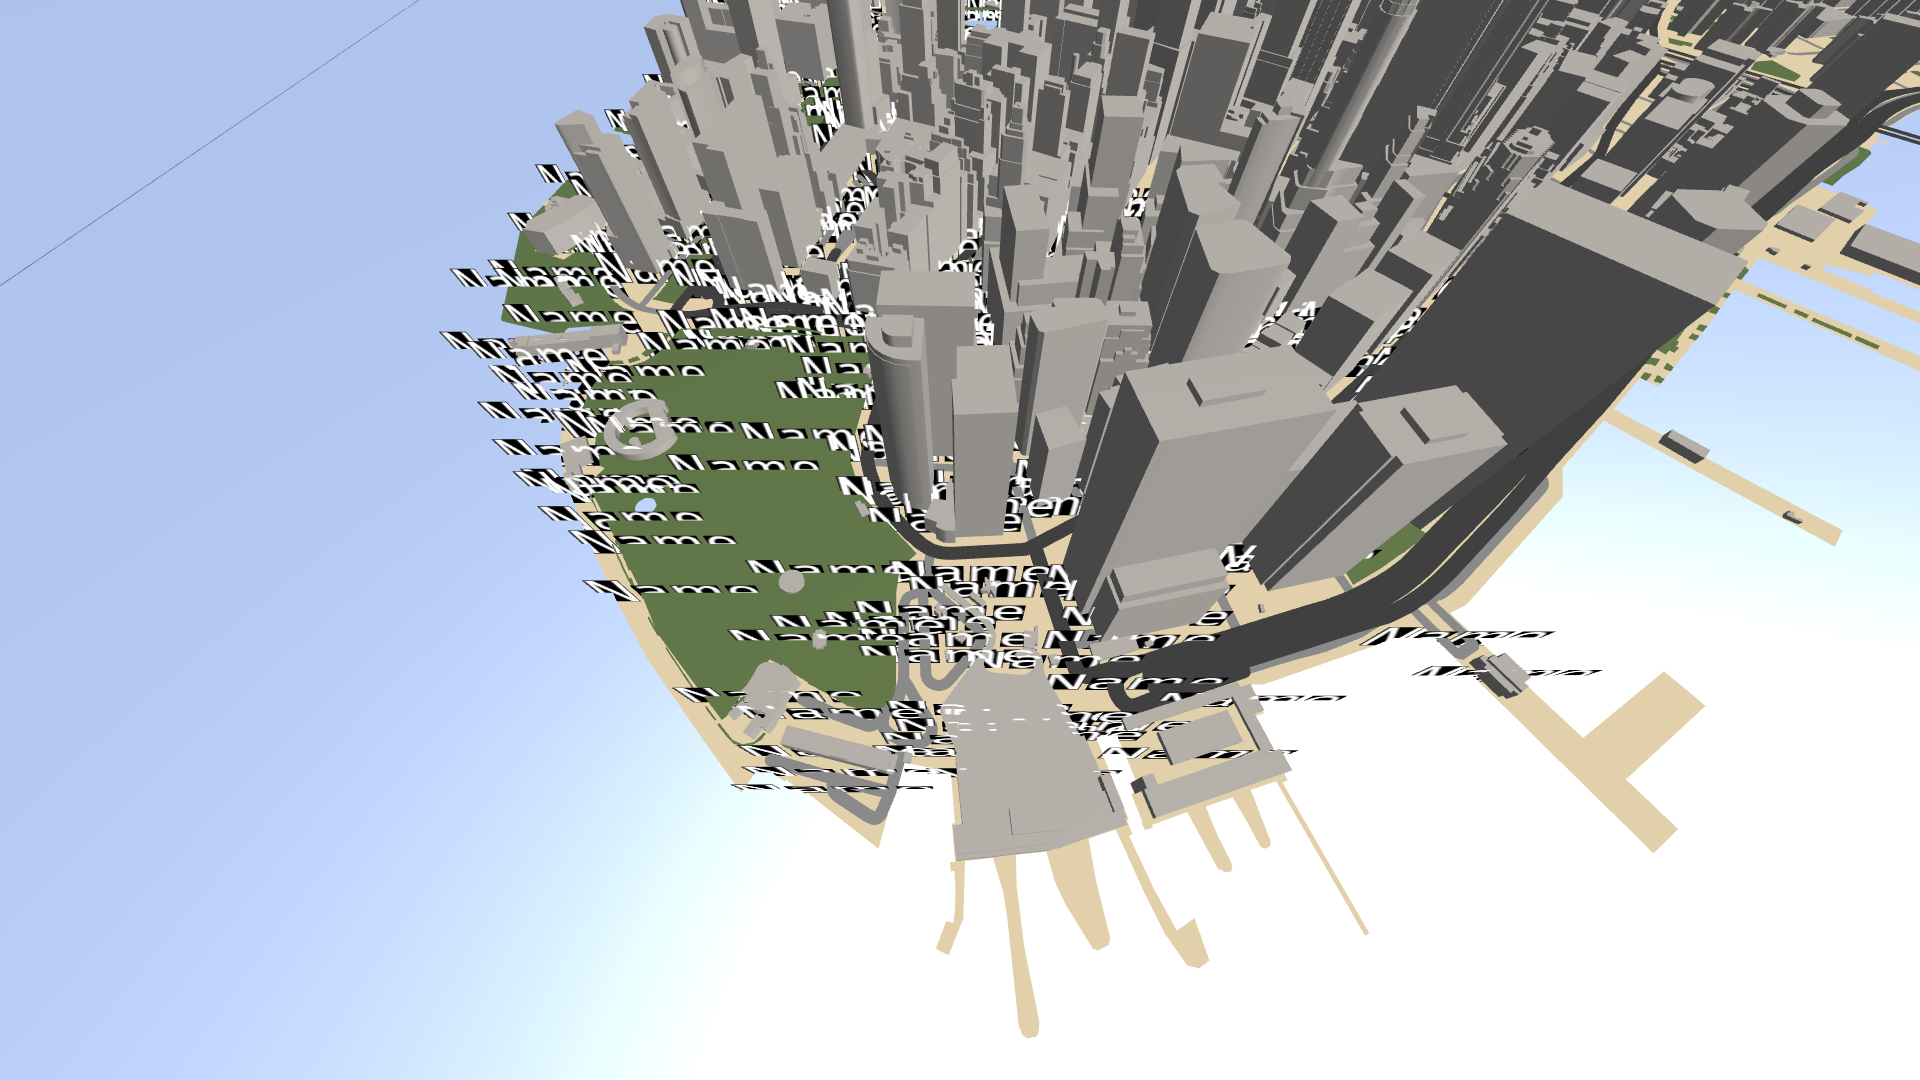
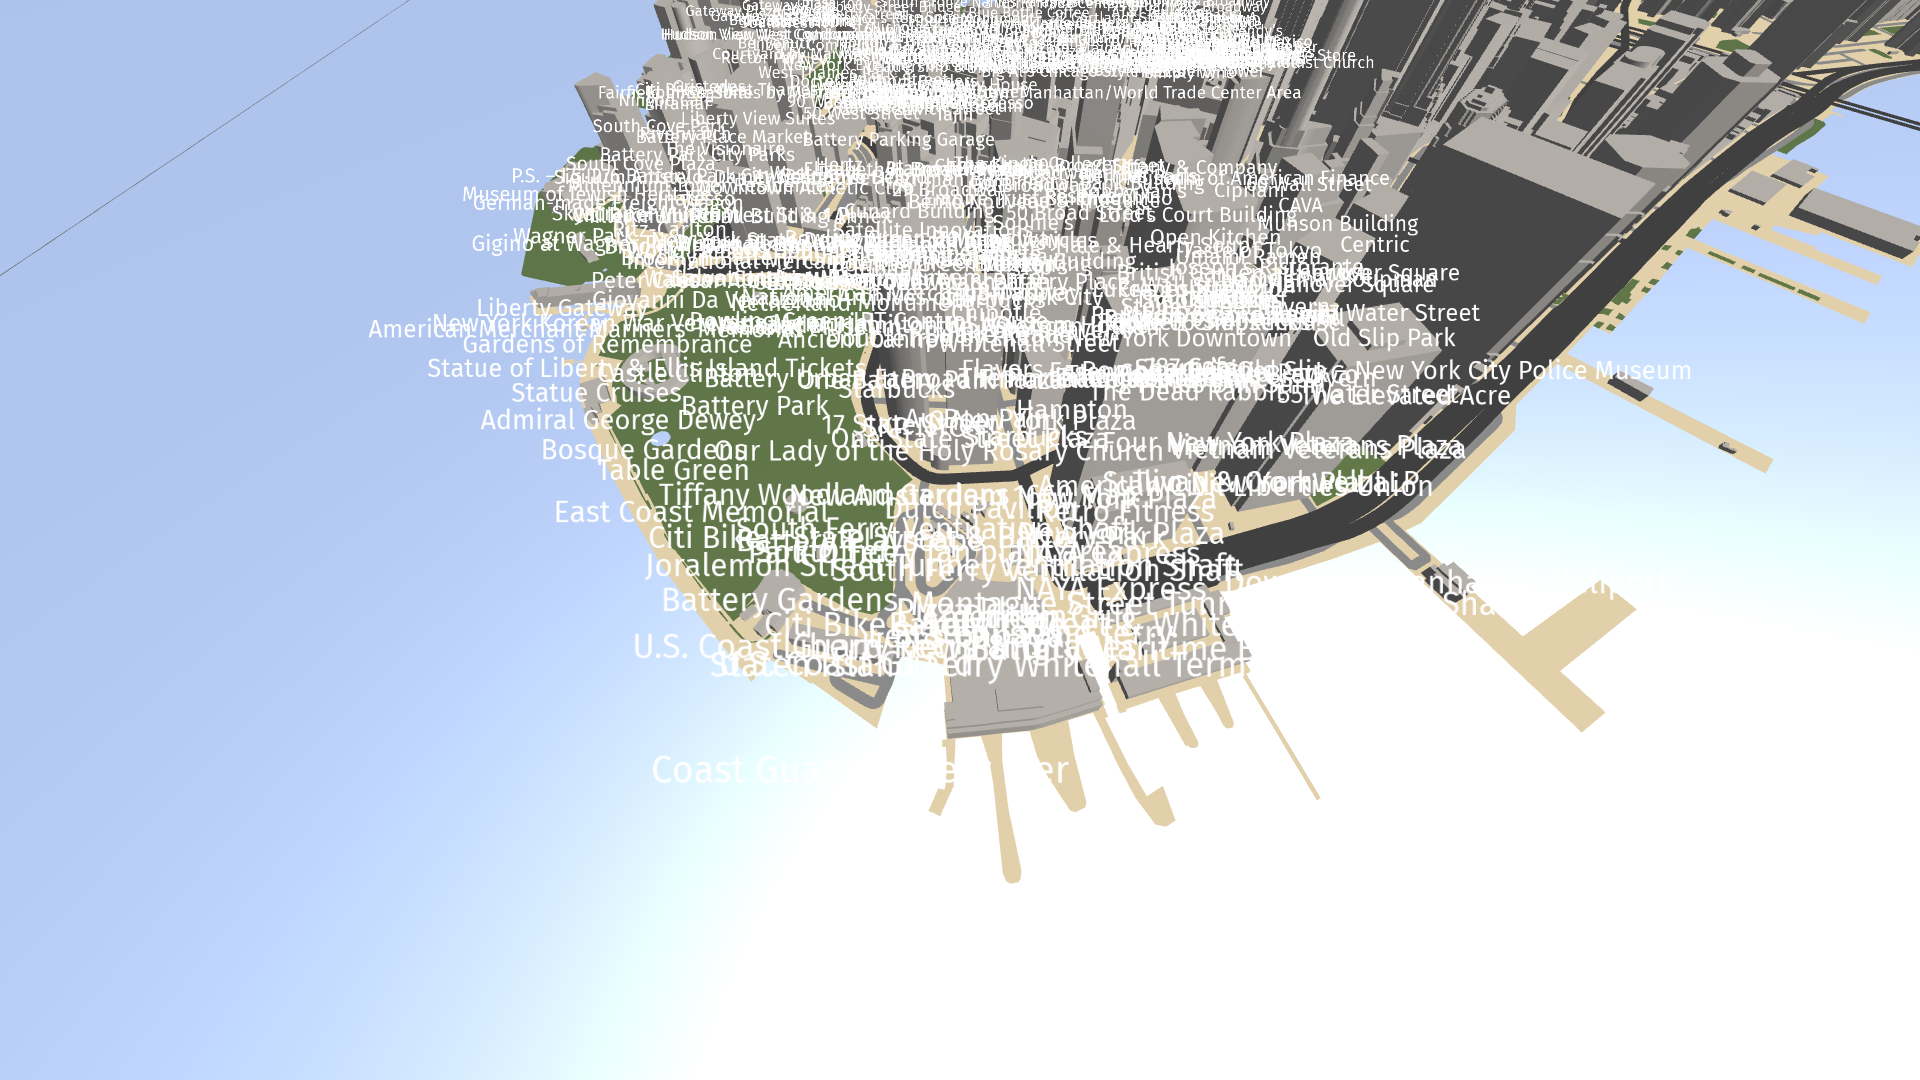
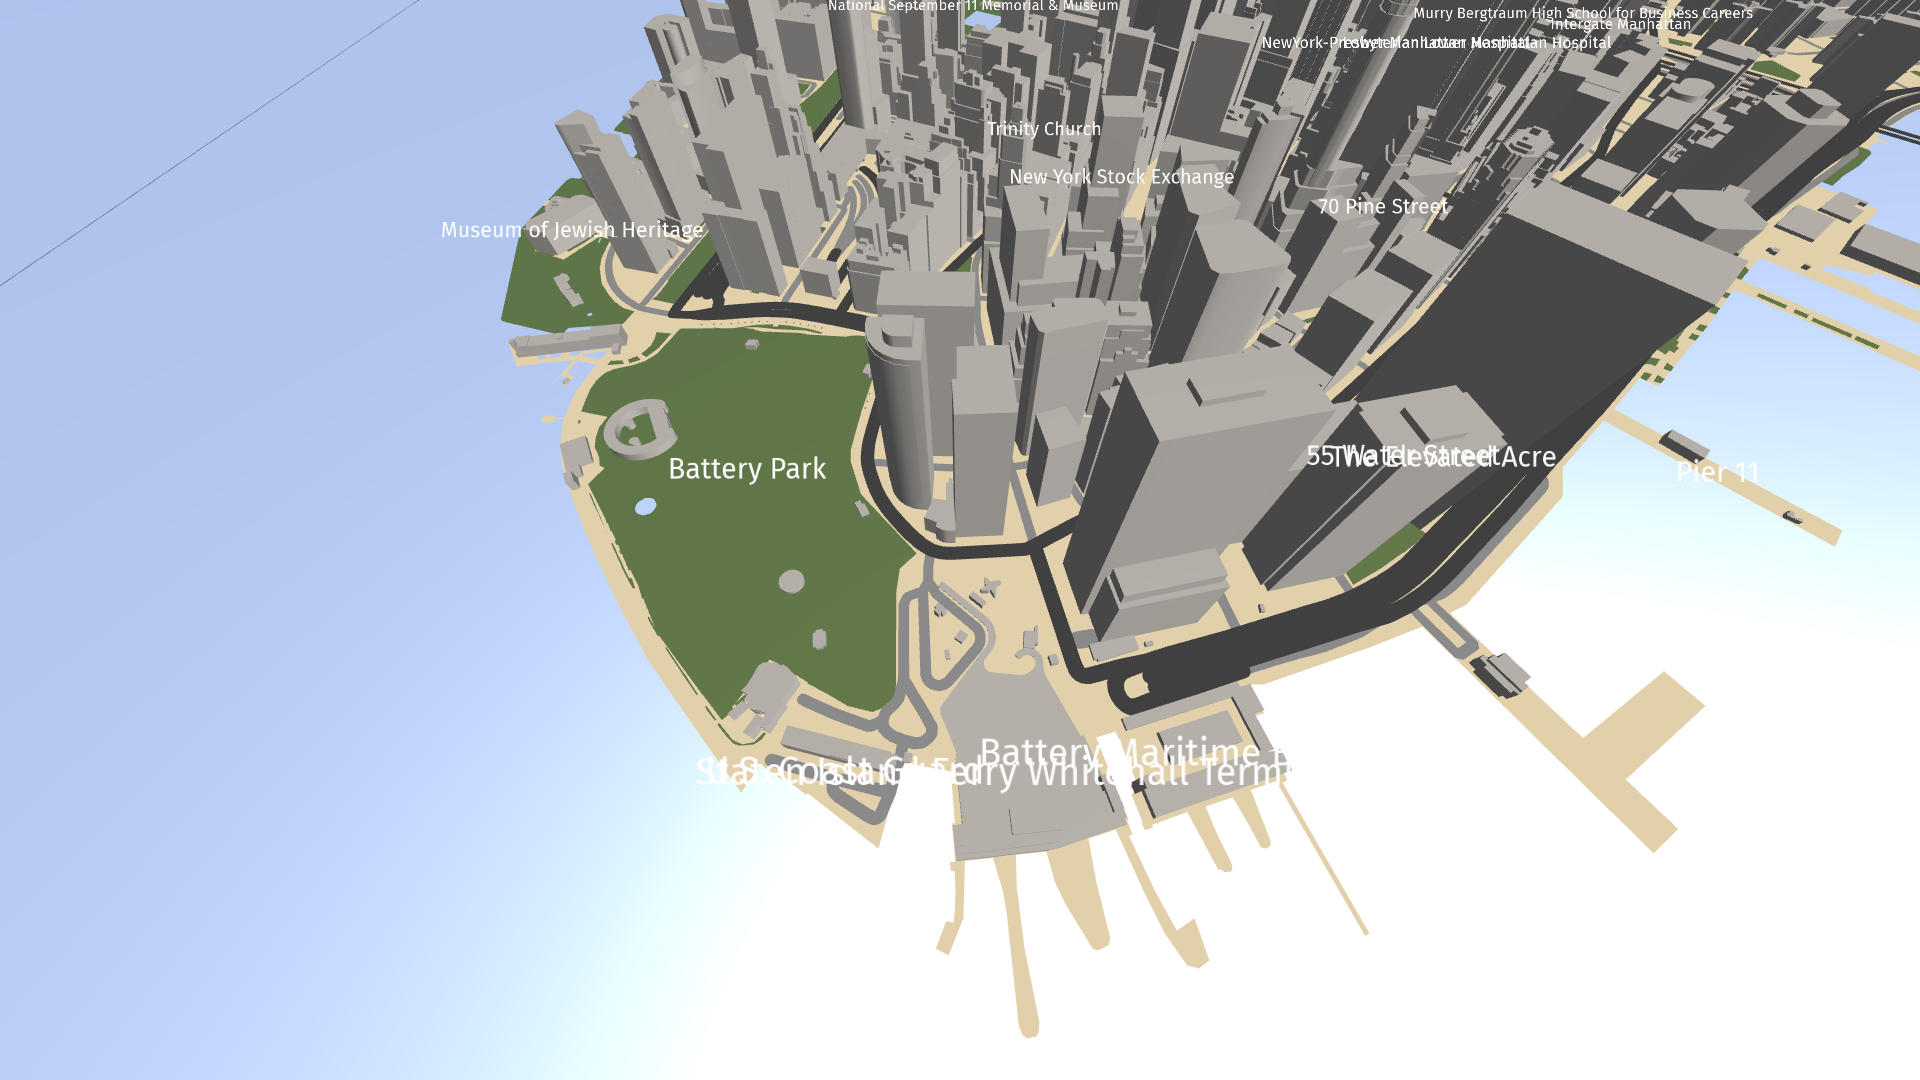
This image shows the result of the tutorial.
Assets for the tutorial
The starting point of this tutorial is the <KanziWorkspace>/Engine/plugins/maps/tutorials/AddingPOIsAndLabels/Start/Tool_project/AddingPOIsAndLabels.kzproj Kanzi Studio project.
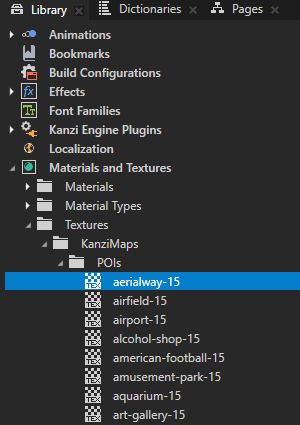
The project contains textures that show Maki icons of different points of interest.
You can find the completed tutorial in the <KanziWorkspace>/Engine/plugins/maps/tutorials/AddingPOIsAndLabels/Completed directory.
In Kanzi Studio, to see the tutorial project in the Preview, in the main menu select Kanzi Maps > Set Up Kanzi Maps. This way, you copy the Kanzi Maps library files to the Application/bin directory of the tutorial project.
Create a renderer for the points of interest
In this section, you create a Prefab Feature Renderer node that you use to render the points of interest.
To create a renderer for the points of interest:
In Kanzi Studio, open the
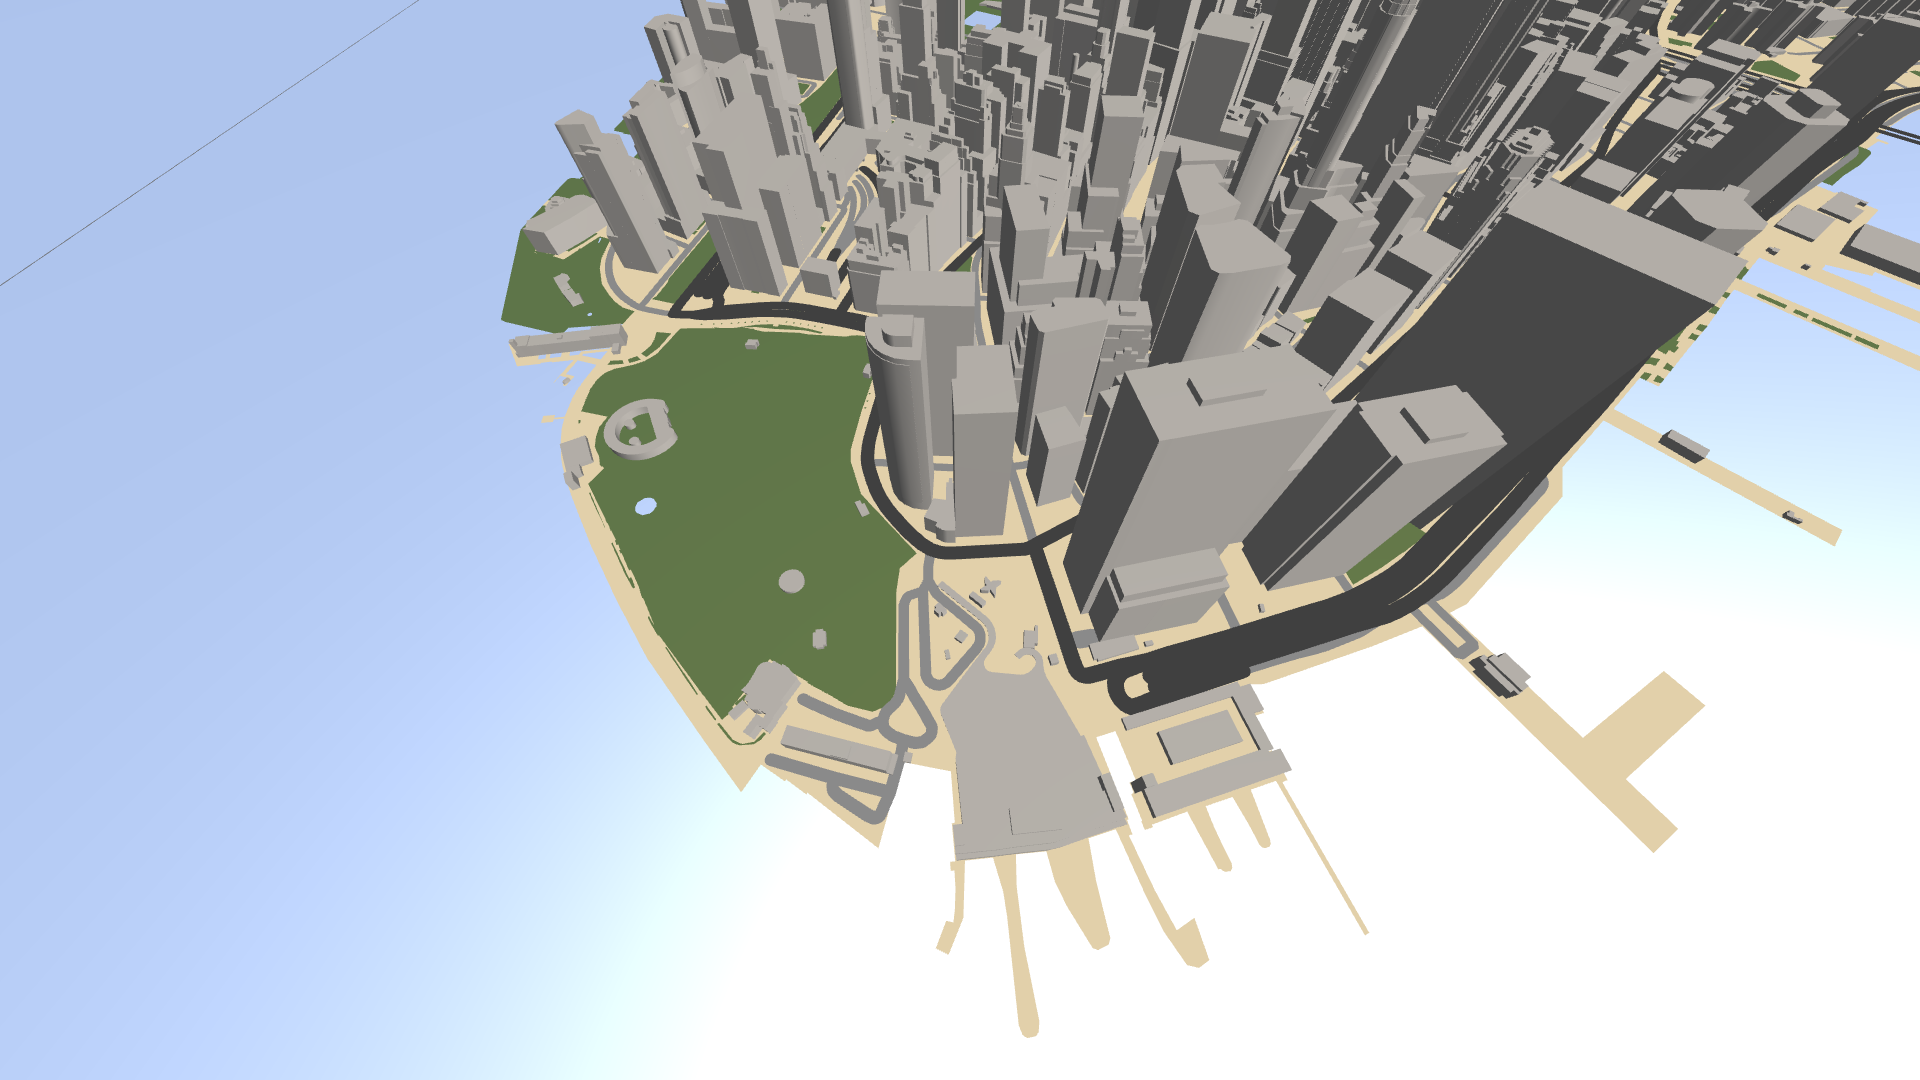
<KanziWorkspace>/Engine/plugins/maps/tutorials/AddingPOIsAndLabels/Start/Tool_project/AddingPOIsAndLabels.kzprojproject.The project contains a 3D map.
In the Kanzi Studio main menu, select Kanzi Maps > Set Up Kanzi Maps.
This way, you copy the Kanzi Maps library files to the
Application/bindirectory of the tutorial project.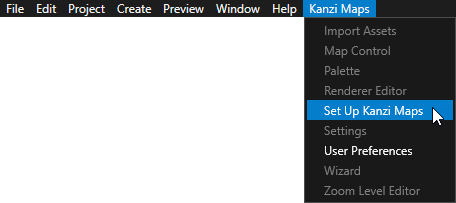
If Kanzi Studio asks whether you want to set the map plugin credentials, click Yes and set up your Mapbox credentials. See Setting up your Mapbox credentials.
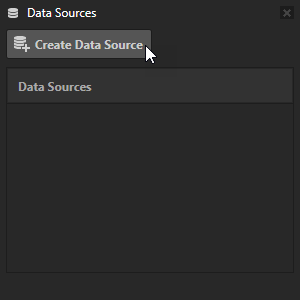
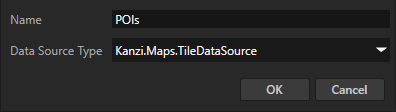
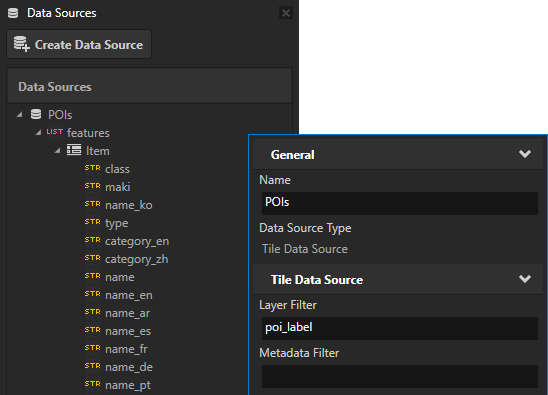
In the Data Sources window, click Create Data Source and set:
Name to POIs
Data Source Type to Kanzi.Maps.TileDataSource
Tile Data Source exposes all map features in the currently visible map area as a flat list.
Tip
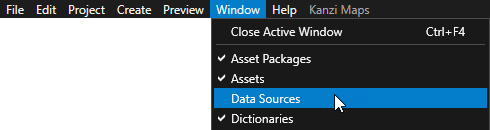
To view the Data Sources window, in the Kanzi Studio main menu, select Window > Data Sources.
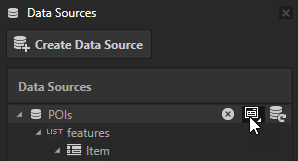
In the Data Sources window, click
 next to the POIs data source to create data objects from that data source.
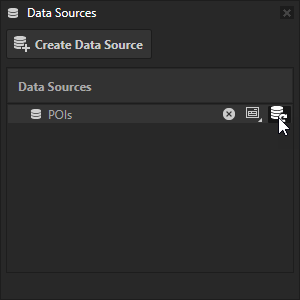
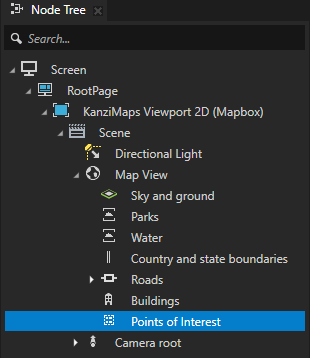
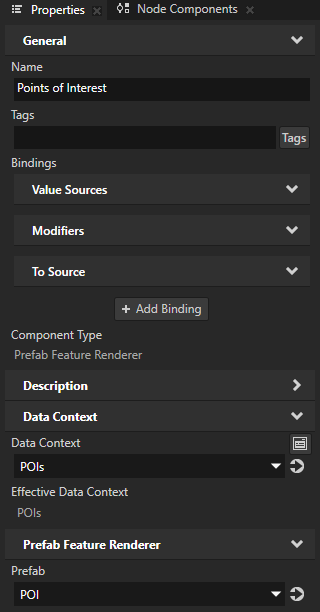
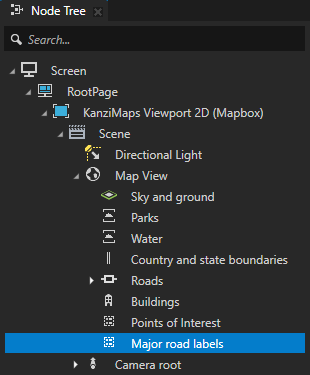
In the Node Tree in the Map View node, create a Prefab Feature Renderer node and name it Points of Interest.
Use the Prefab Feature Renderer node to instantiate a prefab in place of all instances of a specific map feature, such as place of interest or street label.
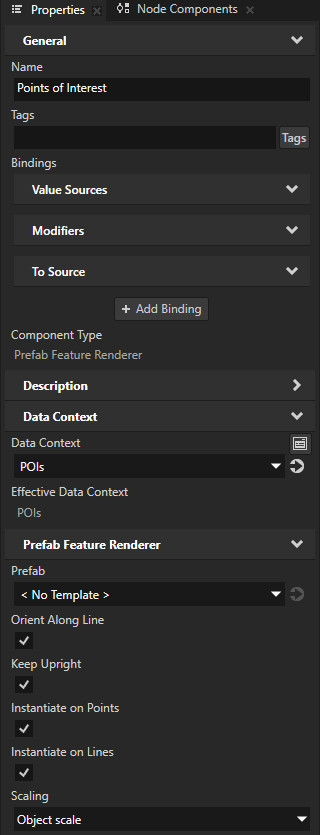
In the Properties, add and set:
Data Context > Data Context to POIs
This way, you enable the Points of Interest Prefab Feature Renderer to access the map features from the POIs data source.
Tip
To set the Data Context property, you can drag a data source from the Data Sources window to the Effective Data Context property in the Properties.
Scaling to Object scale
This way, you keep the size of the POI items the same when the zoom level of the map changes.
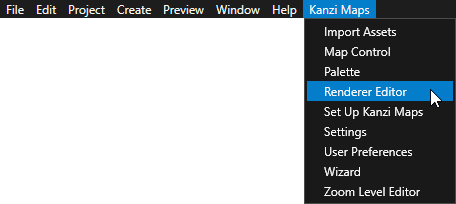
Select Kanzi Maps > Renderer Editor.
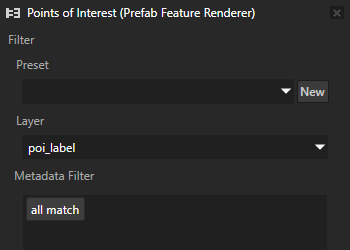
Use the Renderer Editor to set layer and metadata filters that define the map features that a Renderer node renders.
In the Renderer Editor, set Layer to poi_label.
Make sure that the Points of Interest node is selected in the Node Tree.
Use the poi_label layer to place icons and labels for points of interest.
In the Data Sources window, click
next to the POIs data source to create data objects from that data source.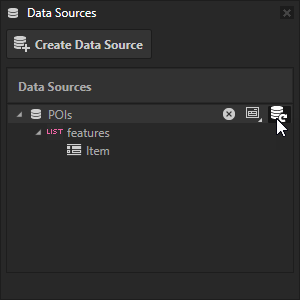
Tip
To view the configuration of a Tile Data Source, in the Data Sources next to that data source click
 .
.
Create the point of interest prefab
In this section, you create the prefab that the Prefab Feature Renderer node instantiates in place of each place of interest.
To create the point of interest prefab:
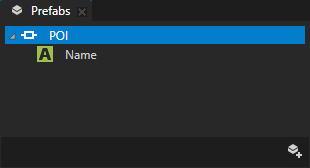
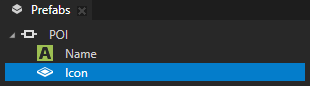
In the Prefabs, create an Empty Node 3D node named POI. In the POI prefab, create a Text Block 3D node named Name.
In the Node Tree, select the Points of Interest node. In the Properties, set the Prefab property to POI.
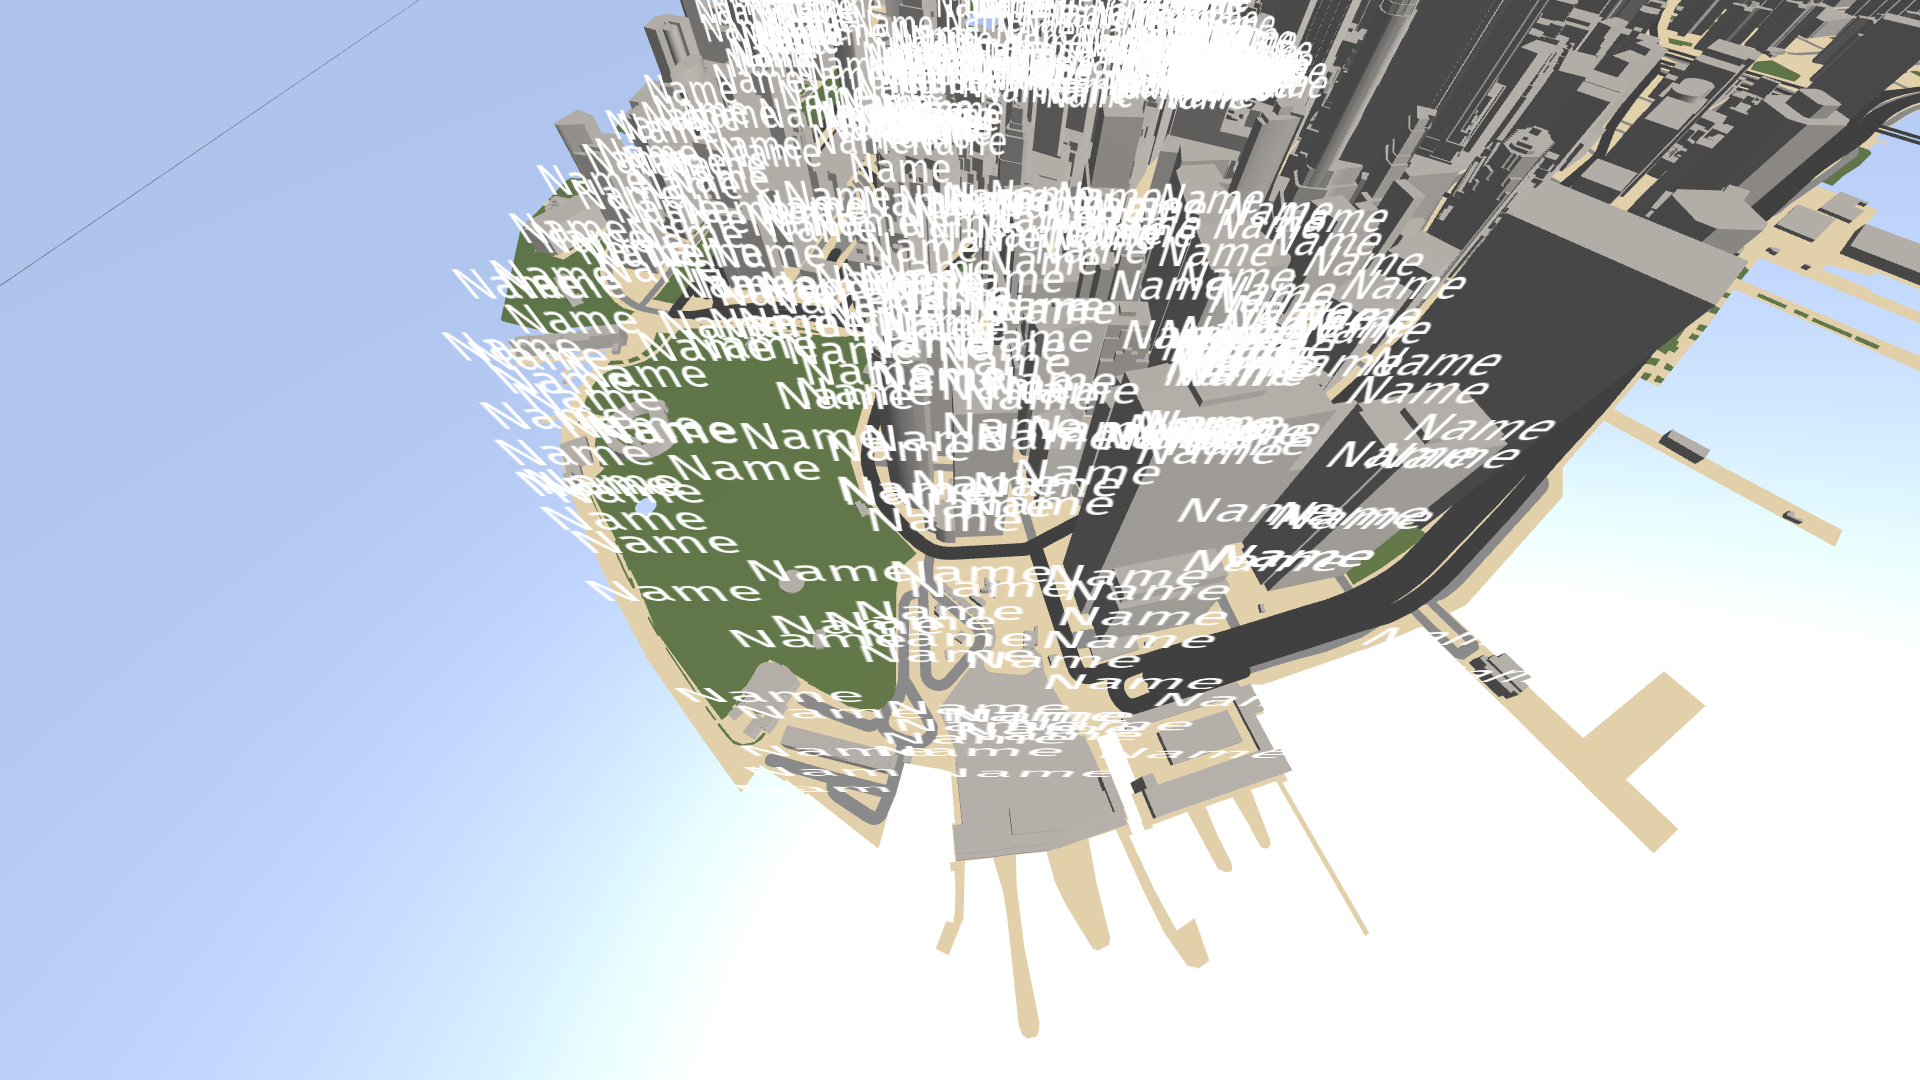
In the Preview, you can see an instance of the POI prefab at every point of interest on the map.
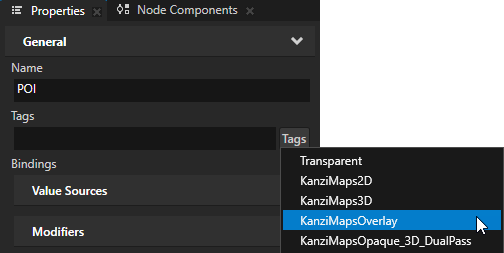
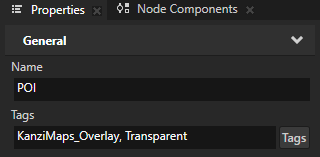
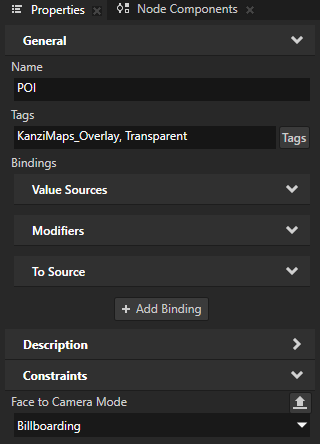
In the Properties, set the Tags property to KanziMaps_Overlay, Transparent.
With the KanziMaps_Overlay tag you make sure that buildings or other obstacles do not obscure the POIs. With the Transparent tag you let the render pass know that the content contains transparency.
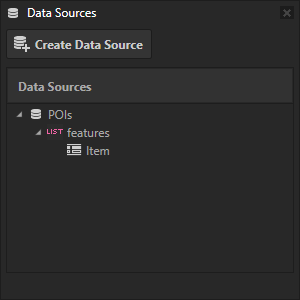
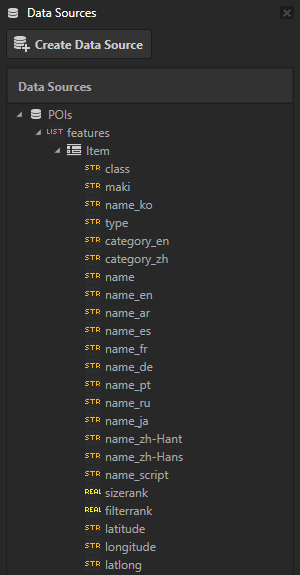
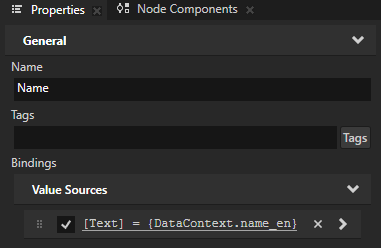
In the Prefabs, select Name node. From the Data Sources, drag the POIs > features > Item > name_en data object to the Properties and drop it on the Text property.
You set the Name node to show the English name of a point of interest that is set in the name_en data object. When you drop a data object on a property, Kanzi Studio binds the value of that property type to the value of the data object.
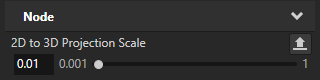
In the Properties, add the 2D to 3D Projection Scale property, and set it to 0.01.
With this property, you set the factor that Kanzi uses to scale the text from pixels to 3D units.
In the Prefabs, select the POI prefab. In the Properties, add the Constraints > Face to Camera Mode property and set it to Billboarding.
The Billboarding mode sets nodes to rotate with the rotation of the target camera, keeping the nodes rotated perpendicular to the field of view of the camera.
In the Node Tree, select the Points of Interest node. In the Renderer Editor in the Metadata Filter:
Next to all match, click
 and select the is less or equal to rule.
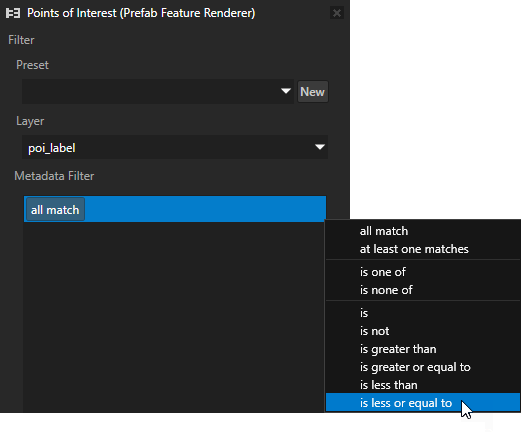
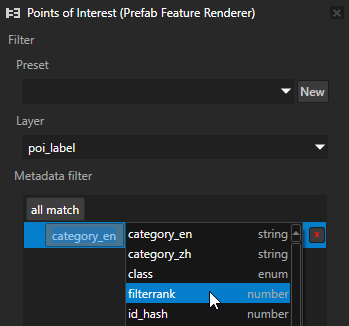
Click category_en and set the key to filterrank.
You use the filterrank field to control the density of points of interest that you show on the map.
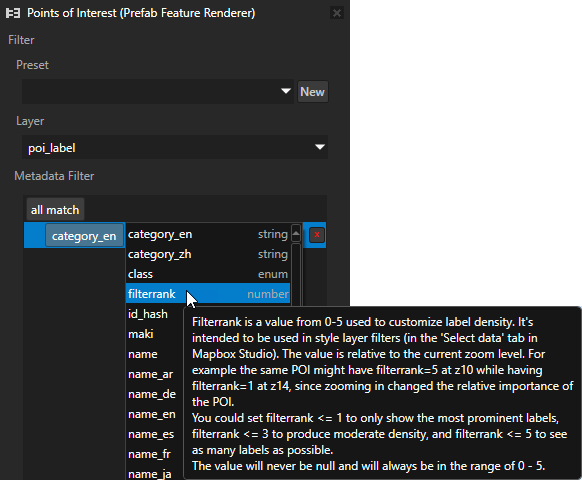
Tip
In the metadata filter editor, hover over an item in the field menu to see its description generated from the Mapbox documentation.
Set the value to 2.

In the Renderer Editor in the Metadata Filter, add another filter for sizerank is less or equal to 14.
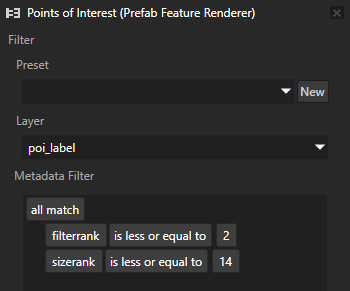
Kanzi Studio sets in the POIs data source the Metadata Filter property to the expression that matches the filter that you created in the Renderer Editor:
filterrank <= 2 && sizerank <= 14
In the Preview, you can see the points of interest that match the metadata filter.

Add icons for the points of interest
To add icons for the points of interest:
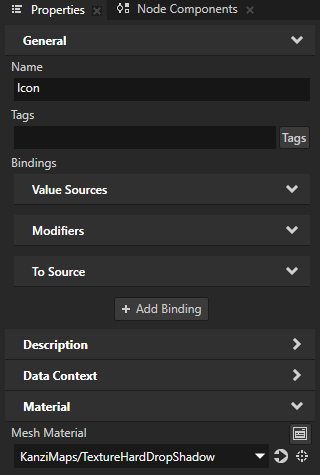
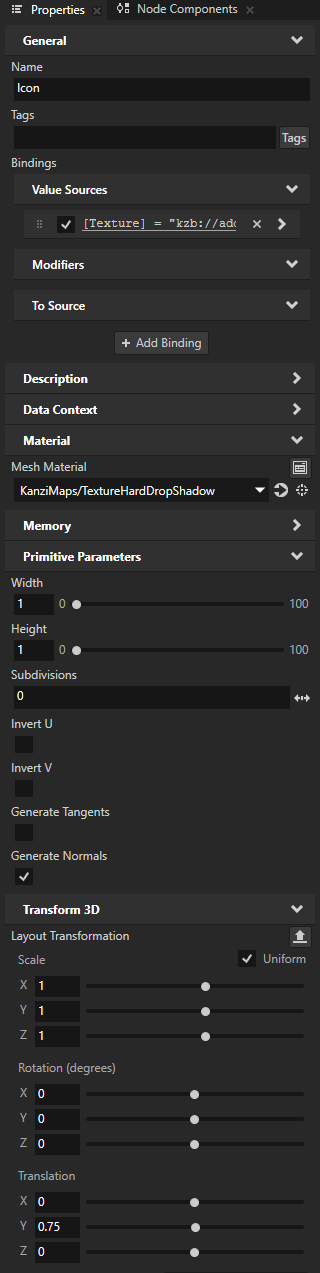
In the Prefabs > POI prefab, create a Plane node named Icon. In the Properties, set the Mesh Material property to KanziMaps/TextureHardDropShadow.
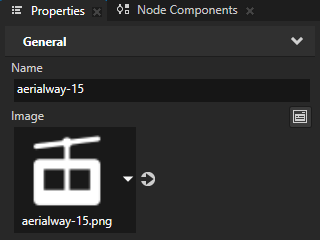
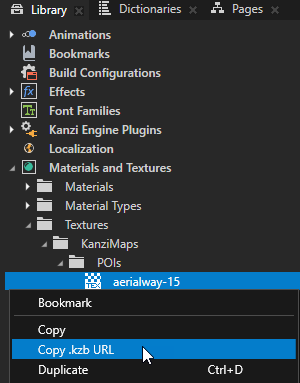
In the Library > Materials and Textures > Textures > KanziMaps > POIs, right-click the aerialway-15 texture and select Copy .kzb URL.
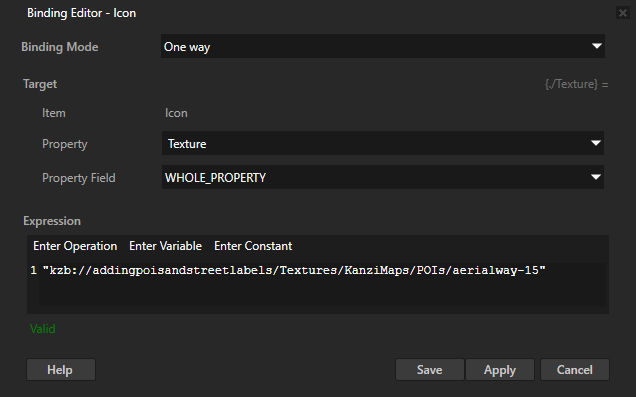
In the Prefabs, select the Icon node. In the Properties, click + Add Binding and in the Binding Editor set:
Property to Material > Texture
Expression to the kzb URL that you copied, enclosed in double quotes:
"kzb://addingpoisandstreetlabels/Textures/KanziMaps/POIs/aerialway-15"
In the Properties, add and set:
Width and Height to 1
Layout Transformation Translation Y to 0.75
You position the point of interest icon above the label.
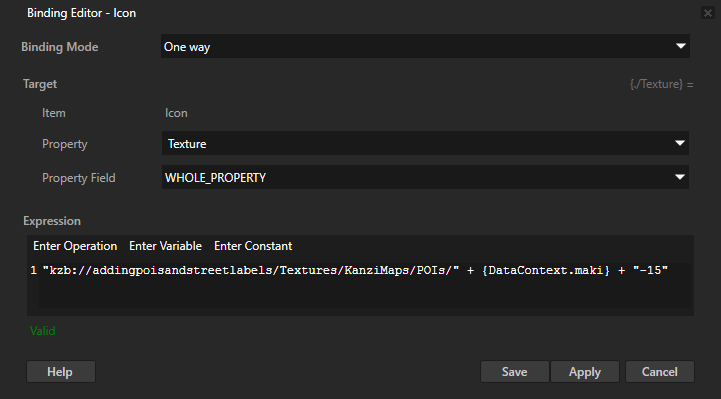
In the Properties, click the binding to edit it, and in the Binding Editor, set Expression to
"kzb://addingpoisandstreetlabels/Textures/KanziMaps/POIs/" + {DataContext.maki} + "-15"This way, you set the correct icon for each point of interest.
Show street labels
To show street labels:
In the Data Sources, create a tile data source named Major roads and click
to create data objects from the data source.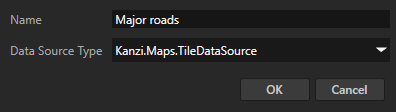
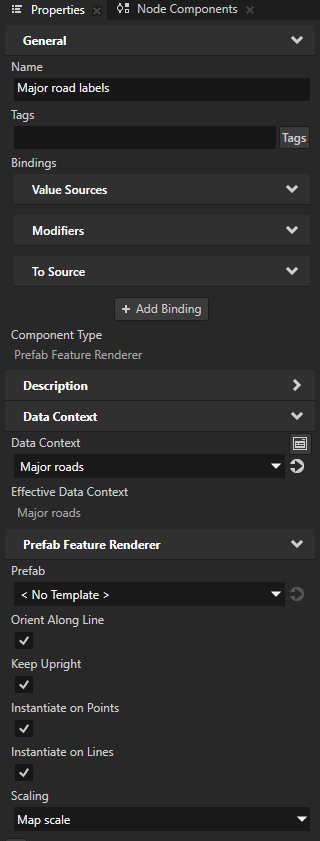
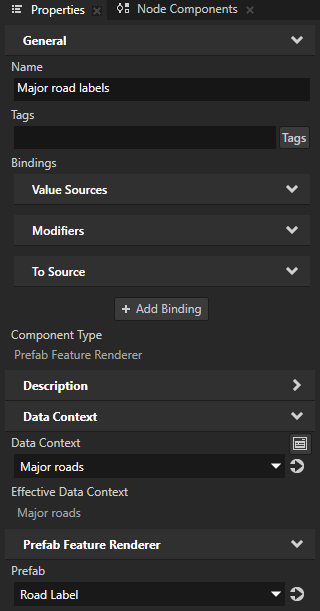
In the Node Tree in the Map View node, create a Prefab Feature Renderer node named Major road labels. In the Properties, set the Data Context to Major roads.
Leave the Scaling property set to Map scale. This way, you let the size of the road labels scale with the road.
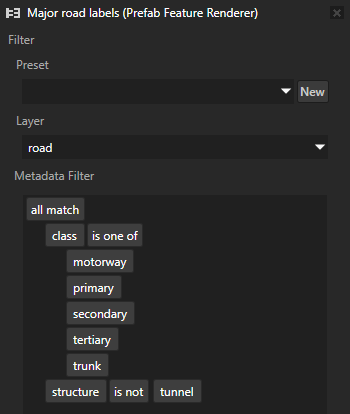
In the Renderer Editor, for the Major road labels renderer, set:
Layer to road
Metadata Filter to:
all match
  class is one of
    motorway
    primary
    secondary
    tertiary
    trunk
  structure is not tunnel
In the Prefabs, create a Text Block 3D prefab named Road Label.
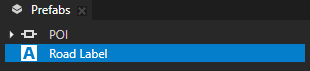
In the Node Tree, select the Major road labels node. In the Properties, set the Prefab property to the Road Label prefab.
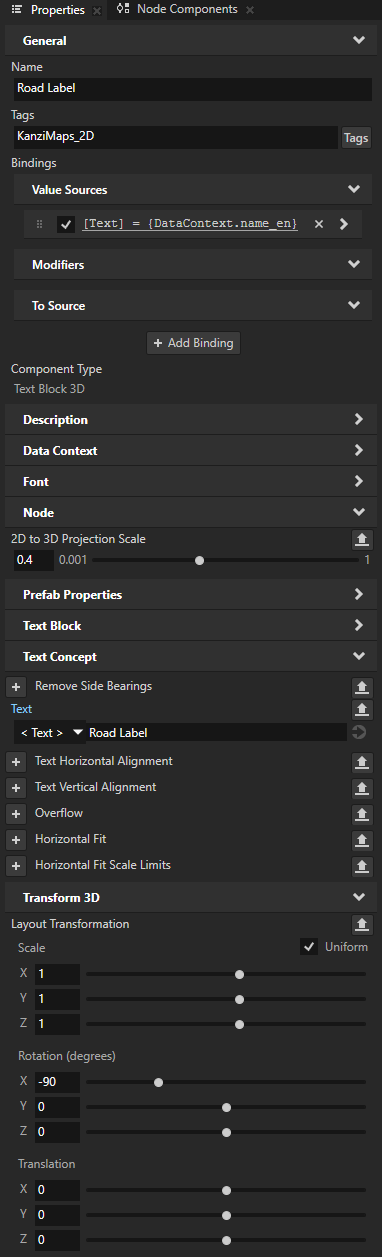
In the Prefabs, select the Road Label prefab. In the Properties:
Set Tags to KanziMaps_2D.
This way you let the render pass know that the road labels are 2D-like content.
Set 2D to 3D Projection Scale to 0.4.
Add the Layout Transformation property and set the Rotation X property field to -90.
Bind the Text property to the Major roads > features > Item > name_en data object.
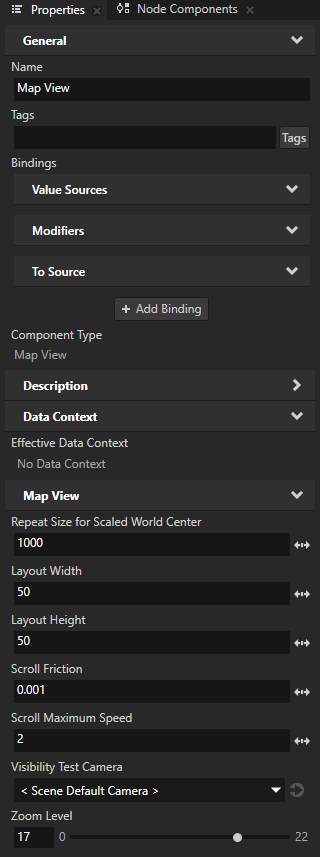
In the Node Tree, select the Map View node. In the Properties, set the Zoom Level property to 17.
See also
To learn more about the Tile Data Source, see Using the Tile Data Source.
To learn more about using the Prefab Feature Renderer node, see Using the Prefab Feature Renderer node.
To learn more about using the Renderer Editor, see Using the Renderer Editor.