Tutorial: Route progress and navigation instructions
In this tutorial, you learn how to visualize route progress and show navigation instructions.
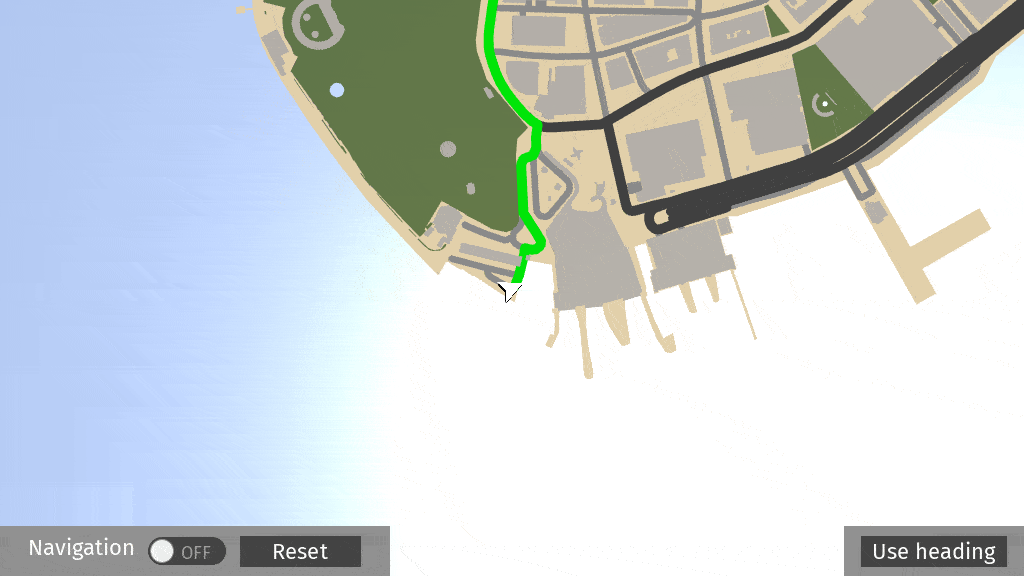
This video shows the result of the tutorial.
Assets for the tutorial
The starting point of this tutorial is the <KanziWorkspace>/Engine/plugins/maps/tutorials/AddingRouteProgressAndManeuvers/Start/Tool_project/AddingRouteProgressAndManeuvers.kzproj Kanzi Studio project.
You can find the completed tutorial in the <KanziWorkspace>/Engine/plugins/maps/tutorials/AddingRouteProgressAndManeuvers/Completed directory.
In Kanzi Studio, to see the tutorial project in the Preview, in the main menu select Kanzi Maps > Set Up Kanzi Maps. This way, you copy the Kanzi Maps library files to the Application/bin directory of the tutorial project.
The starting point project contains the content that you need to complete this tutorial:
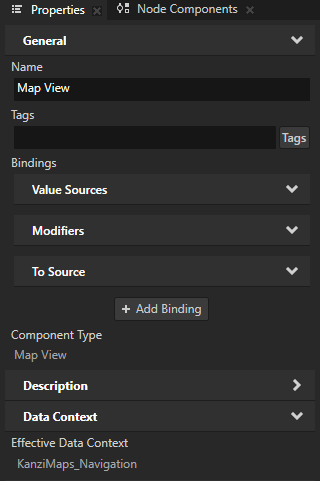
The Map View node uses the KanziMaps_Navigation data source, which is a Navigation Data Source.
The Route material type.

Vertex shader:
attribute vec3 kzPosition;

// Three-component (UVW) attribute where:
// - U stores a line lengthwise:
//   - from -0.5 to 0.0 for the start cap,
//   - from 1.0 to 1.5 for the end cap,
//   - -2.0 for the inner vertices of the join, and
//   - from 0 to 1 everywhere else.
// - V stores a line width-wise from 0 to 1.
// - W is an absolute value that stores the total length of the stroke in projected meters.
//   Negative value indicates cap vertex.
attribute vec3 kzStrokeUVAndLength;

uniform highp mat4 kzProjectionCameraWorldMatrix;

// The rendering position along the route.
varying mediump vec2 vRouteU;

// The length of the route.
varying mediump float vRouteLength;

void main()
{
    precision mediump float;
    gl_Position = kzProjectionCameraWorldMatrix * vec4(kzPosition.xyz, 1.0);
    vRouteU.y = (sign(kzStrokeUVAndLength.x) + 1.0) * 0.5;
    vRouteU.x = kzStrokeUVAndLength.x * vRouteU.y;
    vRouteLength = kzStrokeUVAndLength.z;
}
The fragment shader modifies the alpha value of the route color when the rendering position in
vRouteUis before or after theRouteProgressvalue:precision mediump float; uniform vec4 Color; varying mediump vec2 vRouteU; varying mediump float vRouteLength; uniform mediump float kzTime; uniform mediump float RouteProgress; void main() { precision mediump float; float u = vRouteU.x / vRouteU.y; float progressMask = (1.0 - step(u, RouteProgress)); float alpha = progressMask * Color.a; vec3 color = Color.rgb; gl_FragColor = vec4(color * alpha, alpha); }
Visualize route progress
In this section, you use a binding to visualize the route progress.
To visualize the route progress:
In Kanzi Studio, open the
<KanziWorkspace>/Engine/plugins/maps/tutorials/AddingRouteProgressAndManeuvers/Start/Tool_project/AddingRouteProgressAndManeuvers.kzprojproject.In the Kanzi Studio main menu, select Kanzi Maps > Set Up Kanzi Maps.
This way, you copy the Kanzi Maps library files to the
Application/bindirectory of the tutorial project.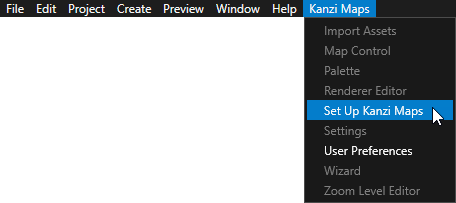
If Kanzi Studio asks whether you want to set the map plugin credentials, click Yes and set up your Mapbox credentials. See Setting up your Mapbox credentials.
In the Node Tree, select the Map View node. In the Properties, click + Add Binding, and in the Binding Editor:
Set Property to Material Properties > RouteProgress
From the Data Sources > KanziMaps_Navigation data source, drag the RouteOffset and RouteLength data objects to the Expression and divide the offset by the length:
{DataContext.RouteOffset} / {DataContext.RouteLength}


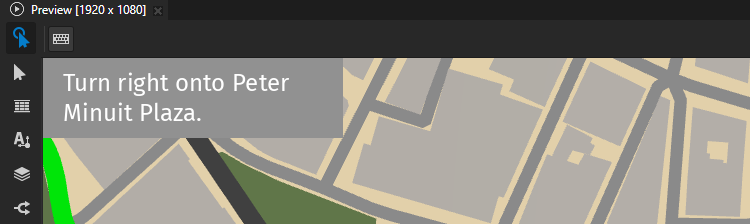
In the Preview, when you toggle on the Navigation button to start the navigation, Kanzi Maps now draws only the remaining part of the route.
Show navigation instructions
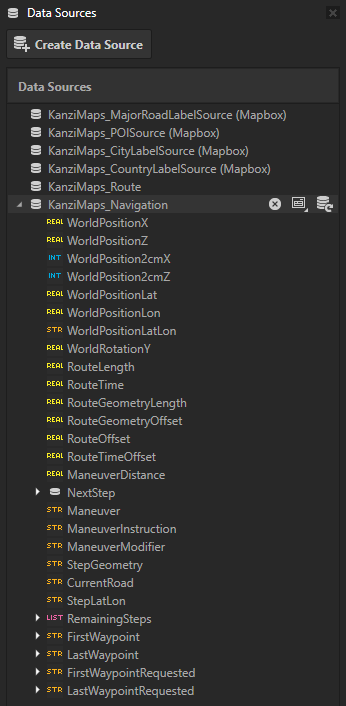
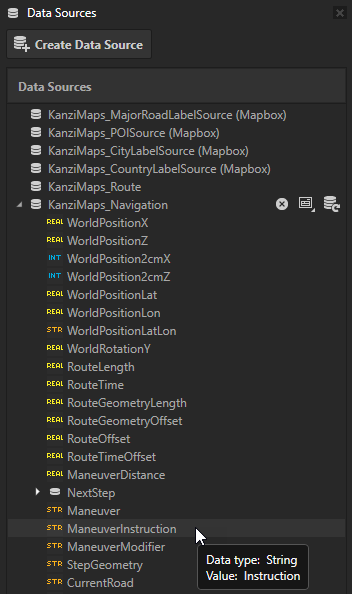
The KanziMaps_Navigation data source provides these data objects that expose route maneuver data:
ManeuverDistance provides the distance to the next maneuver in meters.
Maneuver provides the next maneuver.
ManeuverInstruction provides a human-readable maneuver instruction.
ManeuverModifier provides a maneuver modifier. For example, SLIGHT_RIGHT.
StepGeometry provides the geometry for the navigation step in GeoJSON format.
CurrentRoad provides the name of the road for the current navigation step.
Next Step contains data objects that provide all of the above data for the next navigation step.
To show navigation instructions:
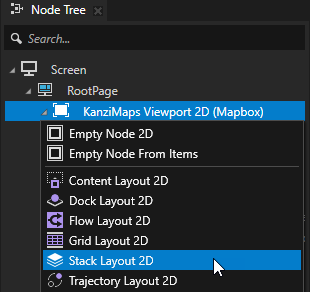
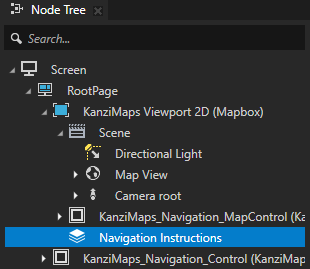
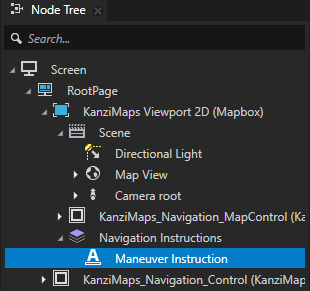
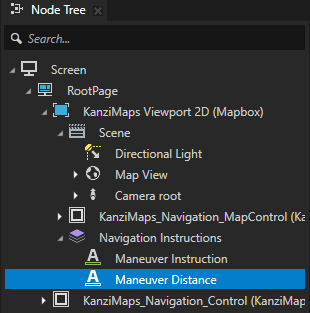
In the Node Tree in the KanziMaps Viewport 2D (Mapbox) node, create a Stack Layout 2D node and name it Navigation Instructions.
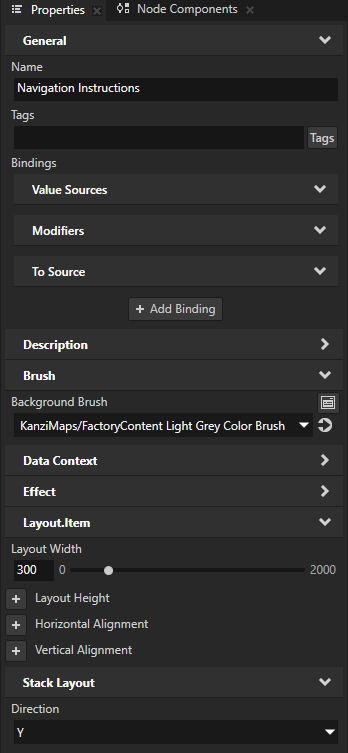
In the Properties, add and set:
Background Brush to KanziMaps/FactoryContent Light Grey Color Brush
Layout Width to 300
Direction to Y
This way, you set a Stack Layout node to arrange its child nodes along the y axis.
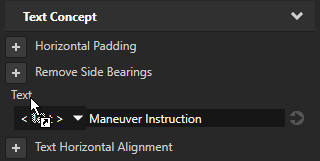
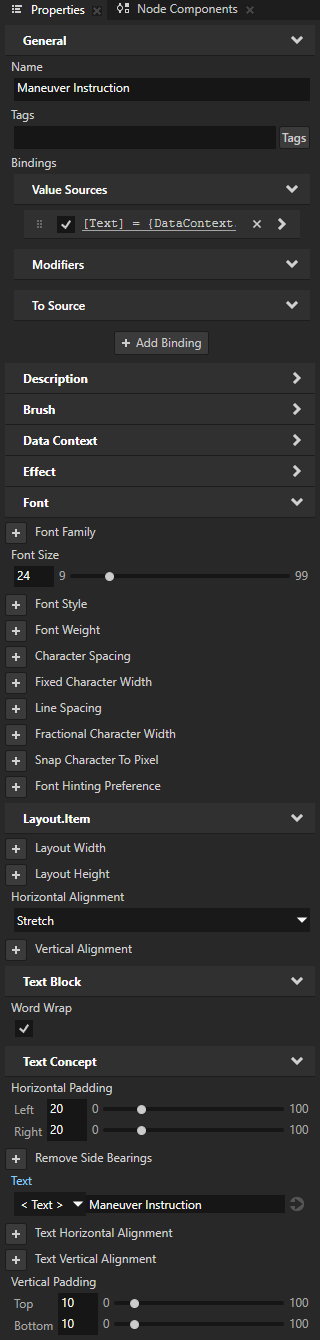
In the Navigation Instructions node, create a Text Block 2D node and name it Maneuver Instruction.
You use this node to show the instruction for the next navigation maneuver.
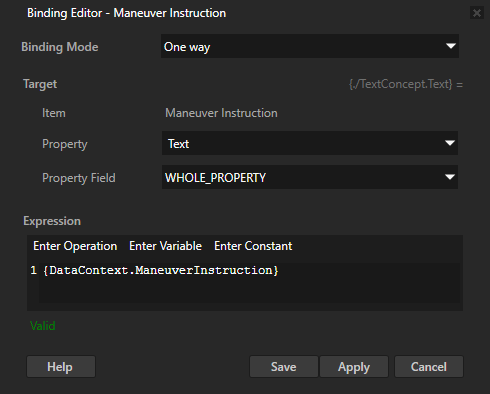
From the Data Sources, drag the KanziMaps_Navigation > ManeuverInstruction data object to the Properties and drop it on the Text property.
You set the Maneuver Instruction node to show the maneuver instruction that changes dynamically along the route.
In the Properties, add and set:
Font Size to 24
Horizontal Alignment to Stretch
This way, you set the node to take the width of its parent node.
Word Wrap to enabled
This way, when the text is longer than the width of the node, Kanzi wraps that text into a new line.
Horizontal Padding Left and Right to 20
Vertical Padding Top and Bottom to 10
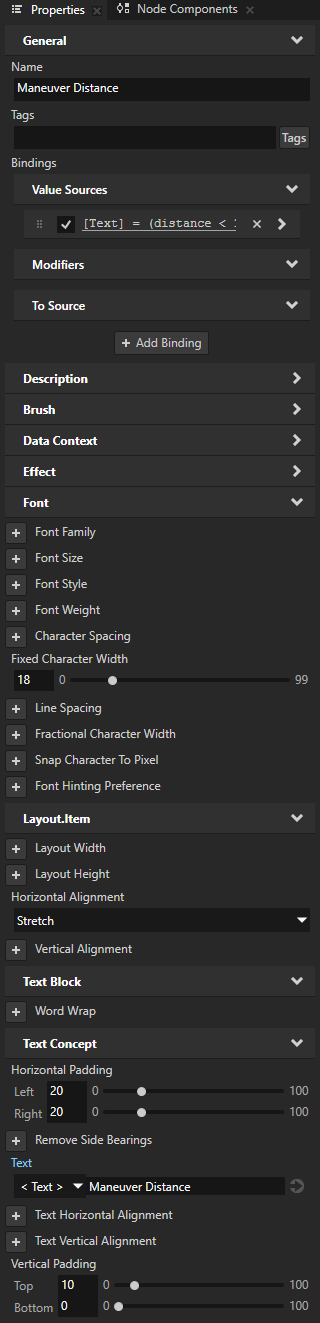
In the Navigation Instructions node, create another Text Block 2D node, name it Maneuver Distance, and drag it above the Maneuver Instruction node.
You use this node to show the distance to the next navigation maneuver.

In the Properties, click + Add Binding, and in the Binding Editor, set:
Property to Text
Expression to
# Distance to the next maneuver.
distance = {DataContext.ManeuverDistance}

# Calculates the distance rounded to the nearest 10 and 100 meters.
distanceRoundedTo10 = string(int(round(distance / 10) * 10))+ " m"
distanceRoundedTo100 = string(int(round(distance / 100) * 100)) + " m"

# If the distance is less than 100 meters, rounds it to the nearest 10 meters.
# Otherwise, rounds the distance to the nearest 100 meters.
(distance < 100) ? distanceRoundedTo10 : distanceRoundedTo100
This way, you set the Maneuver Distance node to show the distance to the next maneuver:
When the distance is at least 100 meters, at a 100 meter accuracy.
When the distance is less than 100 meters, at a 10 meter accuracy.

In the Properties, add and set:
Fixed Character Width to 18
With this property, you turn the font into a monospaced font.
Horizontal Alignment to Stretch
Horizontal Padding Left and Right to 20
Vertical Padding Top to 10
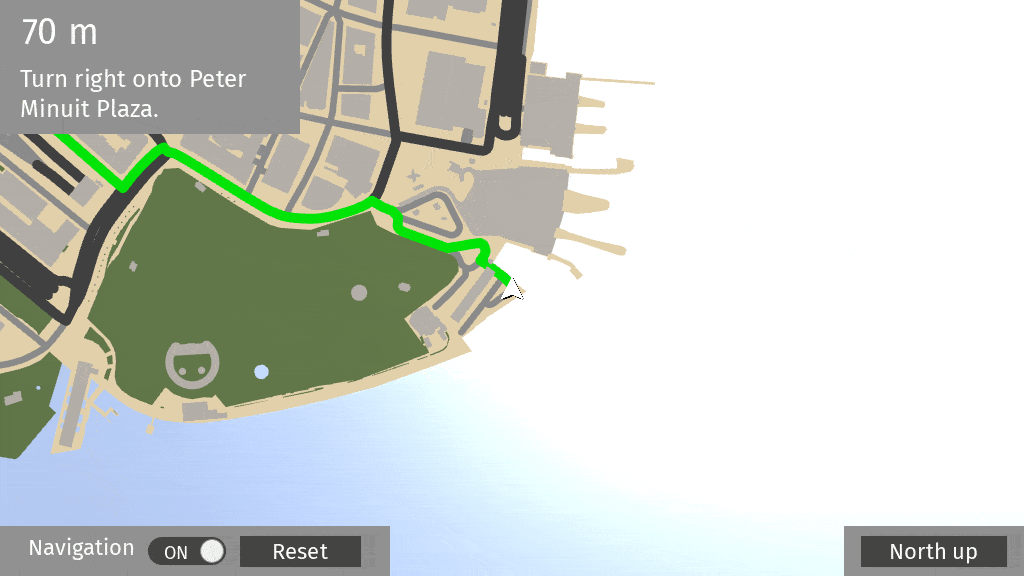
In the Preview, when you toggle on the Navigation button to start the navigation, you now see along the route the distance to the next navigation maneuver and the maneuver instruction.
See also
To learn more about using the Route Renderer node, see Using the Route Renderer node.
To learn more about the Navigation Data Source, see Using the Navigation Data Source.