Tutorial: Custom navigation marker
In this tutorial, you learn how to create a navigation marker whose appearance the user can change.
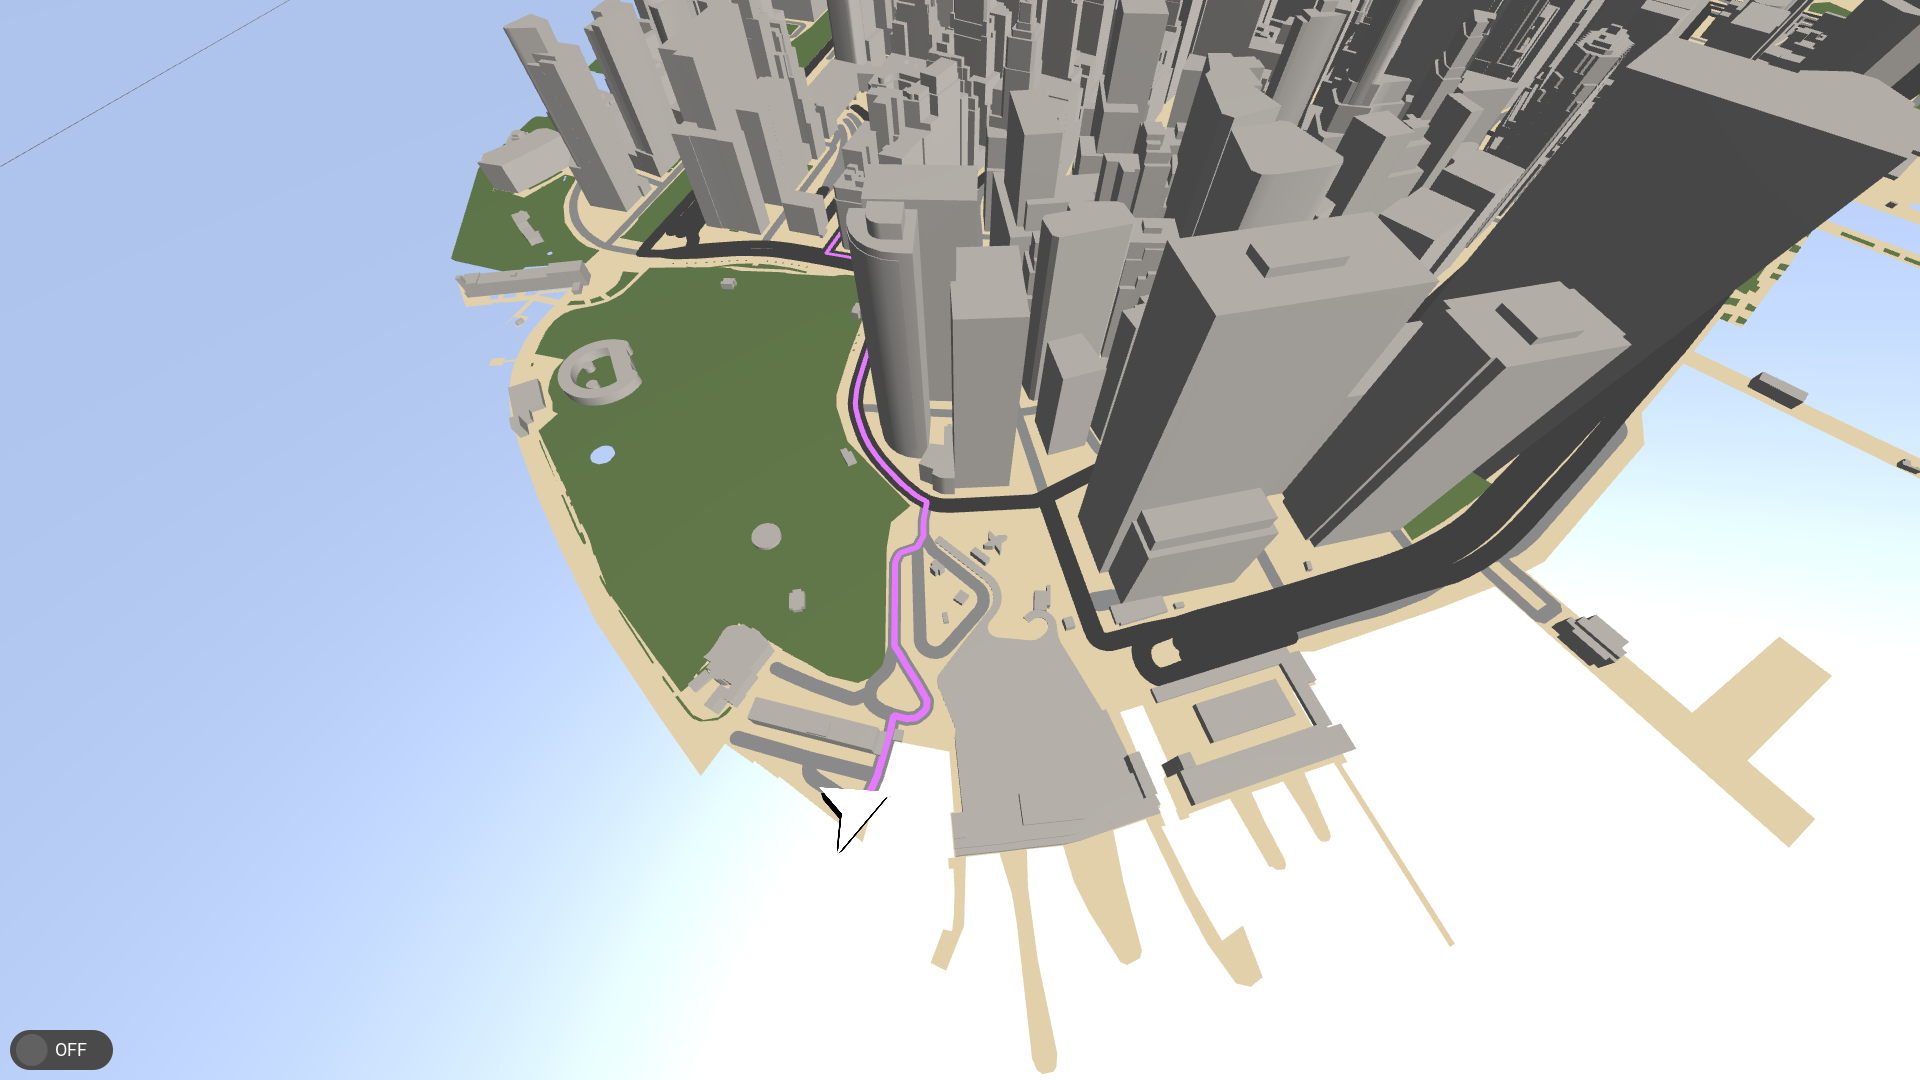
This video shows the result of the tutorial.
To learn how to add basic routing and navigation simulation to a map, complete the Tutorial: Navigation.
Assets for the tutorial
The starting point of this tutorial is the <KanziWorkspace>/Engine/plugins/maps/tutorials/AddingNavigationMarker/Start/Tool_project/AddingNavigationMarker.kzproj Kanzi Studio project. The project contains a basic 3D map with minimal navigation support. To learn how to create the starting point project, complete the Tutorial: Navigation.
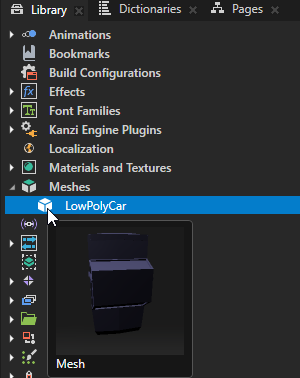
The starting point project contains the LowPolyCar mesh that you need to complete this tutorial.
You can find the completed tutorial in the <KanziWorkspace>/Engine/plugins/maps/tutorials/AddingNavigationMarker/Completed directory.
In Kanzi Studio, to see the tutorial project in the Preview, in the main menu select Kanzi Maps > Set Up Kanzi Maps. This way, you copy the Kanzi Maps library files to the Application/bin directory of the tutorial project.
Create a style for the navigation marker
To create a style for the navigation marker:
In Kanzi Studio, open the
<KanziWorkspace>/Engine/plugins/maps/tutorials/AddingNavigationMarker/Start/Tool_project/AddingNavigationMarker.kzprojproject.In the Kanzi Studio main menu, select Kanzi Maps > Set Up Kanzi Maps.
This way, you copy the Kanzi Maps library files to the
Application/bindirectory of the tutorial project.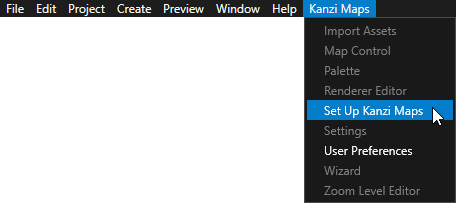
If Kanzi Studio asks whether you want to set the map plugin credentials, click Yes and set up your Mapbox credentials. See Setting up your Mapbox credentials.
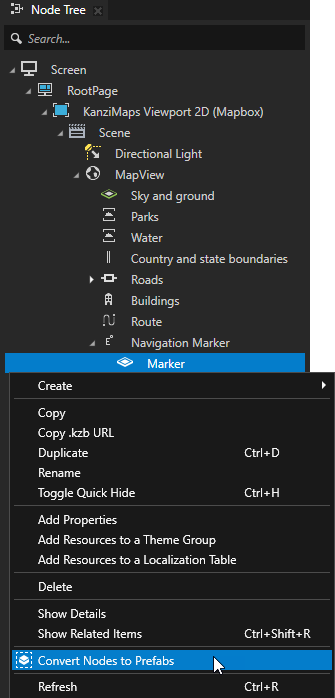
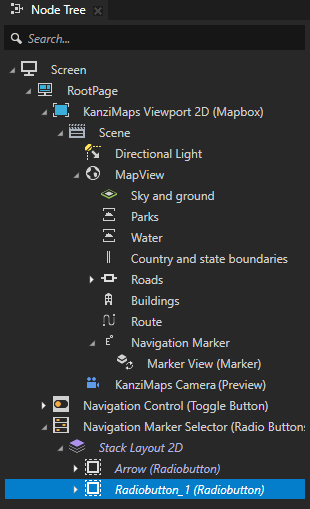
In the Node Tree, right-click the Marker node and select Convert Nodes to Prefabs.
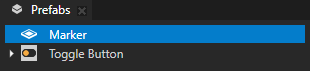
Kanzi Studio creates from the Marker node a prefab and replaces the node with a Prefab Placeholder node that instantiates the prefab.
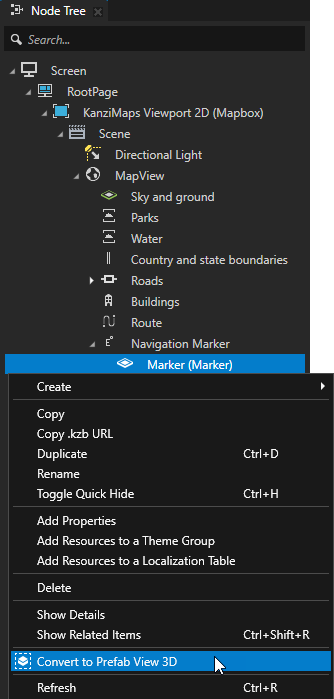
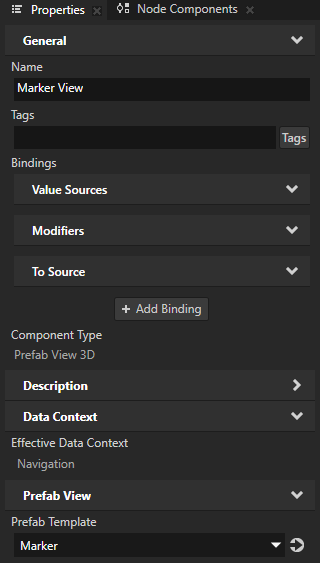
In the Node Tree, right-click the Marker prefab instance, select Convert to Prefab View 3D, and rename the node to Marker View.
Kanzi Studio converts the Marker prefab placeholder to a Prefab View 3D that shows the Marker prefab.
Use a Prefab View to instantiate a prefab that you want to dynamically change during application runtime.
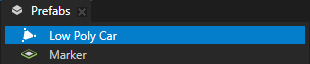
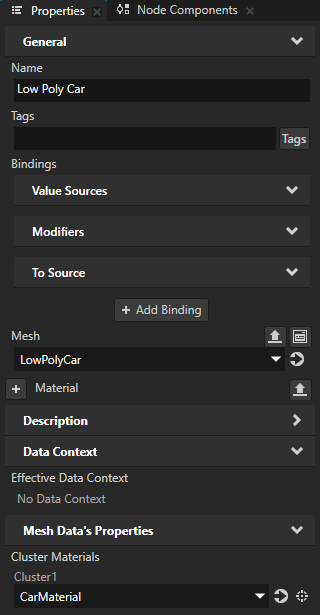
In the Prefabs, create a Model prefab and name it Low Poly Car. In the Properties, set the Mesh property to LowPolyCar.
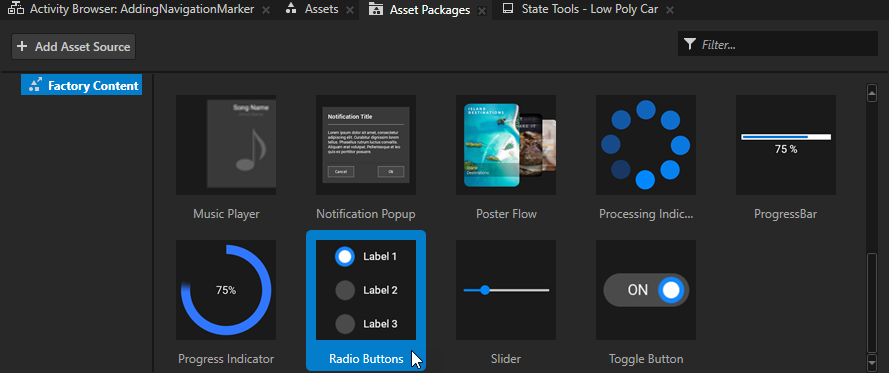
From the Asset Packages > Factory Content drag the Radio Buttons to the Preview.

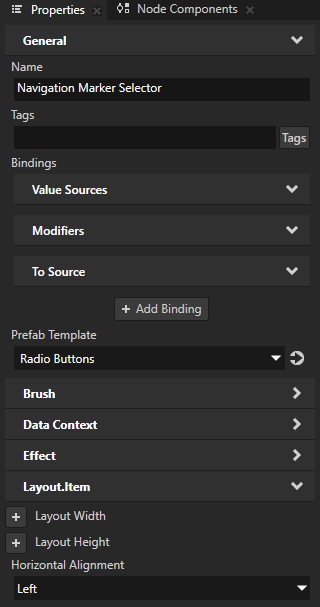
In the Properties, add and set:
Name to Navigation Marker Selector
Horizontal Alignment to Left
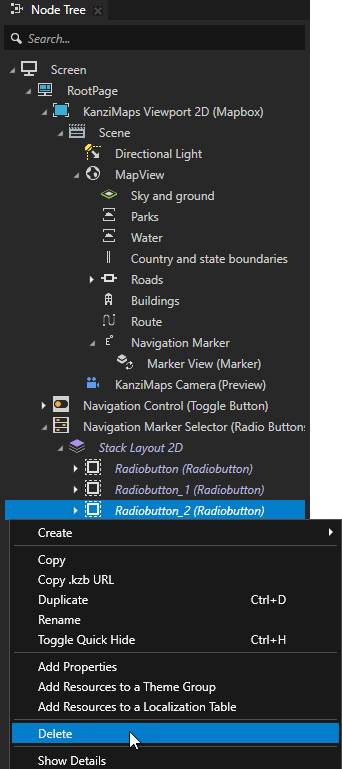
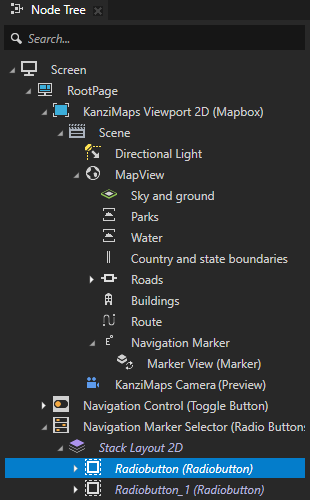
In the Node Tree in the Navigation Marker Selector node, delete the node that contains the third radio button.
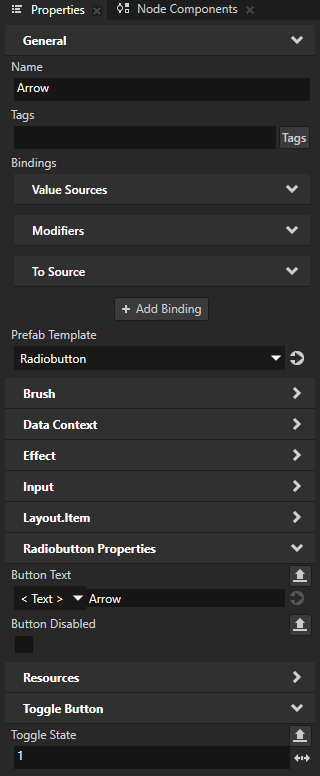
In the Node Tree, select the Navigation Marker Selector > Stack Layout 2D > Radiobutton node. In the Properties, add and set:
Name to Arrow
Button Text to Arrow
Toggle Button > Toggle State to 1
This way, you set the radio button to be selected when the application starts.
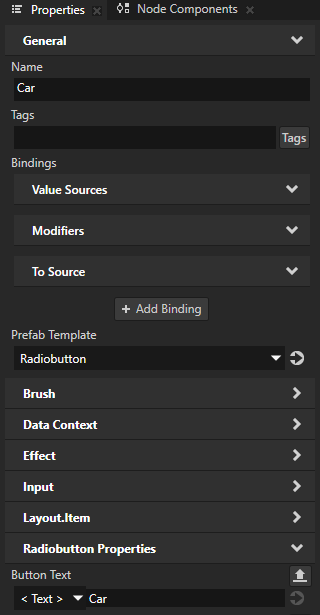
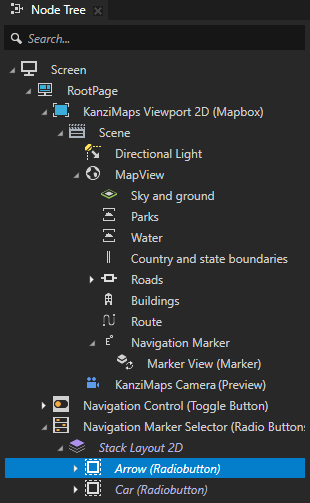
Set the name and label of the second radio button to Car.
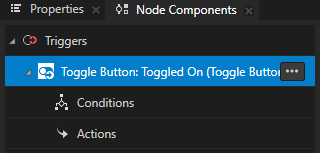
In the Node Tree, select the Arrow node. In the Node Components, create a Toggle Button: Toggled On message trigger.
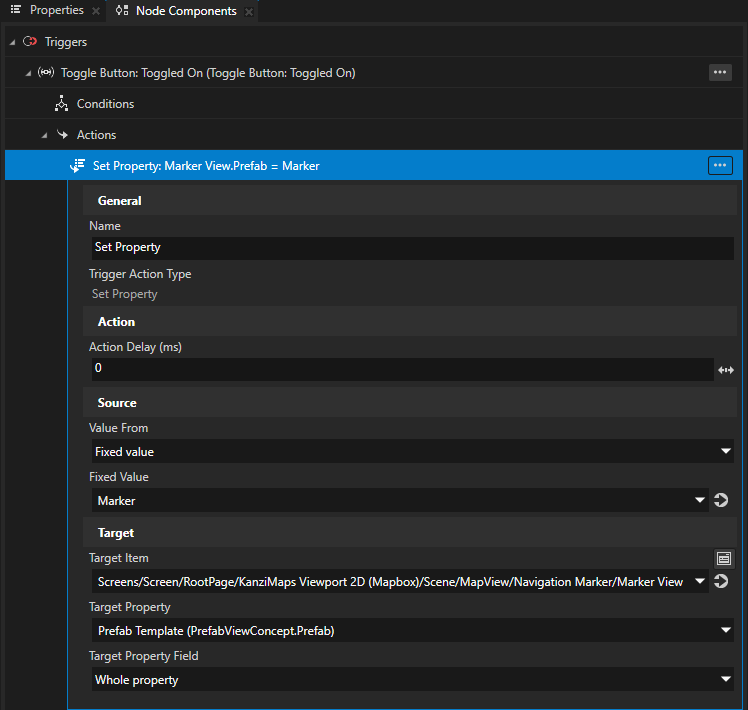
In the Toggle Button: Toggled On trigger, create a Set Property action and set:
Target Item to Screens/Screen/RootPage/KanziMaps Viewport 2D (Mapbox)/Scene/MapView/Navigation Marker/Marker View
Target Property to Prefab Template
Value From to Fixed Value
Fixed Value to Marker
This way, you set Kanzi to show the Marker prefab as the navigation marker when the Arrow radio button is selected.
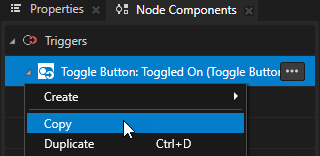
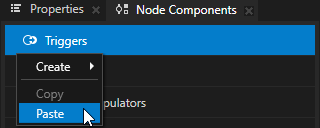
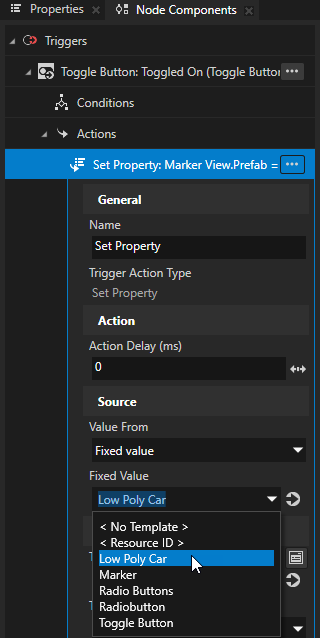
Copy the Toggle Button: Toggled On trigger to the Car node. In the Set Property action, set the Fixed Value to Low Poly Car.
This way, you set Kanzi to show the Low Poly Car prefab as the navigation marker when the Car radio button is selected.
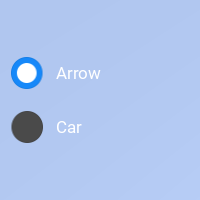
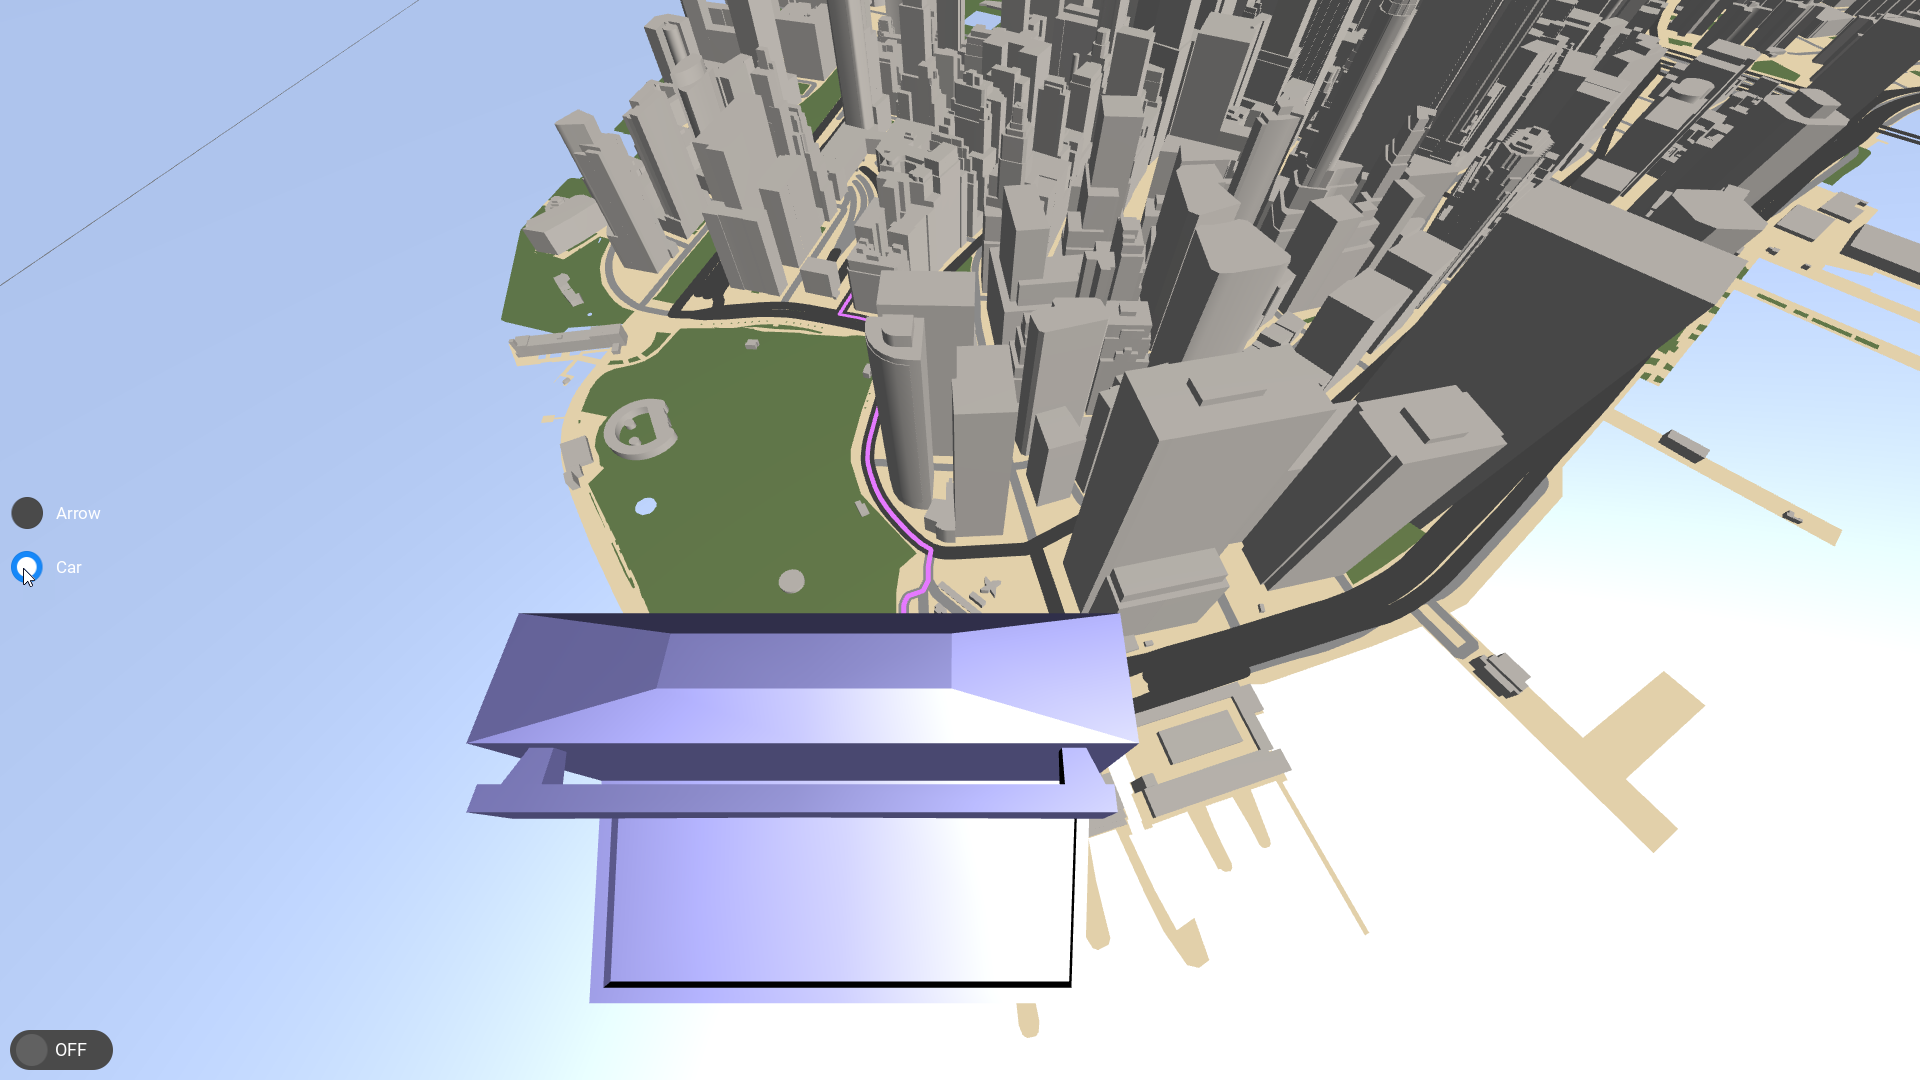
In the Preview, when you select Car, you can see the navigation marker change. You still need to make the car smaller and orient it toward the direction of navigation.
In the Prefabs, select the Low Poly Car prefab. In the Properties, add the Render Transformation property and set:
Scale property fields to 0.1
Translation Y to 0.04

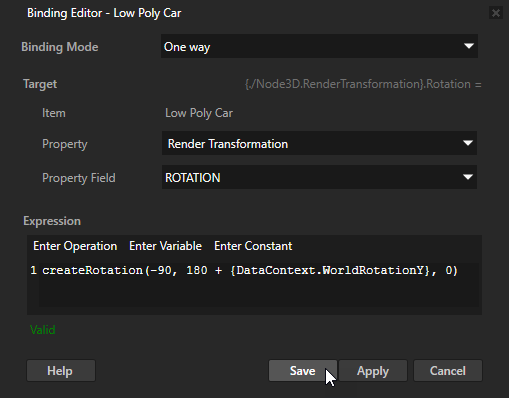
In the Properties, click + Add Binding and in the Binding Editor, set:
Property to Render Transformation
Property Field to ROTATION
Expression to
createRotation(-90, 180 + {DataContext.WorldRotationY}, 0)
This way, you orient the car to the direction of the route.