Using the Renderer Editor
Use the Renderer Editor to set layer and metadata filters that define the map features that a Renderer node renders.
You can also use the Renderer Editor to edit the filters of the Tile Data Source by accessing it through the Prefab Feature Renderer. To learn how to use the Prefab Feature Renderer, Tile Data Source, and Renderer Editor to add points of interest and street labels to a map, complete the Tutorial: Points of interest and labels.
Using a preset filter
The Renderer Editor provides presets that automatically set the layer and metadata filters to values required to set a Renderer node to render specific type of map content.
To use a preset filter:
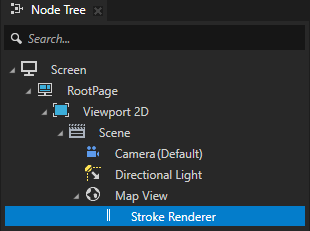
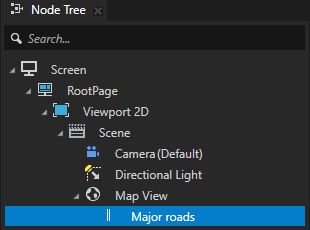
In the Node Tree, select the Renderer node whose filter you want to set.
For example, select a Stroke Renderer node that you want to use to render roads.
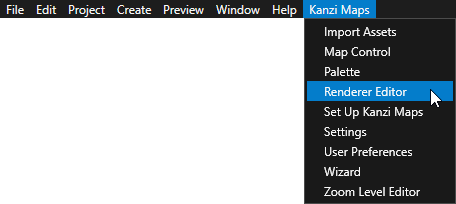
In the Kanzi Studio main menu, select Kanzi Maps > Renderer Editor.
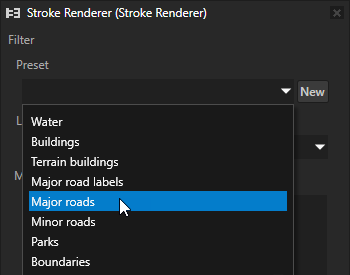
In the Renderer Editor, set the Preset to the map feature that you want to render.
For example, set it to Major roads.
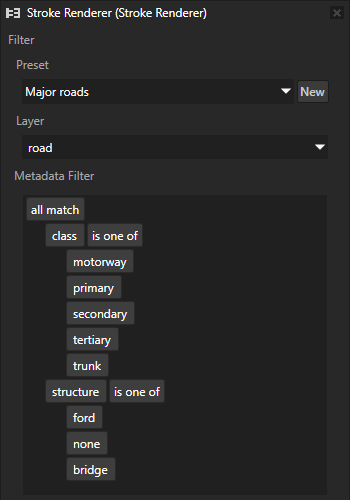
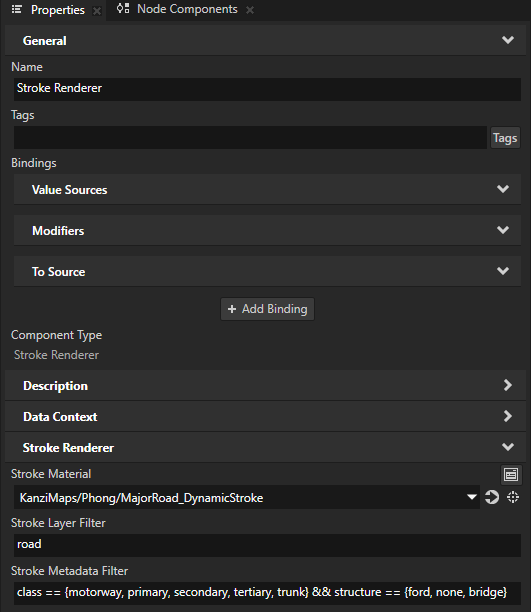
The preset automatically updates the Metadata filter to show an editable visual presentation of the filter and in the Stroke Renderer node, sets:
Stroke Layer Filter to roads
Stroke Metadata Filter to
class == {motorway, primary, secondary, tertiary, trunk} && structure == {ford, none, bridge}
Using the Renderer Editor to define a metadata filter
A metadata filter consists of a tree of rules. The tree visualizes a metadata filter expression that determines which map features a Renderer node renders. When the entire metadata filter expression matches a map feature, the Renderer node renders that feature. Kanzi Maps evaluates a metadata filter expression by considering all rules in that expression, starting from the outermost rule.
These tables list the operations that you can use in a metadata filter.
Logical operations
This table lists the logical operations that you can use in a metadata filter.
all match |
|
All rules within this operation match. Can have as its child any rule, except an arithmetic operation. |
at least one matches |
|
At least one rule within this operation matches. Can have any rule as its child. |
Set rules
This table lists the set rules that you can use in a metadata filter.
is one of |
|
Metadata value associated with the metadata key is one of the values listed as children. |
is none of |
|
Metadata value associated with the metadata key is none of the values listed as children. |
Comparison rules
This table lists the comparison rules that you can use in a metadata filter.
A comparison rule cannot have child rules.
is |
|
The value associated with the metadata key is the same as right-hand-side value. |
is not |
|
The value associated with the metadata key is different from the right-hand-side value. |
is greater than |
|
The value associated with the metadata key is greater than the right-hand-side value. |
is greater or equal to |
|
The value associated with the metadata key is greater than or equal to the right-hand-side value. |
is less than |
|
The value associated with the metadata key is less than the right-hand-side value. |
is less or equal to |
|
The value associated with the metadata key is less than or equal to the right-hand-side value. |
Arithmetic operations
This table lists the arithmetic operations that you can use in a metadata filter.
An arithmetic operation cannot have child rules.
% |
|
Calculates the modulo that is the remainder when one number is divided by another. |
Defining a metadata filter
To define a metadata filter:
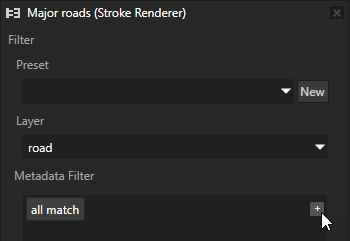
In the Node Tree, select a Renderer node whose metadata filter you want to set.
For example, create a Stroke Renderer node that you want to use to render major roads.
In the Kanzi Studio main menu, select Kanzi Maps > Renderer Editor.
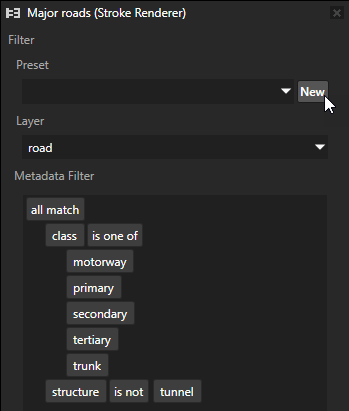
In the Renderer Editor, set the Layer to the name of the layer from which you want to get the map features to render.
For example, if you use Mapbox and want to render roads, set the Layer to road. The
roadlayer contains the geometry for features such as roads, railways, paths, and their labels. See Supported backends.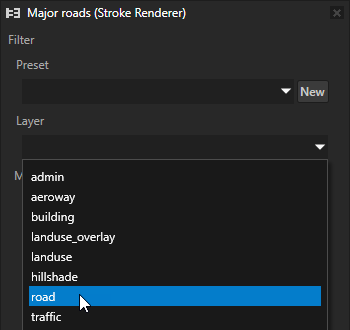
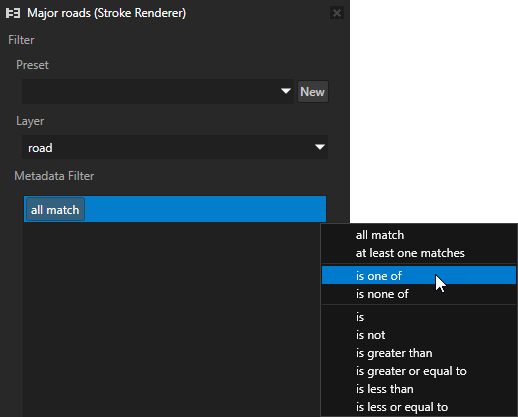
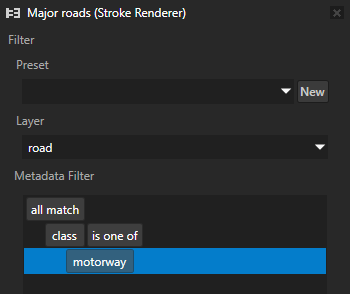
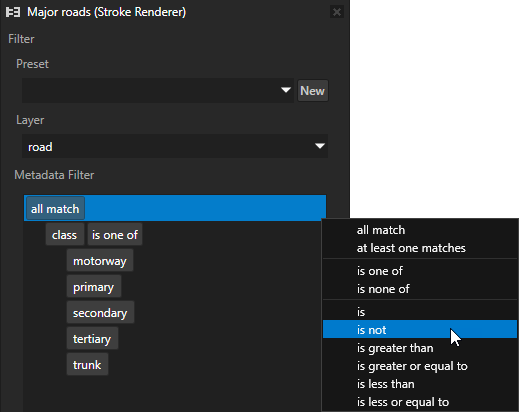
To add a rule or item, hover over an existing rule, click
 , and select a rule.
For example, select the is one of set rule.
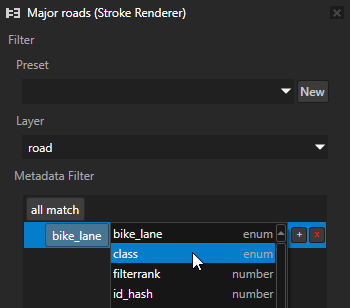
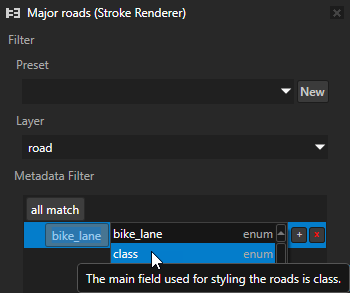
Click the left-hand metadata key and set it to a value.
For example, click bike_lane and set it to class.
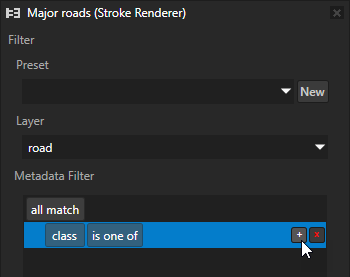
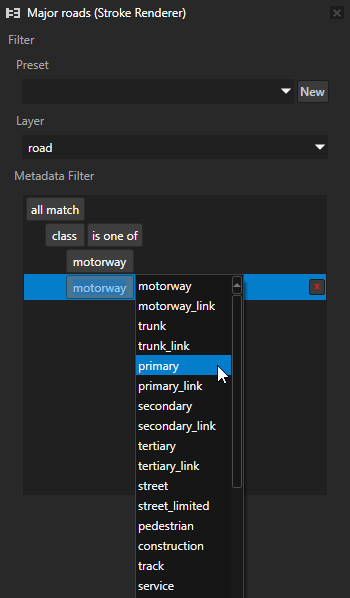
Next to the rule that you added, click
to add a value.For example, add motorway.
Tip
In the metadata filter editor, hover over an item in the field menu to see its description generated from the Mapbox documentation.
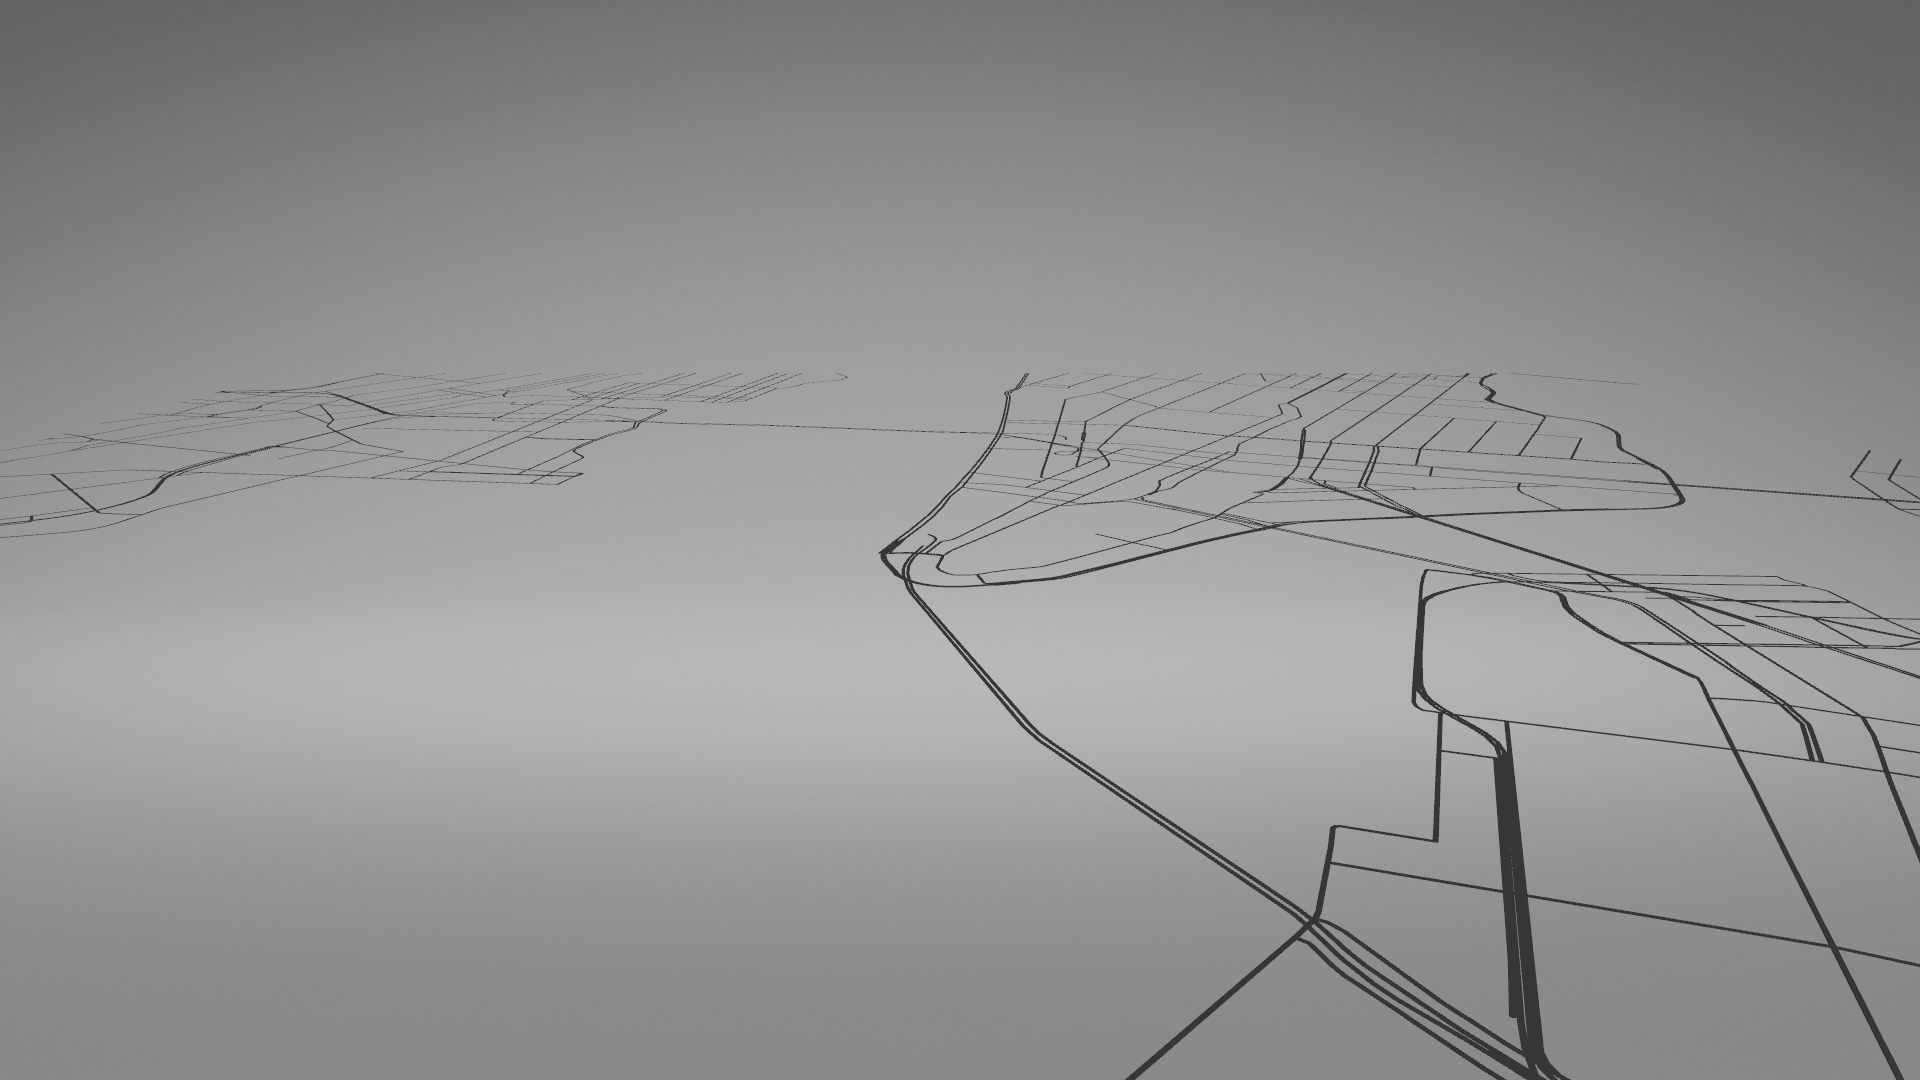
The Stroke Renderer node now renders only high-speed grade-separated highways.

Repeat the previous step to add more values.
For example, in the class is one of rule, add these fields:
primary to render major highways that link large towns.
secondary to render highways that link large towns.
tertiary to render roads that link small settlements, or the local centers of a large town or city.
trunk to render important roads that are not motorways.
Tip
To edit the metadata filter, use these keyboard shortcuts:
Action
Shortcut
Move the keyboard focus in the list of rules and values.
↑ (Up Arrow) and ↓ (Down Arrow) keys
Add a value after the selected value.
Tab key
Copy the selected rule or value.
Ctrl C keys
Cut the selected rule or value.
Ctrl X keys
Paste the selected rule or value.
Ctrl V keys
Remove the selected rule or value.
Delete key
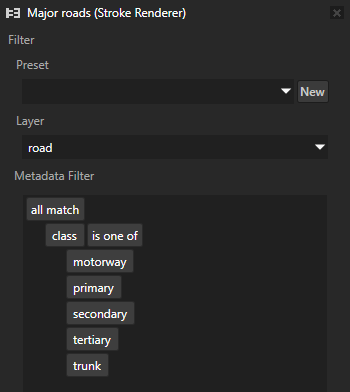
Kanzi Studio sets in the Stroke Renderer node the Stroke Metadata Filter property to the expression that matches the filter that you created in the Renderer Editor:
class == {motorway, primary, secondary, tertiary, trunk}The Stroke Renderer node now renders all major roads.
Add a comparison rule:
Next to all match, click
and select a comparison rule.For example, select the is not rule.
Set the key and value.
For example, set the key to structure and the value to tunnel.
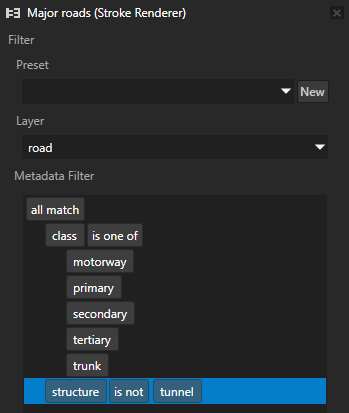
Kanzi Studio updates in the Stroke Renderer node the Stroke Metadata Filter property to:
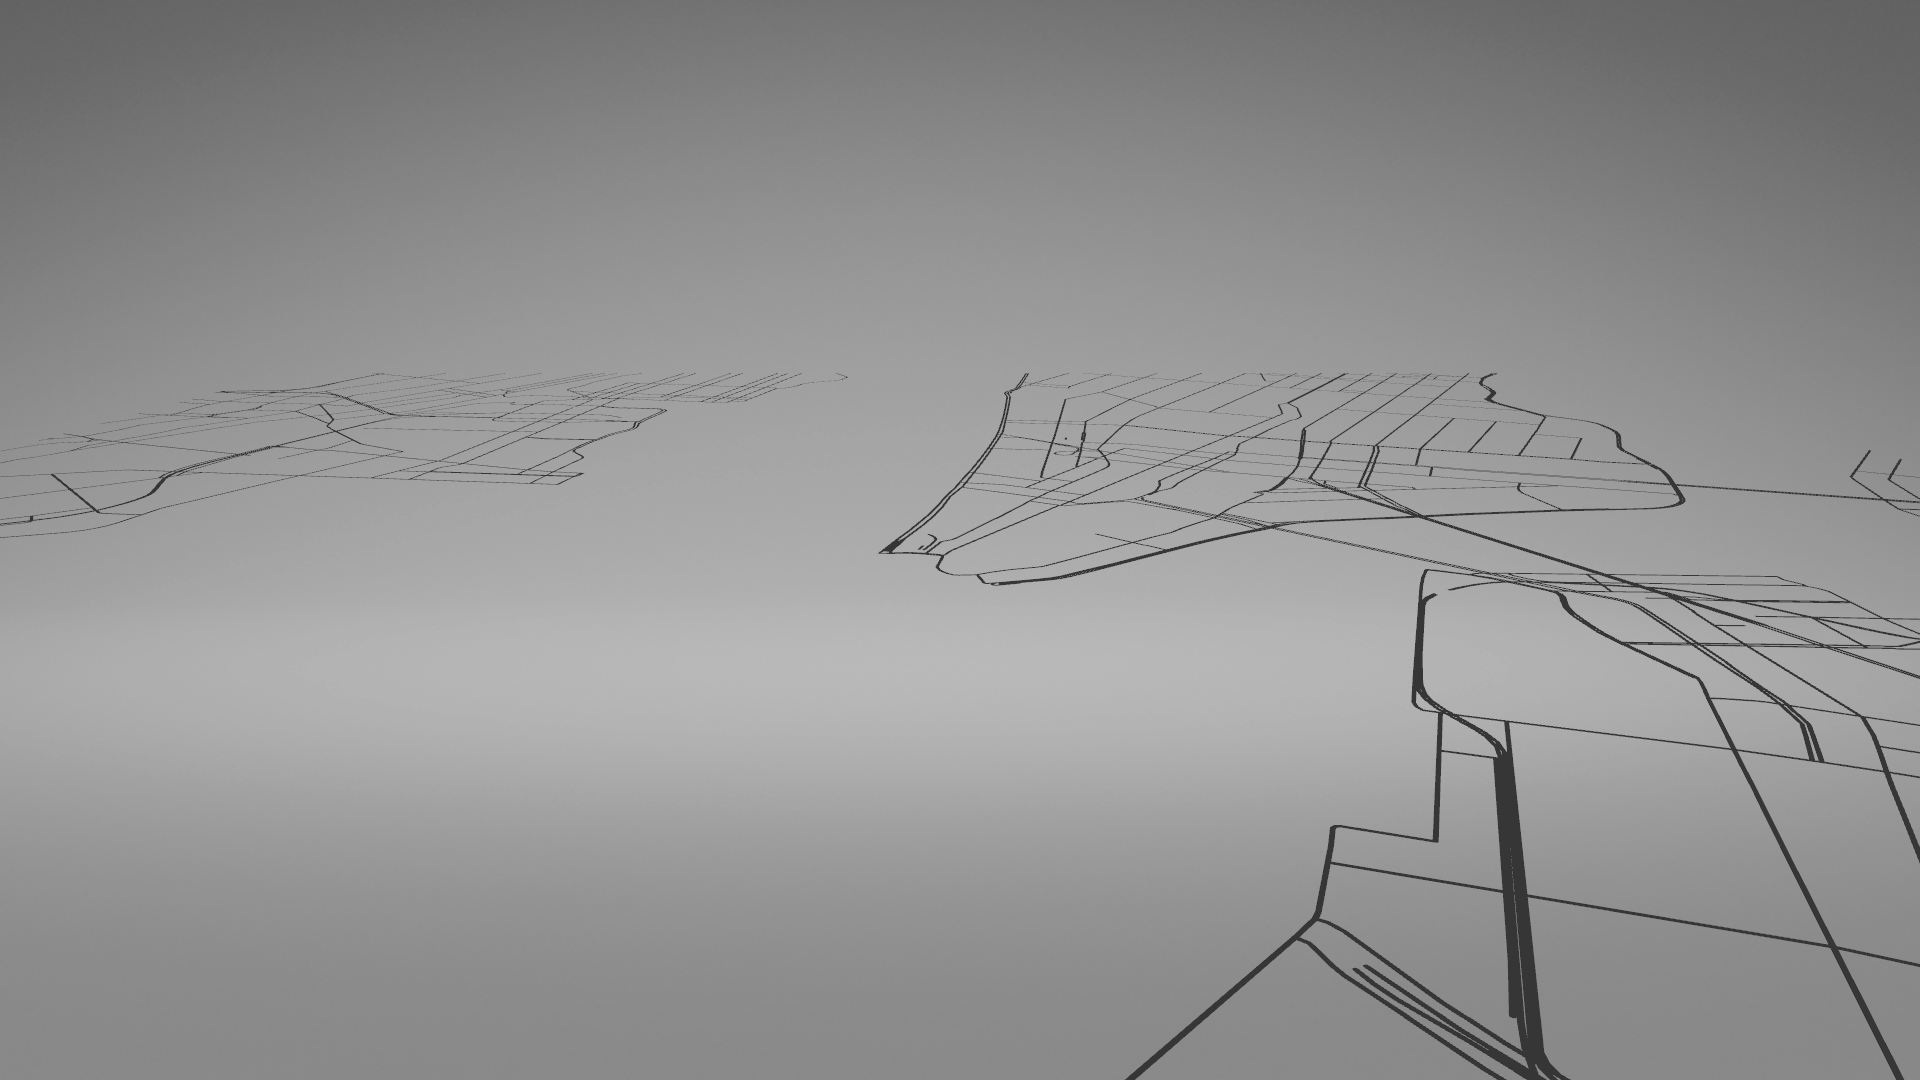
class == {motorway, primary, secondary, tertiary, trunk} && structure != tunnelThe map now shows all major roads, except for the ones in tunnels.
Creating a preset filter
To create a preset filter:
Define your metadata filter. See Using the Renderer Editor to define a metadata filter.
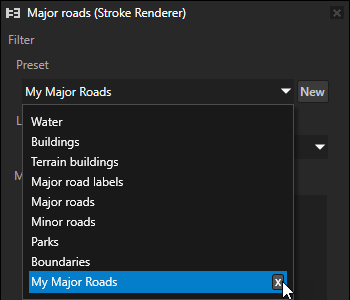
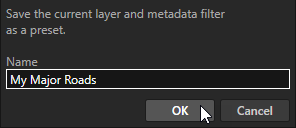
In the Renderer Editor next to the Preset dropdown, click New.
Name your preset and click Save.
To remove a preset that you created, in the Preset dropdown next to that preset, click
 .
.