Using the Zoom Level Editor
Use the Zoom Level Editor to interpolate the values of properties based on the zoom level of a map.
For example:
Vary the camera angle based on the zoom level.
Interpolate the width of a road between zoom levels such that you keep the road visible at lower zoom levels.
Learn how to use the Zoom Level Editor by completing a tutorial. See Tutorial: Control map content by zoom level.
Using the Zoom Level Editor to interpolate a property
To use the Zoom Level Editor to interpolate a property:
In a map, create a map feature whose property you want to control with the zoom level.
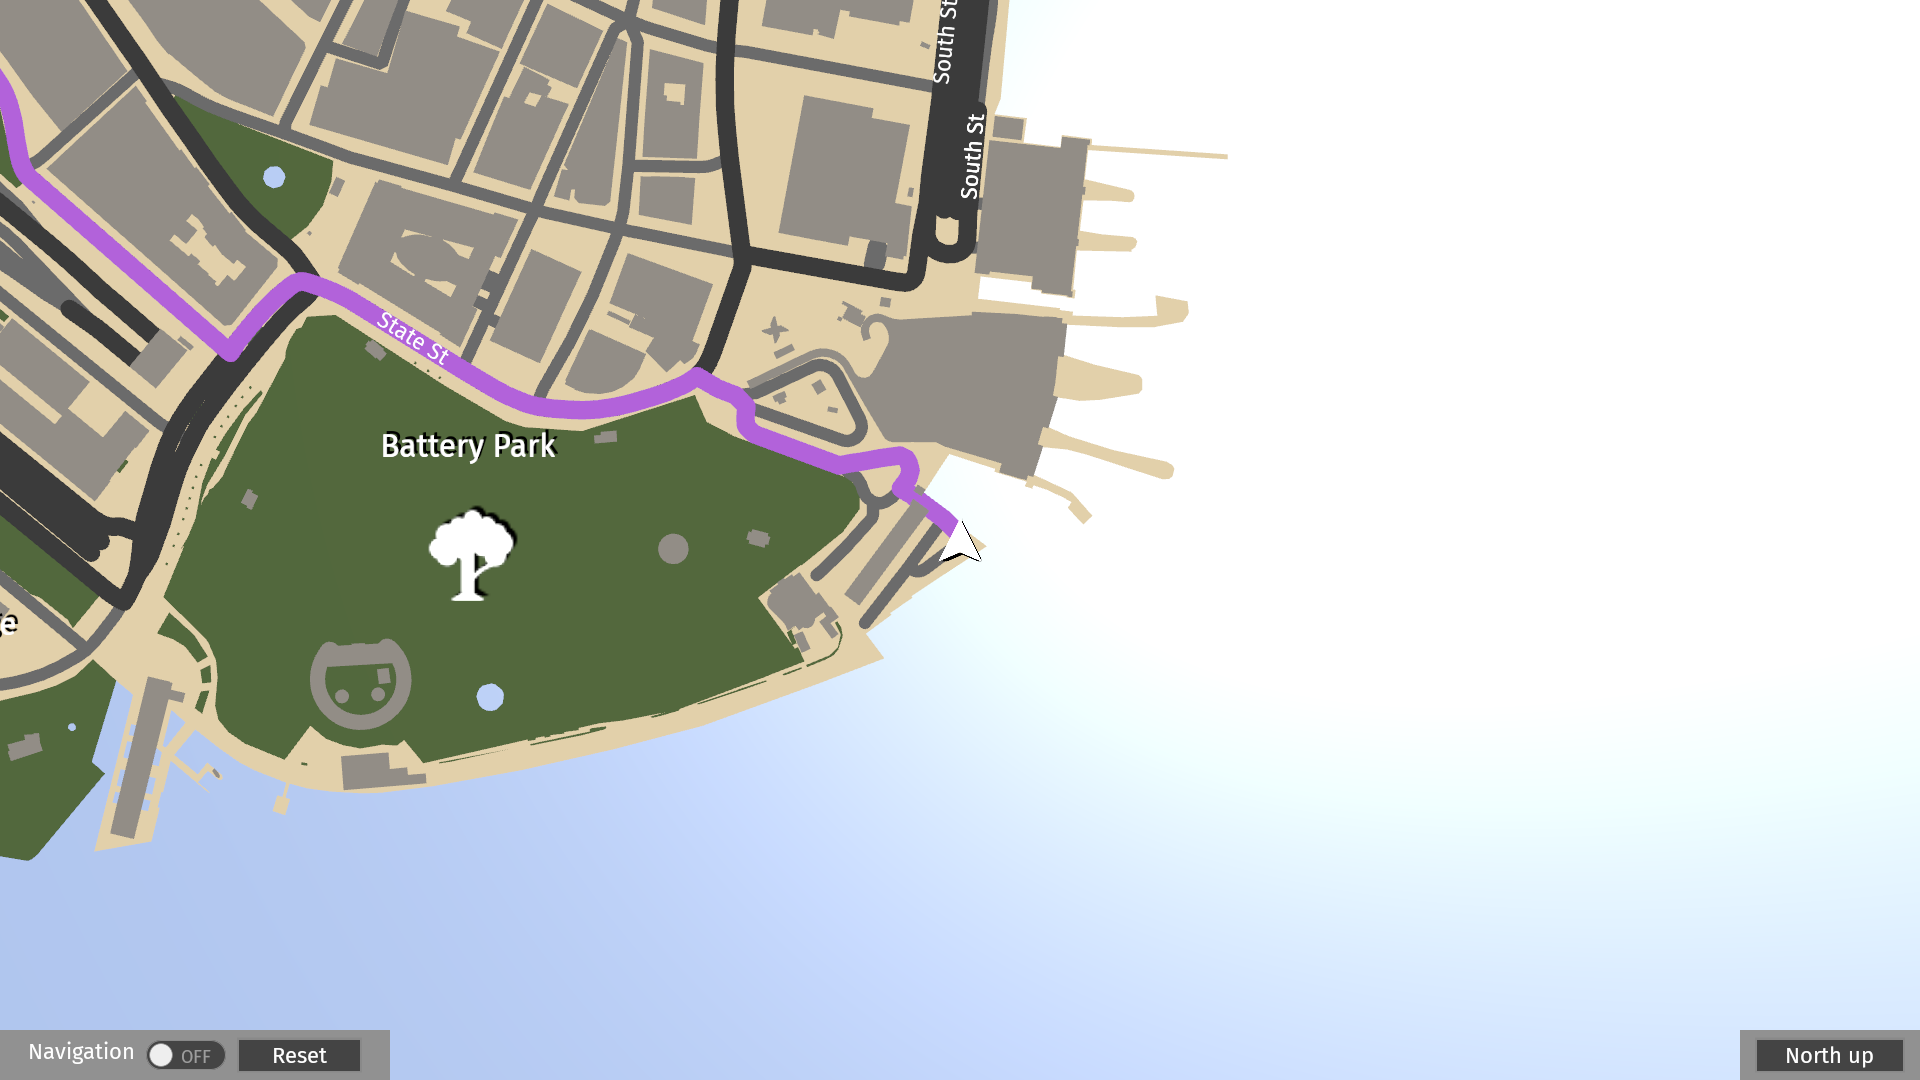
For example, to create a map that renders a route:
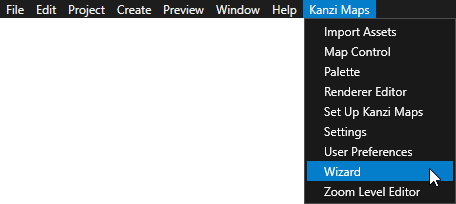
In the Kanzi Maps main menu, select Wizard.
In the Kanzi Maps Wizard, select the Orthographic 2D map preset and click Create.
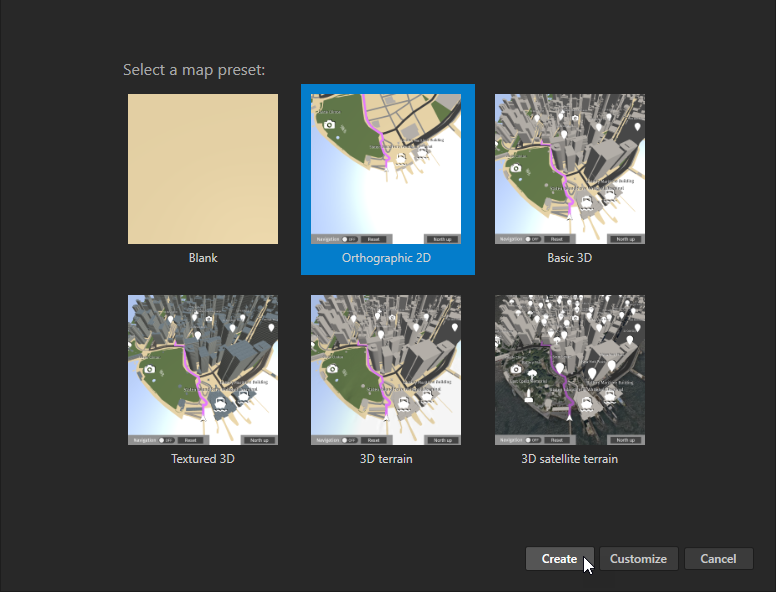
The Orthographic 2D map preset creates a map where:
In the Map View node, the Zoom Level property is set to 16.
In the Route Renderer node Route, which renders a route, the Stroke Width property is set to 15.
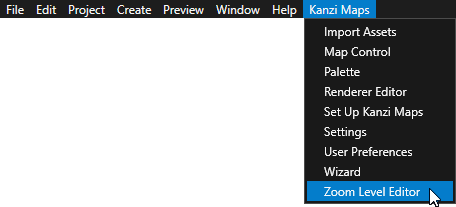
In the Kanzi Maps main menu, select Zoom Level Editor.
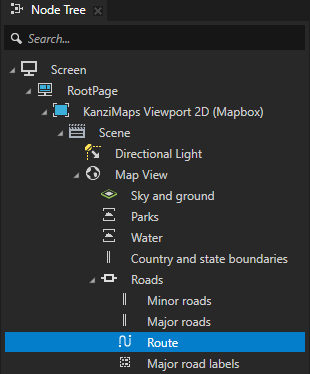
In the Node Tree, select the node whose property you want to control with the zoom level.
For example, select a Route Renderer node that renders a route.
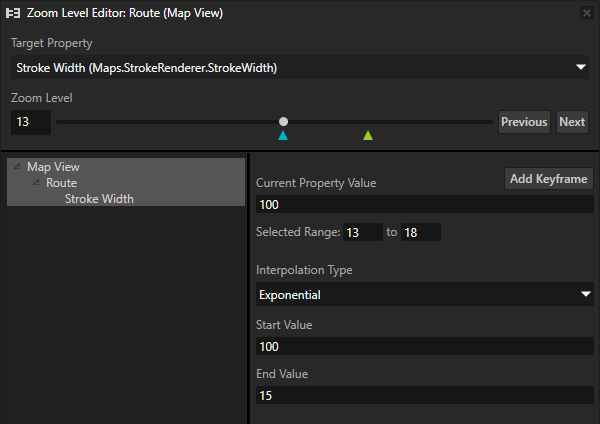
In the Zoom Level Editor, the title bar shows the names of the node that you selected and the Map View node to which that node belongs.
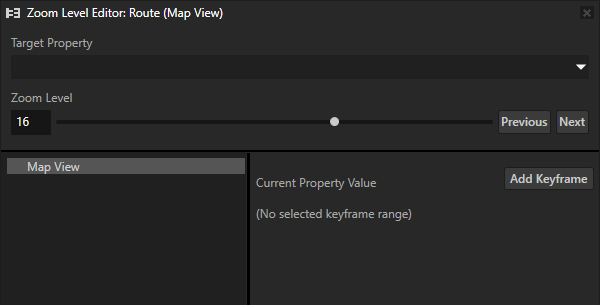
In the Zoom Level Editor:
Set Target Property to the property that you want to control with the zoom level.
For example, if you want to control the width of a route, set it to Stroke Width.
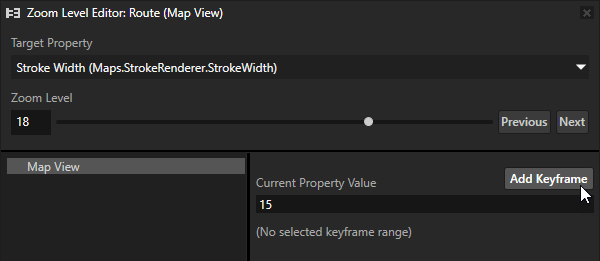
Set Zoom Level to the maximum zoom level at which you want to interpolate the value of the Target Property.
For example, set it to 18.
Set Current Property Value to the value to which you want to set the Target Property at the maximum zoom level.
For example, leave it set to 15.
Click Add Keyframe.
This way, you create a keyframe that sets the value of the target property at the maximum zoom level of the interpolation range.
Add another keyframe for which you set:
Zoom Level to the minimum zoom level at which you want to interpolate the value of the Target Property.
For example, set it to 13.
Current Property Value to the value to which you want to set the Target Property at the minimum zoom level.
For example, set it to 100.
In the Zoom Level Editor:
Triangles mark the keyframes along the range of zoom levels. The currently selected keyframe is blue.
Selected Range shows the range of zoom levels at the currently selected range of keyframes.
Interpolation Type shows the type of interpolation for the currently selected range of keyframes:
Exponential makes the change happen relative to the same speed as the scale of the map. The map scale changes exponentially when the zoom level changes. This is the default value.
Linear makes the change happen linearly.
Step jumps from one keyframe value to another without interpolating the change.
For example, use step interpolation to set a value to 0 after a certain zoom level.
Start Value shows the value of the interpolated property at the first keyframe of the selected range.
End Value shows the value of the interpolated property at the last keyframe of the selected range.
You can edit the keyframes that you added. See Editing keyframes in the Zoom Level Editor.
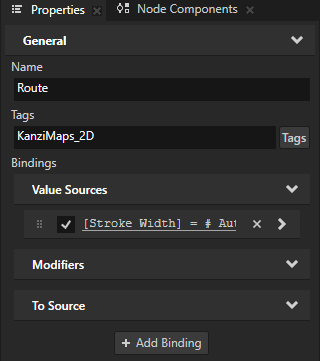
The Zoom Level Editor adds to the node a binding that binds the property, which you set as the Target Property, to the Zoom Level property of the Map View node. The binding expression implements the interpolation that you defined in the Zoom Level Editor. Do not edit this binding manually.
(Optional) Add more keyframes to the interpolation.
Now, when you in the Map Control adjust the zoom level between the minimum and maximum values that you set for the keyframes, the value of the target property changes dynamically.
For example, the width of the route stays approximately the same.

Editing keyframes in the Zoom Level Editor
Selecting a keyframe
To select a keyframe:
To select any keyframe, click the triangle that marks the keyframe.
To select the next keyframe, click Next or press the Tab key.
To select the previous keyframe, click Previous or press the Shift Tab keys.
Moving a keyframe
To move a keyframe, click and drag the triangle, which marks the keyframe, along the zoom level slider.
To snap the value:
To increments of 0.1, press the Ctrl key while you drag.
To integers, press the Shift key while you drag.
To move a keyframe to the right:
Press the → key to move the keyframe at increments of 0.1.
Press the Shift → keys to move the keyframe at increments of 0.01.
To move a keyframe to the left:
Press the ← key to move the keyframe at increments of 0.1.
Press the Shift ← keys to move the keyframe at increments of 0.01.
Set the Selected Range where:
The first field sets the zoom level at the first keyframe in the selected range.
The second field sets the zoom level at the second keyframe in the selected range.
Deleting a keyframe
To delete a keyframe:
Right-click the keyframe and select Remove.
Click the keyframe to select it and press Delete.