Using the Terrain 3D Renderer node
Use the Terrain 3D Renderer node to render a 3D terrain as a mesh. Kanzi Maps creates the mesh using a height map that you provide from a map layer.
You can also set a Terrain 3D Renderer node to apply a texture layer to the terrain that it renders.
Learn how to use the Terrain 3D Renderer node by completing a tutorial. See Tutorial: Using 3D terrain and satellite images.
Creating a Terrain 3D Renderer using the Palette
To create a Terrain 3D Renderer using the Palette:
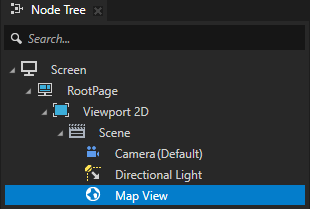
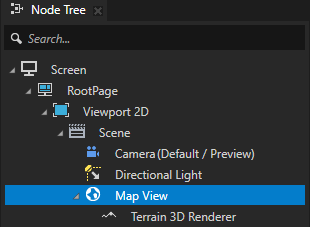
In the Node Tree, select the Map View node where you want to render 3D terrain.
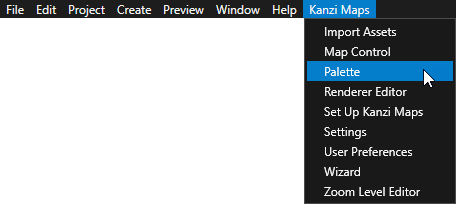
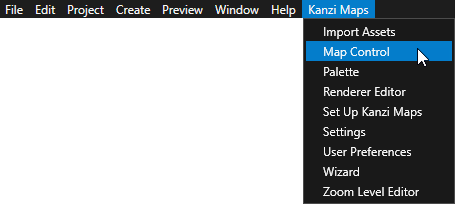
In the Kanzi Studio main menu, select Kanzi Maps > Palette.
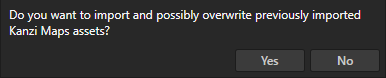
When Kanzi Studio asks whether you want to import assets, click Yes.
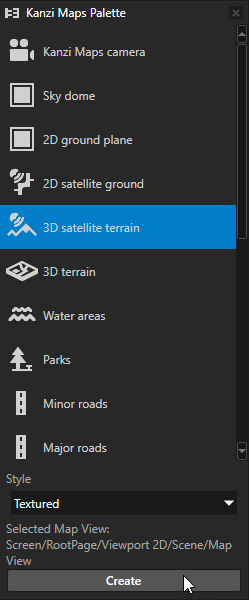
In the Kanzi Maps Palette, select the type of 3D terrain that you want to render:
3D terrain renders 3D terrain without texture data.
3D satellite terrain renders satellite imagery on 3D terrain.
For example, select 3D satellite terrain and click Create.
In the Confirm modifications dialog, click Apply Modifications to let Kanzi Studio modify your project as needed to render the content that you selected.

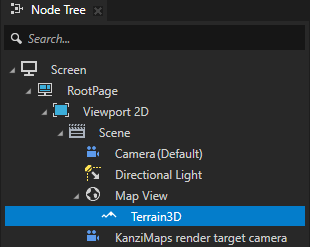
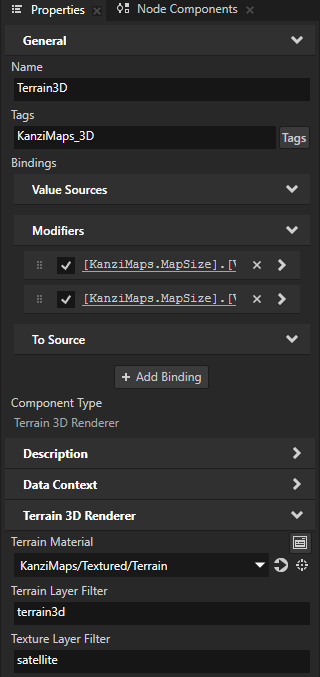
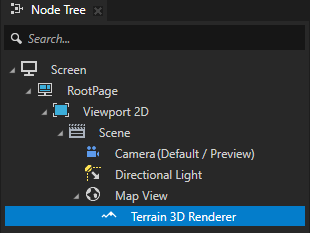
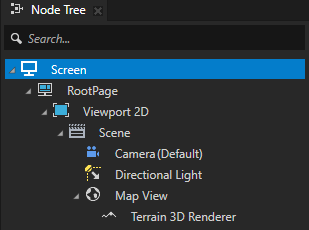
Kanzi Studio creates in the Map View node a Terrain 3D Renderer node and in that node sets:
Terrain Material to the material that defines the appearance of the terrain.
Terrain Layer Filter to the name of the layer that provides the terrain geometry.
For example, if you use Mapbox, Kanzi Studio sets the Terrain Layer Filter to terrain3d. See Supported backends.
Texture Layer Filter to satellite for 3D satellite terrain
Tip
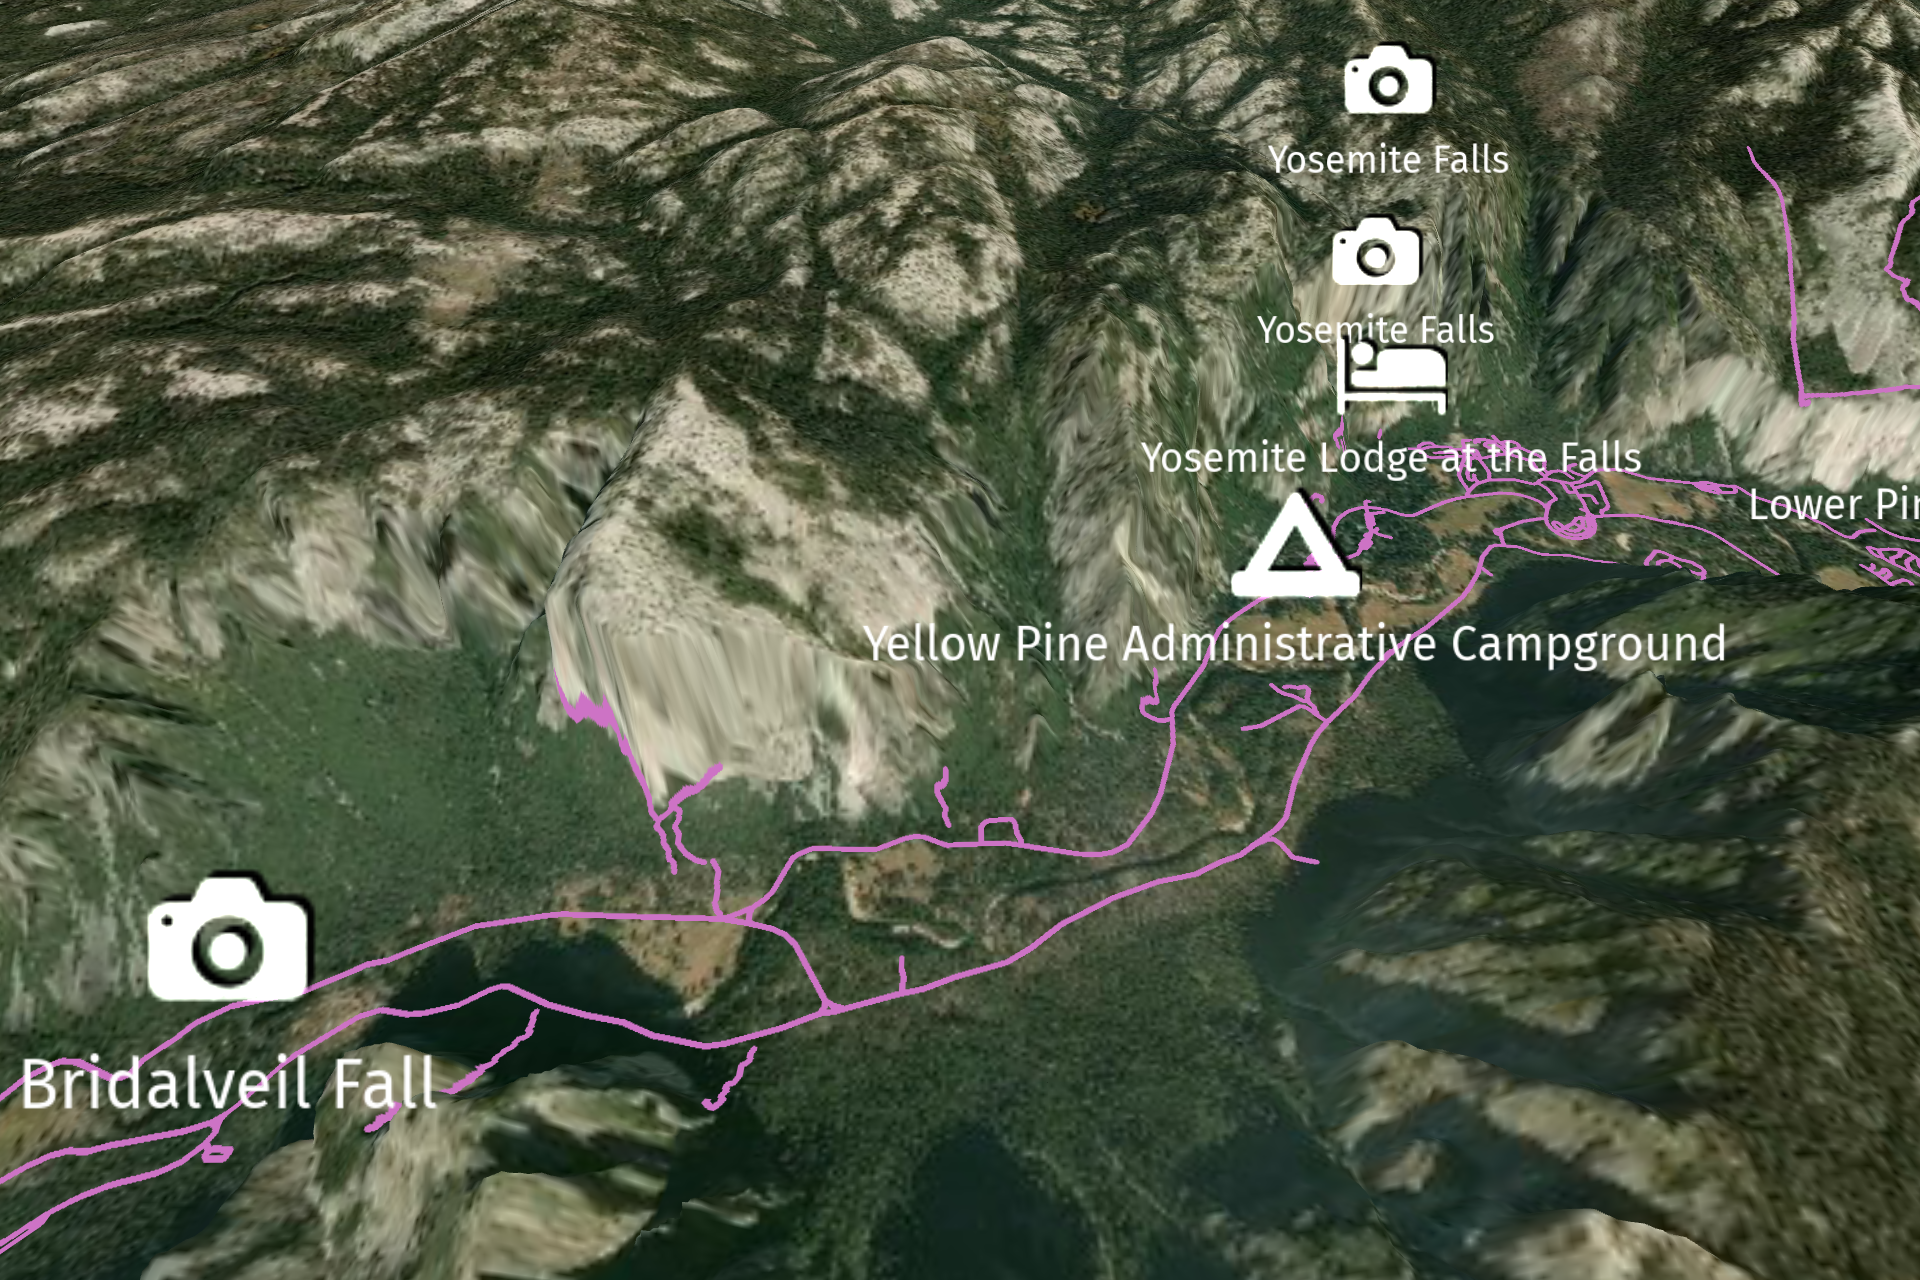
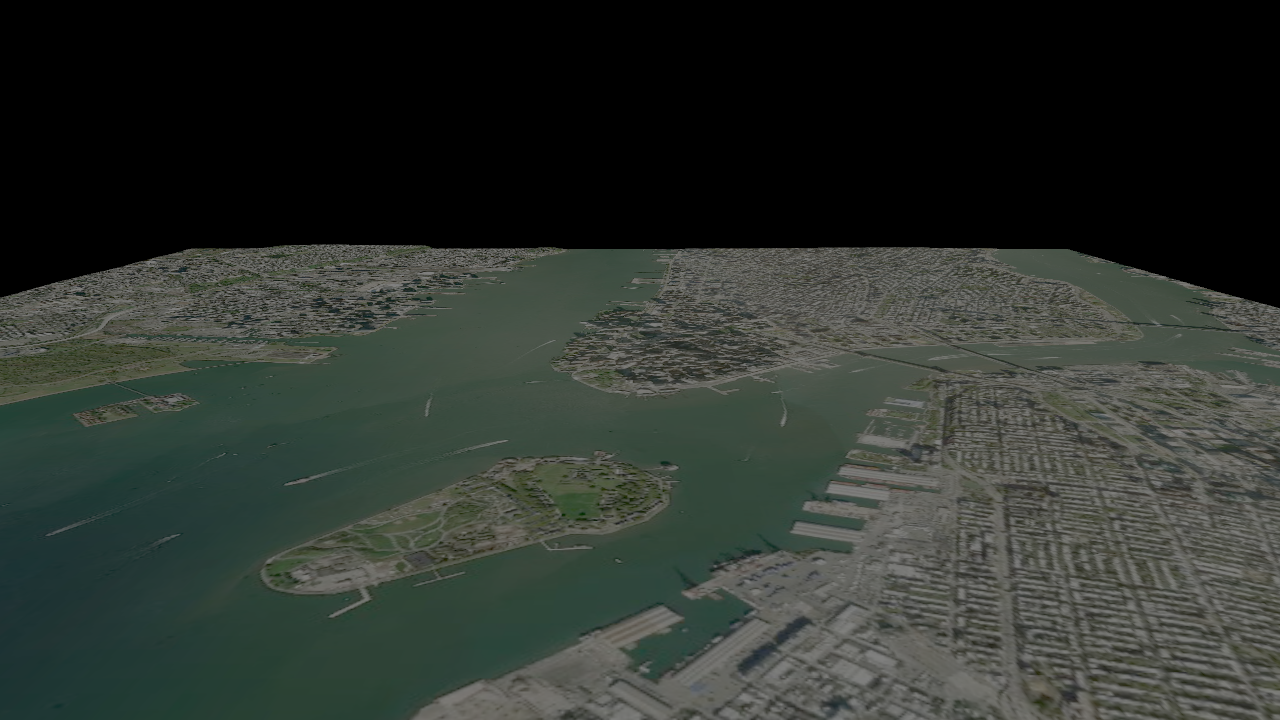
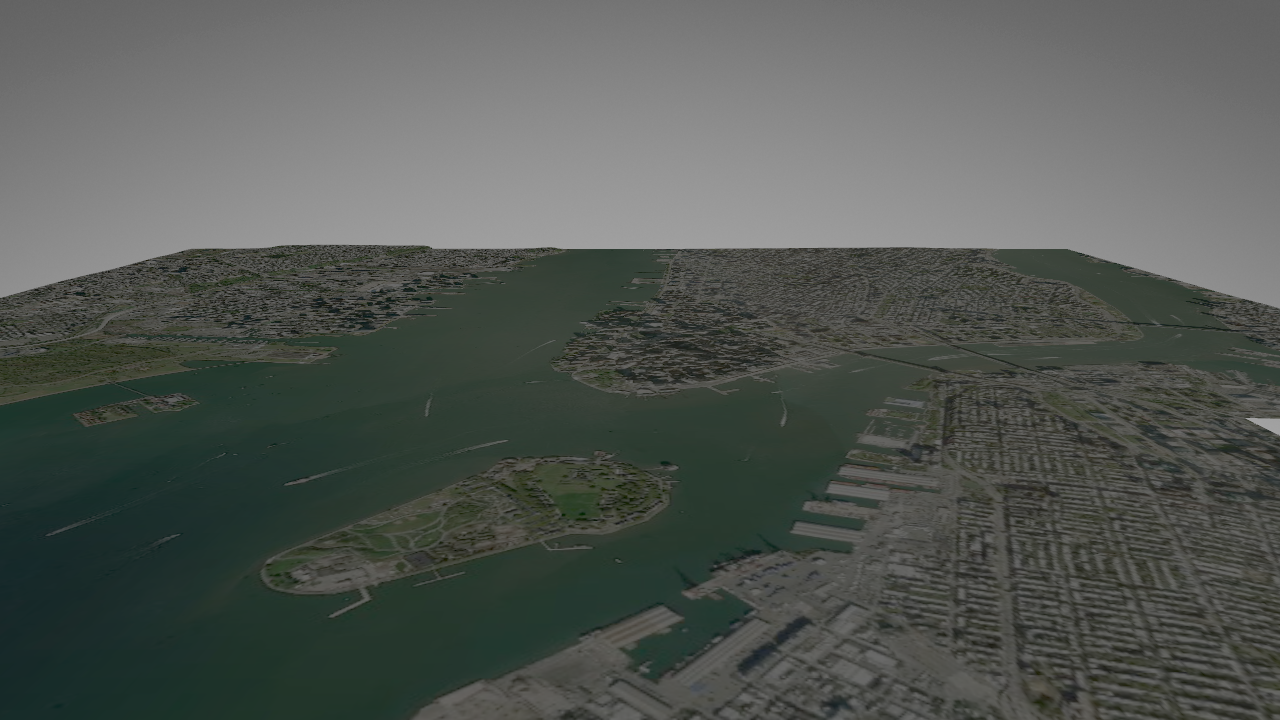
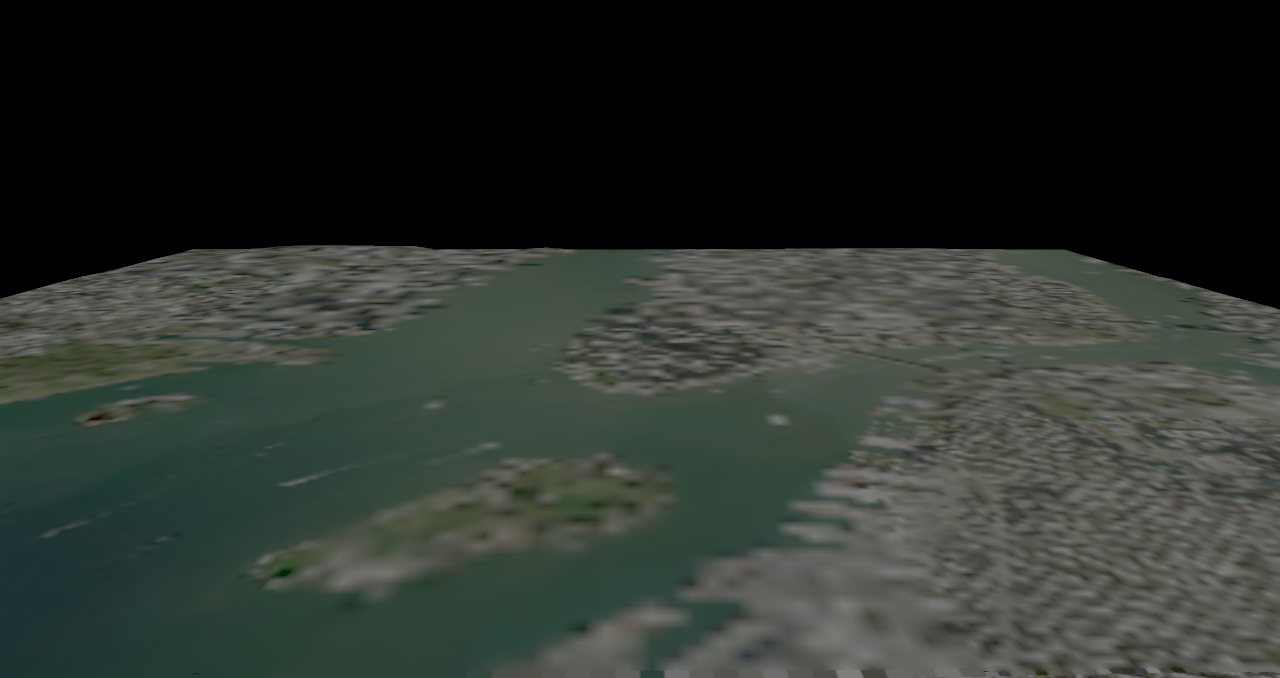
To better see the rendering of the 3D terrain, move the map to a hilly area.
For example:
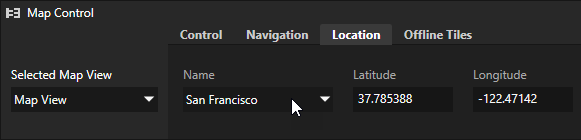
In the Kanzi Studio main menu, select Kanzi Maps > Map Control.
In the Map Control on the Location tab, set the location to San Francisco.
In the Preview, click and drag the left mouse button to pan the map.
Creating a Terrain 3D Renderer manually
To create a Terrain 3D Renderer manually:
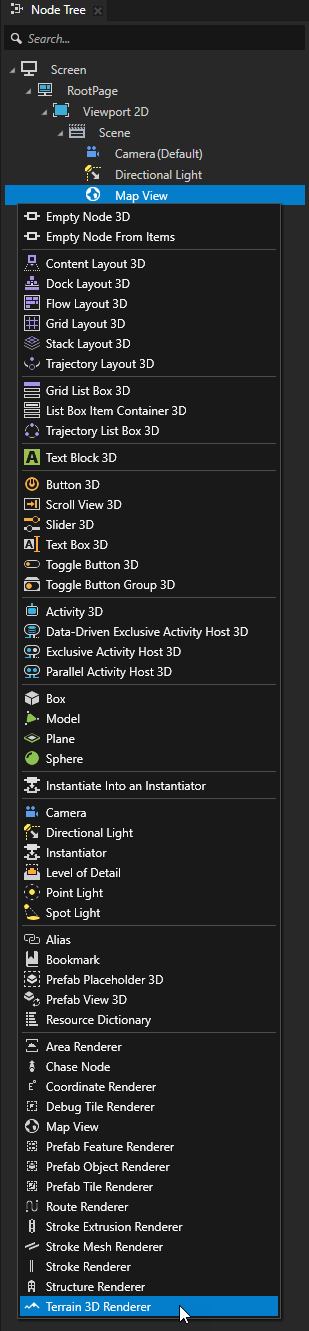
In the Node Tree, press Alt and right-click the Map View node where you want to render 3D terrain and select Terrain 3D Renderer.
In the Properties, set:
Terrain Material to the material that you want to use to set the appearance of the terrain.
Terrain Layer Filter to the name of the layer that provides the 3D terrain data.
For example, if you use Mapbox, set the Terrain Layer Filter to terrain3d. See Supported backends.
Tip
You can use the Renderer Editor to set layer and metadata filters. See Using the Renderer Editor.
(Optional) Texture Layer Filter to the name of the layer that provides texture data.
For example, if you use Mapbox and want to render satellite imagery on the terrain, set the Texture Layer Filter to satellite.
When you set this property, make sure to set the Terrain Material property to a textured material.
Terrain Quality to set the quality of rendering.
The lower you set the quality, the less triangles Kanzi Maps uses to render the terrain. The default value is 0.4.

Using elevation data to control the position of the camera over 3D terrain
You can use the Height Component node component to get the elevation in a specific location, or the minimum or maximum elevation within the currently visible map area. The Height Component writes the elevation to a property to which you can bind the position of the camera. This way, you can make the camera follow the elevation of the terrain.
To use elevation data to control the position of the camera over 3D terrain:
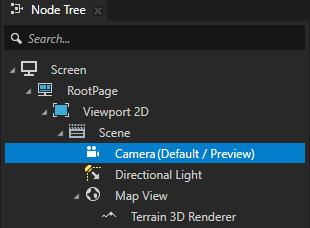
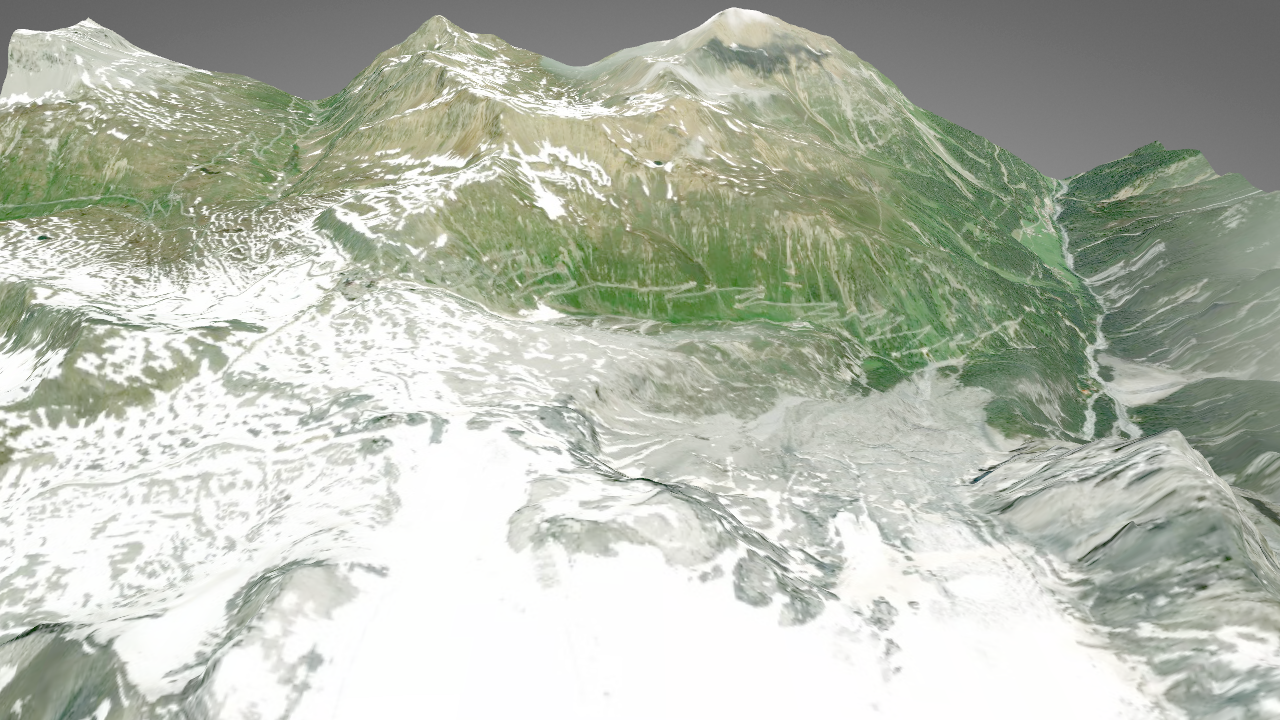
Create a Terrain 3D Renderer node that renders satellite imagery on 3D terrain. See Creating a Terrain 3D Renderer manually.
Move the map to a mountainous area.
For example:
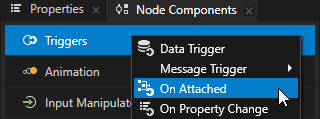
In the Node Tree, select the Screen node. In the Node Components > Triggers, create an On Attached trigger.
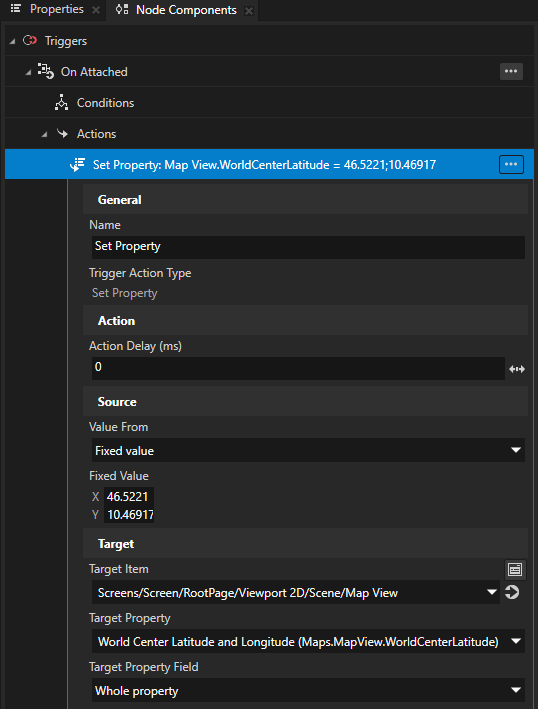
In the On Attached trigger, create a Set Property action and set:
Target Item to the Map View node that contains the Terrain 3D Renderer node
Target Property to World Center Latitude and Longitude
Value From to Fixed value
Fixed Value
X to 46.5221
Y to 10.46917
This way, you set the center of the map in Italy, close to the Switzerland border. In the Preview, you cannot see the mountains because the camera is positioned below them.
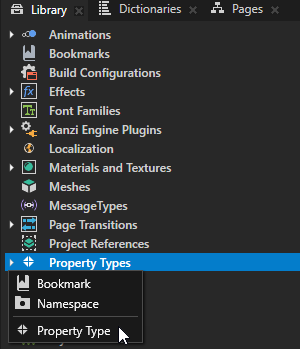
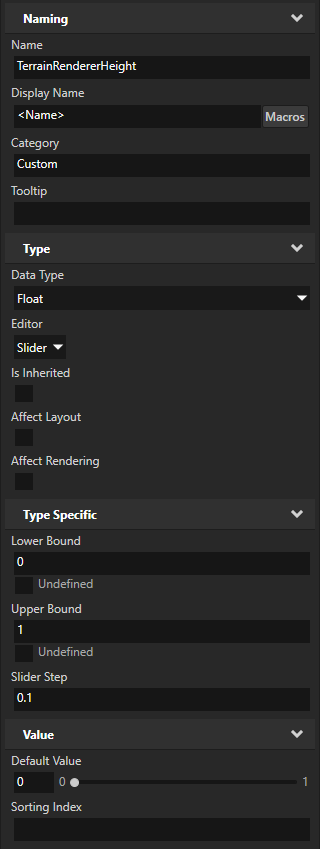
In the Library > Property Types, create a float property type. For example, name the property type TerrainRendererHeight.
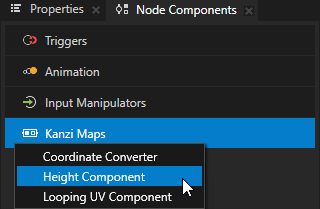
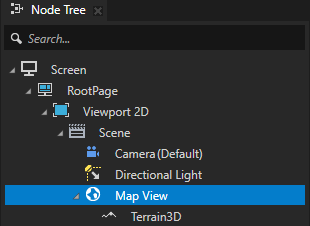
In the Node Tree, select the Map View node. In the Node Components > Kanzi Maps, create a Height Component.
Use the Height Component node component to get either the elevation at a specific location, or the minimum or maximum elevation within the currently visible map area.
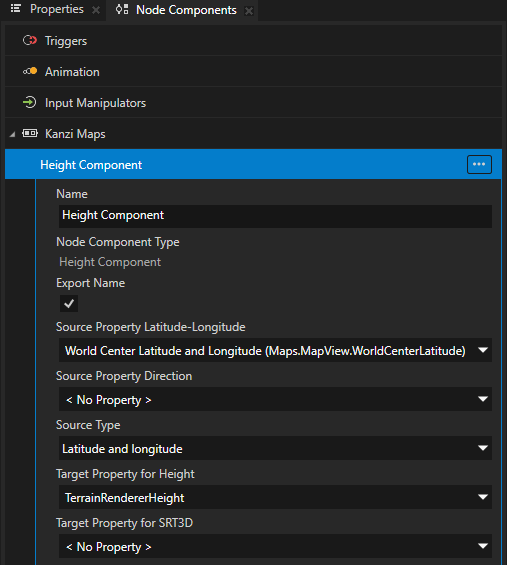
In the Height Component, set:
Source Type to:
Latitude and longitude to use a latitude-longitude coordinate provided by the property that you set with the Source Property Latitude-Longitude property
Maximum height to use the maximum height among the visible map tiles
Minimum height to use the minimum height among the visible map tiles
For example, set it to Latitude and longitude, and set the Source Property Latitude-Longitude property to World Center Latitude and Longitude.
This way, you set the Height Component to get the height value in the center of the map.
Target Property for Height to the float property type that you created
For example, set it to TerrainRendererHeight.
This way, you set the Height Component to write the height value to the TerrainRendererHeight property in the Map View node.
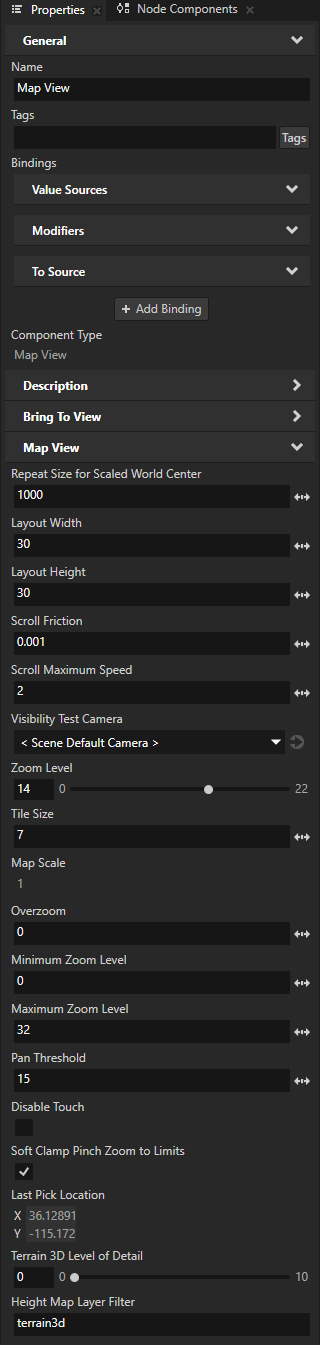
In the Properties, set the Height Map Layer Filter property to terrain3d.
This way, you set the Map View node to get the height map from the terrain3d map layer. The height map provides for the Height Component the elevation data, which the Height Component writes to its target property.
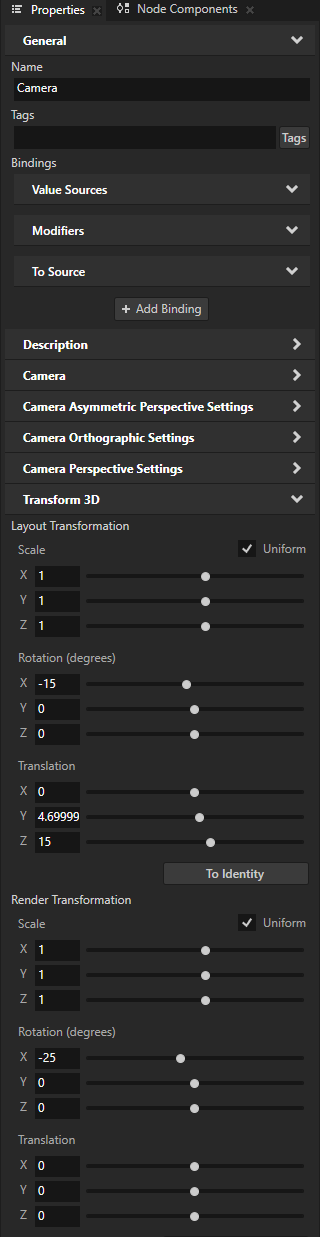
In the Node Tree, select the Camera node. In the Properties, add the Render Transformation property, and set the Rotation X property field to -25.
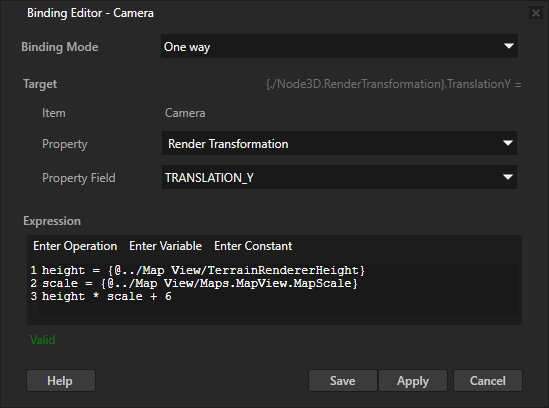
In the Properties, click + Add Binding and in the Binding Editor, set:
Property to Render Transformation
Property Field to TRANSLATION_Y
Expression to
height = {@../Map View/TerrainRendererHeight}
scale = {@../Map View/Maps.MapView.MapScale}
height * scale + 6
You bind the position of the camera on the y axis to the height of the terrain. You scale the height value by the Map Scale property of the Map View node. This way, you convert the height value from Mercator meters to Kanzi world space. You add a fixed offset of 5 units to make sure that the camera stays well above the surface of the terrain.
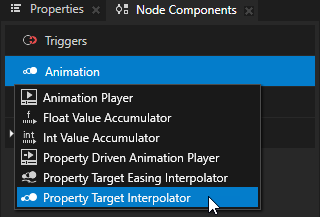
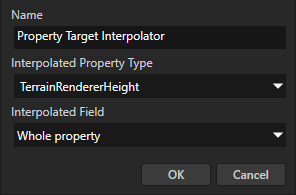
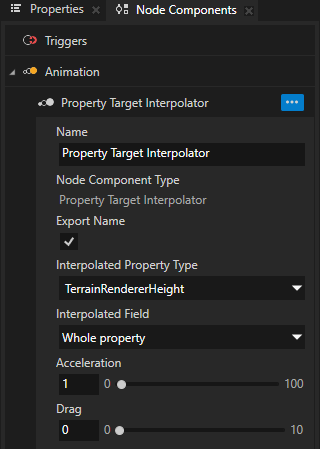
(Optional) In the Node Tree, select the Map View node. In the Node Components > Animation, create a Property Target Interpolator and set the Interpolated Property Type to TerrainRendererHeight.
The Property Target Interpolator interpolates the value of a property from its current value to the target value over time, emulating the behavior of a spring-damper system which never overshoots.
You use the Property Target Interpolator to animate the changes in the camera height. This way, you make the camera follow the terrain smoothly.
Tip
To pan the map in the Preview, click and drag the left mouse button.
Setting the level of detail in the terrain
The Terrain 3D Renderer node can simplify the terrain geometry that it renders. You can control the level of detail (LOD) at which the Terrain 3D Renderer node renders content.
To set level of detail at which a Terrain 3D Renderer node renders:
Create a Terrain 3D Renderer node. For example, use the Palette to render satellite imagery on 3D terrain. See Creating a Terrain 3D Renderer using the Palette.
In the Node Tree, select the Map View node that contains the Terrain 3D Renderer node.
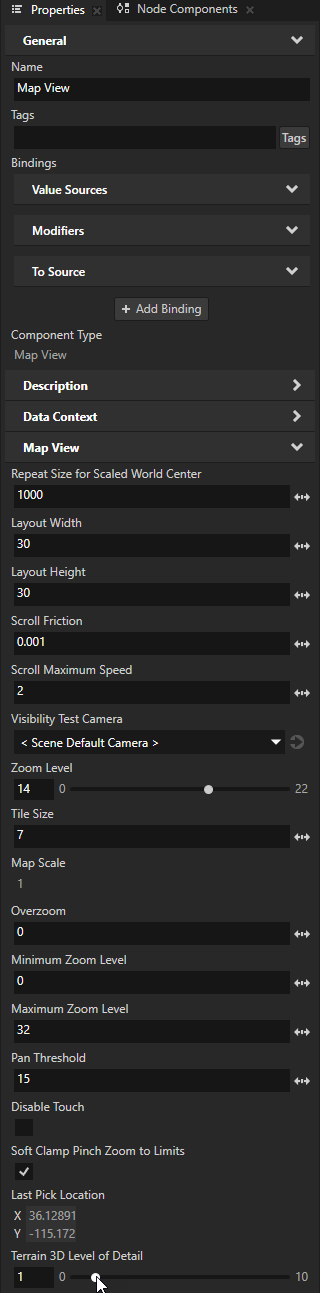
In the Properties, set the Terrain 3D Level of Detail property.
The higher the value, the coarser the rendering result. The value that you set applies to all Terrain 3D Renderer nodes in the Map View node.
Controlling the visibility of content based on zoom level
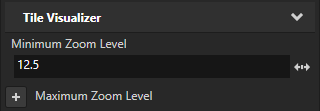
To avoid visual clutter in your map, you can show content only at a specific range of zoom levels. Use the Minimum Zoom Level and Maximum Zoom Level properties to set the range of zoom levels at which a tile-based Renderer renders its content.
For example, in the Node Tree, select a Renderer node. In the Properties, add and set the Minimum Zoom Level property to 12.5.
This way, you hide the content rendered by the Renderer when in the Map View node the value of the Zoom Level property is less than 12.5.