Step 2 - Create a new material type and textures for the car body
To use a texture you need a material type that supports textures. When you create a Kanzi Studio project and in the New Project window set the Materials to Import material types manually, the project does not include any material types or materials. However, Kanzi Studio comes with a set of material types you can use and modify to suit your needs. You can find all available material types in <KanziInstallation>/Studio/Asset Library/MaterialTypes:
Commoncontains material types with general purpose shaders.FragmentPhongcontains high-precision slower-performing material types with pixel-based shaders.VertexPhongcontains low-precision fast-performing material types with vertex-based shaders.PhysicallyBasedRenderingcontains material types with shaders that implement physically based rendering (PBR) principles.
In this step you use a material type from <KanziInstallation>/Studio/Asset Library/MaterialTypes/VertexPhong.
Whenever you import 3D models into Kanzi Studio, the materials used in the models are imported too. You can see all available material types, materials, textures, and brushes in your project in the Library > Materials and Textures.
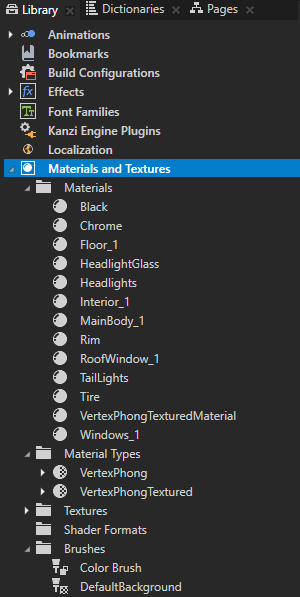
In this step you first create a new material type and then create a cubemap texture for that material. In this step you use this cubemap material for the car body, but in later steps you assign the same cubemap to other car parts: rims, windows, headlights, and chrome parts.
Create the VertexPhongTexturedCube material type
In the Library > Materials and Textures press Alt and right-click Material Types, and select VertexPhongTexturedCube.
Kanzi Studio adds to the Library the VertexPhongTexturedCube material type and the VertexPhongTexturedCubeMaterial material which uses the VertexPhongTexturedCube material type.
This is how you can add to your Kanzi Studio project from
<KanziInstallation>/Studio/Asset Library/MaterialTypesany material type that is not already in your project.Tip
To load to your Kanzi Studio project any material type from your computer, in the Library > Materials and Textures right-click and select Load Material Type From Disk.
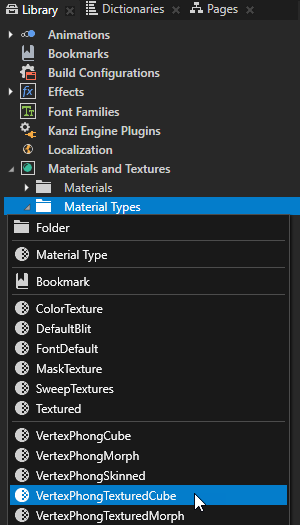
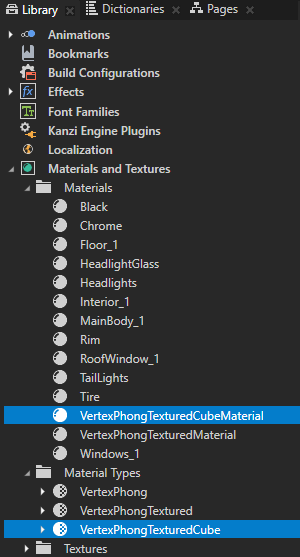
In the Library > Materials and Textures > Materials select MainBody_1, and in the Properties set the Material Type property to VertexPhongTexturedCube.
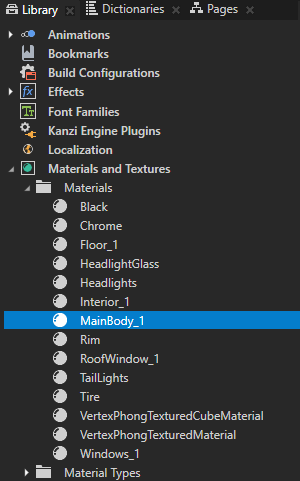
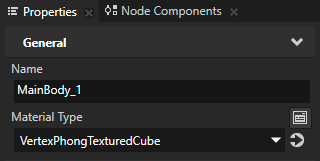
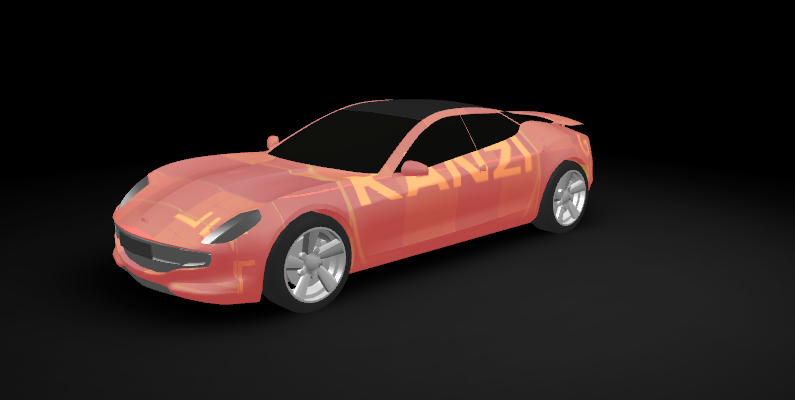
Since you just created the VertexPhongTexturedCube material type, any material of that type uses the default texture. In the next section you create the cubemap texture for a material that uses the VertexPhongTexturedCube material type.
Create textures for the car body
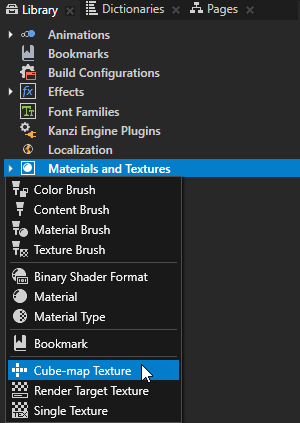
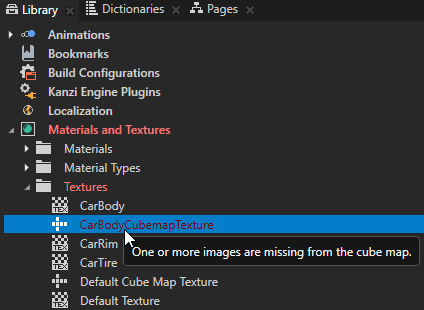
In the Library press Alt and right-click Materials and Textures, select Cube-map Texture, and name the texture CarBodyCubemapTexture.
When you create a cubemap texture Kanzi Studio shows it in red type because the texture does not yet have textures assigned for each face of the cubemap.
You do this in the next step.
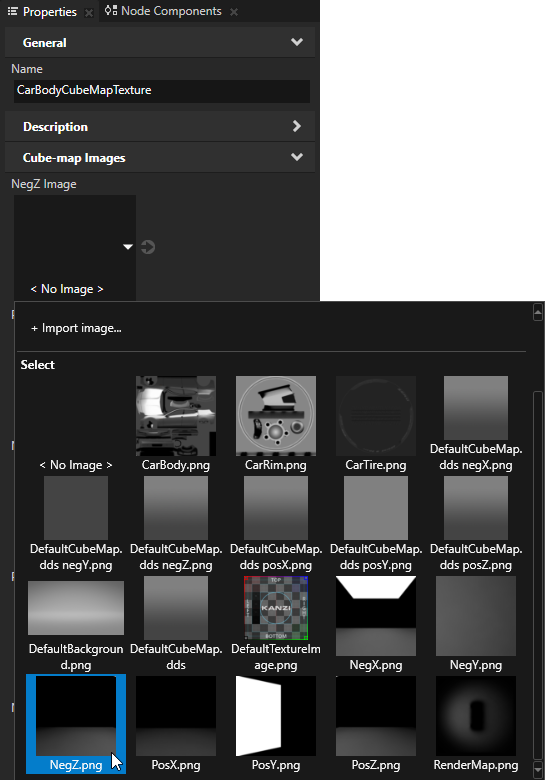
In the Properties set the Cube-map Images properties to their respective images. Set the NegZ Image property to image NegZ.png, PosZ Image property to PosZ.png, and so on until you have set all the images.
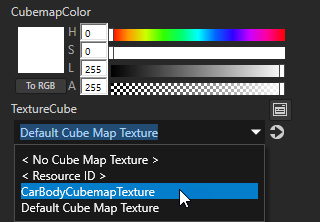
In the Library > Materials and Textures > Materials select the MainBody_1 material, and in the Properties set the TextureCube property to CarBodyCubemapTexture.

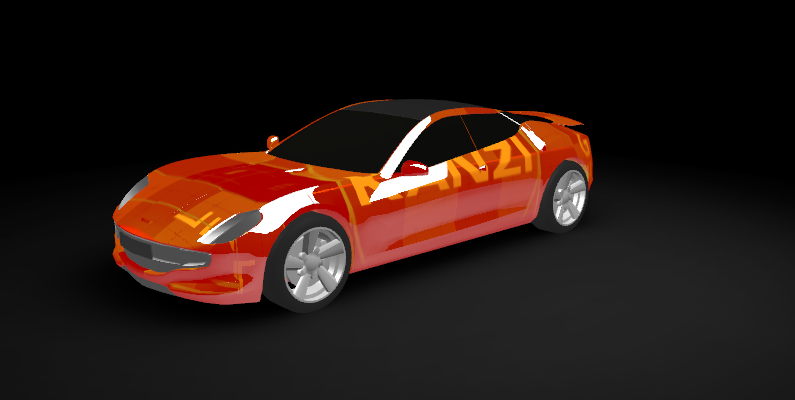
Now that you assigned the cubemap texture to the car, you can see the reflection of the environment on the car body. Next you create the texture for the car body.
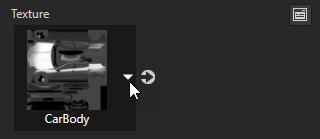
In the Properties of the MainBody_1 material set the Texture property to the CarBody texture.
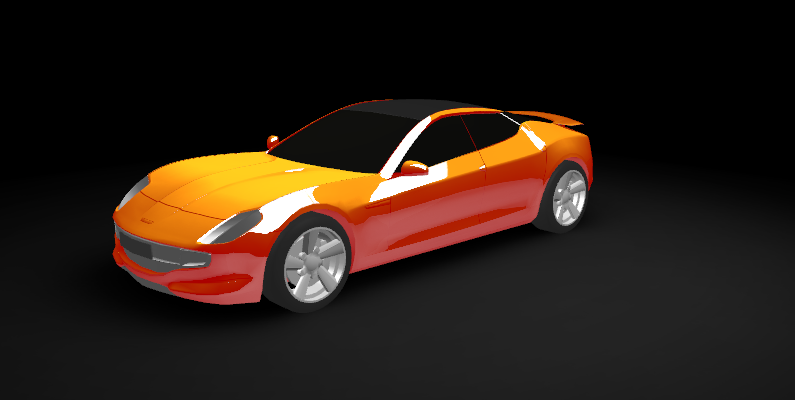
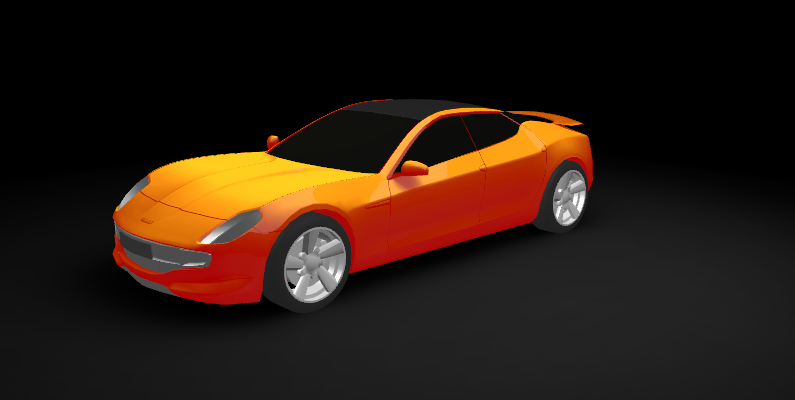
In the Properties of the MainBody_1 material set the CubemapColor property Lightness (L) property field to 64.
This way you reduce the brightness of the reflections to avoid color burn.

See also
To learn more about material types, see Using material types.
To learn more about materials, see Using materials.
To learn more about cubemap textures, see Using cubemap textures.
To learn more about textures, see Textures.