Clipboard mode
Clipboard mode shows the most recent Clipboard packet from the Figma plugin as a per-property checklist. Unlike a plain copy and paste, the Clipboard packet carries several property values in one packet, so a single Apply click can write layout, opacity, fill, stroke, and corner radius onto the target Kanzi node together.
To apply the values: toggle the properties you want, select the target node in the Kanzi scene tree, then click Apply.
This is the live counterpart of the Figma-side Clipboard transfer.
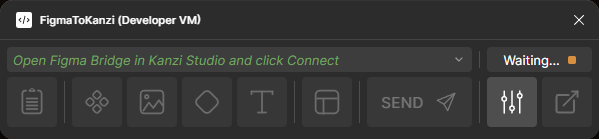
What it shows
The Clipboard header shows the Name of the source layer. Below it, each incoming Clipboard packet populates the body with the properties that match the source layer type:
Resolution: width and height.
Position: translation X and Y.
Rotation (omitted when zero).
Opacity.
Constraints: horizontal and vertical anchoring.
Fill (shape-like sources): the first visible solid colour.
Stroke (shape-like sources): the first visible solid colour.
Corner radius (rectangles, frames): uniform or per-corner.
Workflow
To apply Clipboard values to a Kanzi node:
In Figma, select a layer, select Clipboard in the Figma plugin, then click Send.
The packet arrives in Kanzi. Clipboard mode populates the property checklist.
In Kanzi Studio, select the node you want to update.
Toggle off any properties you do not want to copy.
Click Apply. The selected properties are written to the target node.
The checklist stays populated until the next Clipboard packet arrives or you switch modes.