Automating Kanzi Studio tasks
You can execute Kanzi Studio commands by running a script from the command line interface. This enables you to automate repetitive tasks in Kanzi Studio or Kanzi Studio tasks that you must execute on a large number of Kanzi Studio projects. For example, consider making a script to update a Kanzi Engine plugin that you use in many Kanzi Studio projects, or to export kzb files from many Kanzi Studio projects.
For the list of available commands, see Kanzi Studio command reference.
To automate Kanzi Studio tasks:
In a text editor, create a script where you define what commands you want Kanzi Studio to run.
For example, add to the script the commands in this step and save the script as
MyScript.txt.Open a Kanzi Studio project.
# Open the project named MyProject.
LoadProject "C:\KanziWorkspace\Projects\MyProject\Tool_project\MyProject.kzproj"
Add commands to automate Kanzi Studio tasks.
For example, you can automate:
Exporting of kzb files. See Exporting kzb files using a script.
Building of Kanzi applications for Android. See Building Kanzi applications for Android using a script.
Importing and updating of Kanzi Engine plugins. See Importing and updating Kanzi Engine plugins using a script.
Creating and updating of data sources. See Creating and updating data sources using a script.
Creating of nodes. See Creating nodes using a script.
Adding and removing of properties, and setting of property values. See Editing properties using a script.
Logging of invalid project items. See Logging invalid project items using a script.
For the list of available commands, see Kanzi Studio command reference.
Save and close the project.
# Save the project.
# The second parameter sets whether Kanzi Studio continues working in the directory where you
# opened the project.
# When you save the project to a different location, set the second parameter to false.
# For example,
# SaveProject "C:\KanziWorkspace\Projects\MyOtherProject\Tool_project\MyOtherProject.kzproj" false
SaveProject "C:\KanziWorkspace\Projects\MyProject\Tool_project\MyProject.kzproj" true

# Close Kanzi Studio.
# To close the project but continue using Kanzi Studio, use CloseProject.
ExitApplication
Open the command line interface, go to the
<KanziInstallation>/Studio/Bindirectory, and run theKanziStudio.exefile with the/Scriptflag pointing to the script that you created in the previous step.For example, on the command line interface, run
KanziStudio.exe /Script="C:\Users\username\Documents\MyScript.txt"
Exporting kzb files using a script
A kzb file contains contents of a Kanzi Studio project. To run your Kanzi application, you must export the contents of the Kanzi Studio project of that application to a kzb file.
See Using kzb files.
To export kzb files using a script use the ExportBinary command:
# Export the kzb file to the location set in the Project > Properties in the Binary Export Directory
# property.
# To export the kzb file to another location use:
# ExportBinary "Path\to\directory\MyProjectBinary.kzb"
ExportBinary

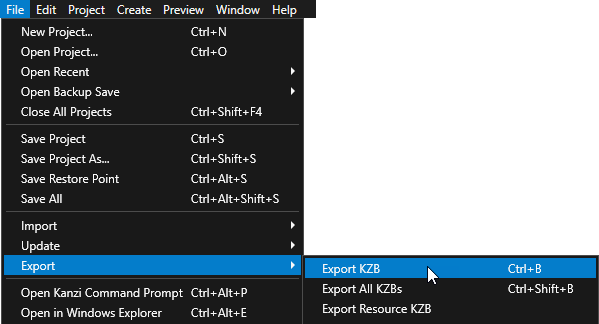
The ExportBinary command takes these optional parameters:
The first parameter sets whether Kanzi Studio exports the theme and locale resources to separate kzb files. The default is true.
The second parameter sets whether Kanzi Studio exports kza file, which is the XML version of the kzb file. The default is false.
For example, to export both the theme and locale resources to separate kzb files, and the kza file:
# Export the theme and locale resources and the kza file.
ExportBinary true true
Building Kanzi applications for Android using a script
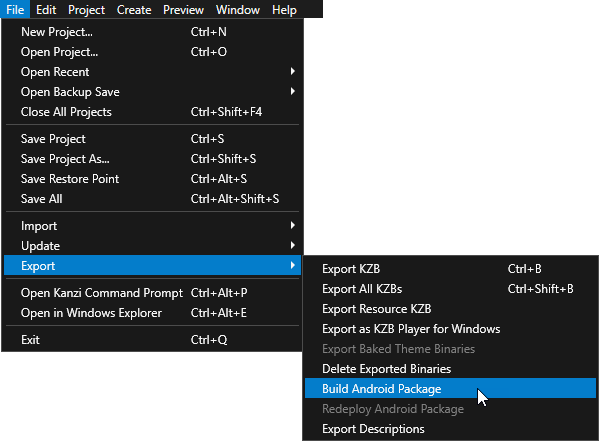
To build Kanzi applications for Android using a script use the ExportApk command:
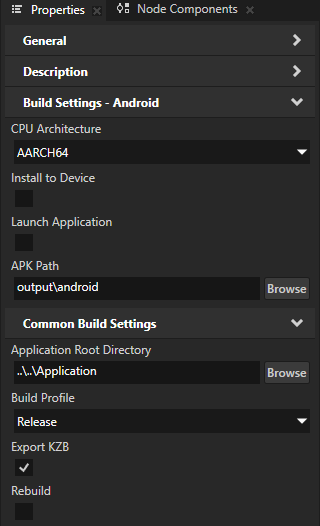
# Before you build an APK file, set whether to install the APK file to your Android device and
# launch the application.
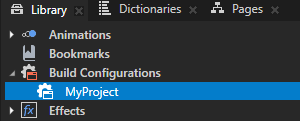
# In the Library > Build Configurations > MyProject, disable the Install to Device property.
SetProperty "/Resource Files/Build Configurations/MyProject" BuildConfigurationInstallToDevice false
# In the Library > Build Configurations > MyProject, disable the Launch Application property.
SetProperty "/Resource Files/Build Configurations/MyProject" BuildConfigurationRunApplication false

# Build the APK file using the Library > Build Configurations > MyProject application
# configuration. If the project contains images that use texture compression, the
# second parameter sets whether Kanzi Studio compresses these images.
ExportApk "/Resource Files/Build Configurations/MyProject" true
Importing and updating Kanzi Engine plugins using a script
Kanzi Engine plugins extend the functionality of Kanzi Engine. Kanzi Engine executes these plugins on target platforms.
See Kanzi Engine plugins.
You can import and update Kanzi Engine plugins using a script:
Importing a Kanzi Engine plugin using a script
When you want to use a Kanzi Engine plugin in a Kanzi Studio project, you must import that Kanzi Engine plugin to your Kanzi Studio project.
To import a Kanzi Engine plugin using a script use the ImportEnginePlugin command:
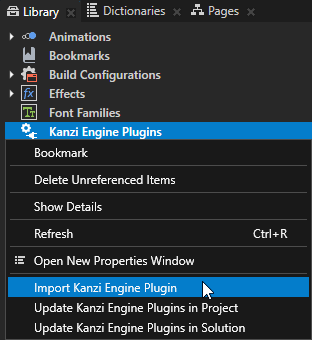
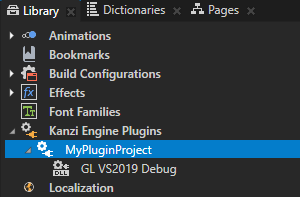
# Import the Kanzi Engine plugin DLL MyPluginProject\Application\lib\Win64\GL_vs2019_Debug_DLL\MyPluginProject.dll.
# Kanzi Studio adds to the Library > Kanzi Engine Plugins a reference to the Kanzi Engine plugin DLL that you import.
ImportEnginePlugin "C:\KanziWorkspace\Projects\MyPluginProject\Application\lib\Win64\GL_vs2019_Debug_DLL\MyPluginProject.dll"
Updating a Kanzi Engine plugin using a script
When you want to use in a Kanzi Studio project a different version of a Kanzi Engine plugin, you must update that Kanzi Engine plugin in your Kanzi Studio project.
To update a Kanzi Engine plugin using a script use the ImportEnginePlugin command:
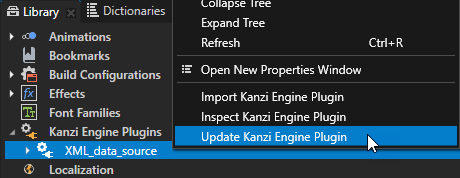
# Update the XML_data_source Kanzi Engine plugin in the project.
# You leave the first parameter empty because you do not import a new plugin to the project.
ImportEnginePlugin "" "/Kanzi Engine Plugins/XML_data_source"
Updating all Kanzi Engine plugins in a project or solution using a script
When you want to use in a Kanzi Studio project a different version of a Kanzi Engine plugin, you must update that Kanzi Engine plugin in your Kanzi Studio project.
You can update all Kanzi Engine plugins in your Kanzi Studio project using a script. If your Kanzi Studio project contains project references, you can update all Kanzi Engine plugins in the solution which includes that project and all referenced projects. See Combining Kanzi Studio projects into a Kanzi application.
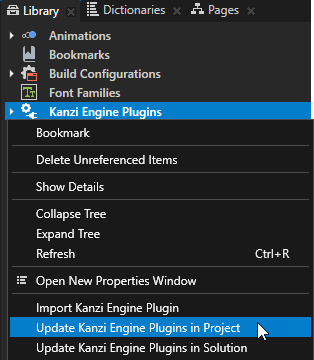
To update all Kanzi Engine plugins in a project or solution using a script use the UpdateProjectEnginePlugins or UpdateSolutionEnginePlugins command:
# Update all the Kanzi Engine plugins in the project.
# To update the Kanzi Engine plugins in that project and all referenced projects use
# UpdateSolutionEnginePlugins.
UpdateProjectEnginePlugins
Creating and updating data sources using a script
Use data sources to separate the user interface from the application data and to remove the dependencies between a Kanzi Studio project and the application code which define the Kanzi application.
See Data sources.
You can create and update data sources using a script:
Creating a data source using a script
When you want to use a Kanzi Engine data source plugin in a Kanzi Studio project, you must create a data source in your Kanzi Studio project.
To create a data source using a script, first import a Kanzi Engine data source plugin, then create and update the data source:
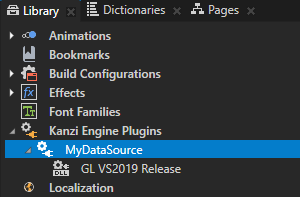
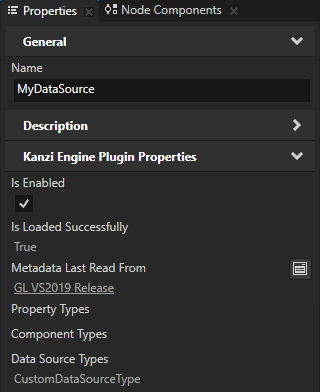
# Import the Kanzi Engine data source plugin DLL MyDataSource\Application\lib\Win64\GL_vs2019_Release_DLL\MyDataSource.dll.
# The MyDataSource plugin defines the CustomDataSourceType data source type.
# Kanzi Studio adds to the Library > Kanzi Engine Plugins a reference to the Kanzi Engine data source plugin DLL that you import.
ImportEnginePlugin "C:\KanziWorkspace\Projects\MyDataSource\Application\lib\Win64\GL_vs2019_Release_DLL\MyDataSource.dll"

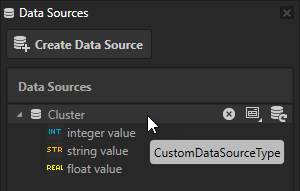
# Create a data source named Cluster of the type CustomDataSourceType.
CreateDataSource "Cluster" "CustomDataSourceType"
# To create data objects from the Cluster data source, update the data source.
UpdateDataSourceContents "/Data Sources/Cluster/"
Updating a data source using a script
If the Kanzi Engine plugin that defines your data source does not update your data source, you can update the data source using a script.
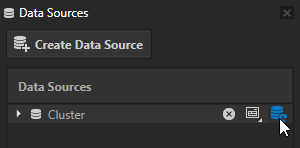
To update a data source using a script use the UpdateDataSourceContents command:
# Update the Cluster data source in the project.
UpdateDataSourceContents "/Data Sources/Cluster/"
Updating all data sources in a project or solution using a script
If the Kanzi Engine plugin that defines your data source does not update your data sources, you can update the data source using a script. If your Kanzi Studio project contains project references, you can update all data sources in the solution which includes that project and all referenced projects. See Combining Kanzi Studio projects into a Kanzi application.
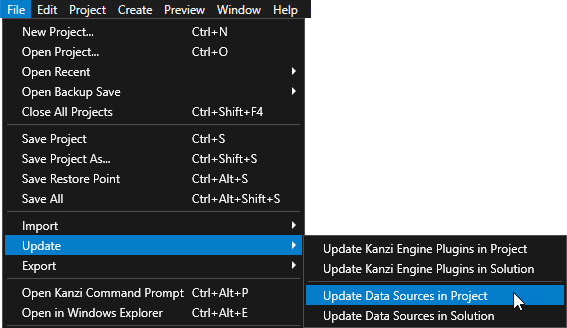
To update all data sources in a project or solution using a script use the UpdateProjectDataSources or UpdateSolutionDataSources command:
# Update all data sources in the project.
# To update the data sources in that project and all referenced projects use
# UpdateSolutionDataSources.
UpdateProjectDataSources
Creating nodes using a script
You can create nodes using a script. For example:
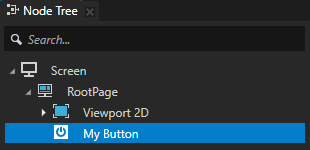
To create a Button 2D node use the CreateButton2D command:
# In the RootPage node, create a Button 2D node named My Button.
# The last parameter sets whether Kanzi Studio selects the node that you created.
CreateButton2D "/Screens/Screen/RootPage" "My Button" true
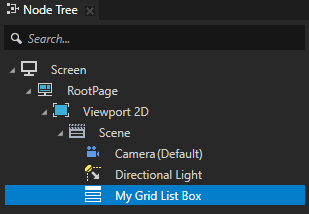
To create a Grid List Box 3D node use the CreateComponentNode command:
# In the RootPage > Viewport 2D > Scene node, create a Grid List Box 3D node named My Grid List Box.
CreateComponentNode "/Screens/Screen/RootPage/Viewport 2D/Scene" "My Grid List Box" Kanzi.GridListBox3D
Editing properties using a script
Properties provide the means to specify and examine the state, appearance, and behavior of nodes. For example, a property can define a color, indicate whether a button is pressed, or specify the alignment of an item.
See Property types.
You can edit properties using a script:
Adding properties using a script
To add properties using a script use the AddProperty command.
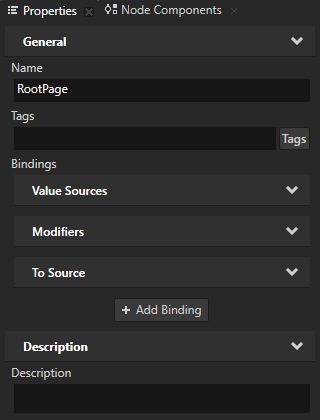
For example, to add the Description property to the RootPage node:
# In the RootPage node, add the Description property.
AddProperty "MyProject/Screens/Screen/RootPage" Description
Removing properties using a script
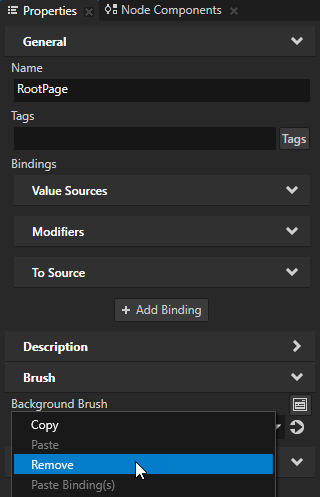
To remove properties using a script use the RemovePropertyFromItem command.
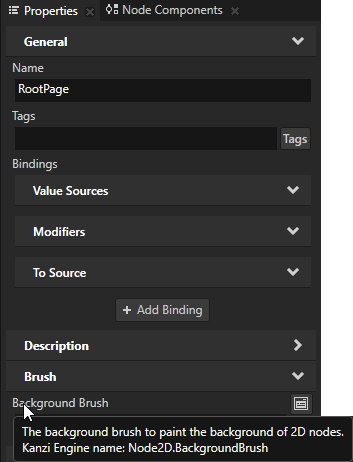
For example, to remove the Background Brush property from the RootPage node:
# In the RootPage node, remove the Background Brush property.
# Use the Kanzi Engine property name which you see in Kanzi Studio when you hover your
# mouse pointer over the property name.
RemovePropertyFromItem "MyProject/Screens/Screen/RootPage" Node2D.BackgroundBrush
Setting property values using a script
To set property values using a script, use the SetProperty command.
For example:
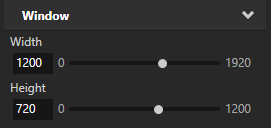
To set the size of the Screen node to 1200 x 720 pixels:
# In the Screen node, set:
# - Metrics Type to Absolute
SetProperty "/Screens/Screen" Window.MetricsType Absolute
# - Width to 1200
SetProperty "/Screens/Screen" WindowAbsoluteWidth 1200
# - Height to 720
SetProperty "/Screens/Screen" WindowAbsoluteHeight 720

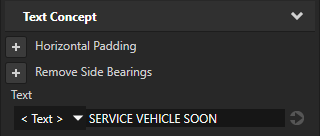
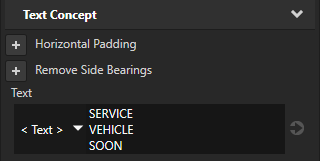
To set the Text property of a Text Block node to one line of text:
# In the RootPage > My Text Block node, set the Text property to SERVICE VEHICLE SOON.
SetProperty "/Screens/Screen/RootPage/My Text Block" TextConcept.Text "SERVICE VEHICLE SOON"
To set a property value that spans multiple lines, enclose the value between triple backticks:
# In the RootPage > My Text Block node, set the Text property to
# SERVICE
# VEHICLE
# SOON
SetProperty "/Screens/Screen/RootPage/My Text Block" TextConcept.Text ```SERVICE
VEHICLE
SOON```
Logging invalid project items using a script
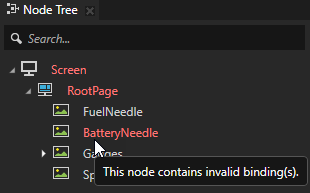
Kanzi Studio marks invalid items in the Node Tree and Library with red type.
For example:
A node contains an invalid binding.
A resource uses a resource that does not exist or is missing a required property.
A material type has precision mismatches in its shaders.
See Finding invalid project items.
To log invalid project items in your Kanzi Studio project using a script, use the PrintDiagnosticReport command:
# Print a list of invalid project items to the Log window and the KanziStudio.log file.
PrintDiagnosticReport MyProject
See also
Kanzi Studio command reference
Deploying Kanzi applications to Android