Step 2 - Define the application layout for the right-to-left locales
In this step you define a layout which positions the content for the right-to-left locales. You create another prefab from the LocaleButton, which sets the alignment for the right-to-left locale buttons.
Define the application layout for the right-to-left locales
In this section you define the layout for the right-to-left locales. You reverse the size settings of the Columns property to position the elements in the grid layout nodes and align the text and texture content to the right.
To define the application layout for the right-to-left locales:
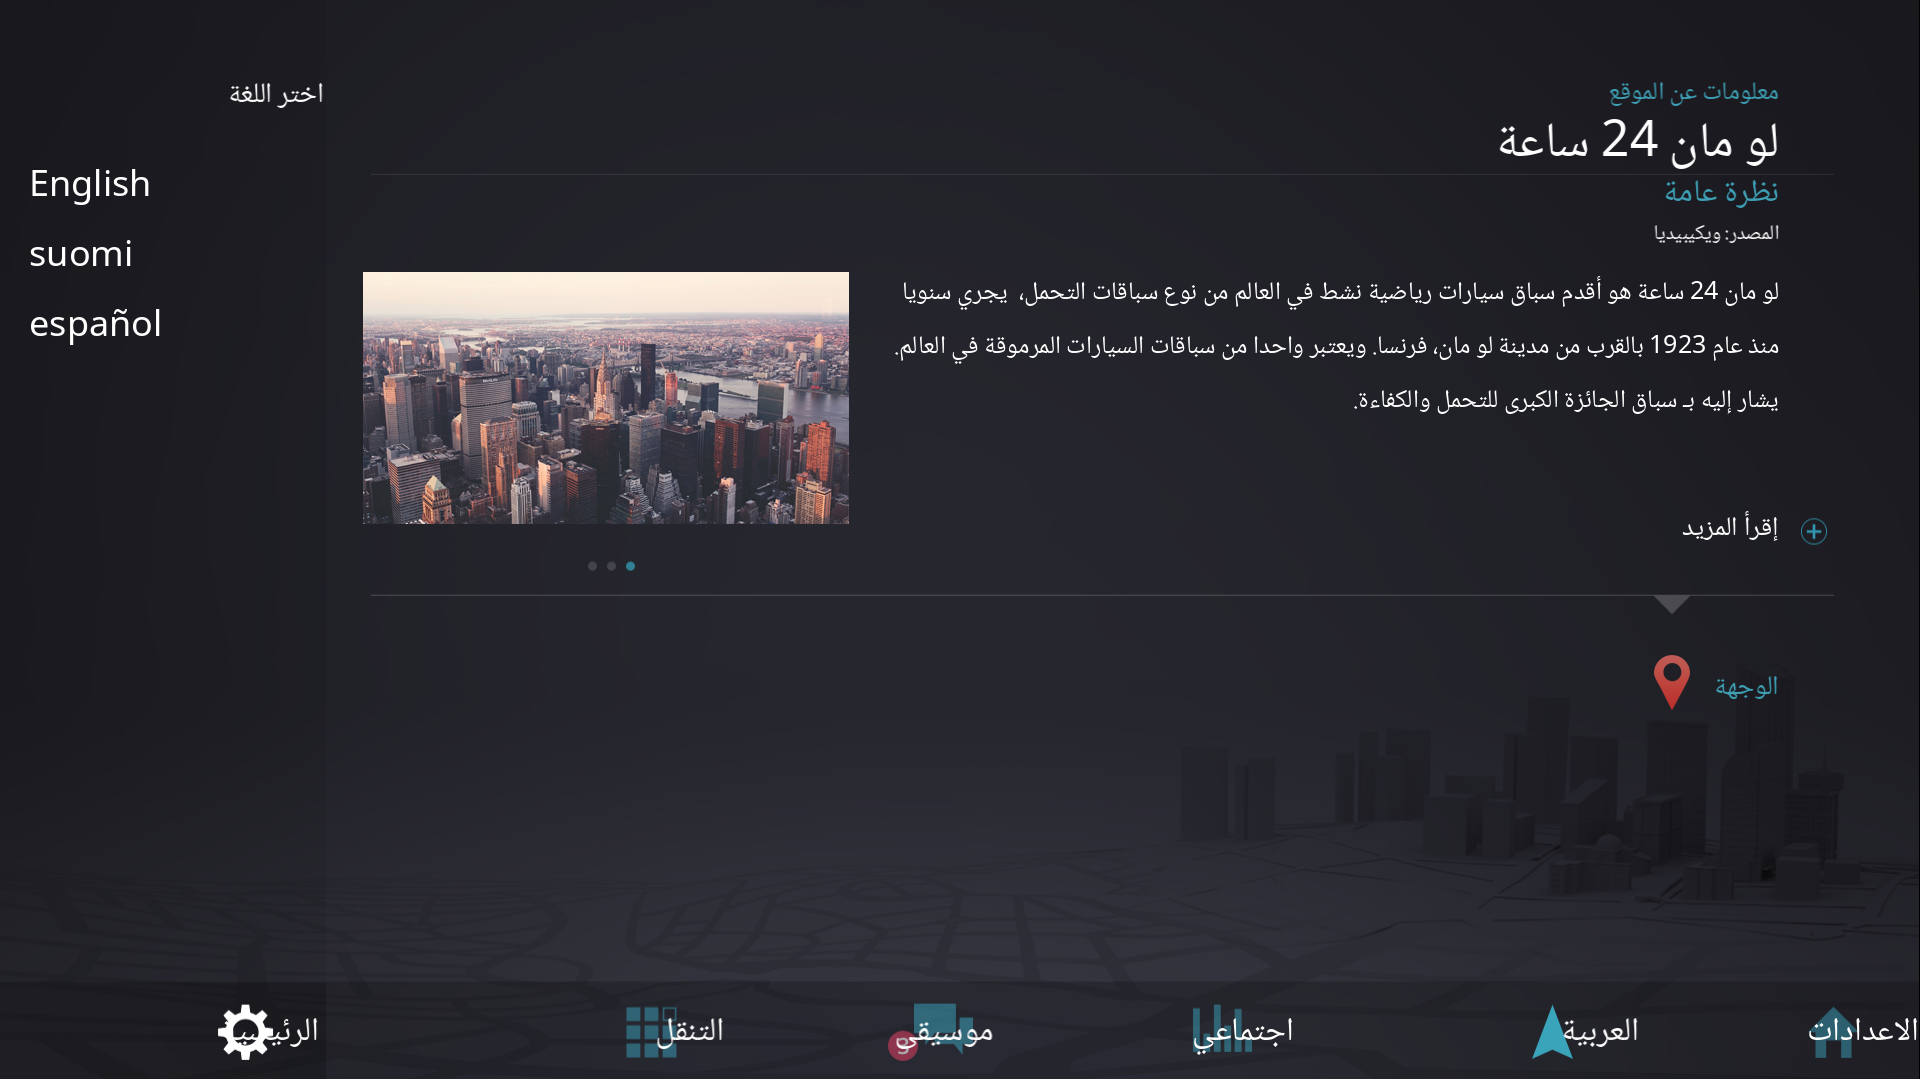
Change the application user interface locale to one of the right-to-left locales:
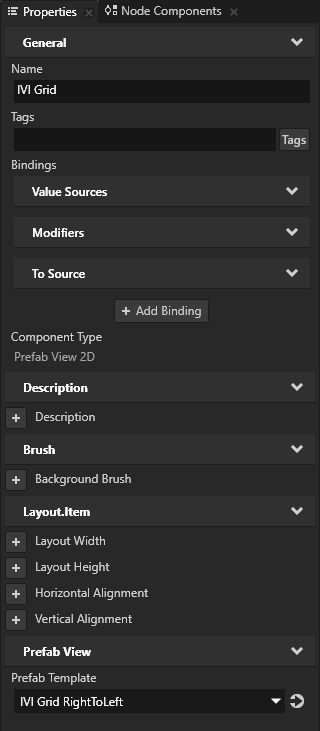
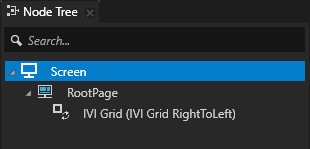
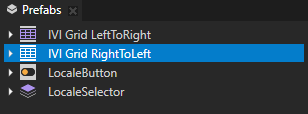
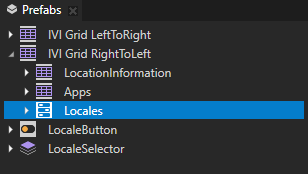
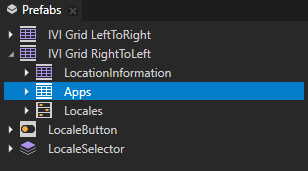
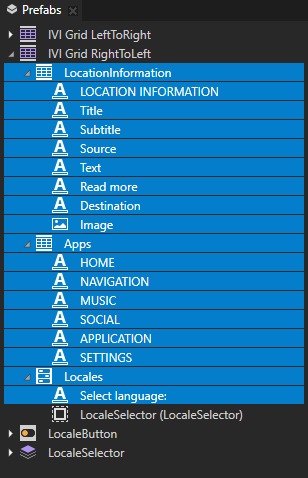
In the Node Tree select the IVI Grid node and in the Properties set the Prefab Template to IVI Grid RightToLeft.
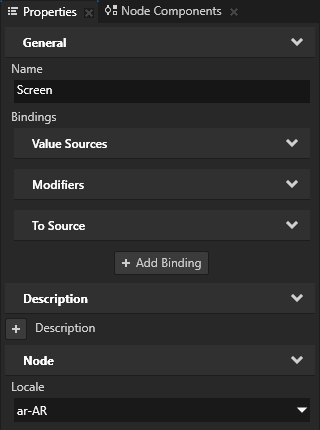
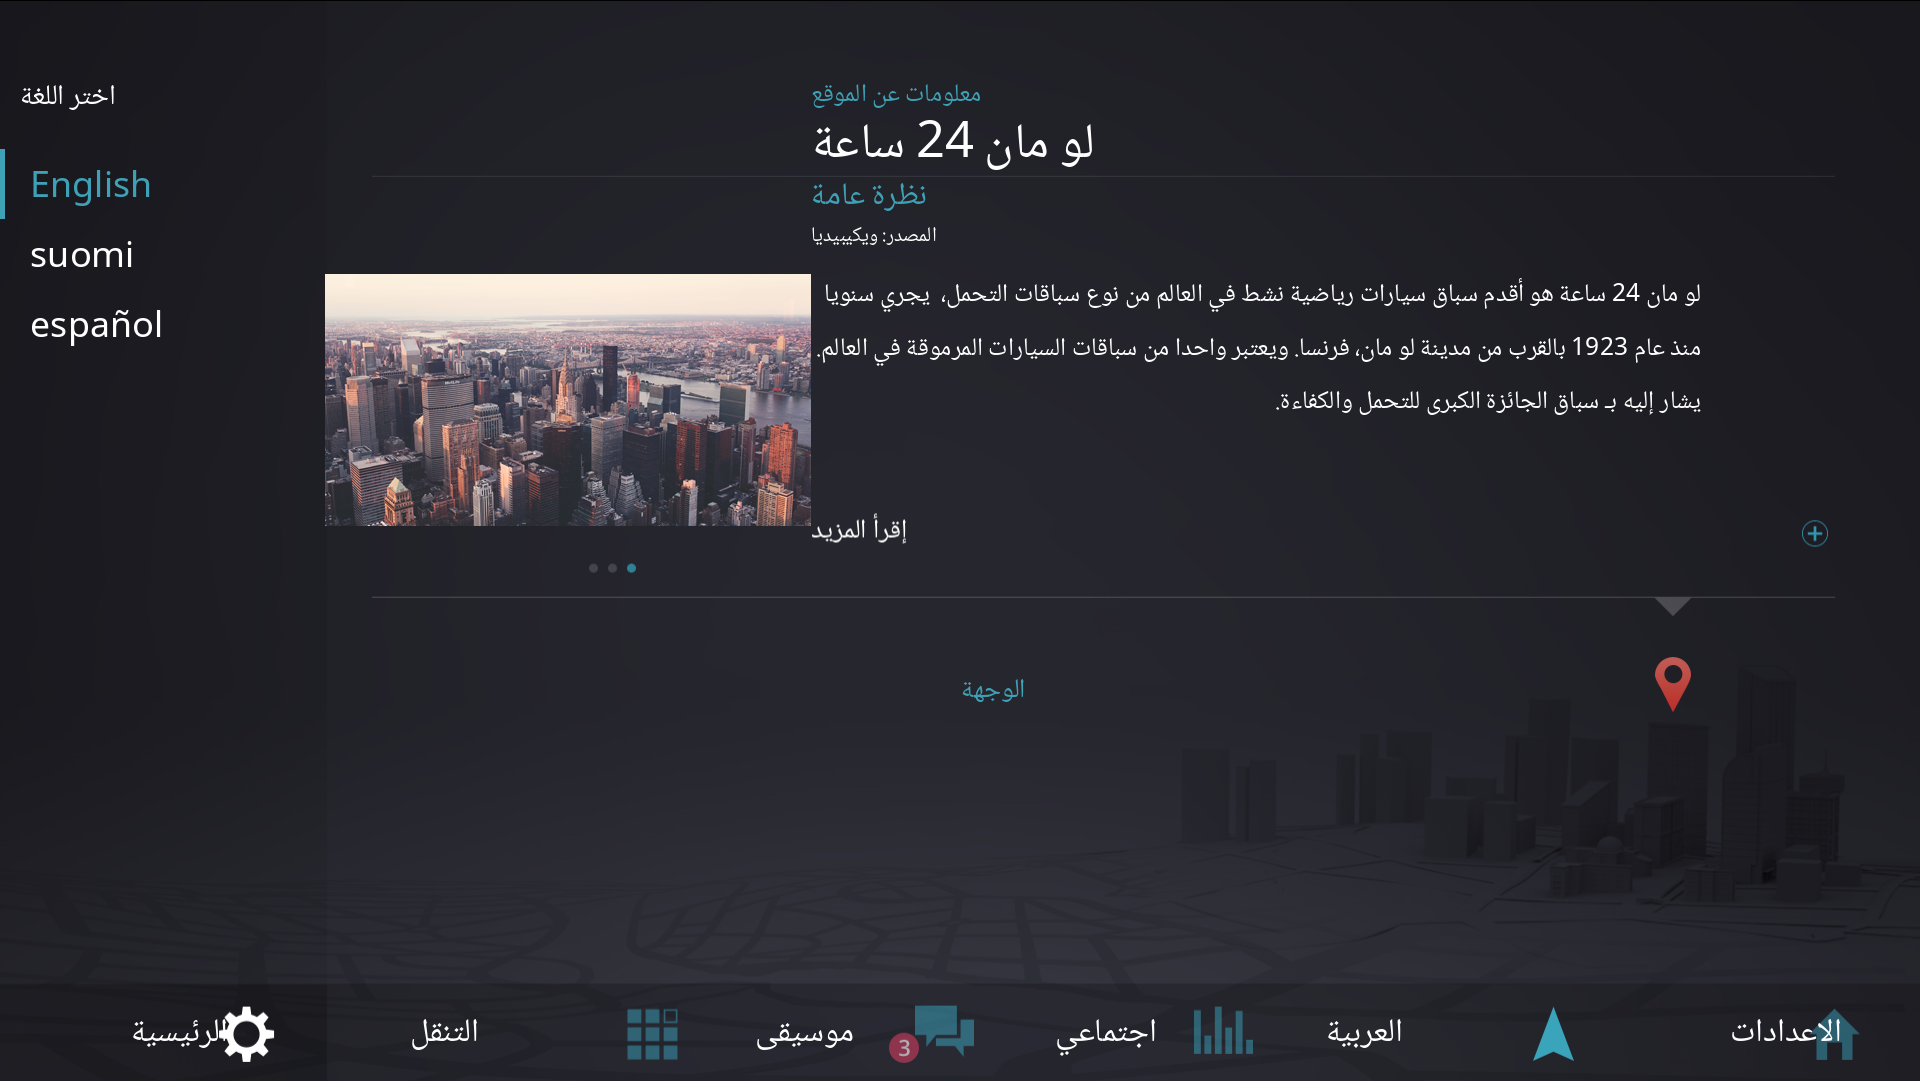
In the Screen set the Locale to ar-AR for Arabic or he-HE for Hebrew.
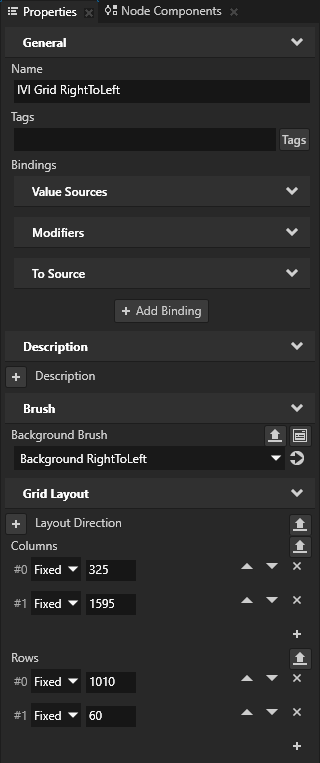
In the Prefabs select the IVI Grid RightToLeft and in the Properties in the Columns property reverse the order of the column sizes.
Here you change the size of the columns which contain all the elements in the project to reverse the layout of the application user interface.
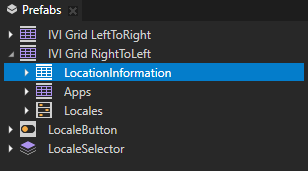
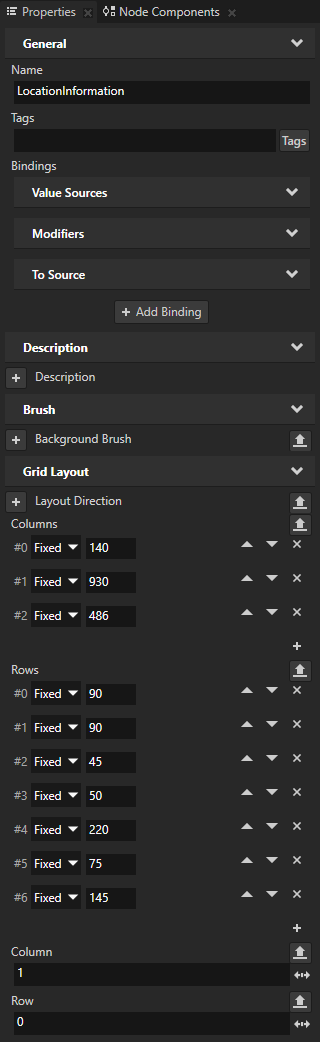
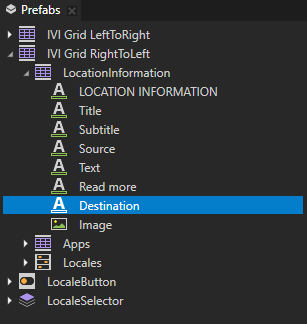
In the Prefabs > IVI Grid RightToLeft select the LocationInformation node and in the Properties set:
Column to 1
Row to 0
Here you position the nodes in the LocationInformation from the left to the right side of the application user interface.
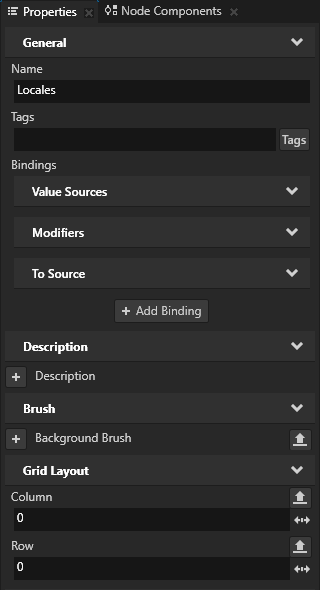
In the Prefabs > IVI Grid RightToLeft select the Locales node and in the Properties set the Column property to 0.
Here you position the Locales node, which contains the locale buttons for changing locales, to the left side of the user interface.

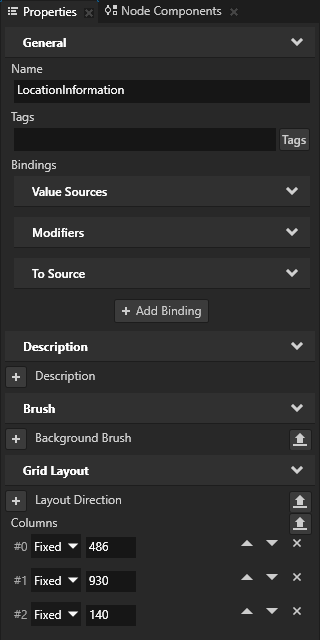
In the Prefabs > IVI Grid RightToLeft select the LocationInformation node and in the Properties reverse the order of the column sizes to position the text block nodes and image in the LocationInformation to the right side of the application user interface:
#0 to 486
#1 to 930
#2 to 140
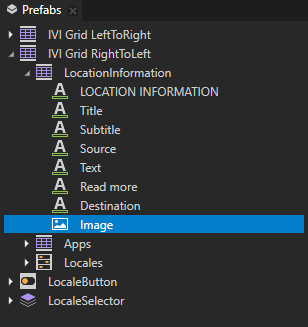
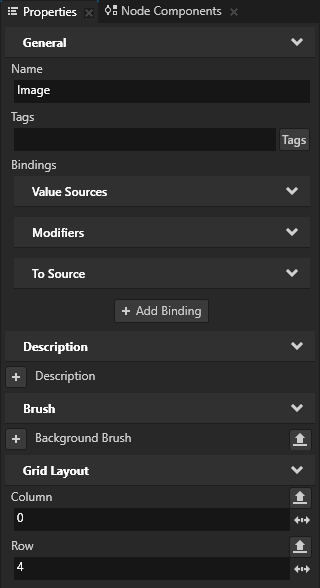
In the Prefabs > IVI Grid RightToLeft > LocationInformation select the Image node and in the Properties set the Column to 0.
Here you move the image to the leftmost column in the LocationInformation grid layout.
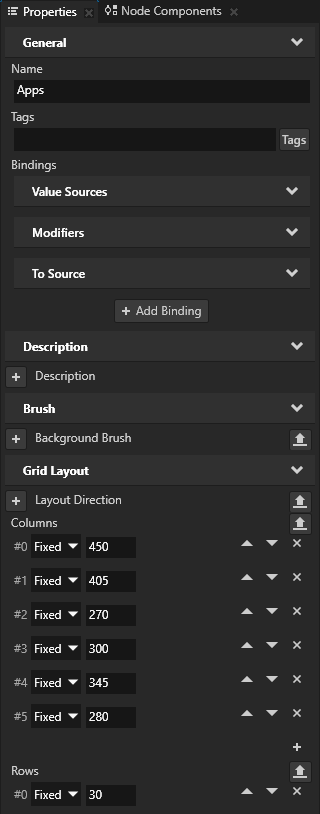
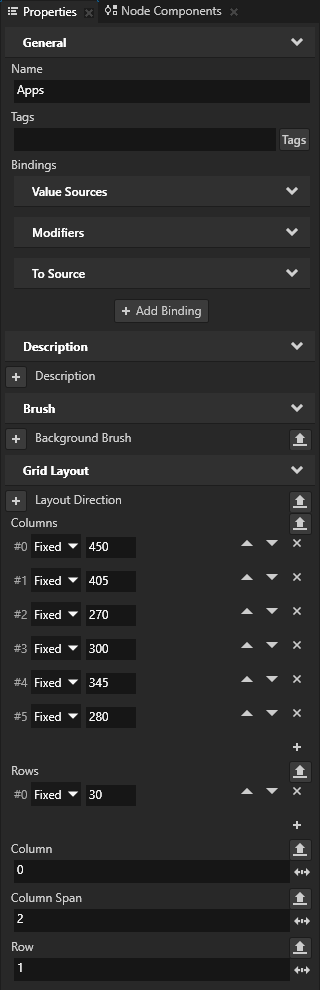
In the Prefabs > IVI Grid RightToLeft select the Apps node and in the Properties in the Columns property reverse the order of the column sizes to position the Text Block 2D nodes in the Apps Grid Layout node:
#0 to 450
#1 to 405
#2 to 270
#3 to 300
#4 to 345
#5 to 280
In the Prefabs > IVI Grid RightToLeft select the Apps node, in the Properties add the Column Span property, and set it to 2.
The Column Span property sets how many columns a cell in a grid layout spans. When you set the Column Span property of the Apps grid layout node to 2, it spans across all the columns of the IVI Grid RightToLeft node.
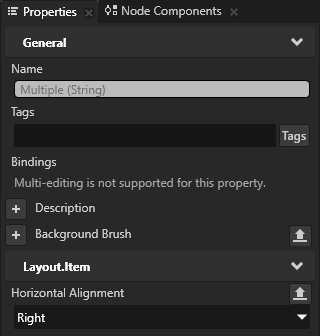
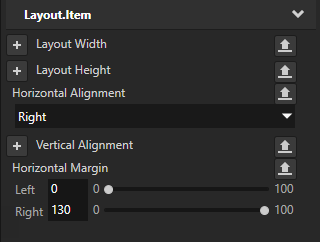
In the Prefabs > IVI Grid RightToLeft select the LocationInformation, Apps, Locales nodes, and all nodes inside them except for the LocaleSelector node, in the Properties add the Horizontal Alignment property, and set it to Right.
You need to add the Horizontal Alignment property because the default value of the property is Left.
Select the Apps node and in the Properties set the Horizontal Margin property Left property field to 0 and Right property field to 130.
You move the margin to the right side for the right-to-left locales.

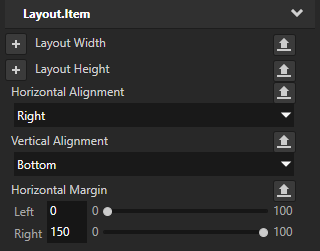
In the Prefabs > IVI Grid RightToLeft > LocationInformation select the Destination node and set the Horizontal Margin property Right property field to 150 and Left property field to 0.
Create a LocaleButton prefab for the right-to-left locales
In this section you create a LocaleButton prefab for the right-to-left locales to set the alignment of the locale names in the right-to-left locale buttons. You use the Horizontal Alignment property in the prefab to position the locale buttons for the Arabic and Hebrew locales, and use the original prefab for the left-to-right locales.
In the Prefabs select the LocaleButton prefab, press Ctrl D to duplicate it, name the new prefab LocaleButton RightToLeft, and rename the original prefab to LocaleButton LeftToRight.
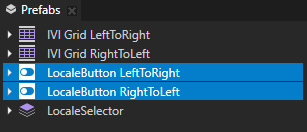
Select the LocaleButton RightToLeft > Text Block 2D and SelectionBar nodes and in the Properties add the Horizontal Alignment property and set it to Right.

Localize the prefabs for the left-to-right and right-to-left locales
In this section you add the Prefab View 2D node IVI Grid as a resource to the localization table, and set which prefab each locale uses.
To localize the prefabs for the left-to-right and right-to-left locales:
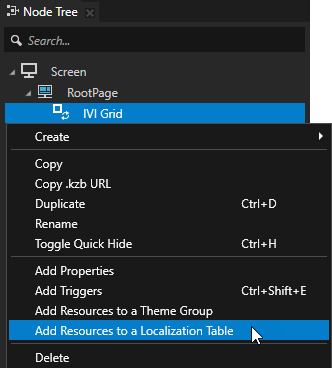
In the Node Tree > RootPage right-click the IVI Grid node, and select Add Resources to a Localization Table to add that node to the localization table.
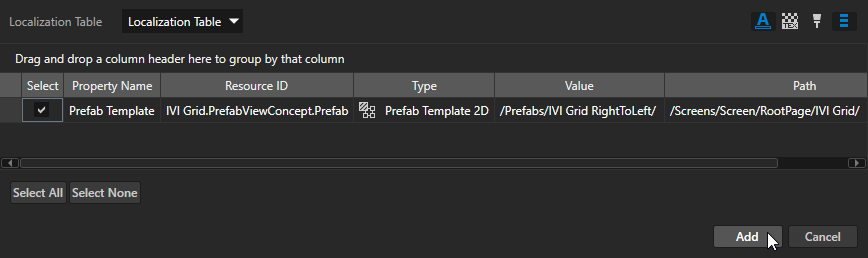
In the Localization Table select
 to show the resources in the selected node, select the Prefab Template and click Add.
Kanzi creates a Resource ID from the IVI Grid node, and sets the Prefab Template property of that node to use that Resource ID.
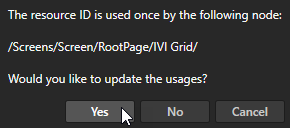
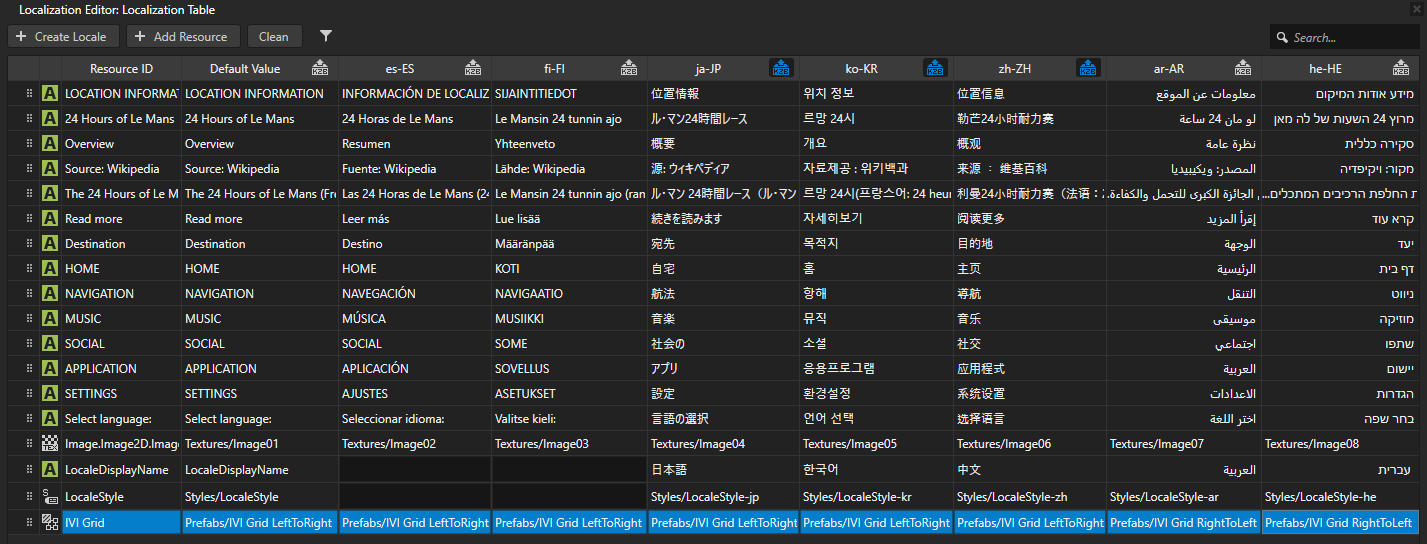
In the Library > Localization double-click the Localization Table (Main) localization table to open the table in the Localization Editor, in the Localization Editor rename the IVI Grid.PrefabViewConcept.Prefab Resource ID to IVI Grid, and click Yes when Kanzi prompts if you want to update the usages of the Resource ID.
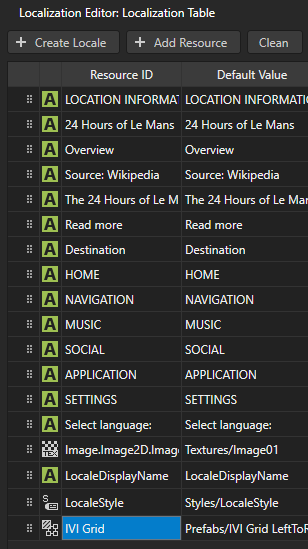
In the Localization Editor in the column for each locale select the prefab you want to use for that locale. Make sure the Default Value for the prefab is set to Prefabs/IVI Grid LeftToRight.
Kanzi uses the prefab resources when you instantiate the layouts for the left-to-right and right-to-left locales.
Export the kzb files
To export the kzb files:
In the Node Tree select the Screen node and in the Properties set the Locale property to Invariant Language (Invariant Country) ().
This way you set the locale to the default locale.
When you build the application, the default language is set to English, and the correct layout is loaded.
In the Library > Localization double-click the Localization Table (Main) localization table and click
 next to the locale name of the Arabic and Hebrew locales.
This way you mark the locales for which you want to create a locale pack kzb file that contains only the resources used by that locale. Kanzi Studio does not export to the main kzb file the resources of locales marked in the localization table as locale packs.

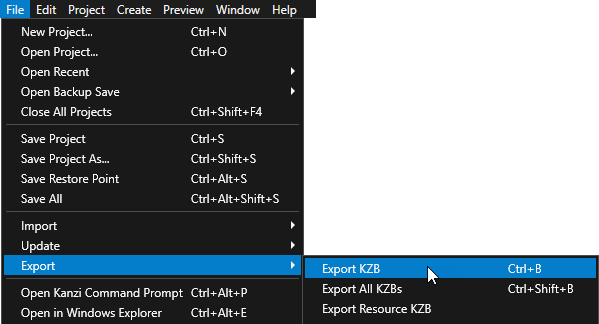
In Kanzi Studio select File > Export > Export KZB. This command:
Creates one kzb file for each locale that you marked in the localization table as a locale pack. When Kanzi Studio exports locale packs it names the kzb files after the locale whose resources they contain. Each locale pack file contains only the resources used by that locale.
Creates the main kzb file that contains the entire Kanzi Studio project, except the resources of locales that you mark as locale packs in the localization table.
Stores the locale pack kzb files in the
<ProjectName>/Application/bin/Locale_packs, or theLocale_packsdirectory in the location that you specify in the Project > Properties in the Binary Export Directory property.