Using render passes
Use render passes to define the rendering of 3D content in your Kanzi application.
For example, in a render pass you can define which Camera that render pass uses for rendering, what nodes it renders, what material it uses to render the content, and settings for the color and depth buffer use.
To achieve a specific rendering result, create a hierarchy of render passes which together form a render pass prefab. In a Viewport 2D node the Render Pass Prefab property sets which render passes Kanzi uses to render the 3D content of that node. See Creating and using render passes.
You can reuse render passes in your Kanzi Studio project in these ways:
Customize render passes in each Viewport 2D node where you use them. See Customizing instances of render passes.
Reuse render passes in another render pass tree. See Reusing render passes.
Import render passes that you created in another Kanzi Studio project. See Reusing render passes by merging.
Learn how to use render passes by completing these tutorials:
Apply a stencil to 3D content and render only the area defined by the stencil. See Tutorial: Apply a stencil to 3D content.
Create reflections of 3D content. See Tutorial: Create reflections.
Distribute the rendering workload across several frames. See Tutorial: Progressive rendering.
Apply a bloom effect on 3D content. See Tutorial: Create a bloom effect.
Creating and using render passes
To create and use render passes:
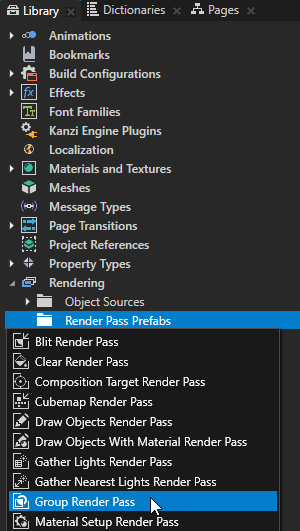
In the Library > Rendering > Render Pass Prefabs press Alt and right-click and select the render pass that you want to use as the root render pass of your render pass tree. See Render passes.
In the Library > Rendering > Render Pass Prefabs each top-level render pass is the root of a render pass prefab.
In a render pass prefab you can create a hierarchy of render passes to achieve a specific rendering result.
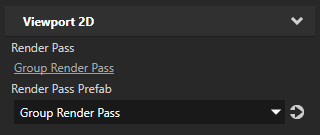
For example, create a Group Render Pass.
Group Render Pass allows you to collect render passes so that you can refer to a single render pass prefab in your Viewport 2D node.
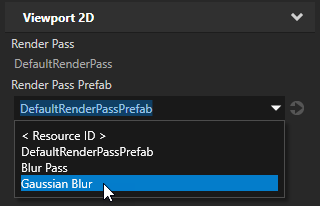
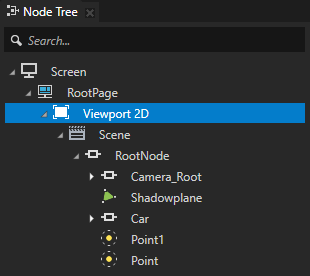
In the Node Tree select the Viewport 2D node that contains the 3D content that you want to render and in the Properties set the Render Pass Prefab property to the render pass that you created.
When you set a Viewport 2D node to use a specific render pass, Kanzi instantiates in the Viewport 2D node the render pass tree defined by that render pass. Kanzi now renders the content of the Viewport 2D node using the render pass that you created.
In the render pass that you created, create the hierarchy of render passes that you need to render your 3D content.
For example:
For the most common rendering results, use the Kanzi Studio render pass presets. See Using Kanzi Studio render pass presets.
Create a night vision mode or an infinity mirror. See Setting materials for rendering.
Apply post-processing to your 3D content. See Creating a post-processing effect.
Apply a stencil to 3D content so that Kanzi renders only a selected area of the content. See Applying a stencil to 3D content.
Reduce aliasing in your content. See Using multisampling.
Customizing instances of render passes
A render pass can contain a hierarchy of render passes, each with their own properties. When you edit the render passes, you change how those render passes render content in all Viewport 2D nodes that use them. You can customize individual instances of a render passes to have individual values by overriding the values in the default render pass. For example, when you create a hierarchy of render passes that blits a composition target to the screen, you can blit the content using a different material in different instances of the render passes.
To customize instances of render passes:
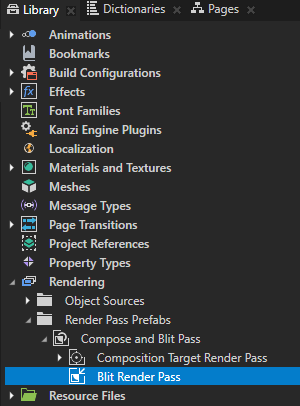
In the Library > Rendering > Render Pass Prefabs select the render pass that you want to customize.
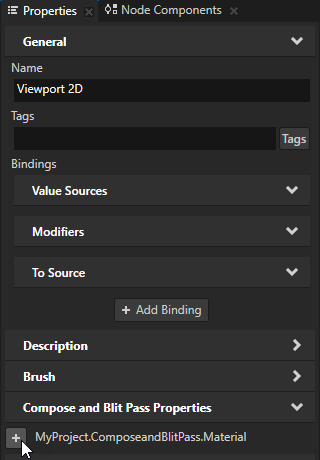
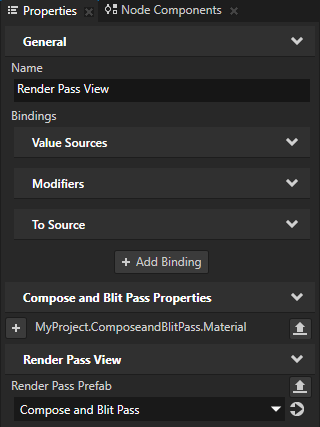
For example, to customize the material that you use to blit a composition target to the screen, in a Compose and Blit Pass render pass prefab, which renders content to a composition target and blits the result to the screen, select the Blit Render Pass. See Rendering content to composition targets.
In the Properties, next to the property that you want to customize, click
 .
.Kanzi Studio creates from that property a custom property, adds it to the root of the render pass prefab, and creates a
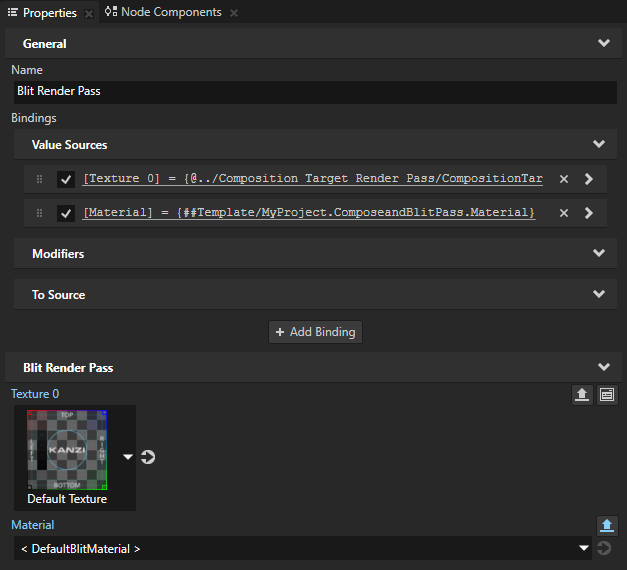
##Templatebinding to the property in the render pass prefab root. See Prefab root bindings.For example, to customize the material which you use to blit the composition target to the screen, click
next to the Material property. Kanzi Studio adds the Material property to the Compose and Blit Pass render pass prefab and creates in the Blit Render Pass a ##Templatebinding to the Material property in that Compose and Blit Pass.
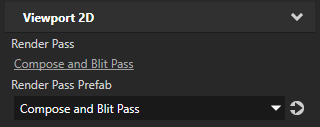
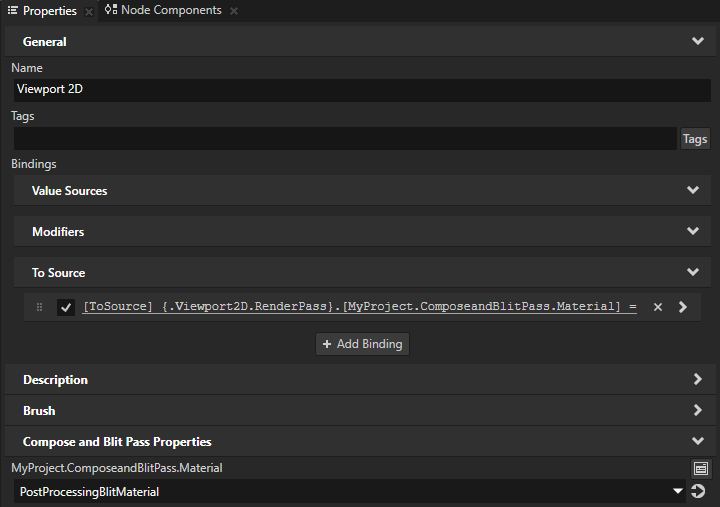
In the Node Tree or Prefabs select a Viewport 2D node and in the Properties set the Render Pass Prefab property to the render pass prefab that you customized.
When you set a Viewport 2D node or prefab to use a render pass prefab, Kanzi Studio shows in that Viewport 2D node the properties of that render pass prefab as frequently used properties.
In the Properties click
 next to the property that you customized and set the value of the property.
Kanzi Studio adds to the Viewport 2D node a To Source binding which pushes the value of that property to the render pass prefab instance made available through the
Viewport2D::RenderPassPropertyproperty of the Viewport 2D node.You can set multiple Viewport 2D nodes to use the same render pass prefab and in each Viewport 2D node you can add and set the render pass prefab property to have different values.
Reusing render passes
You can reuse render passes in another render pass tree. In each instance of a render pass prefab you can set the property values of render passes in that render pass prefab. For example, reuse multiple instances of a render pass prefab to create render pass chains to achieve post-processing effects. See Tutorial: Create a bloom effect.
To reuse render passes:
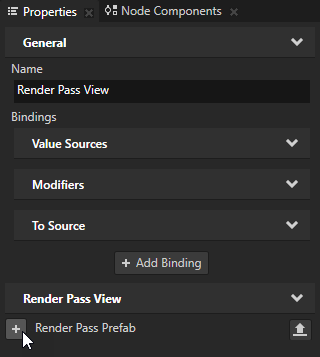
In the Library > Rendering > Render Pass Prefabs press Alt and right-click the render pass where you want to instantiate a render pass prefab and select Render Pass View.
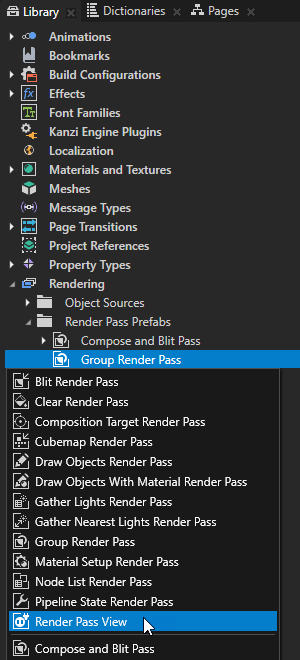
In the Properties add the Render Pass Prefab property and set it to the render pass prefab that you want to instantiate.
Kanzi Studio shows in the Render Pass View all properties of the render pass prefab that the Render Pass View instantiates. See Customizing instances of render passes.
Tip
You can instantiate a render pass prefab by dragging it to a render pass or another render pass prefab.
Reusing render passes by merging
You can reuse render passes from another Kanzi Studio project by merging the render passes to the project in which you want to use them.
To reuse render passes by merging:
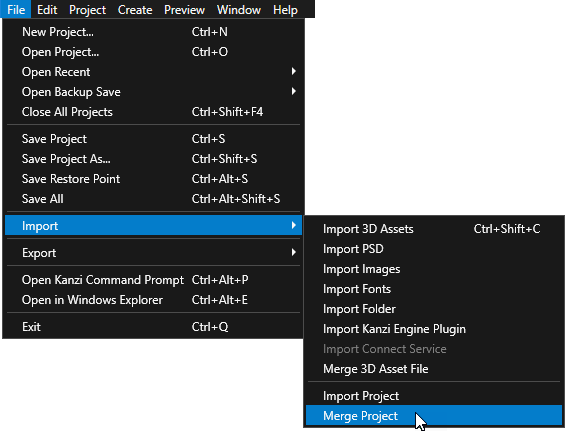
In the project where you want to use render passes from another project, select File > Import > Merge Project, select the Kanzi Studio project which contains the render passes that you want to merge, and click Open.
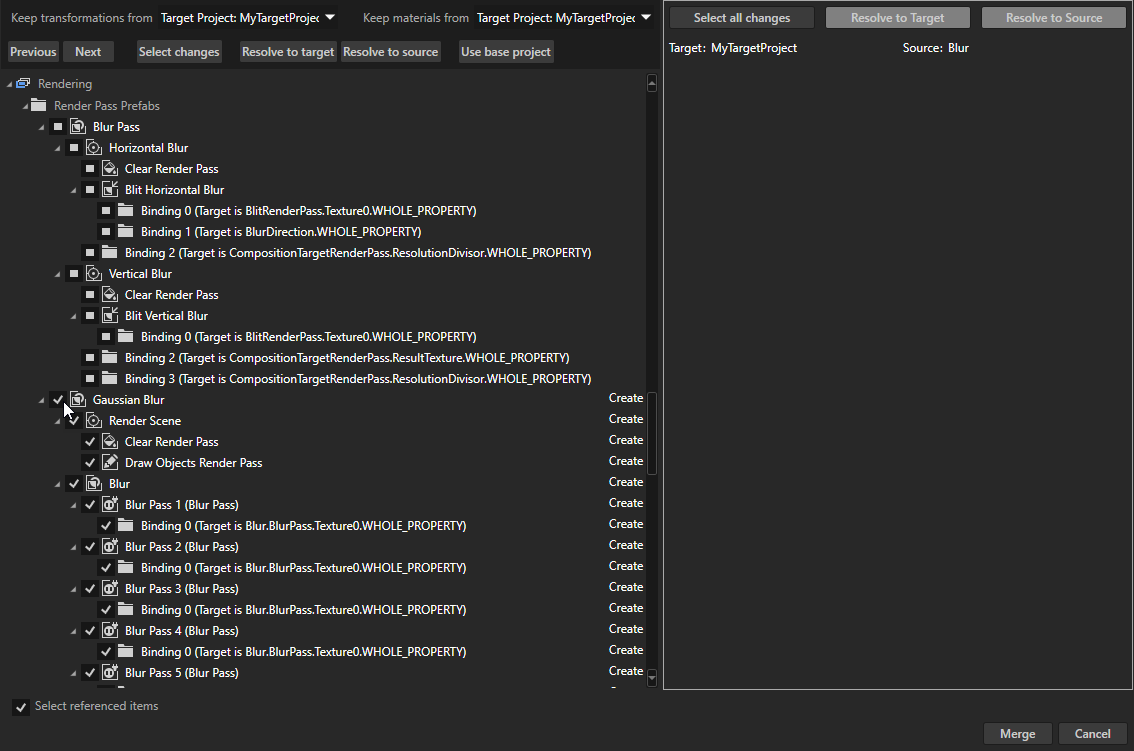
In the Project Merge dialog:
At the bottom left of the dialog enable Select referenced items.
You set Kanzi Studio to automatically select all items to which the render pass prefab, which you want to merge, refers.
In Rendering > Render Pass Prefabs select the render pass prefab which contains the hierarchy of render passes that you want to use.
Click Merge.
In the Node Tree select the Viewport 2D node, which contains the 3D content you want to render using the render passes that you merged, and in the Properties set the Render Pass Prefab property to the render pass prefab that you merged to your project.