Step 2 - Set the appearance of the list items
In this step you use a List Box Item Container prefab to set the appearance of the contact items in the ContactsList.
To set the appearance of the list items:
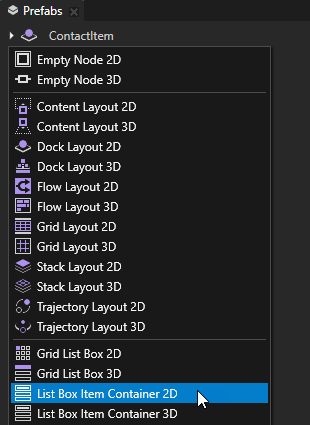
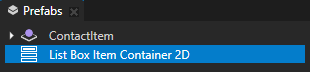
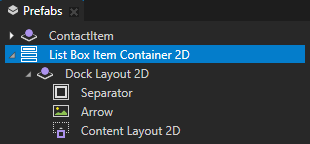
In the Prefabs press Alt and right-click and create a List Box Item Container 2D prefab.
Use a List Box Item Container prefab to define the appearance and behavior common to all items in a List Box node. Use List Box Item Container 2D with Grid List Box 2D nodes. List Box Item Container must always be a prefab.
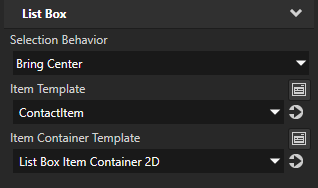
In the Node Tree select the ContactsList node, in the Properties add the List Box > Item Container Template property, and set it to the List Box Item Container 2D prefab that you created in the previous step.
The Item Container Template property allows you to share functionality between the items in a List Box node. When you set the Item Container Template property, each item in the list box inherits the functionality from the List Box Item Container prefab.

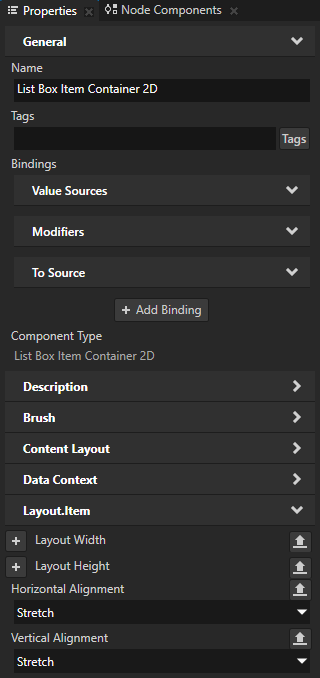
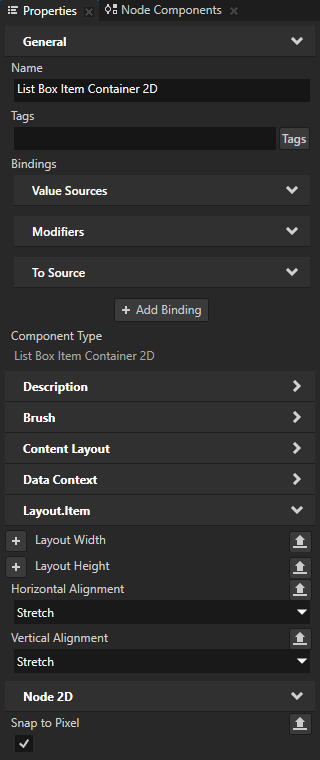
In the Prefabs select the List Box Item Container 2D prefab, in the Properties add the Horizontal Alignment and Vertical Alignment properties, and set them to Stretch.
This way you set the size of the List Box Item Container 2D prefab to match the size of a cell in the ContactsList node.
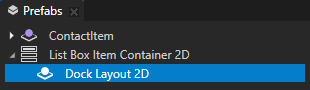
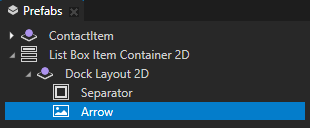
In the Prefabs in the List Box Item Container 2D prefab create a Dock Layout 2D node.
You use a Dock Layout node to place nodes relative to each other along the sides of the Dock Layout node.
A Dock Layout node arranges its items in a subtractive way: after positioning the first node, the Dock Layout node uses the remaining space to position the next node, and so on. When arranging its child nodes, a Dock Layout node uses its entire size.
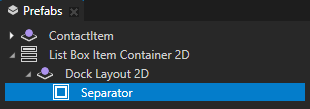
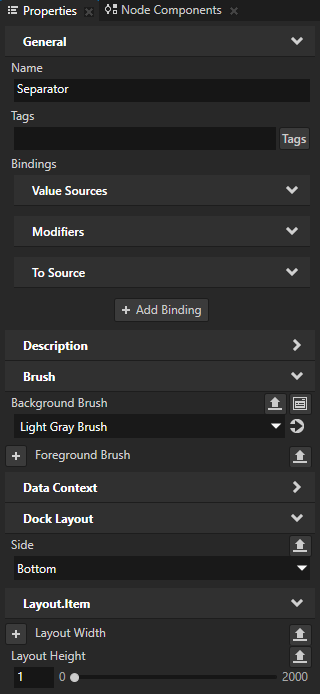
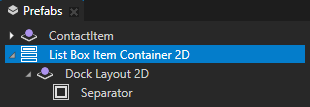
In the Prefabs in the Dock Layout 2D node create an Empty Node 2D node, name it Separator, and in the Properties add and set:
Background Brush to Light Gray Brush
Layout Height to 1
Dock Layout > Side to Bottom
This way you place the Separator node to the bottom of the Dock Layout 2D node.
This way you create a horizontal divider between the contact items in the ContactsList node.
In the Prefabs select the List Box Item Container 2D prefab and in the Properties add and enable the Node 2D > Snap to Pixel property.
This way you keep the content of the list items pixel-perfect when their position changes. For example, Kanzi keeps rendering the Separator node as a sharp line when the user scrolls the contacts list.
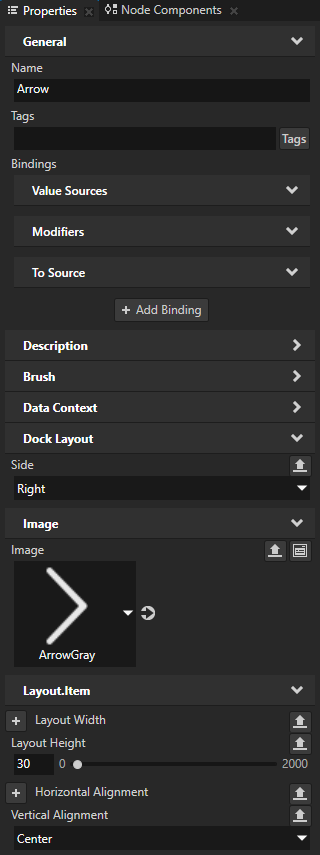
In the Prefabs in the Dock Layout 2D node create an Image node, name it Arrow, and in the Properties add and set:
Image to ArrowGray
Layout Height to 30
Vertical Alignment to Center
Dock Layout > Side to Right
This way you place the Arrow node to the right side of the Dock Layout 2D node. The Dock Layout 2D node positions the Arrow node in the space that remains after positioning the Separator node.
This way you create an image of a selection arrow in each item of the ContactsList node. You use the Arrow node later in this tutorial to show the selected contact.
There is no content on the left side of the Arrow node yet, so the Dock Layout 2D node sets the Arrow node to occupy the entire width of the list item. The ContactPhoto node covers the Arrow node, which is why do not yet see the Arrow node in the Preview.
Set the position of the list item in the List Box Item Container 2D prefab:
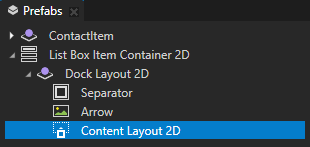
In the Prefabs in the Dock Layout 2D node create a Content Layout 2D node.
You use this Content Layout 2D node as the root node of the list item.
The Dock Layout 2D node positions the Content Layout 2D node in the space that remains after positioning the Arrow node.
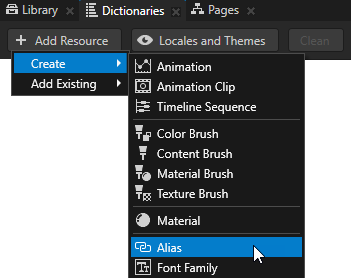
In the Prefabs select the List Box Item Container prefab, in the Dictionaries window click + Add Resource, select Create > Alias, and name the alias $layout.
This way you create a $layout alias in the resource dictionary of the List Box Item Container 2D prefab. Kanzi uses the special alias name $layout to tell a List Box Item Container which Content Layout node to use as the root node of the list item.
Set the $layout alias to point to the List Box Item Container > Dock Layout 2D > Content Layout 2D node.
This way you set Kanzi to place the ContactItem prefab in the Content Layout 2D node.

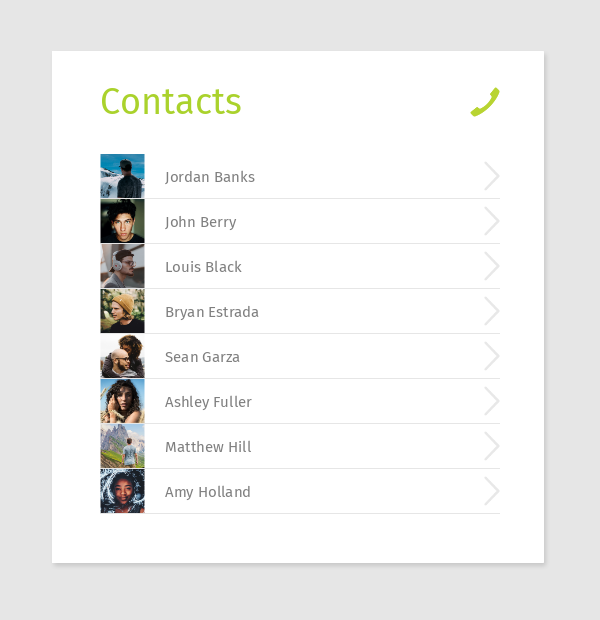
Each item in the ContactsList now contains the ContactItem prefab, a light gray arrow at the right, and a separator line at the bottom.
See also
To learn more about the List Box Item Container prefabs, see Using the List Box Item Container prefabs.
To learn more about the Dock Layout nodes, see Using the Dock Layout nodes.
To learn more about the Content Layout nodes, see Using the Content Layout nodes.
To learn more about aliases in Kanzi, see Using aliases.