Using state managers
Use states to define the look and behavior of your Kanzi application in different states. For example, you can use states to:
Set the size of items in a layout to emphasize when an item is selected.
Show or hide parts of a user interface when the application is in a certain state.
Enable or disable controls, such as buttons, in your application based on the state of the application.
Animate your application.
Properties set in states override the default, inherited, and local property values. See Property precedence.
You can define the changes between states in these ways:
Set a controller property for a state group and a value for that property for each state. These can be implicit properties, such as the Is Down property of the Button nodes. The state changes when the property changes, whether as part of the inherent logic of the node or a specified Set Property action or animation. See Using a controller property to set states.
Using the State Manager actions Go to State, Next State, and Previous State. If you use the State Manager actions and a controller property, note that when the controller property changes, it overrides the previously set state. See Using state manager actions to set states.
Learn how to use state managers by completing one of these tutorials:
Create a toggle button. See Tutorial: Creating a toggle button.
Create a button and control its state with the Is Down property. See Tutorial: Creating a button.
Create a turn indicator and control it with a custom property. See Tutorial: Create cluster indicators.
Creating a state manager
Use state managers in your Kanzi application to control the states of nodes.
For example, a state manager can define the states of a toggle button. The state manager sets how the toggle button looks when it is toggled on and off.
To create a state manager:
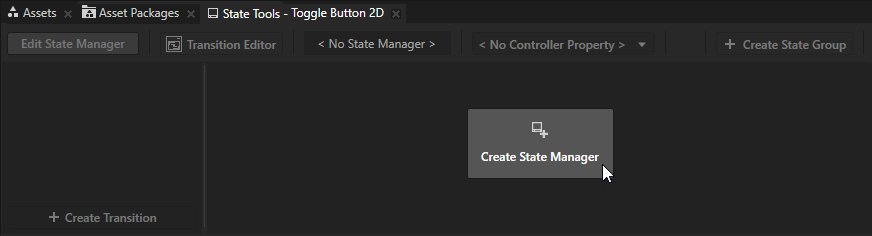
In the Node Tree select the Toggle Button 2D node and in the State Tools click Create State Manager.
You can find the State Tools window below the Preview window.
Kanzi Studio creates a new state manager and assigns it to the Toggle Button 2D node.
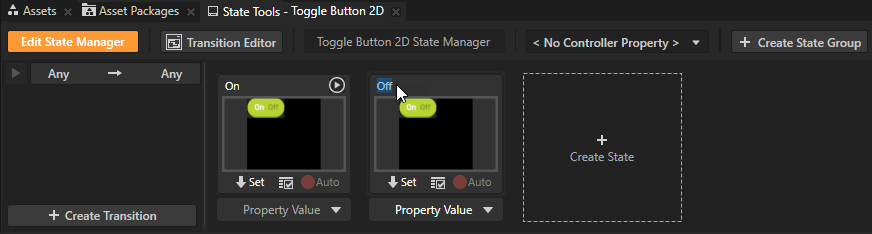
In the State Tools click Create State twice to create two states, double-click the name of each state, and rename the states.
For example, name one state On and the other Off.
The On state defines the state of your application when the toggle button is switched on, the Off state when the toggle button is switched off.
To delete a state, right-click the state and select Delete.
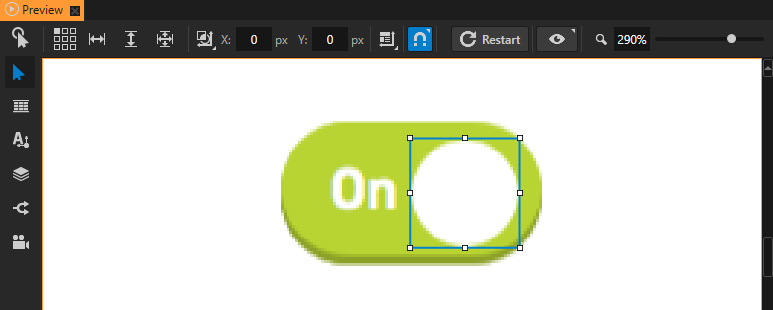
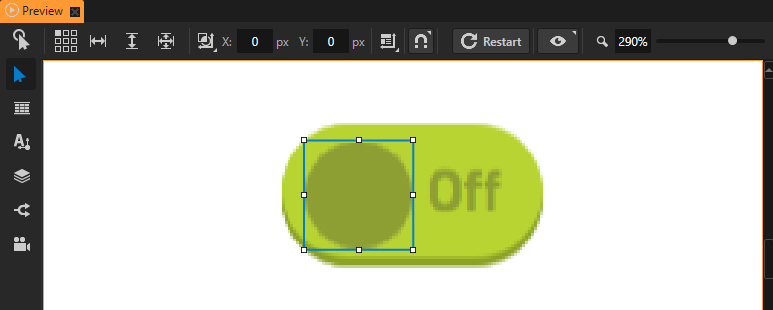
Use the State Tools to define in which position the indicator of a toggle button is in the on and off states:
Position the toggle button indicator and in the State Tools click
 below the On state to save the current position of the indicator to that state.
For example, in the Preview use the Node tool to position the indicator.
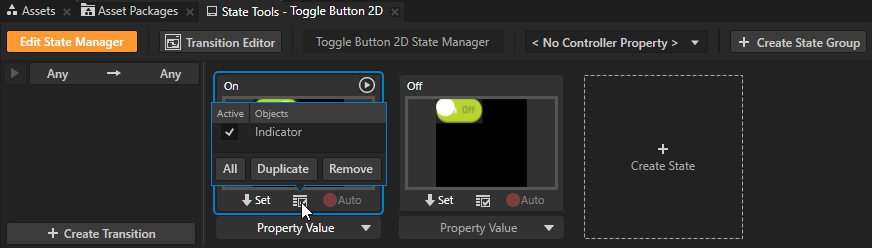
Repeat the previous step for the Off state and in the State Tools save the current position of the toggle button indicator to that state.
Using a controller property to set states
In a state manager the value of the property that you select as the Controller Property defines the conditions when each state in a state group is active.
Each state group in a state manager can use a different controller property.
You can also use a custom property type as the controller property of a state group. See Tutorial: Create cluster indicators.
To use a controller property:
Create a state manager and set a node to use that state manager. See Creating a state manager.
For example, create a state manager that sets the appearance of a toggle button in two states.
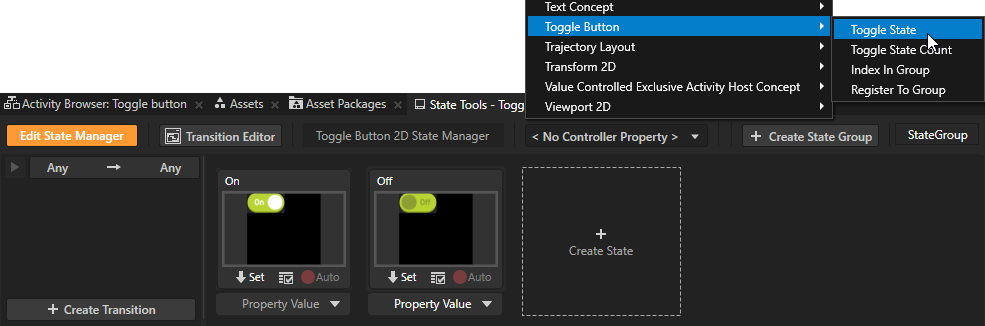
In the State Tools click the <No Controller Property> dropdown menu and select a property. To create a custom controller property, click the <No Controller Property> dropdown menu and select + Create Property Type.
For example, select the Toggle Button > Toggle State property. When you set the Toggle State as the controller property for the state manager that controls the states of a toggle button, the state manager transitions to a state based on the value of that property.
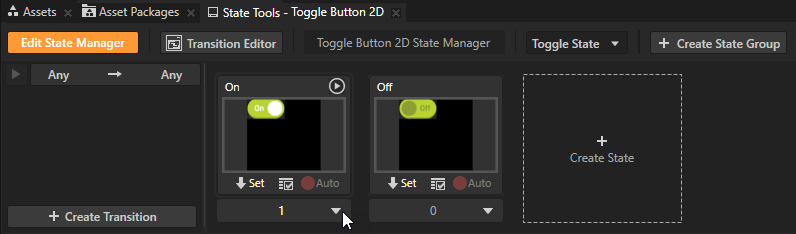
In the State Tools set the value of the controller property for each state.
For example:
For the On state set the value to 1.
For the Off state leave the value set to 0.
In the State Tools click Edit State Manager to deactivate the State Tools.
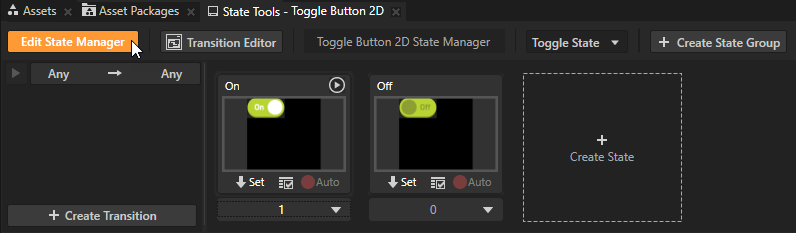
When you click the toggle button in the Preview you toggle between the On and Off states you defined in the state manager that you created in the Toggle Button 2D node.
Using state manager actions to set states
Use the State Manager actions to set your Kanzi application to enter different states.
To set the state in a state manager, you can use these actions:
Go to State action sets a state manager to the state that you define in the action.
Next State and Previous State actions set a state manager to the next and previous state in the state group that you define in the action. See Setting a state manager to the next or previous state.
Setting a state manager to a specific state
Use the Go to State action to set a state manager to a specific state.
To set a state manager to a specific state:
Create the content the appearance or behavior of which you want to define in different states.
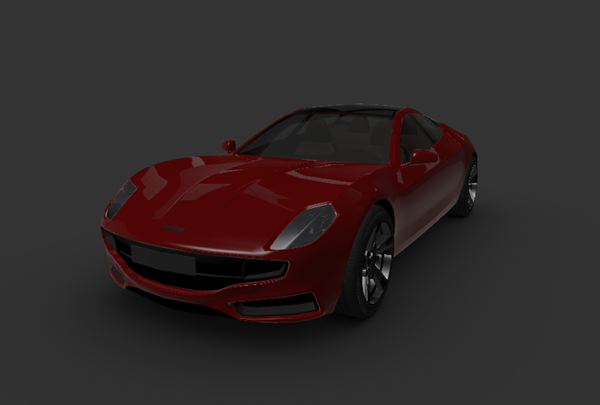
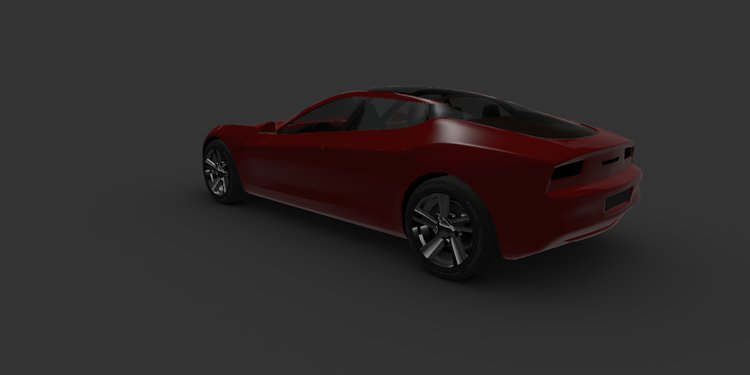
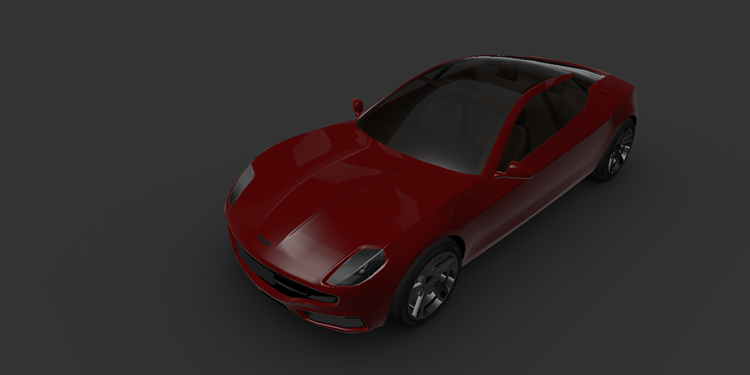
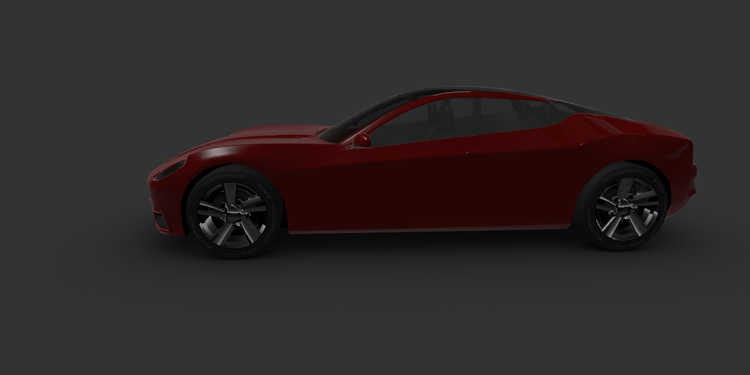
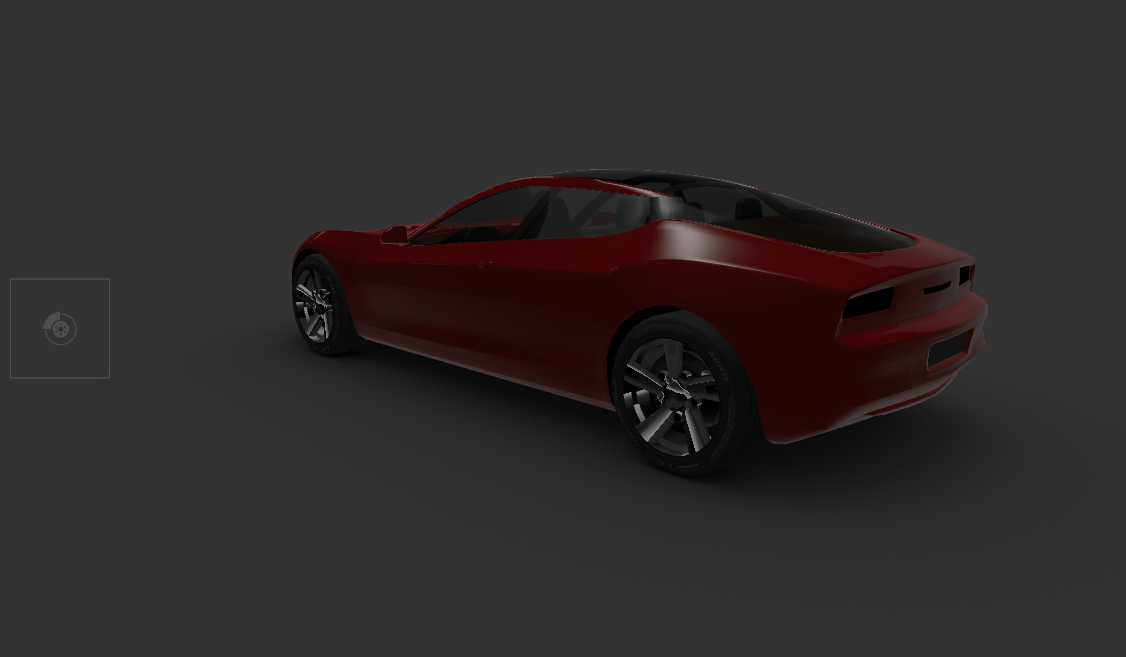
For example, use the Car from the Factory Content.
See Using the Factory Content assets.
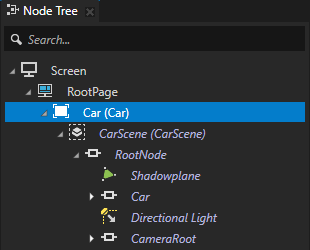
Create a state manager and the states where you set the appearance and behavior of the content that you created in the previous step. See Creating a state manager.
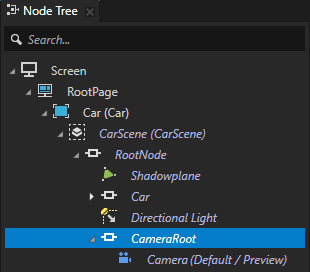
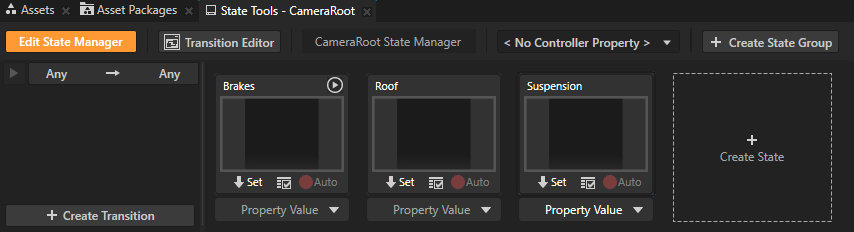
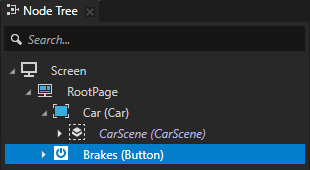
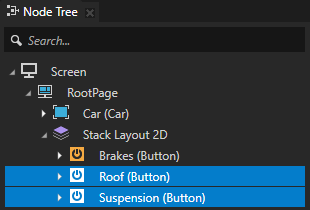
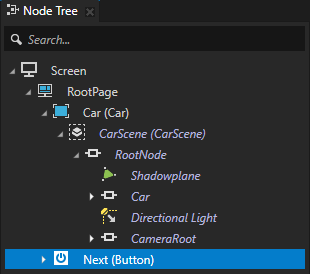
For example, create for the CameraRoot node a state manager with three states named Brakes, Roof, and Suspension, that each shows the car from a different angle. See Using the Camera node.
Set the state manager to a specific state:
Create or select a node that you want to use to set your application to a specific state in a state manager, and add to that node the trigger that you want to use to change the state.
For example, create a Button node and add to it a Button: Click trigger. See Using triggers.
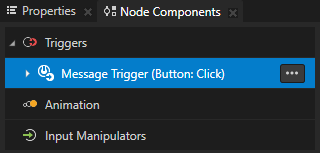
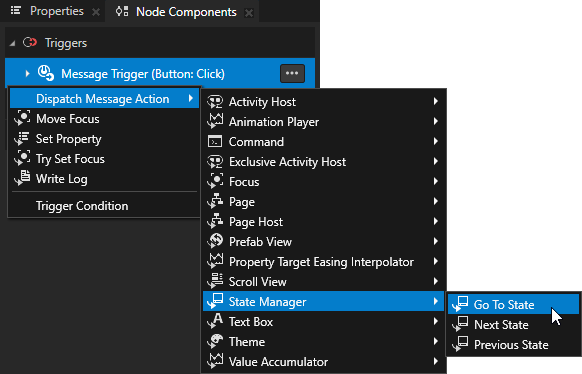
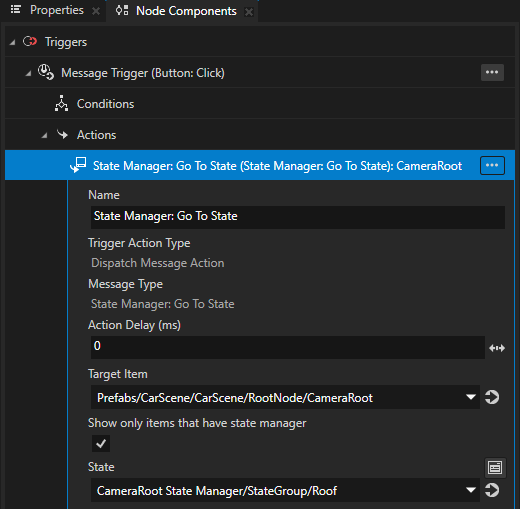
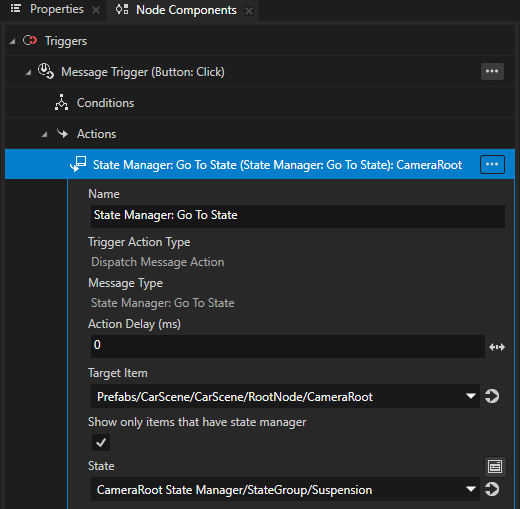
In the Node Components > Triggers press Alt and right-click the trigger, which you want to use to set the state manager to a specific state, select Dispatch Message Action > State Manager > Go to State, and in the Go to State action set:
Target Item to the node that uses the state manager to a state of which you want to transition
State to the state to which you want the node to transition

Repeat the previous step for all the states that you created earlier in this procedure.
For example, create a Button node for each state, and add to the Button: Click trigger of each button the Go to State action.
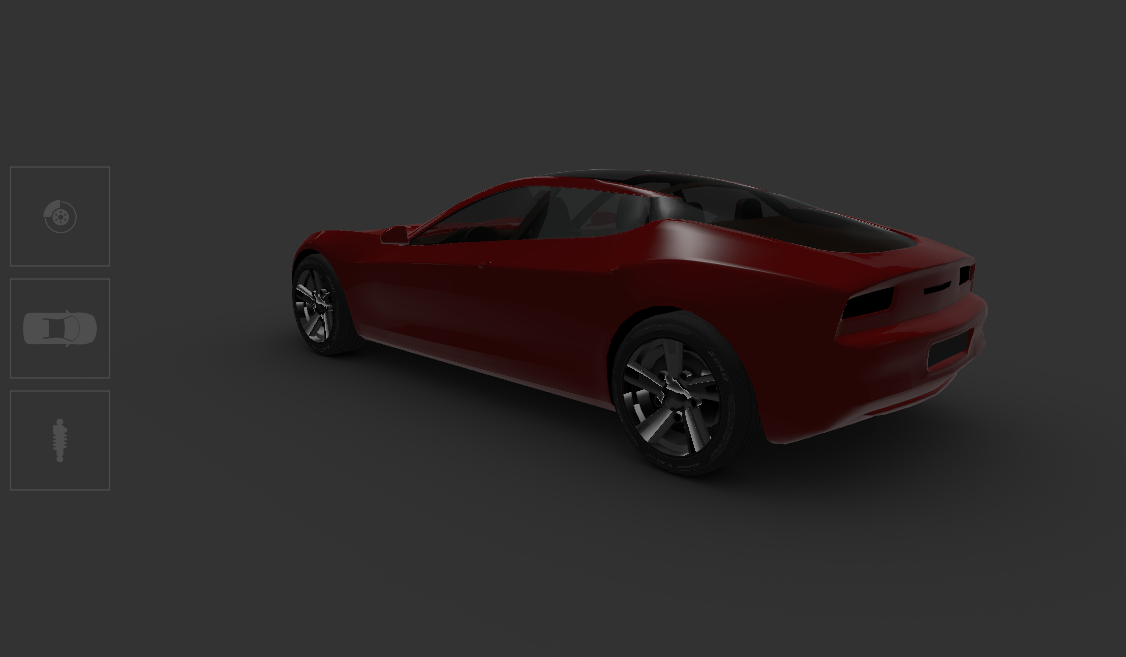
When you click one of the buttons that you created, you set off the trigger that executes the action which tells the state manager to go to the state which you set in the action.
Setting a state manager to the next or previous state
Use the Next State and Previous State actions to set a state manager to the next or previous state in a state group. See Using state groups.
To set a state manager to the next or previous state:
Create the content the appearance or behavior of which you want to define in different states.
For example, use the Car from the Factory Content.
See Using the Factory Content assets.
Create a state manager and the states where you set the appearance and behavior of the content that you created in the previous step. See Creating a state manager.
For example, create for the CameraRoot node a state manager with three states named Brakes, Roof, and Suspension, that each shows the car from a different angle. See Using the Camera node.
Create or select a node that you want to use to set your application to the next or previous state in a state manager, and add to that node the trigger that you want to use to change the state.
For example, create a Button node and add to it a Button: Click trigger. See Using triggers.
In the trigger that you want to use to change the state to the next or previous state, add and configure the Next State or Previous State action.
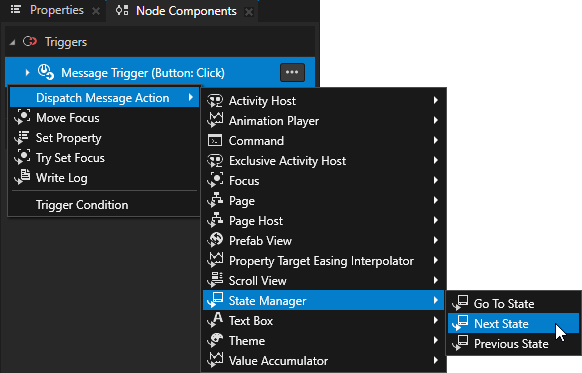
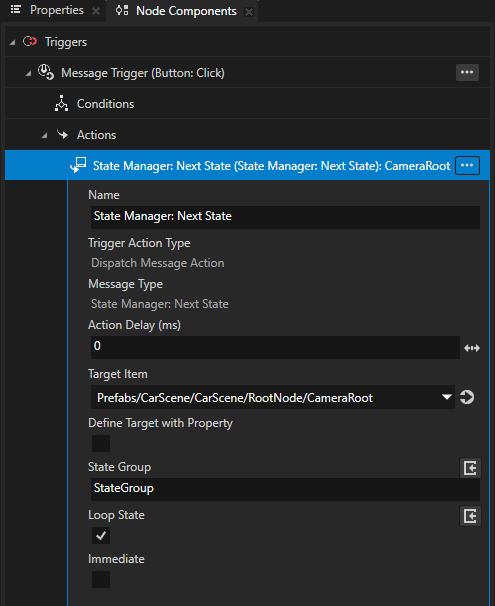
For example, in the Node Components > Triggers press Alt and right-click the Button: Click trigger, select Dispatch Message Action > State Manager > Next State, and in the Next State action set:
Target Item to the node with a state manager for which you want to change the state
State Group to the state group that contains the state to which you want to transition
(Optional) Loop State to enabled to make the state manager go back to the first state after it reaches the last state
(Optional) Immediate to disabled to set the state manager to use the animation you set in the state manager to transition between states. When you enable this property the state manager changes the state instantly, without playing a transition animation. See Using state transitions.
When you click the button, you set off the trigger that executes the action which tells the state manager to go to the state which you set in the action.
Reacting when a node enters or leaves a state
When a node transitions between states, Kanzi:
Unapplies the state that the node leaves and detaches the triggers of that state.
Sends the
LeftStateMessagemessage.Applies the state that the node enters and attaches the triggers of that state.
Sends the
EnteredStateMessagemessage.
To react when a node enters a state, you can use either the Entered State message trigger in the node or the On Attached trigger in the state that the node enters. To react when a node leaves a state, use the Left State message trigger in that node.
To react when a node enters or leaves a state:
In the Node Tree select the node in which you want to react to entering or leaving a state, in the Node Components > Triggers add either:
Entered State message trigger to react when the node enters a state
Left State message trigger to react when the node leaves a state
For example:
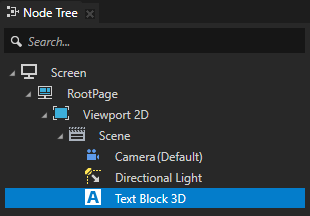
In the Node Tree select a Text Block 3D node which uses a state manager that has two states, State A and State B.
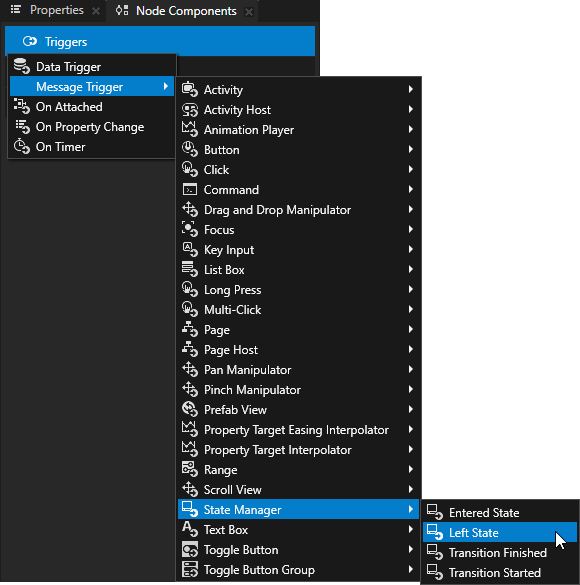
In the Node Components press Alt and right-click Triggers, and select Message Trigger > State Manager > Left State.
You use the Left State trigger to react when the Text Block 3D node leaves State A.
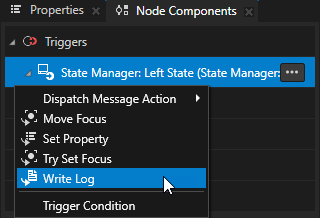
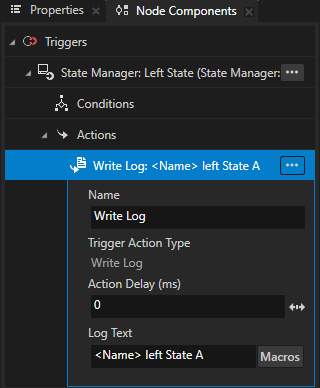
In the Node Components > Triggers press Alt and right-click the trigger that you added in the previous step, and select an action.
For example, select the Write Log action and set Log Text to the message that you want to write to the Log window when the trigger is set off. The Write Log action is useful when you want to verify that the node received the input.
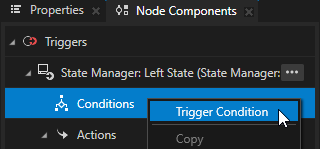
In the Node Components > Triggers in the trigger that you created in the first step, right-click Conditions, select Trigger Condition, and set the condition that you want to use for that trigger. See Creating a condition using a value from a message.
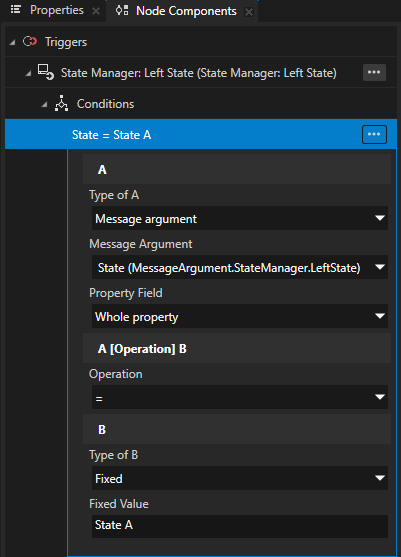
For example, for the Left State trigger in the trigger condition set:
A
Type of A to Message argument
Message Argument to State
Operation to =
B
Type of B to Fixed
Fixed Value to the name of the state to which you want the trigger to react
For example, set it to State A.
When the node leaves the state that you specified in the trigger condition, Kanzi prints to the Log window the message that you entered in the Write Log action.
To open the Log window, in the main menu select Window > Log.

Using state groups
State groups contain states, define controller properties, and transitions between states in a state group. Use state groups to smoothly control the states and transitions in your application. For example, a state manager for a button can contain three state groups: button pressed, button released, and hover over button. In each state group you create states, which use state objects to define how the button behaves in each state.
To use state groups:
In the State Tools click + Create State Group to create a state group and enter the name for the state group you created.
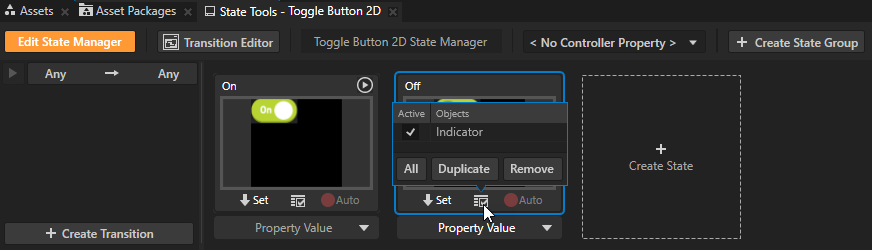
In the State Tools bring the mouse pointer over a state group to set the properties that this state group records. Set different state groups to record the changes in different property values. Use the All to select or deselect all properties.
To duplicate or remove a state group, hover over the state group and select Duplicate or Remove.

Using state managers in the API
For details, see the StateManager class in the Kanzi Engine API reference.