Step 3 - Fine-tune content rendered by the Progressive Rendering Viewport 2D node
In this step you first apply anti-aliasing to the car rendered by the Progressive Rendering Viewport 2D node and then animate the rotation of that car.
Apply anti-aliasing to the content rendered by the Progressive Rendering Viewport 2D node
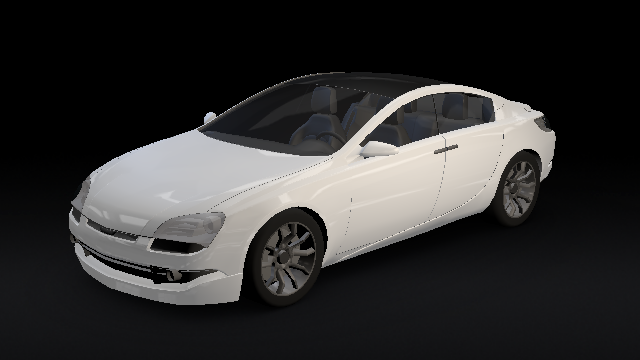
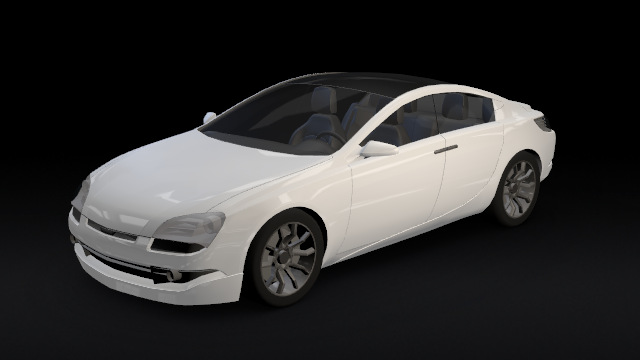
In this section you use multisampling to reduce aliasing in the content rendered by the Progressive Rendering Viewport 2D node.
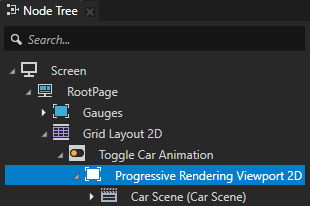
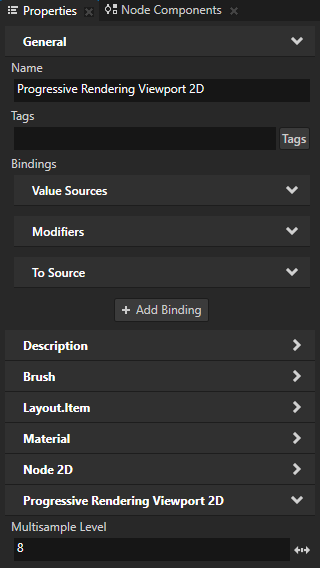
To apply anti-aliasing to the content rendered by a Progressive Rendering Viewport 2D node, in the Node Tree select the Progressive Rendering Viewport 2D node, in the Properties add the Multisample Level property, and set it to the number of anti-aliasing samples that you want to use.
For example, set Multisample Level to 8.
See the documentation of the device on which you want to run your Kanzi application for supported values, because the number of anti-aliasing samples depends on the device. If you set the Multisample Level property to a value which your device does not support, Kanzi Engine clamps the value to the largest value supported by the device driver.
Animate the content rendered by the Progressive Rendering Viewport 2D node
In this section you animate the rotation of the car that you render using the Progressive Rendering Viewport 2D node.
To animate nodes in a Progressive Rendering Viewport 2D node, in that Progressive Rendering Viewport 2D node set the Timeline property to the Animation, Animation Clip, or Timeline Sequence that you want to use. You cannot use an Animation Player to animate nodes in a Progressive Rendering Viewport 2D node.
To animate the content rendered by the Progressive Rendering Viewport 2D node:
In the Node Tree select the Toggle Car Animation node and in the State Tools click Edit State Manager to activate the State Tools.
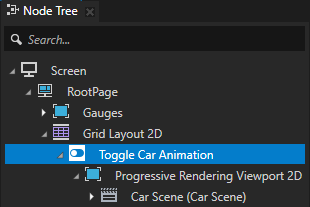

Define the Slow state where the car rotates slowly:
In the State Tools select the Slow state.

In the Node Tree select the Progressive Rendering Viewport 2D node and in the Properties set the Timeline property to Slow Rotation.
You animate nodes in a Progressive Rendering Viewport 2D by setting the Timeline property of that Progressive Rendering Viewport 2D node to the Animation, Animation Clip, or Timeline Sequence that you want to use.

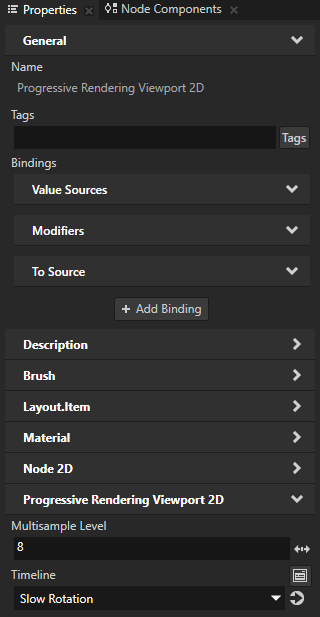
In the State Tools click
 in the Slow state.
When the Toggle Car Animation enters the Slow state, Kanzi plays in the Progressive Rendering Viewport 2D node the Slow Rotation timeline sequence.
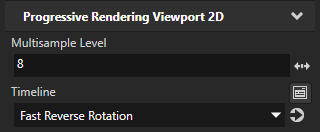
To define the Fast state where the car rotates fast in the reverse direction, repeat the previous step, but set the Timeline property to the Fast Reverse Rotation timeline sequence.
When the Toggle Car Animation enters the Fast state, Kanzi plays in the Progressive Rendering Viewport 2D node the Fast Reverse Rotation timeline sequence.
In the State Tools click Edit State Manager to deactivate the State Tools.

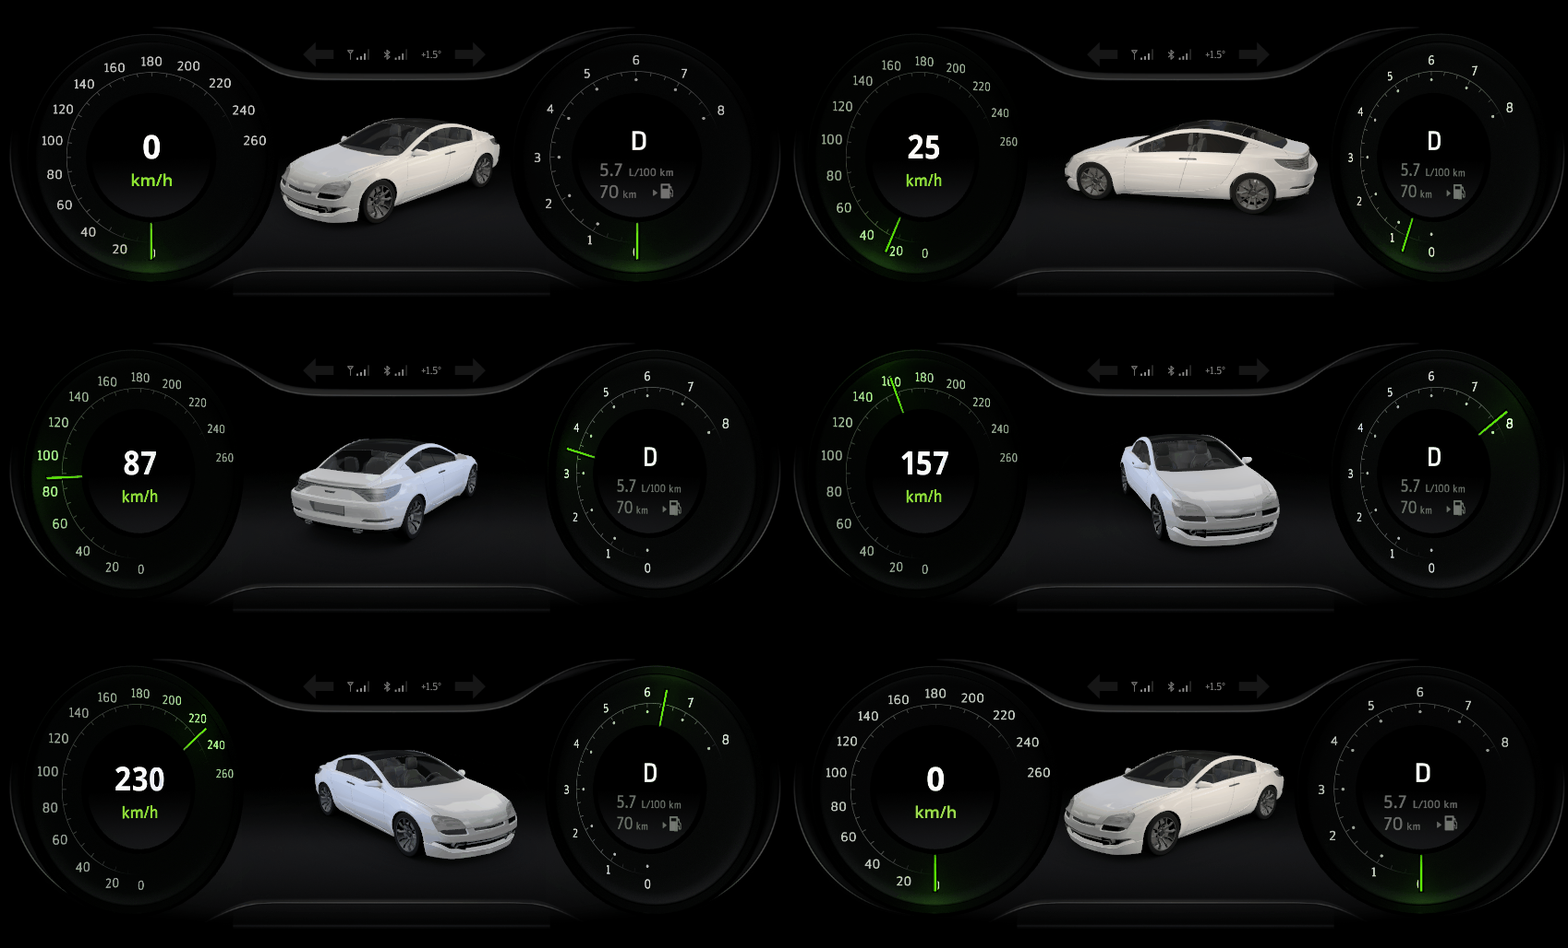
In the Preview when you click the area between the gauges, you toggle between the Stop, Slow, and Fast states.
What's next?
In this tutorial you learned how to distribute the rendering workload across several frames to reduce the amount of work and time required to render the content in a single frame. Now you can:
Learn how to use render passes to apply a bloom effect on 3D content. See Tutorial: Create a bloom effect.
Learn how to apply a stencil to 3D content so that Kanzi renders only a selected area of the content. See Tutorial: Apply a stencil to 3D content.
See also
To learn more about how to apply anti-aliasing, see Applying anti-aliasing.
To learn more about the Toggle Button nodes, see Using the Toggle Button nodes.
To learn more about the Kanzi state manager, see State manager.
To find out more about the animations in Kanzi, see Animations.