Step 2 - Apply the blur effect
In this step you first render the model of the car in the project to a composition target, which you then use as input for the render passes that apply the directional Gaussian blur effect.
Render the car to a composition target
To render the car to a composition target:
In the Library press Alt and right-click Rendering, and select Compose and Blit Pass.
Compose and Blit Pass contains the render pass structure that enables you to blit to the screen Composition Target Render Pass render passes or textures using a specific material.
The Compose and Blit Pass render pass preset contains these render passes:
Composition Target Render Pass renders itself and its descendant render passes to one or more composition targets.
Clear Render Pass clears some or all of the buffers of the current render context.
By default the Clear Render Pass in the Compose and Blit Pass clears the first color buffer with transparent black color and the depth buffer with value 1.
For example, to clear the first color buffer with a different color, set the Clear Color 0 property to the color that you want to use as the background color of the content that Kanzi renders to the Composition Target Render Pass.
Gather Lights Render Pass collects the Light nodes in the Viewport 2D node that you set to use the Compose and Blit Pass, and passes them to its child Draw Objects Render Pass render pass.
Draw Objects Render Pass named Draw Objects, which allows you to set a Camera node to render a specific list of nodes, to filter those nodes, and to control frustum culling. Draw Objects Render Pass always renders nodes using the lights provided by its nearest ascendant Gather Lights Render Pass. By default the Draw Objects Render Pass uses the default Camera node to render all nodes in a Viewport 2D node.
Blit Render Pass blits one or more textures on the screen using a specific material.
By default this Blit Render Pass draws on the screen the first color texture to which the Composition Target Render Pass renders its content.
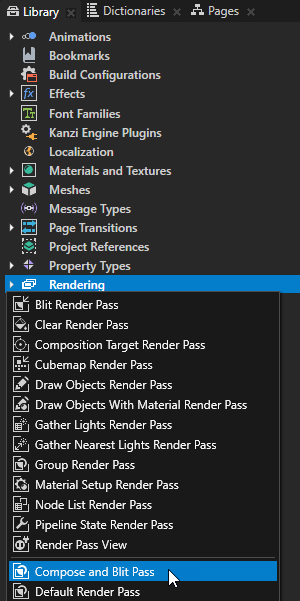
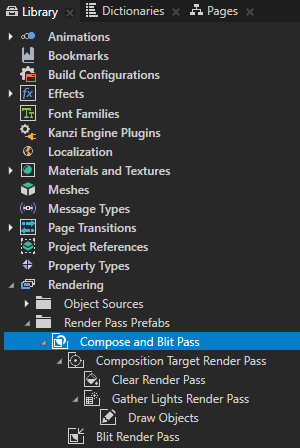
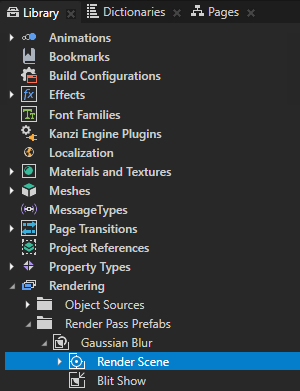
In the Library > Rendering > Render Pass Prefabs select the Compose and Blit Pass render pass prefab, press the F2 key, and rename it to Gaussian Blur.
You use this render pass prefab to gather several render passes that you create in this procedure which, when combined, create the blur effect.
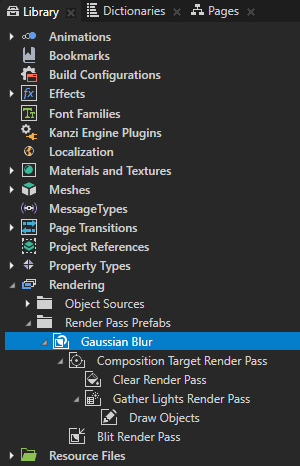
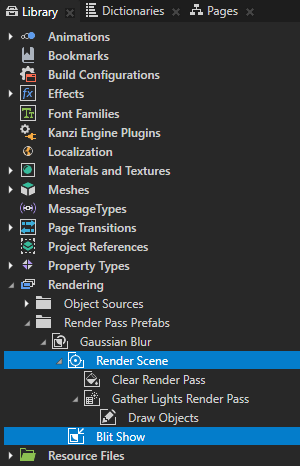
In the Library > Rendering > Render Pass Prefabs > Gaussian Blur render pass prefab rename:
Composition Target Render Pass to Render Scene
You use this render pass to render the content of the Viewport 2D node Car to a composition target.
Blit Render Pass to Blit Show
You use this render pass to draw on the screen the Render Scene render pass which renders the content of the Viewport 2D node Car.
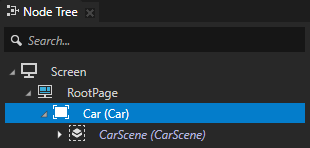
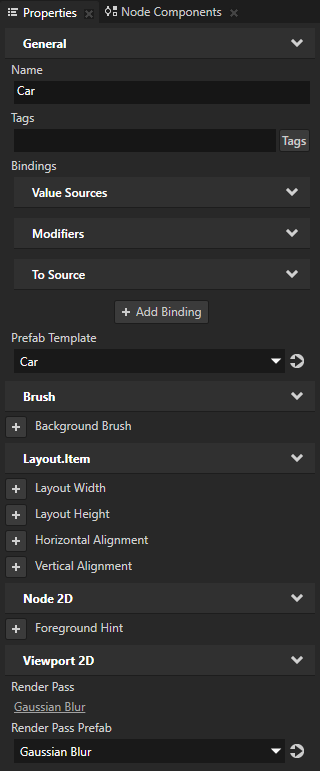
In the Node Tree select the RootPage > Car node, in the Properties add the Render Pass Prefab property, and set it to the Gaussian Blur render pass prefab.
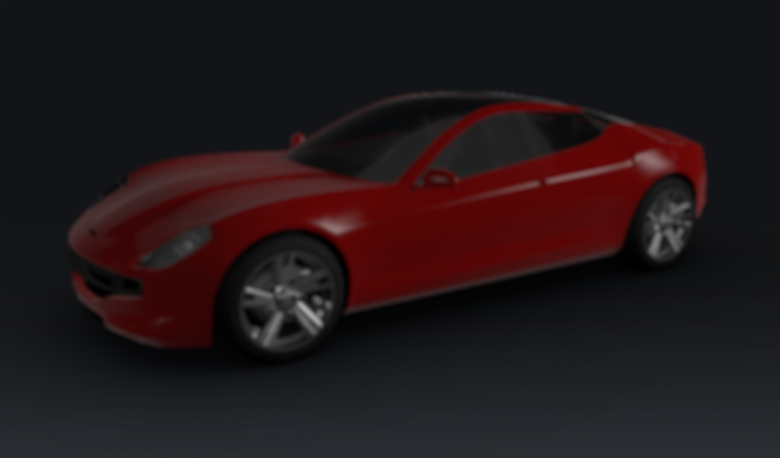
Kanzi Studio renders the Car node using the Gaussian Blur render pass prefab.
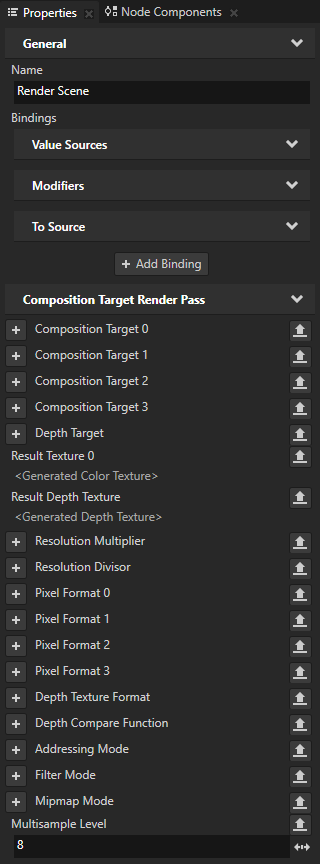
To apply anti-aliasing to the car, in the Library select the Render Scene render pass, in the Properties add the Multisample Level property, and set it to the number of anti-aliasing samples you want to use.
For example, set it to 8.
See the documentation of the device on which you want to run your Kanzi application for supported values, because the number of anti-aliasing samples depends on the device. If you set the Multisample Level property to a value which your device does not support, Kanzi Engine clamps the value to the largest value supported by the device driver.
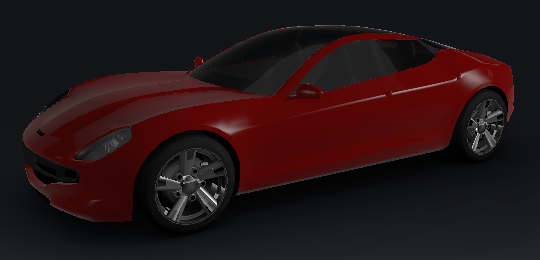
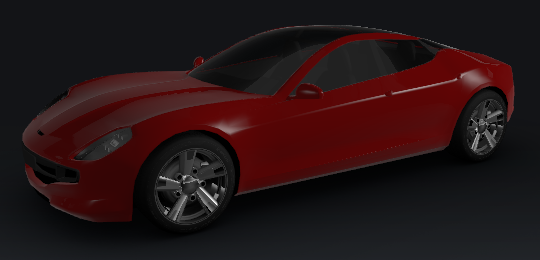
Apply the blur effect
In this section you apply the directional Gaussian blur effect in two passes, first horizontally and then vertically. When you apply a Gaussian blur effect in two passes, you reduce the number of pixels the shader needs to sample. For example, for a Gaussian blur kernel of 9 by 9 pixels, with a two-pass render the shader only needs to sample 9 pixels on the horizontal axis, and 9 pixels on the vertical axis, instead of sampling 81 pixels.
In this section you apply one pass of the blur effect, which blurs the car only slightly. In the next step of this tutorial you create a chain of render passes which you use to create a blur effect the strength of which you can control dynamically.
To apply the blur effect:
In the Library > Rendering > Render Pass Prefabs > Gaussian Blur render pass prefab create a Group Render Pass, name it Blur Pass, and drag it above the Blit Show render pass.
You use this render pass to apply one pass of the directional Gaussian blur effect.
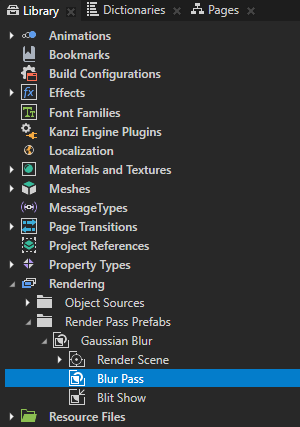
Create the render passes that apply the blur effect in the horizontal direction:
In the Blur Pass render pass create a Composition Target Render Pass render pass and name it Horizontal Blur.
You use this render pass to apply the blur effect in the horizontal direction.
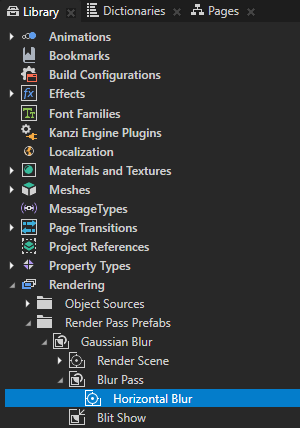
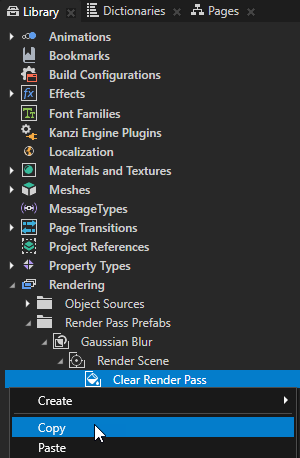
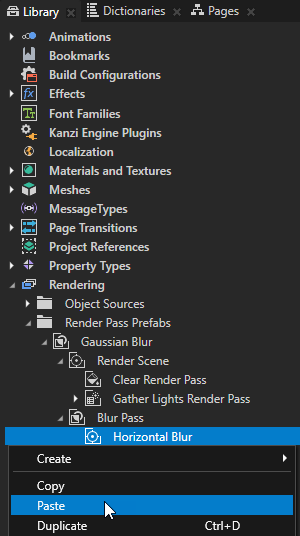
In the Render Scene render pass right-click the Clear Render Pass, select Copy, right-click the Horizontal Blur render pass, and select Paste.
In the Horizontal Blur render pass create a Blit Render Pass and name it Blit Horizontal Blur.
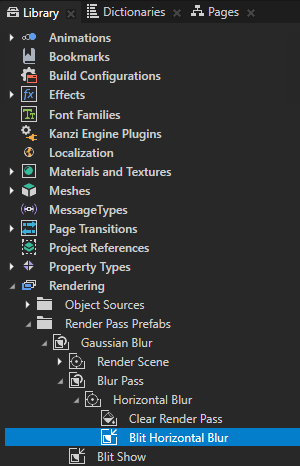
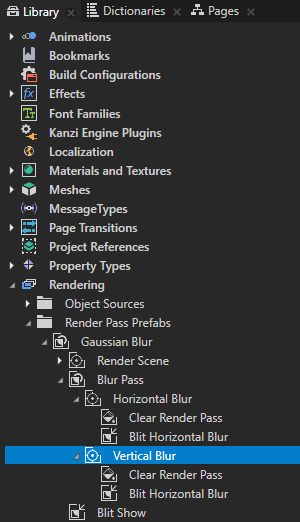
In the Library select the Horizontal Blur render pass, press the Ctrl D keys to duplicate the render pass, rename it to Vertical Blur, and in the Vertical Blur render pass rename the Blit Horizontal Blur render pass to Blit Vertical Blur.
You use the Vertical Blur render pass to apply the blur effect in the vertical direction.
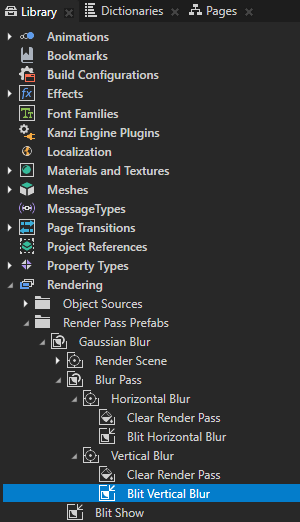
In the Library select the Blit Show render pass, from the Library drag the Vertical Blur render pass to the Properties window, and drop it on the Texture 0 property of the Blit Show render pass.
You bind the Texture 0 property of the Blit Show render pass to the Result Texture 0 property of the Vertical Blur render pass.
The Vertical Blur render pass draws to the screen the Default Texture, which is why that is what you see in the Preview.
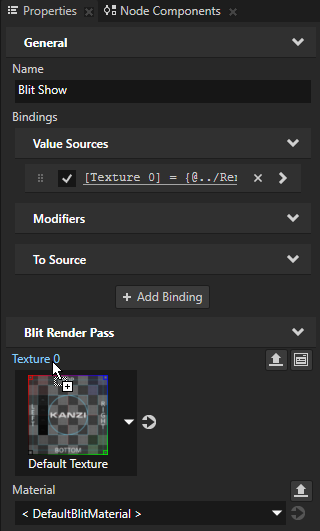
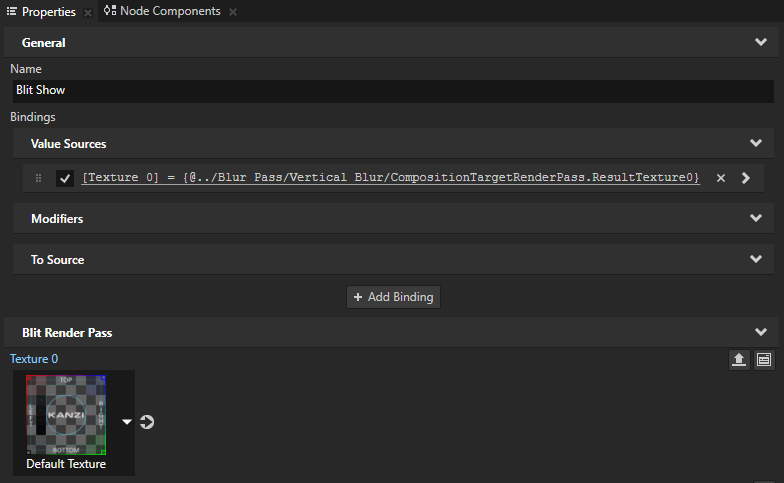
Repeat the previous step twice to set:
The Blit Horizontal Blur render pass to draw the result texture of the Render Scene render pass.
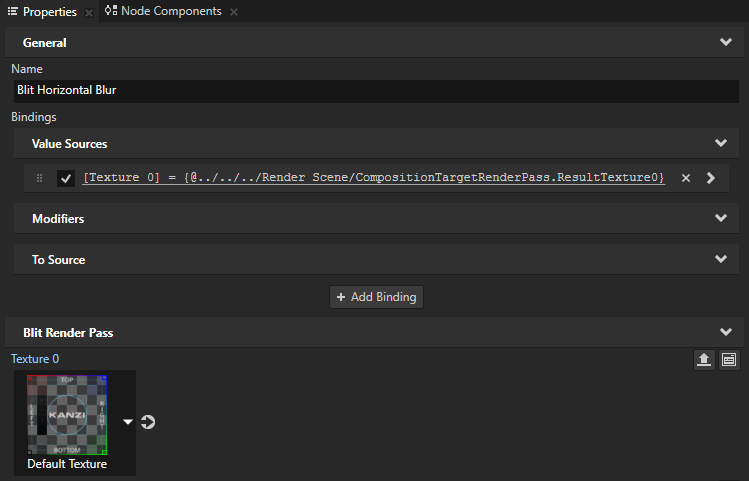
The Blit Vertical Blur render pass to draw the result texture of the Horizontal Blur render pass.
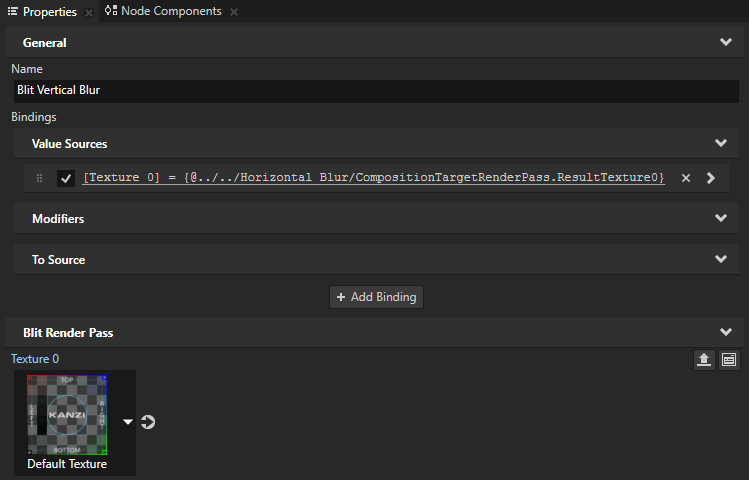
You created a chain of render passes where the Horizontal Blur render pass takes as input the result of the Render Scene render pass, and the Vertical Blur render pass takes as input the result of the Horizontal Blur render pass.
The Preview now shows the car rendered normally, because the Blit Horizontal Blur and Blit Vertical Blur render passes draw the content to the screen using the default material.
Apply the blur:
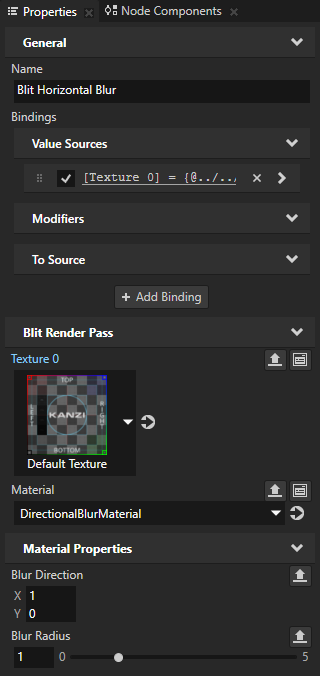
In the Library select the Blit Horizontal Blur render pass, and in the Properties add and set:
Material to DirectionalBlurMaterial
Blur Direction X property field to 1
This way you apply the blur effect in the horizontal direction.
Blur Radius to 1
This way you set the strength of the blur effect.
You set this render pass to draw the result of the Render Scene render pass using the DirectionalBlurMaterial material to apply to the car the Gaussian blur effect in the horizontal direction.
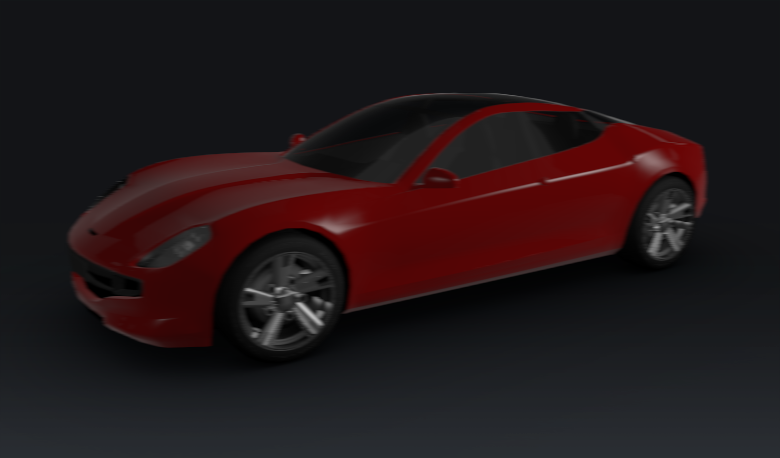
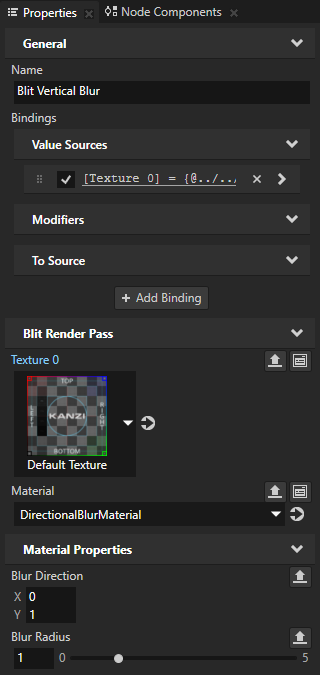
In the Library select the Blit Vertical Blur render pass and in the Properties add and set:
Material to DirectionalBlurMaterial
Blur Direction Y property field to 1
This way you apply the blur effect in the vertical direction.
Blur Radius to 1
You set this render pass to draw the result of the Horizontal Blur render pass using the DirectionalBlurMaterial material to apply to the car the Gaussian blur effect in the vertical direction.
See also
To learn more about the render passes in Kanzi, see Rendering.
To learn more about bindings, see Bindings.
To learn more about how to apply anti-aliasing, see Applying anti-aliasing.