Step 3 - Control the amount of blur
In this step you first convert the Blur Pass render pass, which you created in the previous step, to a render pass prefab that you can reuse and apply multiple times. You create multiple passes of the blur effect, each with a different amount of blur. You then use the BlurPassMixerBlitMaterial material, which you created in step 1 of this tutorial, to draw to the screen a mix of the blur passes. You create a blur effect the strength of which you can control and animate.
Reuse the render passes that apply the blur effect
In this section you convert the Blur Pass render pass into a render pass prefab, which you instantiate using the Render Pass View.
To reuse the render passes that apply the blur effect:
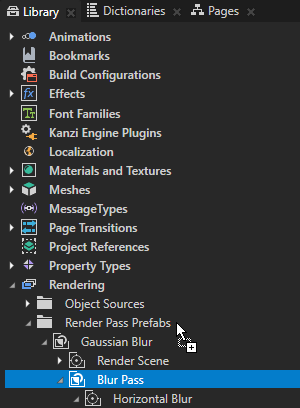
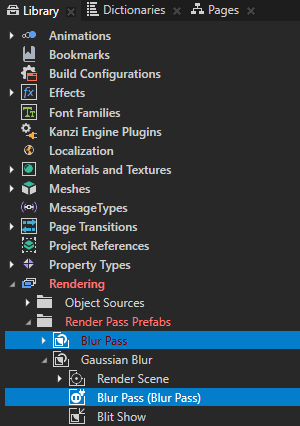
In the Library drag the Blur Pass render pass to the Render Pass Prefabs folder.
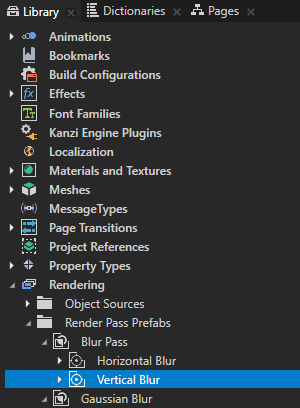
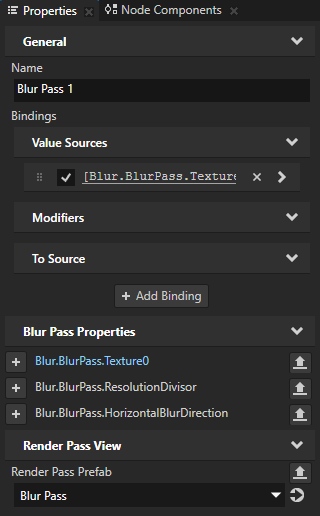
This way you convert the Blur Pass render pass into a render pass prefab. Kanzi Studio creates in the Gaussian Blur render pass a Render Pass View named Blur Pass, which instantiates the Blur Pass render pass prefab.
In the Library > Rendering > Render Pass Prefabs all top-level items are render pass prefabs that you can instantiate using the Render Pass View.
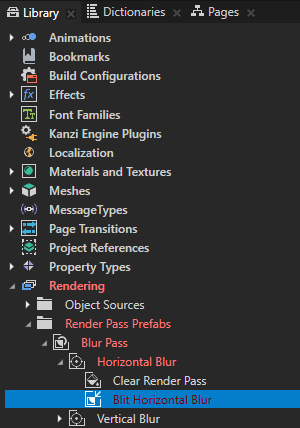
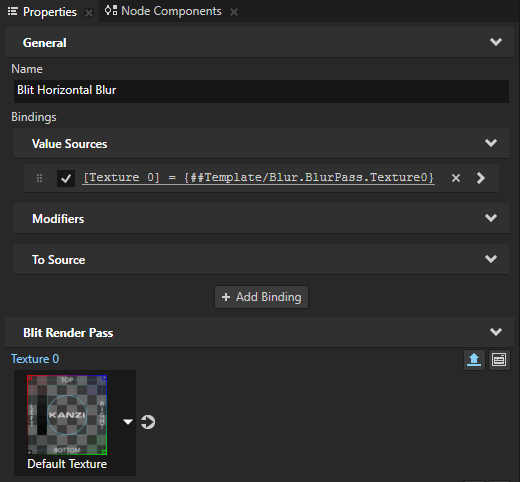
Kanzi Studio marks the Blur Pass > Horizontal Blur render pass invalid, because its child render pass now contains an invalid binding. You cannot bind the Texture 0 property of the Blit Horizontal Blur render pass to the result texture of the Render Scene render pass, because the Blit Horizontal Blur and Render Scene render passes are no longer in the same render pass prefab.
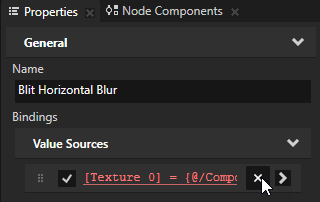
In the Library in the Blur Pass render pass prefab select the Blit Horizontal Blur render pass and in the Properties next to the invalid binding click
 to remove that binding.
In the Library rename the Gaussian Blur > Blur Pass render pass view to Blur Pass 1. You use this render pass view to render the first pass of the blur effect.
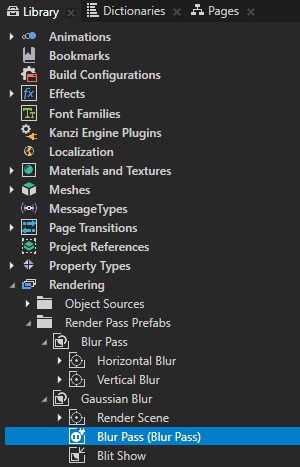
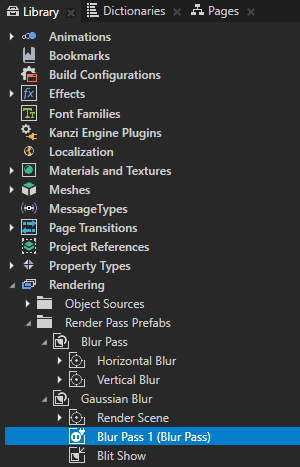
Set the texture that Blur Pass 1 takes as input:
In the Library in the Blur Pass render pass prefab select the Blit Horizontal Blur render pass, in the Properties next to the Texture 0 property click
 , and in the Publish Property dialog click OK.
Kanzi Studio:
Creates from the Texture 0 property a custom property named Blur.BlurPass.Texture0.
Adds the Blur.BlurPass.Texture0 property to the root of the Blur Pass render pass prefab, and creates in the Blit Horizontal Blur render pass a
##Templatebinding to the property in the render pass prefab root.Shows the Blur.BlurPass.Texture0 property as a frequently used property in the Blur Pass 1 render pass view, which instantiates the Blur Pass render pass prefab.
You can now set the Texture 0 property of the Blit Horizontal Blur render pass to a different value in each Render Pass View that instantiates the Blur Pass render pass prefab.
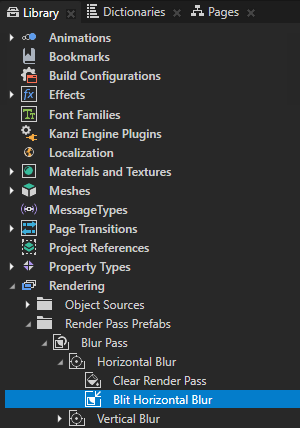
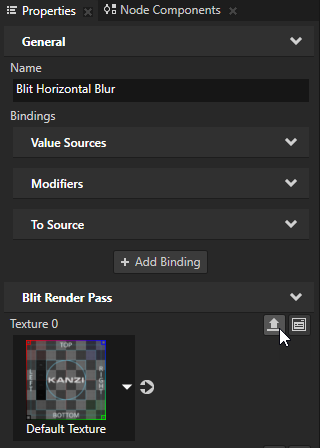
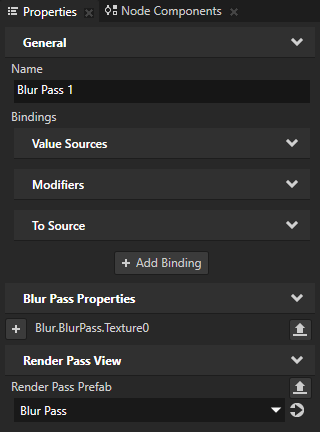
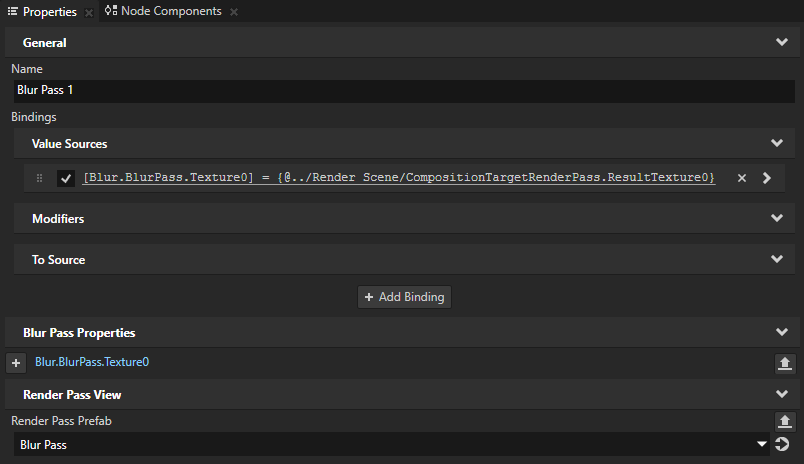
In the Library select the Blur Pass 1 Render Pass View, from the Library drag the Render Scene render pass to the Properties window, and drop it on the Blur.BlurPass.Texture0 property of the Blur Pass 1 render pass.
You set the Blur Pass 1 Render Pass View to take as its input the result texture of the Render Scene render pass.

Set the texture that Blur Pass 1 outputs:
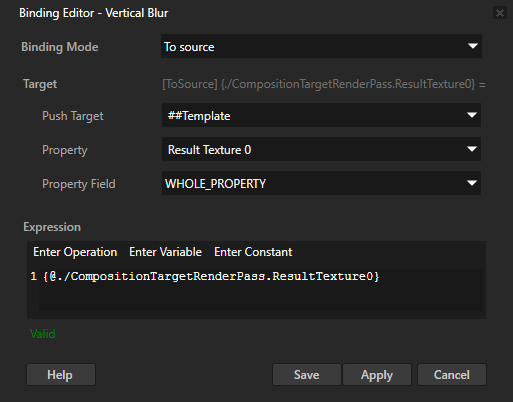
In the Library in the Blur Pass render pass prefab select the Vertical Blur render pass, in the Properties click + Add Binding, and in the Binding Editor set:
Binding Mode to To source
Kanzi Studio automatically sets the Push Target property to ##Template. This pushes the property value, which this binding sets, to the render pass prefab root.
Property to [Existing Properties] > Result Texture 0
Expression to
{@./CompositionTargetRenderPass.ResultTexture0}
Click Save.
This binding pushes the value of the Result Texture 0 property of the Vertical Blur render pass to the root of the Blur Pass render pass prefab. The Result Texture 0 property of the Vertical Blur render pass is now available in each Render Pass View that instantiates the Blur Pass render pass prefab.
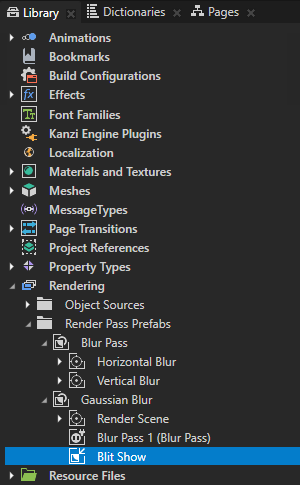
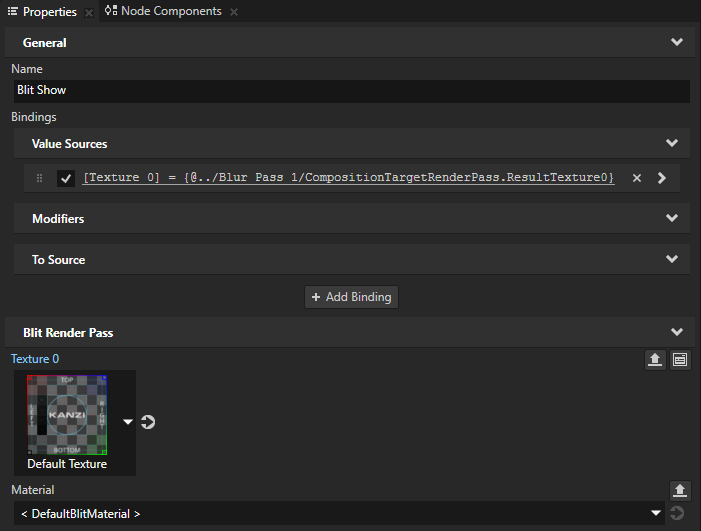
In the Library select the Blit Show render pass, from the Library drag the Blur Pass 1 render pass view to the Properties window, and drop it on the Texture 0 property of the Blit Show render pass.
Make the resolution of the composition target customizable in each Render Pass View that instantiates the Blur Pass render pass prefab:
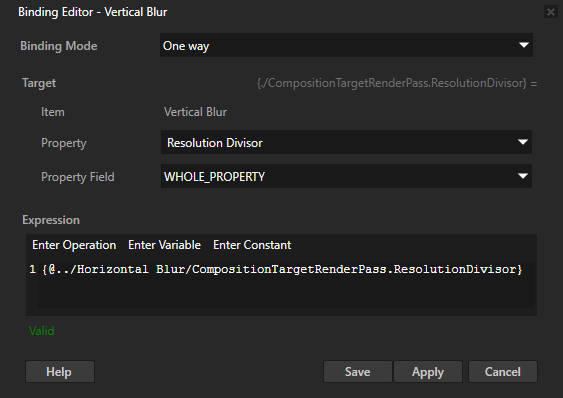
In the Library select the Vertical Blur render pass, in the Properties click + Add Binding, and in the Binding Editor set:
Property to Resolution Divisor
Expression to
{@../Horizontal Blur/CompositionTargetRenderPass.ResolutionDivisor}
Click Save.
You bind the Resolution Divisor property of the Vertical Blur render pass to the Resolution Divisor property of the Horizontal Blur render pass. With this binding you make sure that the value of the Resolution Divisor property is always the same in the Horizontal Blur and Vertical Blur render passes.

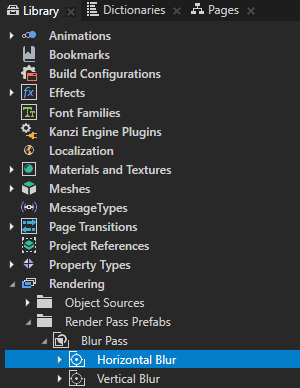
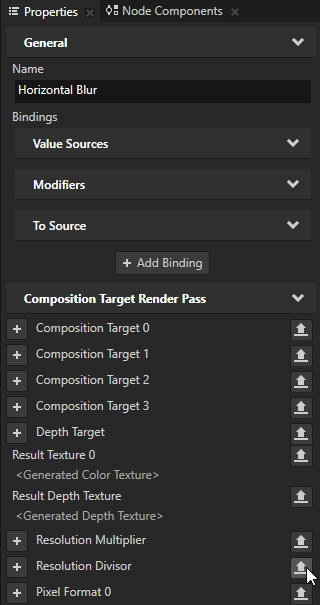
In the Library select the Horizontal Blur render pass, in the Properties next to the Resolution Divisor property click
 , and in the Publish Property dialog click OK.
In the Library select the Blit Horizontal Blur render pass, in the Properties next to the Blur Direction property click
 , in the Publish Property dialog name the property type Blur.BlurPass.HorizontalBlurDirection, and click OK.
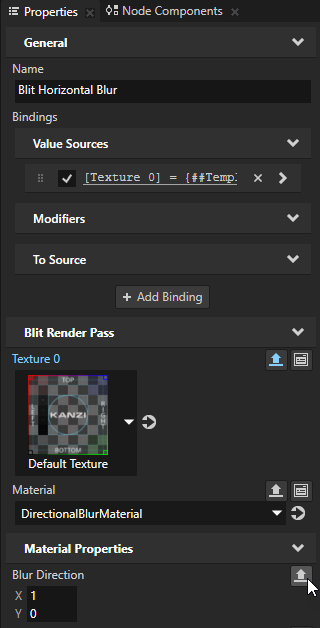
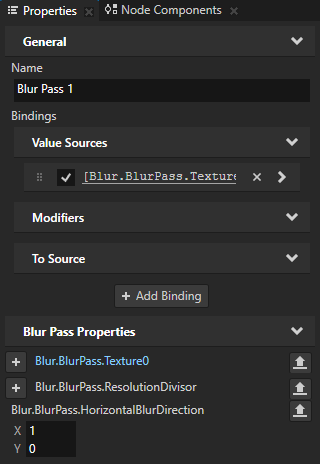
The Resolution Divisor and Blur Direction properties that you made available to the root of the Blur Pass render pass prefab are now available in the Blur Pass 1 Render Pass View.
In the Library select the Blur Pass 1 Render Pass View, in the Properties add the Blur.BlurPass.HorizontalBlurDirection property, and set the X property field to 1.


Control the amount of blur
In this section you create multiple passes of the blur effect. You use the Render Pass View to instantiate the Blur Pass render pass prefab multiple times, customizing each instance to create a blur of different strength. You then use a Blit Render Pass to draw on the screen a combination of multiple Render Pass View result textures. You use a custom property to set the weight of each blur pass in the combination, and to dynamically adjust the amount of blur.
To control the amount of blur:
In the Library in the Gaussian Blur render pass prefab create a Group Render Pass, name it Blur, and drag it above the Blit Show render pass.
You use this render pass to group multiple passes of the blur effect.
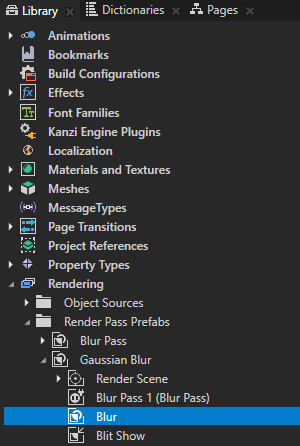
In the Library drag the Blur Pass 1 Render Pass View to the Blur render pass.
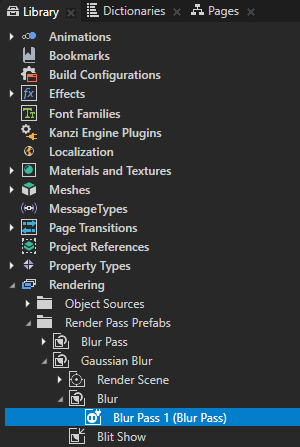
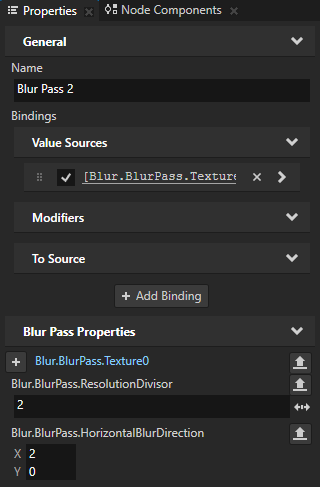
In the Library in the Blur render pass duplicate the Blur Pass 1, rename it to Blur Pass 2, and in the Properties add and set:
Blur.BlurPass.ResolutionDivisor to 2
Blur.BlurPass.HorizontalBlurDirection X property field to 2
When you divide by 2 the resolution of the texture that the Blur Pass 2 takes as its input, you set the Blur Pass 2 to blur the content twice as much as Blur Pass 1.
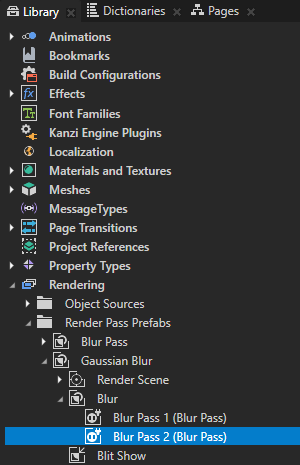
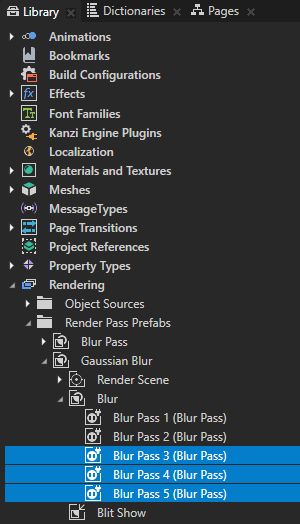
In the Library duplicate the Blur Pass 2 three times, and rename the duplicates to Blur Pass 3, Blur Pass 4, and Blur Pass 5.
You set the properties of these render passes later in this procedure.
In the Library select the Blit Show render pass, from the Library drag the Render Scene render pass to the Properties window, and drop it on the Texture 0 property of the Blit Show render pass.
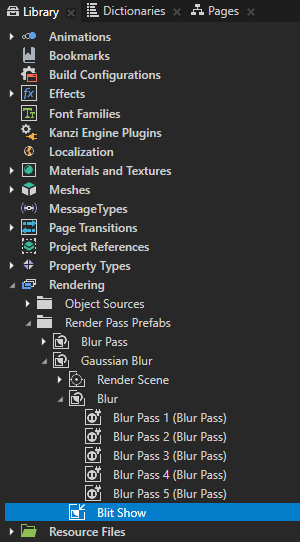
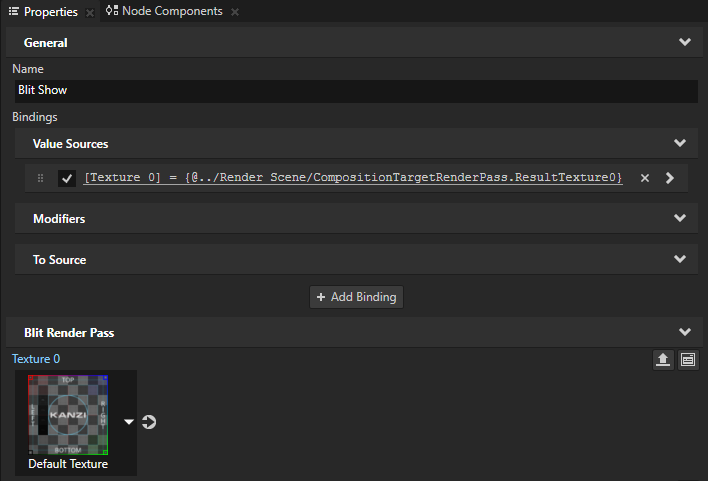
In the Properties:
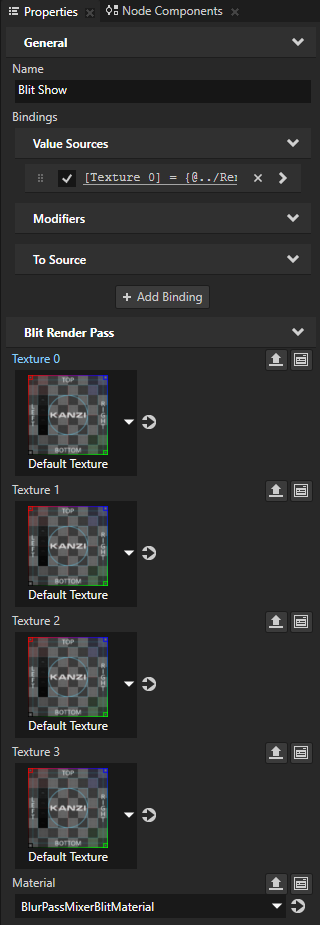
Add the Texture 1, Texture 2, Texture 3, Texture 4, and Texture 5 properties.
Set Material to BlurPassMixerBlitMaterial.
You use this material to draw to the screen a mix of the five blur passes.
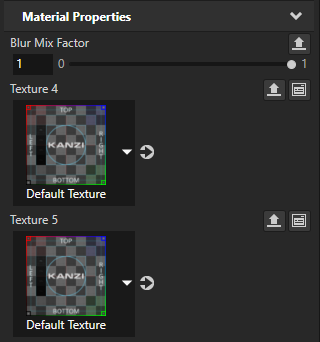
Add the Blur Mix Factor property and set it to 1.
When the value of this property is 1, the Blit Show render pass applies the maximum amount of blur to the content in the Car Viewport 2D node which uses that render pass.

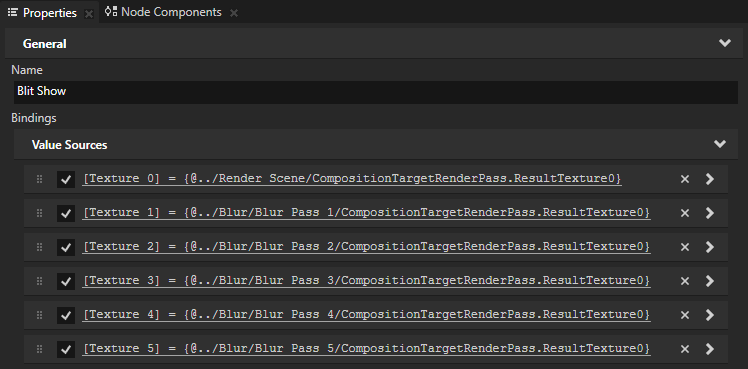
From the Library drag to the Properties window and drop:
Blur Pass 1 on the Texture 1 property
Blur Pass 2 on the Texture 2 property
Blur Pass 3 on the Texture 3 property
Blur Pass 4 on the Texture 4 property
Blur Pass 5 on the Texture 5 property
The Blit Show render pass now renders a mix of some of the result textures of the Render Scene and the five blur passes. The value of the Blur Mix Factor property sets the mix function. For example, when you set Blur Mix Factor to 0.5, the Blit Show render pass draws an equally weighted mix of the result textures of the Blur Pass 2 and Blur Pass 3 render passes.
Give to each blur pass as input the result of the previous pass:
In the Library select the Blur Pass 2 render pass view, from the Library drag the Blur Pass 1 render pass view to the Properties window, and drop it on the Texture 0 property of the Blur Pass 2 render pass view.
You give the result of Blur Pass 1 as input to Blur Pass 2.
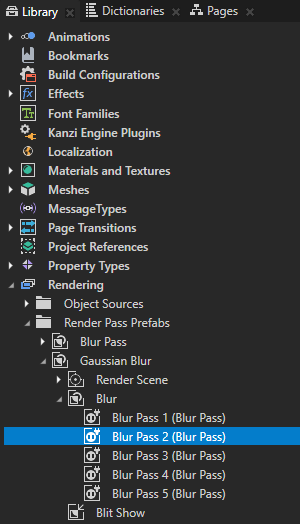
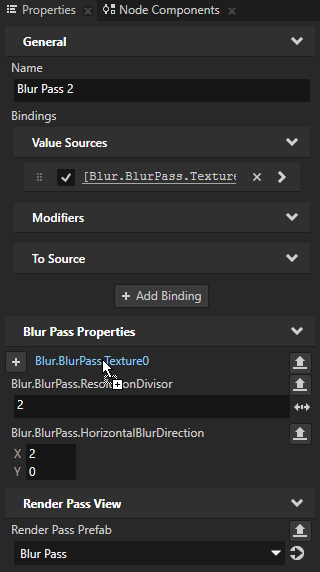
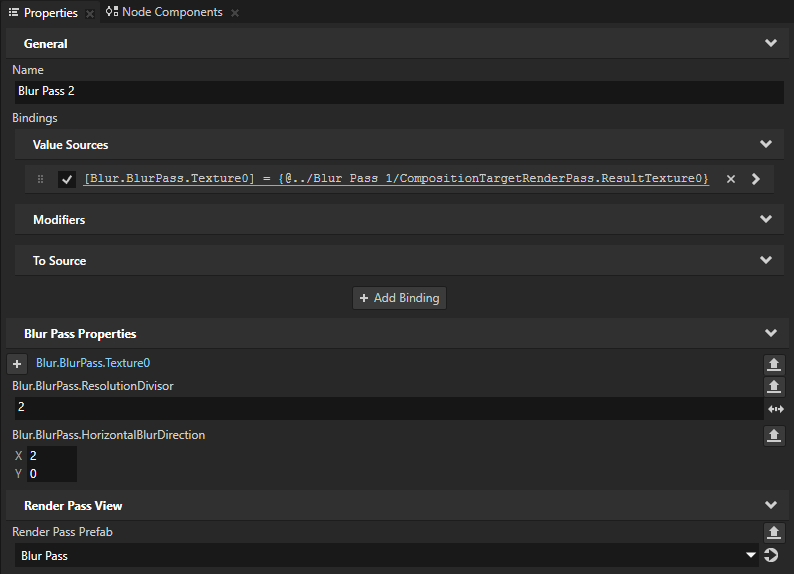
Repeat the previous step three times:
For Blur Pass 3 use the Blur Pass 2 render pass view.
For Blur Pass 4 use the Blur Pass 3 render pass view.
For Blur Pass 5 use the Blur Pass 4 render pass view.
You set each blur pass to blur the content that the previous blur pass already blurred.
To make the blur stronger, set the resolution divisor in each pass of the blur:
In Blur Pass 3 set Blur.BlurPass.ResolutionDivisor to 4.
In Blur Pass 4 set Blur.BlurPass.ResolutionDivisor to 8
In Blur Pass 5 set Blur.BlurPass.ResolutionDivisor to 16
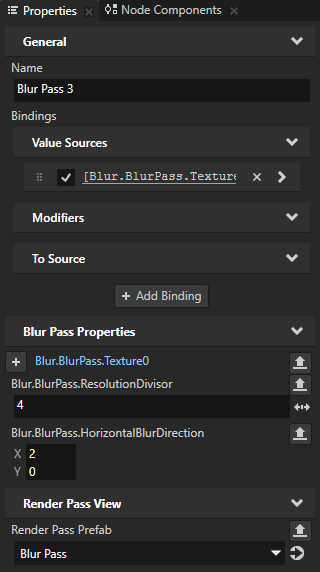
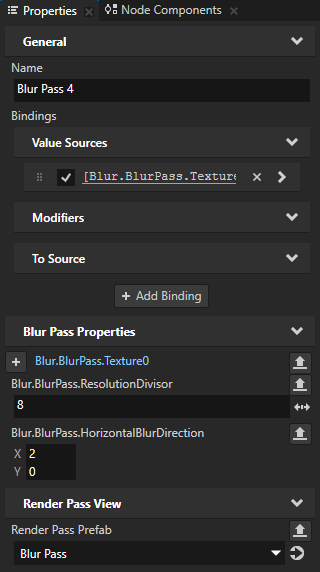
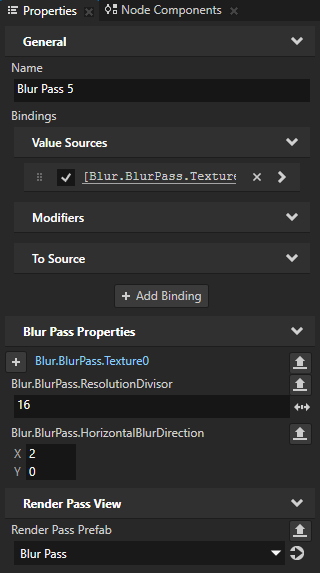
Control the strength of the blur in the Car node:
In the Library select the Blit Show render pass, in the Properties next to the Blur Mix Factor property click
 , and in the Publish Property dialog click OK.
Kanzi Studio creates and adds the Blur.GaussianBlur.BlurMixFactor property to the Gaussian Blur render pass prefab, and shows it as a frequently used property in any Viewport 2D node that uses the Gaussian Blur render pass prefab.


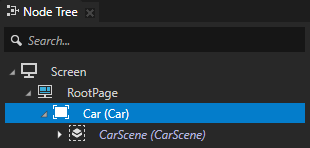
In the Node Tree select the RootPage > Car node and in the Properties add the Blur.GaussianBlur.BlurMixFactor property.
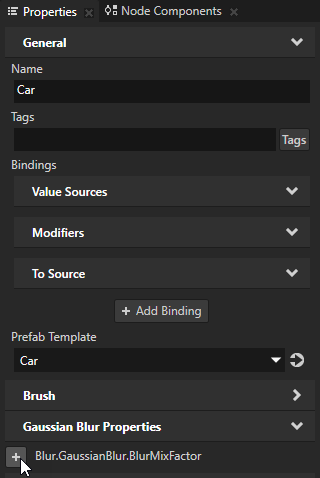
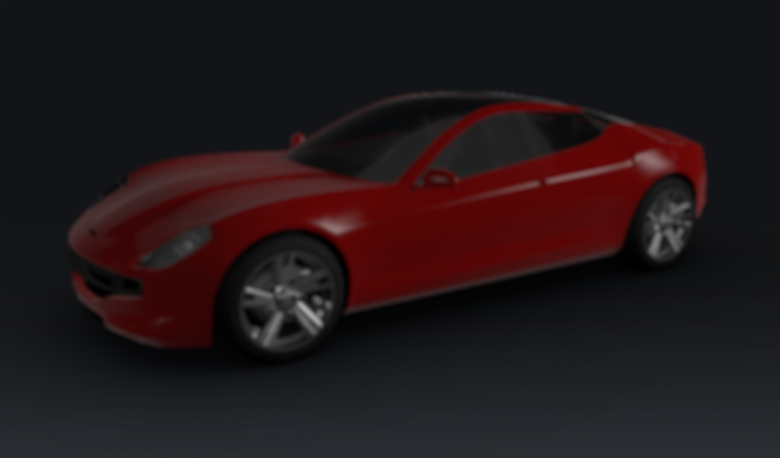
You can now use the Blur.GaussianBlur.BlurMixFactor property to control the amount of blur in the Car Viewport 2D node.