Step 1 - Prepare the nodes in your project
Before you can create reflections, you have to prepare the nodes for which you want to create reflections. In this step you use the Instantiator node to create a visual copy of the nodes for which you want to create reflections, and create a reflection plane. You use tags to mark the nodes in your project either as origin or a reflection. In the next step of the tutorial you use these tags to collect the nodes with two tag filters and pass each to a different render pass for rendering and culling.
Assets for the tutorial
The starting point of this tutorial is the <KanziWorkspace>/Tutorials/Reflections/Start/Reflections.kzproj Kanzi Studio project.
You can find the completed tutorial in the <KanziWorkspace>/Tutorials/Reflections/Completed directory.
Prepare the nodes in your project
To prepare the nodes in your project:
In Kanzi Studio open the project stored in
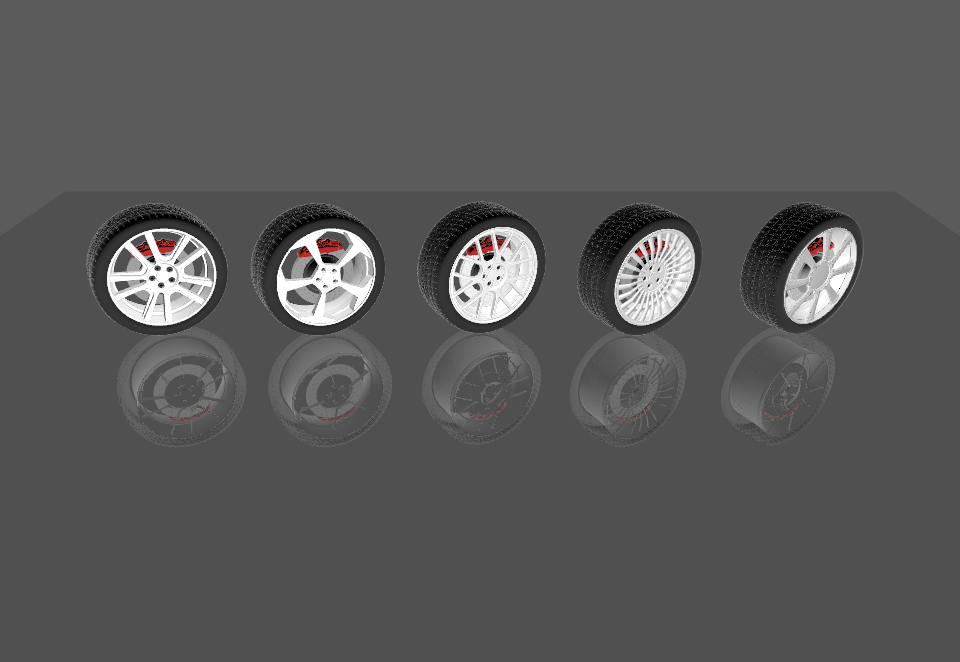
<KanziWorkspace>/Tutorials/Reflections/Start.In the project the Empty Node 3D node Content contains a Trajectory List Box 3D node with several Empty Node 3D nodes that contain 3D models, and lights. In this tutorial you create the reflection of these nodes.
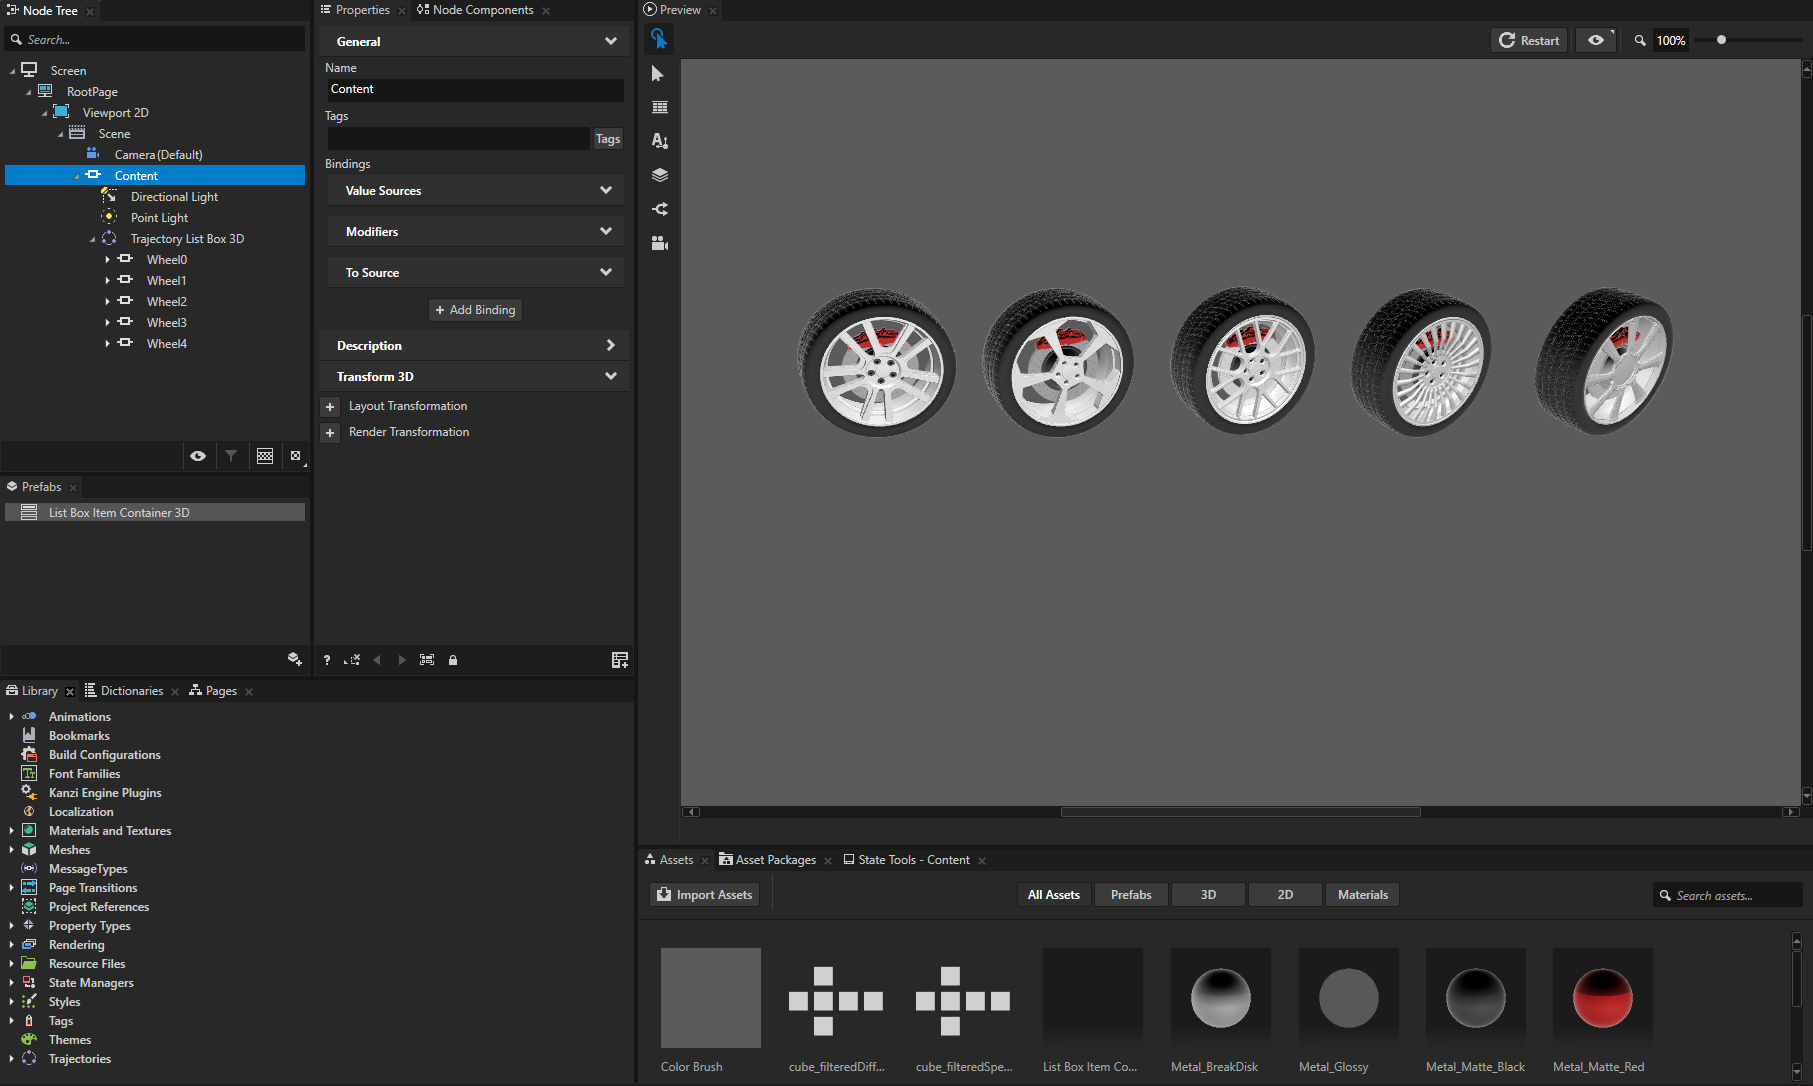
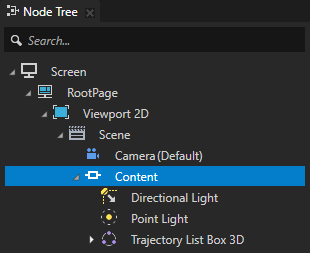
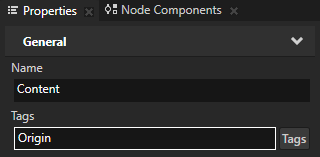
In the Node Tree select the Content node, which groups the Trajectory List Box 3D and lights, and in the Properties set the Tags property to Origin.
Here you tag the nodes for which you want to create reflections.
When you have more than one node and you want to create a reflection for all nodes, you can group them under the same node, and tag their parent node. For example, by tagging the Content node you tag all its descendant nodes.
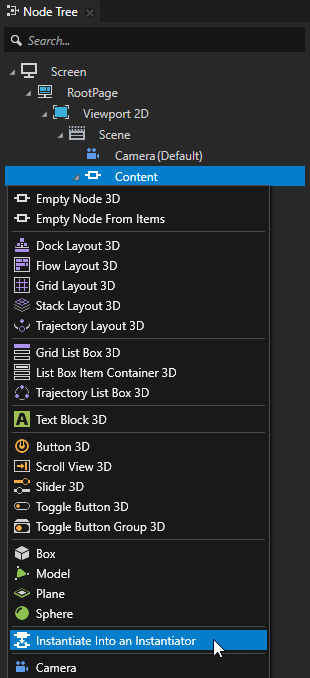
Create the Instantiator node from the node for which you want to create a reflection:
In the Node Tree press Alt and right-click the Content node, select Instantiate Into an Instantiator, and rename it to Reflection.
You use the Instantiator node to create a visual copy of the nodes in the Content node for which you want to create reflections.
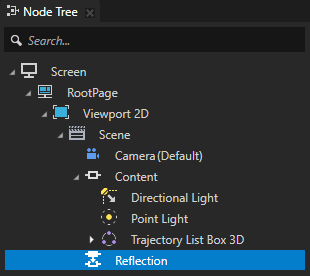
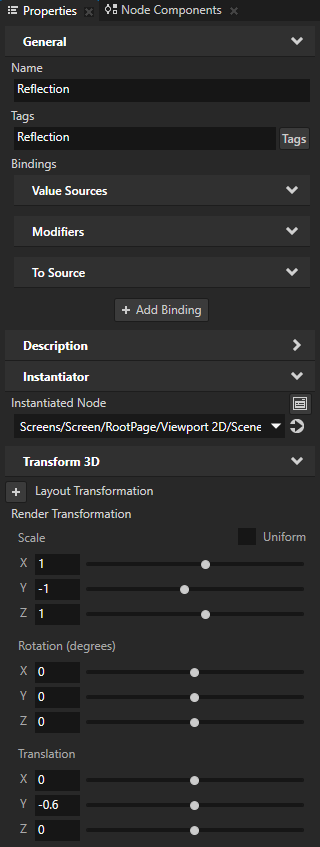
In the Node Tree select the Reflection node, and in the Properties add and set:
Tags to Reflection
You use the Reflection tag in the next step of this tutorial to pick for rendering only the Instantiator node Reflection that represents the reflections.
Render Transformation property fields:
Scale Uniform to disabled
Scale Y to -1
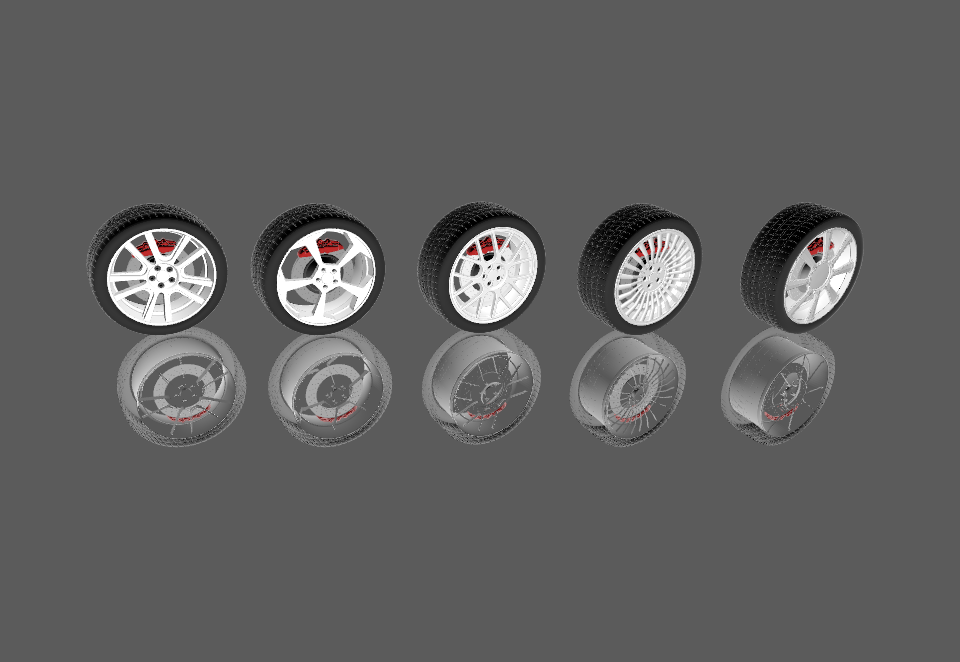
By setting the Scale Y property field you create the mirror reflection of the nodes in the Content node by flipping the Reflection node on the y axis.
Translation Y to -0.6
With the Translation Y property field you control the distance between the origin and its reflection.

Create the reflection plane:
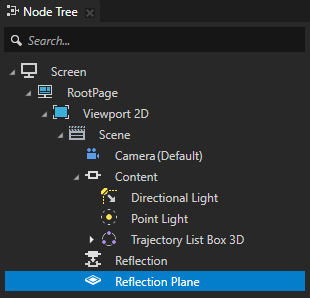
In the Node Tree in the Scene node create a Plane node, name it Reflection Plane, and in the Properties add and set:
Tags to Origin
Mesh Material to VertexPhongMaterial
Blend Intensity to 0.7
With Blend Intensity you adjust the reflection level: the lower the value the stronger the reflection.
Blend Mode to Alpha: Premultiplied
Ambient Color to the color that you want to use for the Reflection Plane
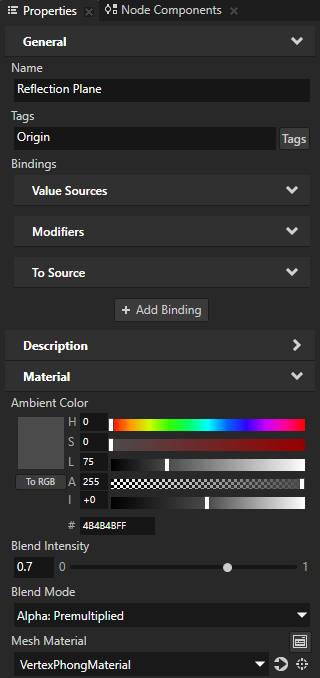
Rotate, scale, and position the Reflection Plane between the origin and reflection nodes.
You can do this either in the Preview using the Node tool
 , or in the Properties by adding and setting the Render Transformation property.
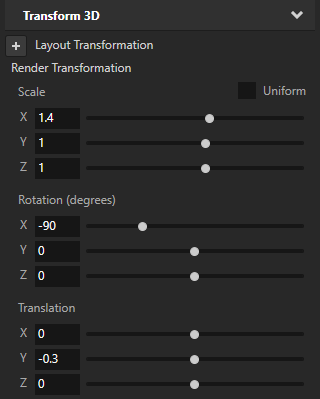
For example, in the Properties add the Render Transformation property and set these property fields:
, or in the Properties by adding and setting the Render Transformation property.
For example, in the Properties add the Render Transformation property and set these property fields:Scale Uniform to disabled
Scale X to 1.4
Rotation X to -90
Translation Y to -0.3
See also
To learn more about how to use tags in Kanzi Studio, see Using tags.