Using Kanzi Studio render pass presets
Use render passes to define the rendering of 3D content in your Kanzi application.
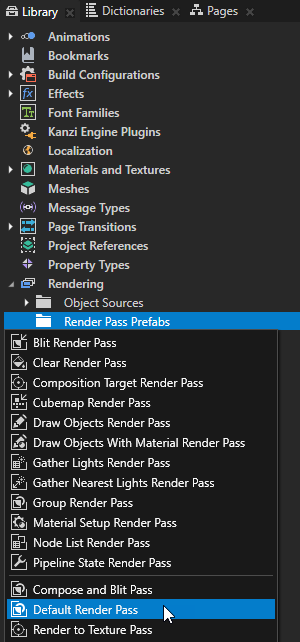
To help you get started, Kanzi Studio comes with these render pass presets:
Default Render Pass contains a basic set of render passes that first render opaque nodes and then transparent nodes.
See Using the Default Render Pass.

Render to Texture Pass contains the render passes that enable you to render to a texture. See Rendering to texture.

Compose and Blit Pass contains the render pass structure that enables you to blit to the screen Composition Target Render Pass render passes or textures using a specific material.
See Rendering content to composition targets

Image-Based Lighting Filter Pass contains the render passes that enable you to create dynamic Environment Ambient Texture and Environment Reflection Texture cubemap textures for real-time image-based lighting.
See Rendering cubemaps for dynamic image-based lighting.

Using the Default Render Pass
Use the Default Render Pass preset to create a basic set of render passes you need to get started.
To use the Default Render Pass:
In the Library > Rendering press Alt and right-click Render Pass Prefabs and select Default Render Pass.
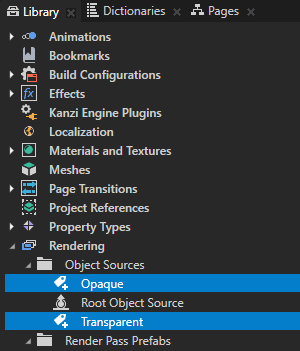
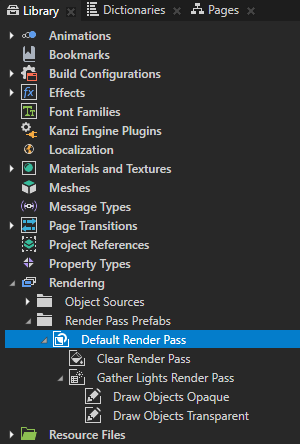
Kanzi Studio creates in the Library > Rendering the filters and render passes it needs to first render opaque nodes and then transparent nodes:
In Object Sources these Tag Filter filters:
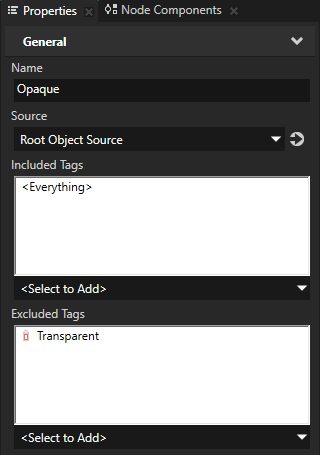
Opaque picks the nodes that do not have the Transparent tag.
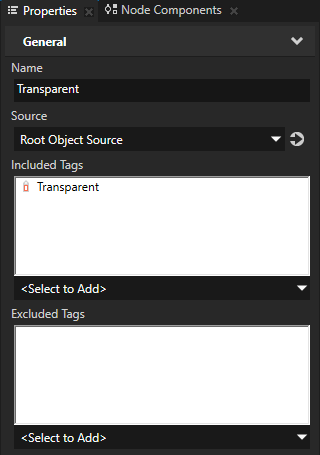
Transparent picks the nodes that have the Transparent tag.
In Render Pass Prefabs a Group Render Pass named Default Render Pass and inside it:
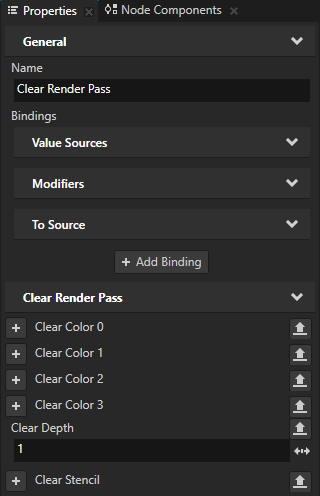
Clear Render Pass clears some or all of the buffers of the current render context.
By default the Clear Render Pass in the Default Render Pass clears the depth buffer.
Gather Lights Render Pass collects the Light nodes in the Viewport 2D node that you set to use the Default Render Pass, and passes them to its child Draw Objects Render Pass render passes.
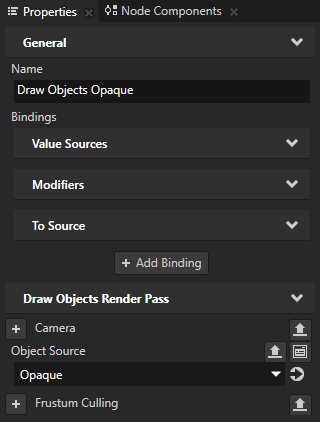
Draw Objects Render Pass named Draw Objects Opaque renders the nodes picked by the Opaque filter.
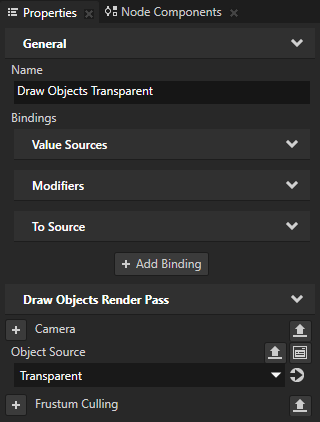
Draw Objects Render Pass allows you to set a Camera node to render a specific list of nodes, to filter those nodes, and to control frustum culling. Draw Objects Render Pass by default renders nodes using the lights provided by its nearest ancestor Gather Lights Render Pass.
Draw Objects Render Pass named Draw Objects Transparent renders the nodes picked by the Transparent filter.
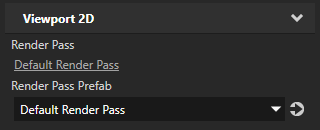
In the Node Tree select the Viewport 2D node whose content you want to render, and in the Properties set the Render Pass Prefab property to the Default Render Pass you created.
Kanzi Studio renders the Viewport 2D node using the Default Render Pass.
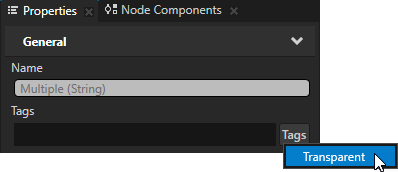
(Optional) If your Viewport 2D node contains transparent nodes, in the Node Tree select the nodes, in the Properties next to the Tags property click the Tags button, and select Transparent.
This way you set the Default Render Pass to first render transparent nodes and then opaque nodes.
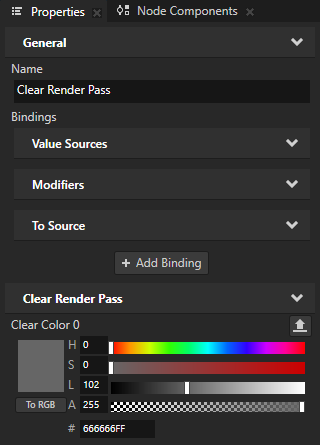
(Optional) To set the background of the Viewport 2D node the content of which you want to render, in the Default Render Pass you created select the Clear Render Pass and in the Properties add and set the Clear Color 0 property.
Rendering to texture
Use the Render to Texture Pass preset to create the render passes that you need to render content to a texture.
To use the Render to Texture Pass:
In the Library > Rendering press Alt and right-click Render Pass Prefabs and select Render to Texture Pass.

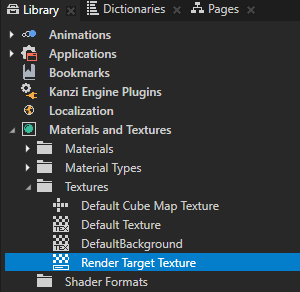
Kanzi Studio creates in the Library:
In Materials and Textures > Textures a Render Target Texture
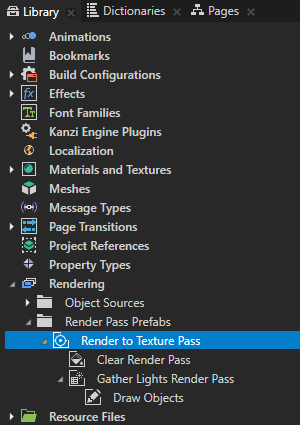
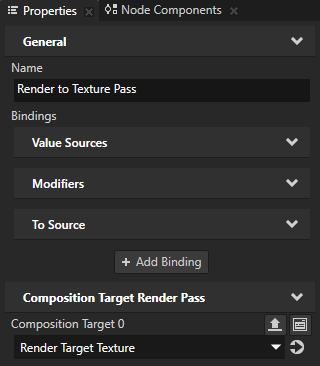
In Rendering > Render Pass Prefabs a Composition Target Render Pass named Render to Texture Pass, which renders itself to the Render Target Texture resource, and inside it:
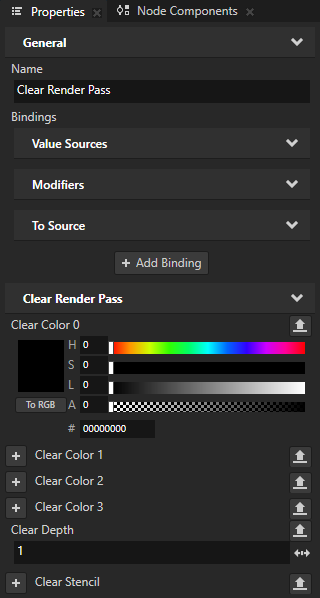
Clear Render Pass clears some or all of the buffers of the current render context.
By default the Clear Render Pass in the Render to Texture Pass clears the first color buffer with transparent black color and the depth buffer with value 1.
Gather Lights Render Pass collects the Light nodes in the Viewport 2D node that you set to use the Render to Texture Pass, and passes them to its child Draw Objects Render Pass render pass.
Draw Objects Render Pass named Draw Objects allows you to set a Camera node to render a specific list of nodes, to filter those nodes, and to control frustum culling. Draw Objects Render Pass by default renders nodes using the lights provided by its nearest ancestor Gather Lights Render Pass. By default the Draw Objects Render Pass uses the default Camera node to render all nodes in a Viewport 2D node.

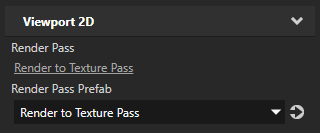
In the Node Tree select the Viewport 2D node whose content you want to render to a texture, and in the Properties set the Render Pass Prefab property to the Render to Texture Pass you created.
Kanzi Studio renders the Viewport 2D node using the Render to Texture Pass.
Apply the Render Target Texture you created in the first step to a node where you want to show the content of the Viewport 2D node that you selected in the previous step.
For example:
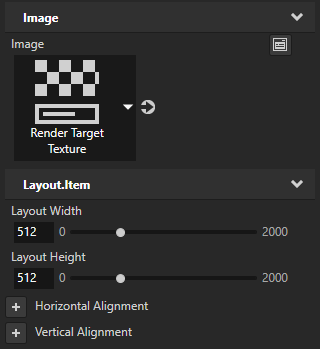
In the Node Tree, press Alt and right-click and select Image.
In the Node Tree, select the Image node. In the Properties, set the Image property to the Render Target Texture that you want to show in the Image node.
Rendering cubemaps for dynamic image-based lighting
Use the Image-Based Lighting Filter Pass preset to create dynamic cubemap textures for real-time image-based lighting. You can use this preset only as part of a render pass tree that renders content of a scene and you cannot use it directly in a Viewport 2D node.
Image-Based Lighting Filter Pass uses a Cubemap Render Pass to capture an environment map. See Creating cubemap reflections.
To render cubemaps for dynamic image-based lighting:
Create a skybox:
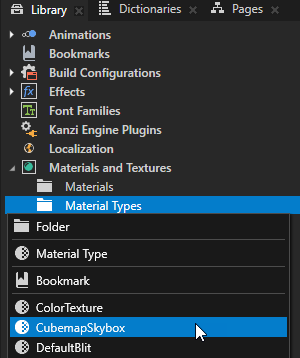
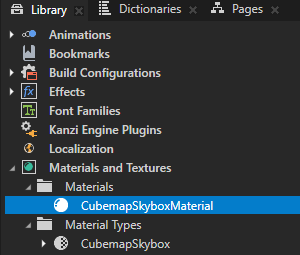
In the Library > Materials and Textures, press Alt and right-click Material Types, and select CubemapSkybox.
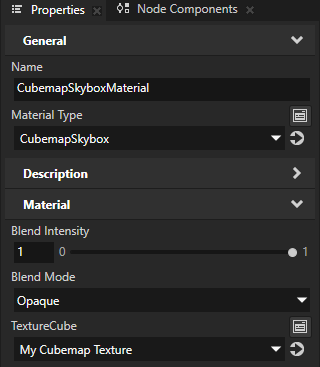
Kanzi Studio creates in the Library > Materials and Textures the CubemapSkybox material type and CubemapSkyboxMaterial, which supports showing a cubemap texture as a skybox.
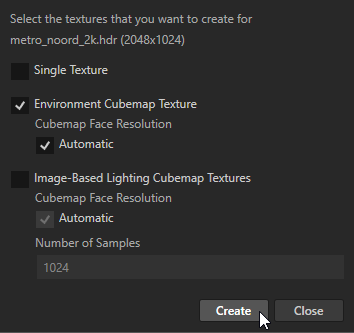
Import an HDR image that you want to use for the skybox. When importing the image, set Kanzi Studio to create only environment cubemap texture.
For best results, use a high dynamic range (HDR) pixel format, such as the R16G16B16A16_SFLOAT.
In the Library, select the CubemapSkyboxMaterial material. In the Properties, set the TextureCube property to the cubemap texture that you imported.
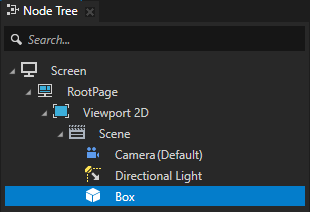
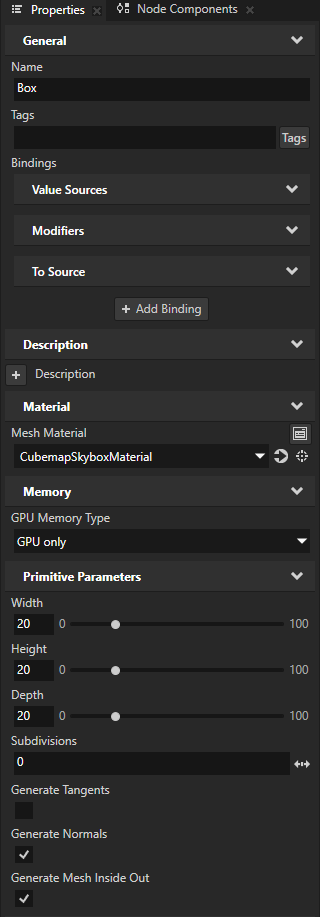
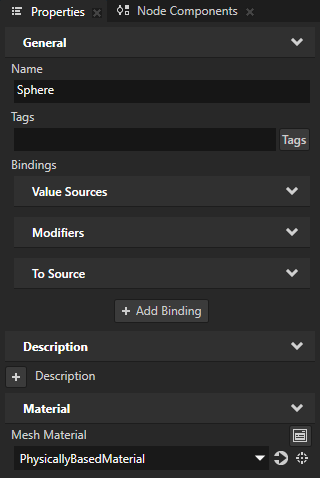
Create a Box or Sphere node that you use to render the skybox. In the Properties, set:
Mesh Material to CubemapSkyboxMaterial
The size of the node so that it is large enough to fit the content that you want to show inside it:
For a Box, set the Width, Height, and Depth properties.
For a Sphere, set the Radius property.
Generate Mesh Inside Out to enabled
When this property is enabled, Kanzi renders the cubemap texture inside the mesh.
Create content on which you want to show dynamic reflections with image-based lighting:
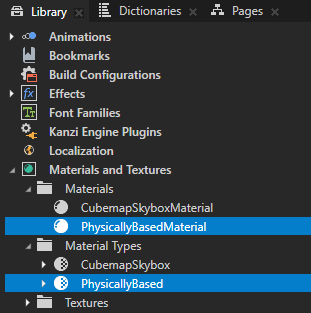
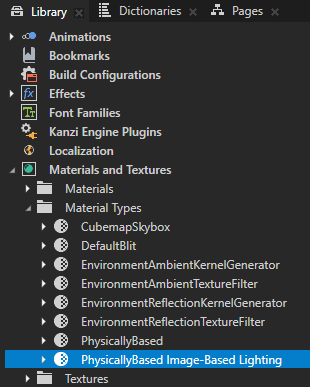
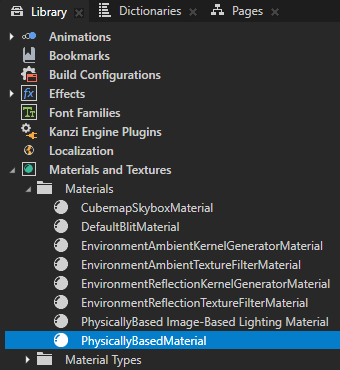
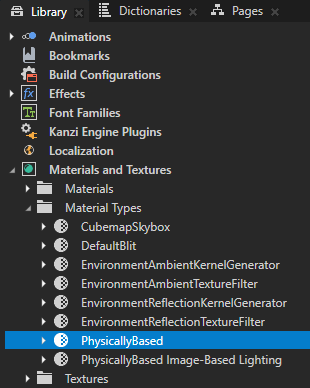
In the Library > Materials and Textures, press Alt and right-click Material Types, and select PhysicallyBased.
Kanzi Studio creates in the Library > Materials and Textures the PhysicallyBased material type and PhysicallyBasedMaterial.
In the Library > Materials and Textures > Material Types, select PhysicallyBased, and press Ctrl D.
You duplicate the material type because you later use a variation of the same material type for the content that moves in the environment and whose reflection you want to dynamically show.
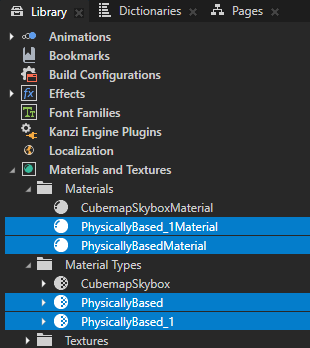
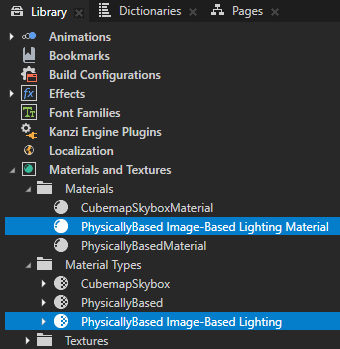
Rename the duplicated content:
Material type to PhysicallyBased Image-Based Lighting
Material to PhysicallyBased Image-Based Lighting Material
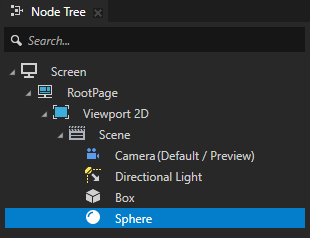
Create a node in which you want to show reflection.
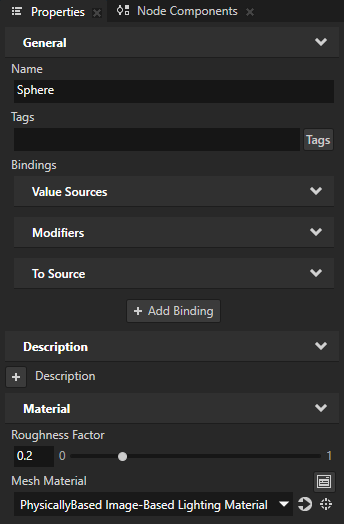
For example, create a Sphere node. In the Properties, add and set:
Mesh Material to PhysicallyBased Image-Based Lighting Material
Material > Roughness Factor to 0.2
Create the render pass tree that renders the environment and the content:
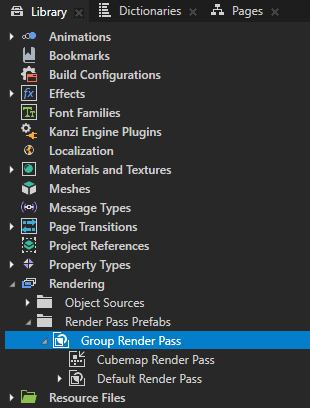
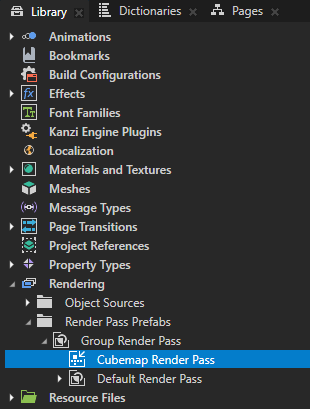
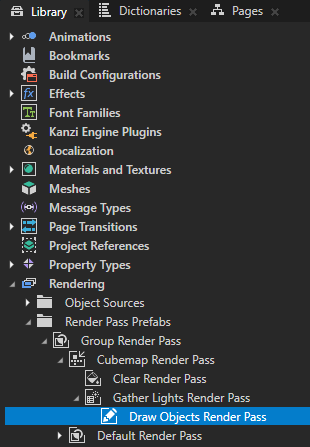
In the Library > Rendering, press Alt and right-click Render Pass Prefabs, and select Group Render Pass.
In the Group Render Pass create:
Cubemap Render Pass
Default Render Pass
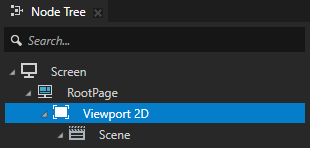
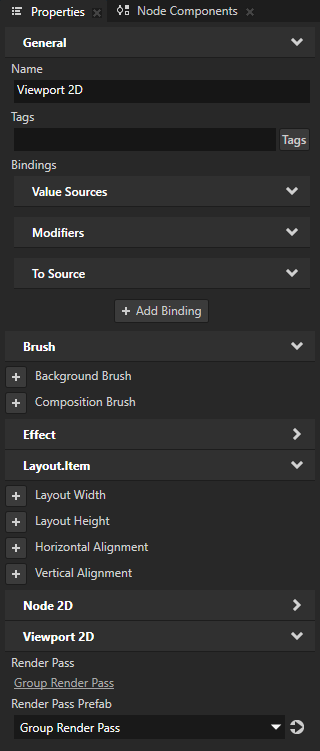
In the Node Tree select the Viewport 2D node. In the Properties set the Render Pass Prefab to the Group Render Pass.
Adjust the Cubemap Render Pass:
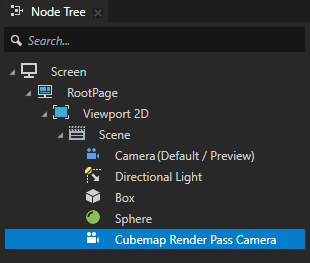
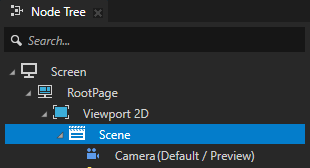
In the Node Tree press Alt and right-click the Scene and select Camera and name it Cubemap Render Pass Camera.
You use this camera only in the Cubemap Render Pass.
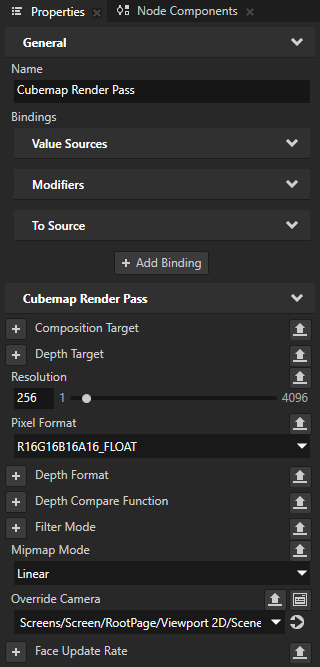
In the Cubemap Render Pass set:
Override Camera to the cubemap render pass camera
Resolution to 256
The higher the value, the higher the rendering quality.
Pixel Format to R16G16B16A16_FLOAT
Mipmap Mode to Linear
You use Linear because Nearest returns a pixelated result.
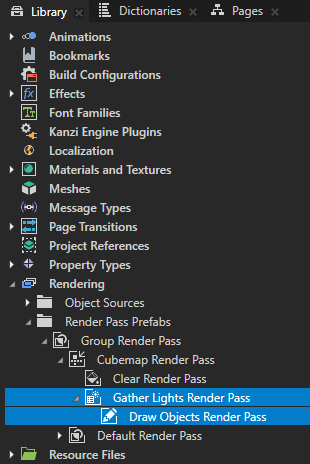
In the Cubemap Render Pass:
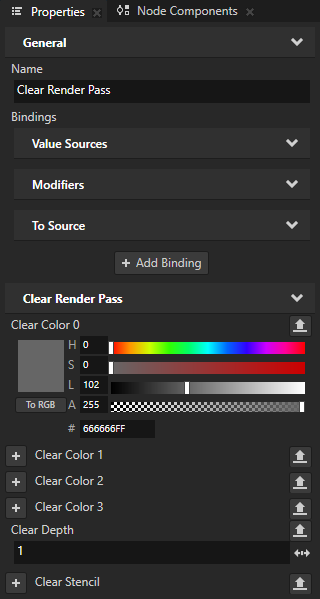
Create a Clear Render Pass, and add the Clear Color 0 property.

Create a Gather Lights Render Pass and under it a Draw Objects Render Pass.
Select the content to render in the Cubemap Render Pass:
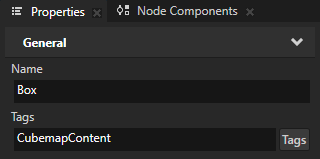
In the Node Tree select the Box that you use for the skybox. In the Properties set Tag to CubemapContent.
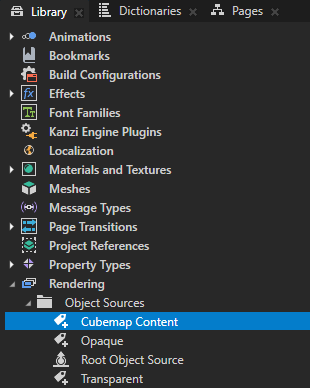
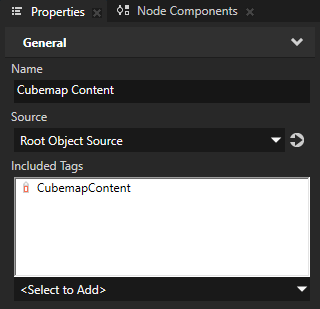
In the Library > Rendering press Alt and right-click Object Sources, select Tag Filter, and name it Cubemap Content.
In the Properties set the Included Tags to the CubemapContent tag.
In the Draw Objects Render Pass, set the Object Source property to the Cubemap Content tag filter.

Create and adjust an Image-Based Lighting Filter Pass:
In the Library > Rendering press Alt and right-click Render Pass Prefabs and select Image-Based Lighting Filter Pass.
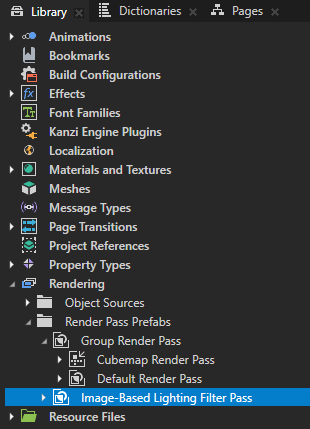
Kanzi Studio creates in the Library:
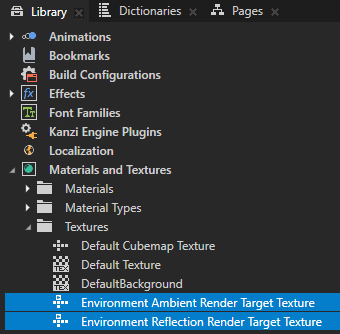
In Materials and Textures > Textures these Cubemap Render Target Textures:
Environment Ambient Texture as irradiance texture for diffuse lighting
Environment Reflection Texture as reflection texture for reflective lighting
To learn how to use the resulting cubemap textures in your project that uses Physically-Based Rendering materials, see Using image-based lighting cubemap textures.
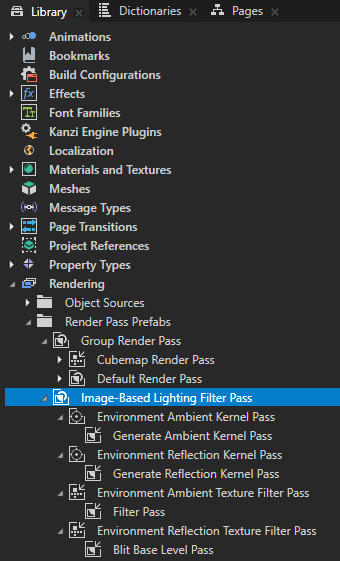
In Rendering > Render Pass Prefabs a Group Render Pass named Image-Based Lighting Filter Pass and contains these render passes:
- Composition Target Render Pass named Environment Ambient Kernel Pass, which creates and renders to a 2D lookup texture. This pass is executed once during startup. The result is used by the Environment Ambient Texture Filter Pass.
Blit Render Pass named Generate Environment Ambient Kernel Pass, which renders the 2D lookup texture.
- Composition Target Render Pass named Environment Reflection Kernel Pass, which renders a 2D lookup texture. This pass is executed once during startup. The result is used by the Environment Reflection Texture Filter Pass.
Blit Render Pass named Generate Environment Reflection Kernel Pass, which renders the 2D lookup texture.
- Cubemap Target Render Pass named Environment Ambient Texture Filter Pass, which renders to the Environment Ambient Texture cubemap texture.
Blit Render Pass named Filter Pass, which renders the final Environment Ambient Texture.
- Cubemap Target Render Pass named Environment Reflection Texture Filter Pass, which renders to the Environment Reflection Texture cubemap texture and uses a mipmap material to render different roughness values as prefiltered mipmaps.
Blit Render Pass named Blit Base Level Pass, which renders the base mipmap level of Environment Reflection Texture.
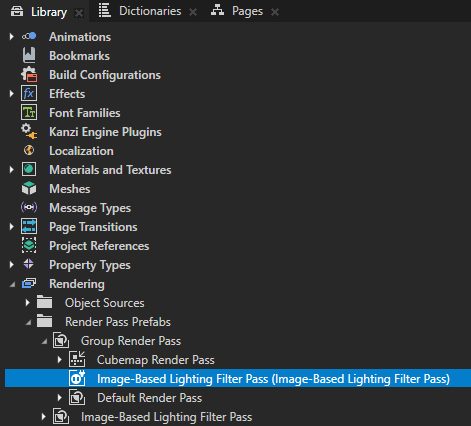
Drag the Image-Based Lighting Filter Pass to the Group Render Pass and place it between the Cubemap Render Pass and Default Render Pass.
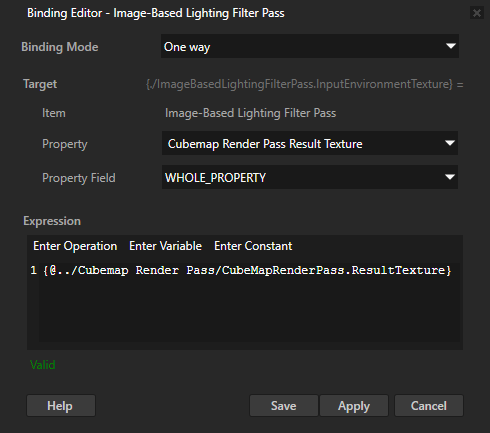
Select the instance of the Image-Based Lighting Filter Pass, in the Properties click Add Binding, and in the Binding Editor:
Set Property to the Input Environment Texture
In the Library > Rendering > Render Pass Prefabs select the Cubemap Render Pass and from the Properties drag the Result Texture to the Binding Editor and drop it on the Expression editor.
Click Save.
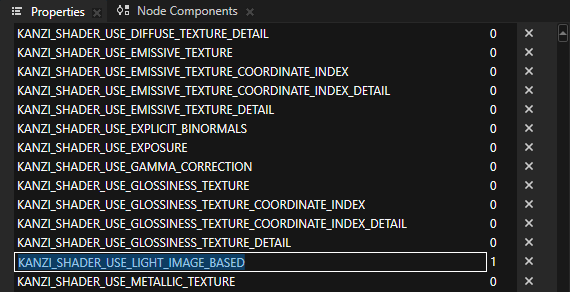
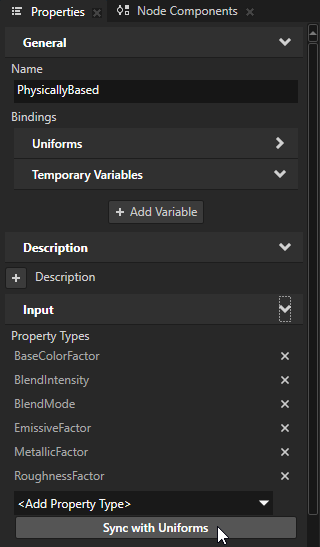
In the Library > Materials and Textures > Material Types, select PhysicallyBased Image-Based Lighting material type. In the Properties in the Preprocessor Defines set the KANZI_SHADER_USE_LIGHT_IMAGE_BASED key to 1 and click Sync with Uniforms.

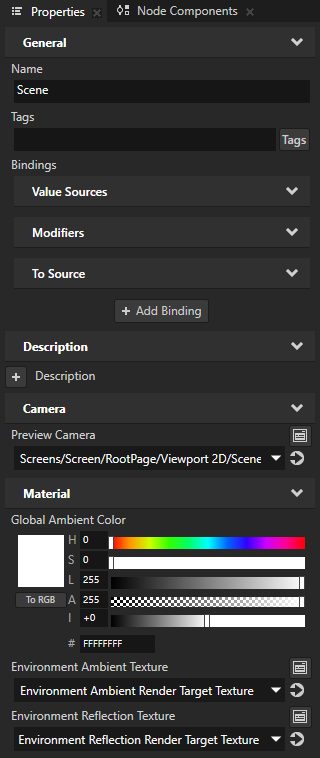
In the Node Tree select the Scene node. In the Properties add and set:
Material > Environment Ambient Texture to Environment Ambient Render Target Texture
Material > Environment Reflection Texture to Environment Reflection Render Target Texture
Image-Based Lighting Filter Pass creates and dynamically updates these textures.
Add the content that you want to see dynamically reflected.
For example:
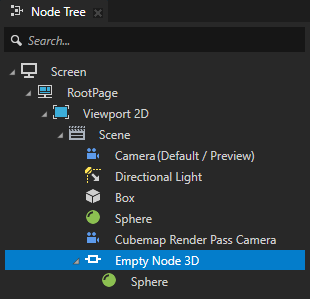
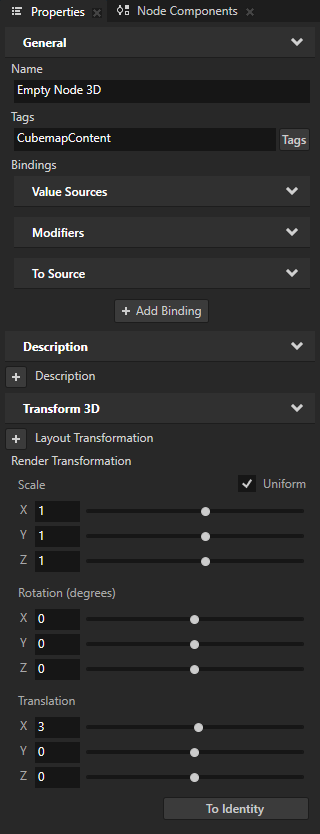
In the Node Tree create an Empty Node 3D with a Sphere.

Select the Empty Node 3D and in the Properties add and set:
Tag to CubemapContent
Render Transformation Translation X to 3
This way Kanzi renders the node and its child nodes as part of the environment and you move it away from the reflective surface.
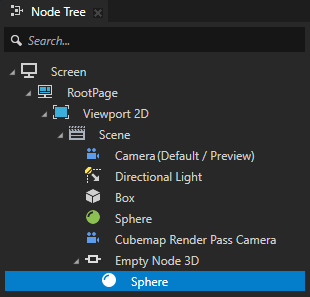
Select the Sphere and in the Properties set Mesh Material to PhysicallyBasedMaterial.
In the Library > Materials and Textures > Materials, select the PhysicallyBasedMaterial. In the Properties set:
Base Color Factor to white
Emissive Factor to white and high intensity

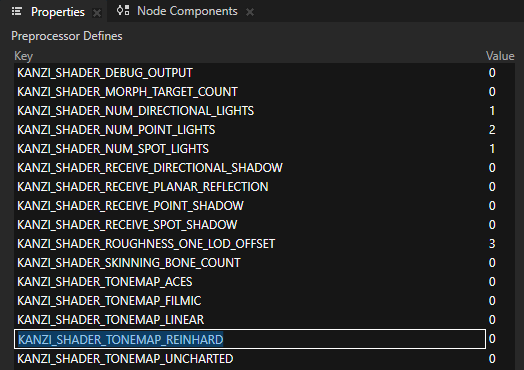
In the Library > Materials and Textures > Material Types, select the PhysicallyBased. In the Properties disable KANZI_SHADER_TONEMAP_REINHARD and click Sync with Uniforms.
This way you disable tonemapping.
To change the quality of the reflection, adjust the Environment Ambient Texture by setting the Ambient Sample Count. This way you adjust the resolution of that cubemap texture. Lower resolution decreases the quality, but can improve performance.
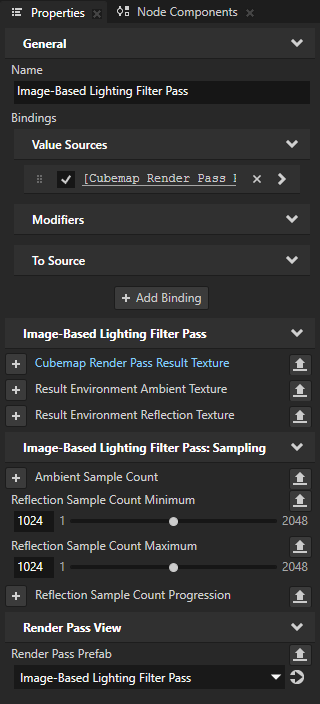
In the Image-Based Lighting Filter Pass add and set Reflection Sample Count Minimum and Reflection Sample Count Maximum. Larger sample count increases the quality but decreases the performance.
For example, set both properties to 1024.
These properties control the Environment Reflection Texture sample count:
Reflection Sample Count Minimum is the sample count for the first mipmap level after the base level. It requires the lowest amount of samples because of the lower roughness associated with it.
Reflection Sample Count Progression controls how the sample count increases from the Reflection Sample Count Minimum. Every mipmap level after the first after base level increases the sample count by this value multiplied by \(2^{mipmap - 1} - 1\).
Reflection Sample Count Maximum limits the sample count progression to this value.
For example, if the minimum, progression and maximum are 32, 32, and 128 respectively, the sample count for:
The first mipmap level after the base level is 32
The second mipmap level is 64
The third mipmap level is 128
The fourth mipmap level is 128
The sample count does not increase after the fourth mipmap level.
When you move the object that you created to be reflected, its reflection moves accordingly.
See also
Distributing rendering across several frames
Rendering content to composition targets