Using smart materials
In a material type, you can use material rules to automate the definition of shader preprocessors for material inputs and vertex attributes.
Using the Kanzi default smart materials
Kanzi Studio comes with these smart material types:
SmartPhysicallyBased. See Using the smart physically-based material.
SmartVertexPhong. See Using the smart Phong materials.
SmartFragmentPhong. See Using the smart Phong materials.
To create your own smart materials, see Creating your own smart material.
When you add properties to a smart material, Kanzi Studio automatically creates a variant of the material type with the correct preprocessor definition values and properties set to support the properties that you added.
Using the smart physically-based material
To use the smart physically-based material:
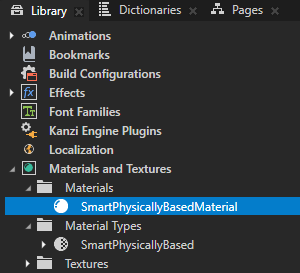
In the Library > Materials and Textures, press Alt and right-click Material Types and select SmartPhysicallyBased.
Kanzi Studio creates the SmartPhysicallyBased material type and the SmartPhysicallyBasedMaterial material.
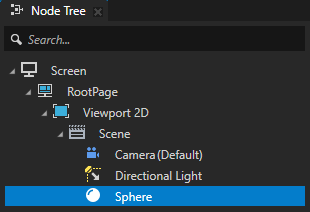
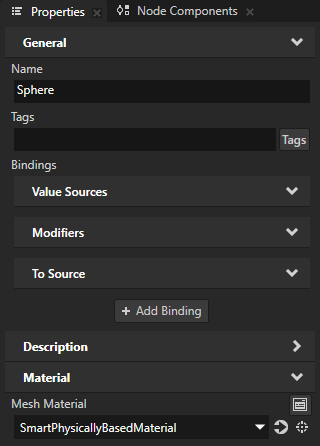
In the Node Tree, select a 3D node where you want to use the SmartPhysicallyBasedMaterial material. In the Properties, set the Material or Mesh Material property to SmartPhysicallyBasedMaterial.
In the Properties, click
 next to the material property to go to the SmartPhysicallyBasedMaterial material.
By default, the SmartPhysicallyBasedMaterial uses the metallic-roughness workflow which enables you to adjust materials based on their metalness and roughness:
Roughness Factor sets the roughness of the material on a scale from 0 to 1:
For a smooth, glossy surface, set the property value to 0.
For a rough, diffuse surface, set the property value to 1.
Metallic Factor sets the metalness of the material on a scale from 0 to 1:
For a dielectric material, set the value to 0.
For a material whose reflective behavior fully resembles that of a metal, set the value to 1.
The properties that you can add to the material are available in the Add Property > Material context menu. For example, you can:
Set the material to use textures. See Creating a physically-based textured material.
Set the type and number of lights that the material can use. See Setting the number of lights for a smart material.
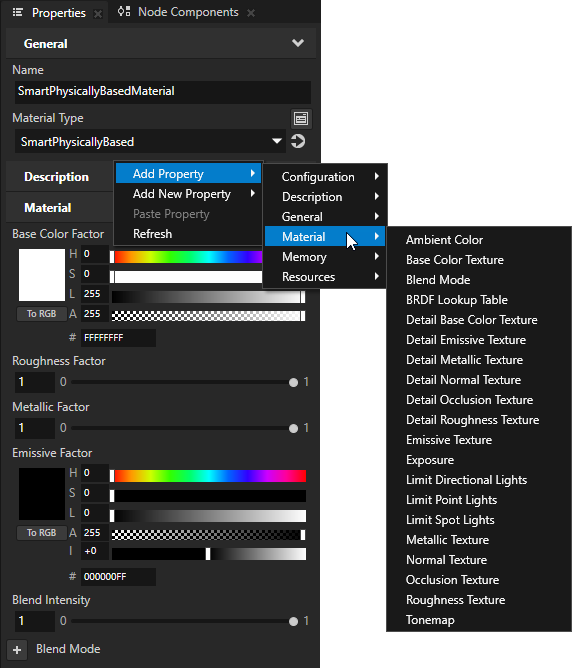
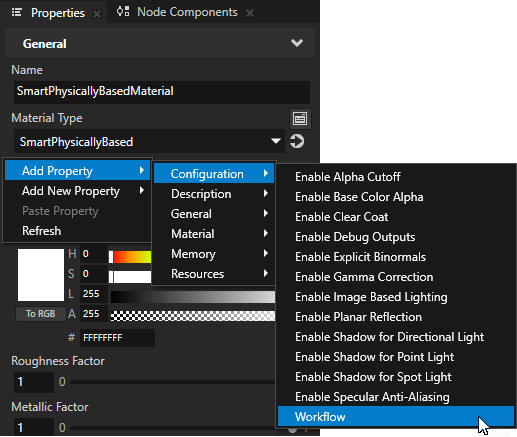
To enable different physically-based features for the material, use the Add Property > Configuration context menu.
When you enable a feature:
Kanzi Studio adds to the material the properties that you can use to configure the feature.
Properties that you can use to fine-tune the feature become available in the Add Property > Material category.
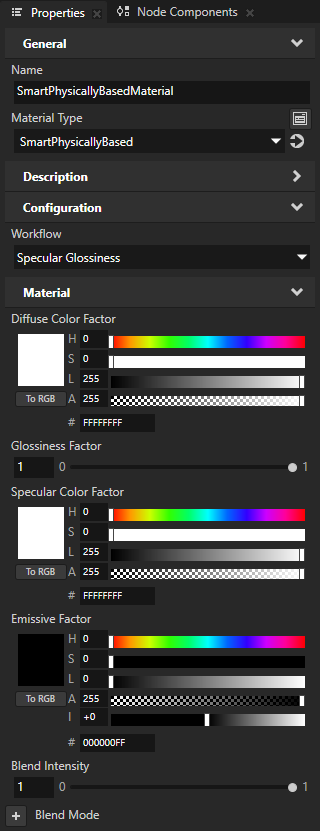
For example, to use the specular-glossiness workflow, add the Configuration > Workflow property, and set it to Specular Glossiness.
Kanzi Studio adds to the material these properties:
Diffuse Color Factor sets the diffuse color of the material.
Glossiness Factor sets the glossiness of the material on a scale from 0 to 1:
For a rough, diffuse surface, set the property value to 0.
For a smooth, glossy surface, set the property value to 1.
Specular Color Factor sets the specular color of the material.
Using the smart Phong materials
These smart Phong materials are available:
SmartFragmentPhong is a pixel-based Phong material uses shaders that are compatible with OpenGL ES2. Most of the GPU-specific computation, including applying lights using the Phong reflection model, is done in the fragment shader. This offers better image quality often at the cost of performance.
SmartVertexPhong is a vertex-based Phong material uses shaders that are optimized for use with OpenGL ES2. Most of the GPU-specific computation, including applying lights using the Phong reflection model, is done in the vertex shader.
To use a smart Phong material:
In the Library > Materials and Textures, press Alt and right-click Material Types and select SmartVertexPhong or SmartFragmentPhong.
Kanzi Studio creates the material type and material in the Library.
In the Node Tree, select a 3D node where you want to use the material. In the Properties, set the Material or Mesh Material property to smart Phong material that you imported.
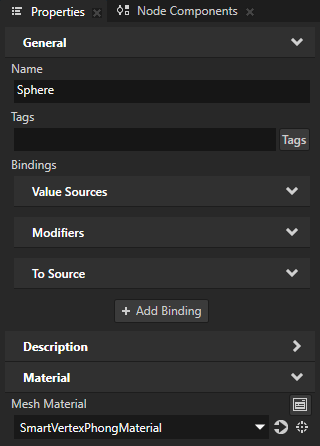
In the Properties, click
next to the material property to go to the material properties. Add and set the Material properties that you want to use.For example:
To use a texture, add the Material > Texture property and set it to the texture that you want to render.
When you add the Texture property, the Texture Offset and Texture Tiling properties become available in the Add Property > Material context menu.
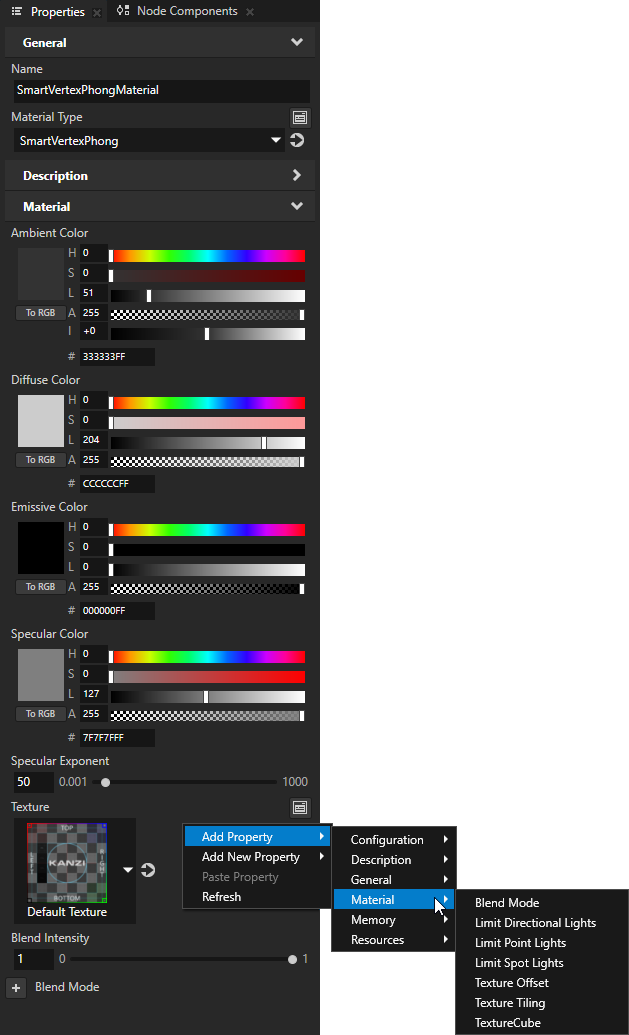
To use a cubemap texture, add the TextureCube property and set it to the cubemap texture that you want to render.
When you add the TextureCube property, the CubemapColor property become available in the Add Property > Material context menu.
By default, the smart Phong materials support one spot light. If your Scene contains multiple Spot Light nodes, add the Material > Limit Spot Lights property, and set it to the number of spot lights that you want to use.
Creating your own smart material
Here you use material rules to create your own smart material that enables rendering either a color or a texture, or both.
To create your own smart material:
In the Library > Materials and Textures > Material Types, create or select the material type for which you want to create a material rule.
For example, create a custom material type that supports rendering either a color or a texture, or both:
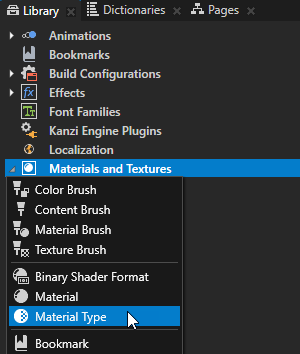
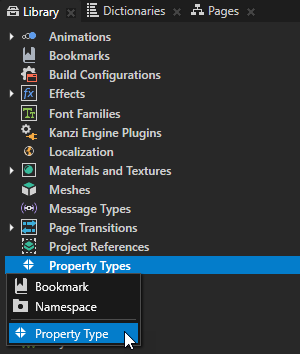
In the Library, press Alt and right-click Materials and Textures, select Material Type, and name it SmartColorTexture.
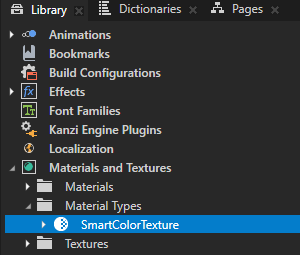
In the Library, expand the SmartColorTexture material type and double-click the Vertex Shader to open it in the Shader Source Editor. Replace the contents of the shader file with
precision mediump float;

attribute vec3 kzPosition;
uniform highp mat4 kzProjectionCameraWorldMatrix;

#if USE_TEXTURE
attribute vec2 kzTextureCoordinate0;
uniform vec2 TextureOffset;
uniform vec2 TextureTiling;
varying vec2 vTexCoord;
#endif

void main()
{
#if USE_TEXTURE
    vTexCoord = kzTextureCoordinate0 * TextureTiling + TextureOffset;
#endif
    gl_Position = kzProjectionCameraWorldMatrix * vec4(kzPosition.xyz, 1.0);
}
Click Save.
Double-click the SmartColorTexture > Fragment Shader to open it in the Shader Source Editor. Replace the contents of the shader file with
precision mediump float;

uniform float BlendIntensity;

#if USE_COLOR
uniform lowp vec4 Ambient;
#endif

#if USE_TEXTURE
varying vec2 vTexCoord;
uniform sampler2D Texture;
#endif

void main()
{

#if USE_TEXTURE
    vec4 textureColor = texture2D(Texture, vTexCoord);
#endif

#if USE_COLOR && USE_TEXTURE
    float alpha = Ambient.a * BlendIntensity;

    gl_FragColor.rgb = textureColor.rgb * Ambient.rgb * alpha;
    gl_FragColor.a   = textureColor.a * alpha;

#elif USE_COLOR
    gl_FragColor = Ambient * BlendIntensity;

#elif USE_TEXTURE
    gl_FragColor = textureColor * BlendIntensity;

#else
    gl_FragColor = vec4(0.0);
#endif

}
Click Save.
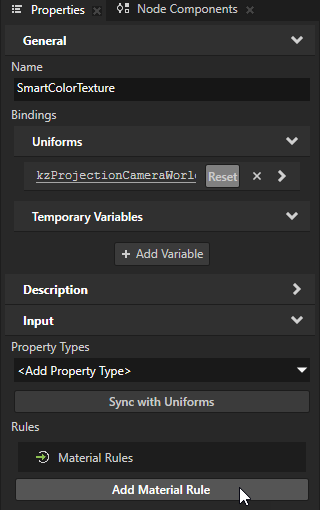
In the Library, select the SmartColorTexture material type. In the Properties, in the Preprocessor Definitions, add:
USE_COLOR key and set its value to 0
USE_TEXTURE key and set its value to 0
Next, you create material rules that control the values of these preprocessor definitions based on the properties that the user adds to the material.

Create a material rule:
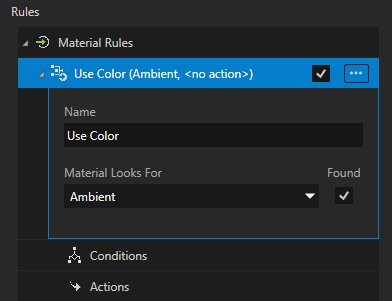
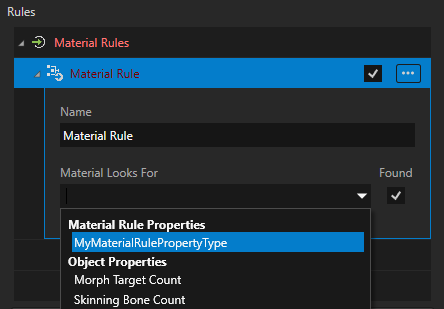
In the Library, select a material type. In the Properties > Material Rules, click Add Material Rule.
In the Material Rule, set:
Name to a descriptive name
For example, set it to Use Color.
Material Looks For to the property which you want to affect this material rule:
Object Properties are provided to a material automatically from the objects that use the material. You cannot add these properties to a material.
Material Rule Properties are custom properties that you can use in material rule. See Using a custom property type in a material rule.
Material Properties are Kanzi properties that are present in a material when you add them to that material.
For example, set Material Looks For to the Material Properties > Ambient property type.
When you add the Ambient Color property to a material of the SmartColorTexture material type, Kanzi Studio executes the action that you next add to this rule.
By default, the Found option is enabled in a material rule. When you disable the Found option, the rule executes its actions when the Material Looks For property is not present in a material.
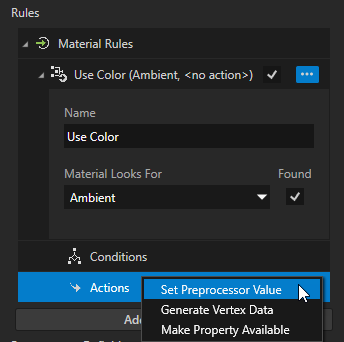
In the Material Rule that you created, right-click Actions and select:
Set Preprocessor Value to set the value of a shader preprocessor macro
Generate Vertex Data to generate missing mesh vertex data
This action assigns a tangent space normal map to a mesh that has no tangents. If a mesh already has tangents, this action does not regenerate them.
Make Property Available to make a property available for a material only when that material finds the property that you selected in the Material Looks For dropdown of the material rule.
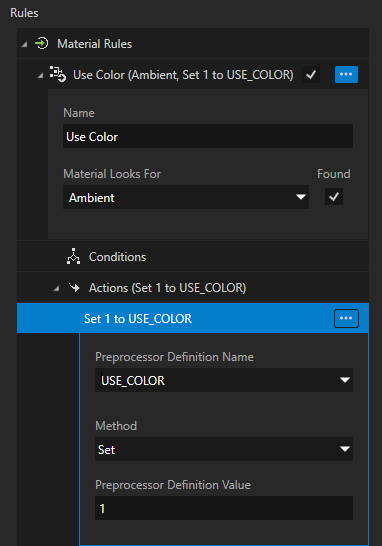
For example, select Set Preprocessor Value, and set:
Preprocessor Definition Name to USE_COLOR
Method to Set
This way, you set the value of the preprocessor macro to a constant value.
To copy the value of the Material Looks For property to the preprocessor macro, use the Copy value method.
Preprocessor Definition Value to 1
When the user adds the Ambient Color property to a material of the SmartColorTexture material type, this action sets the value of the USE_COLOR preprocessor macro to 1.
To create a material rule for the use of a texture, repeat the previous step, but:
Name the material rule Use Texture and set it to affect the Texture property type.
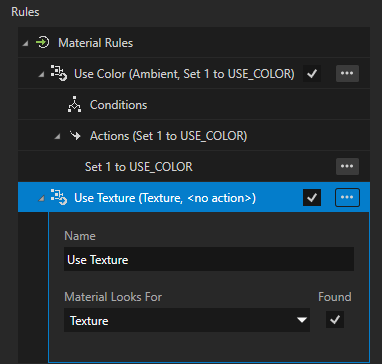
In the Set Preprocessor Value action, set the value of the USE_TEXTURE preprocessor definition.

Click Sync with Uniforms.
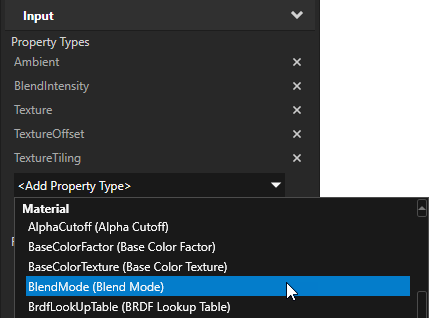
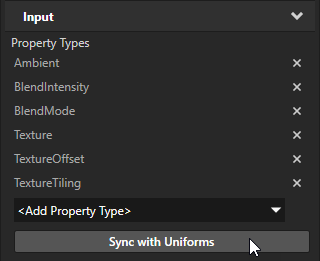
Kanzi Studio adds to the material type the Ambient Color, Texture, Texture Offset, and Texture Tiling input properties whose uniforms you defined in the vertex shader.
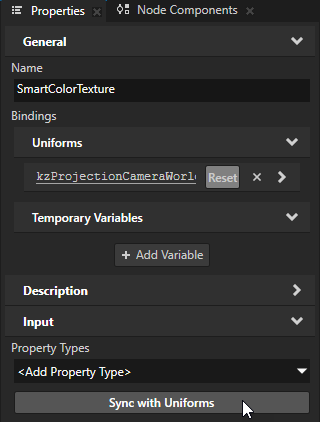
In the Property Types dropdown, select Material > BlendMode (Blend Mode). Click Sync with Uniforms.
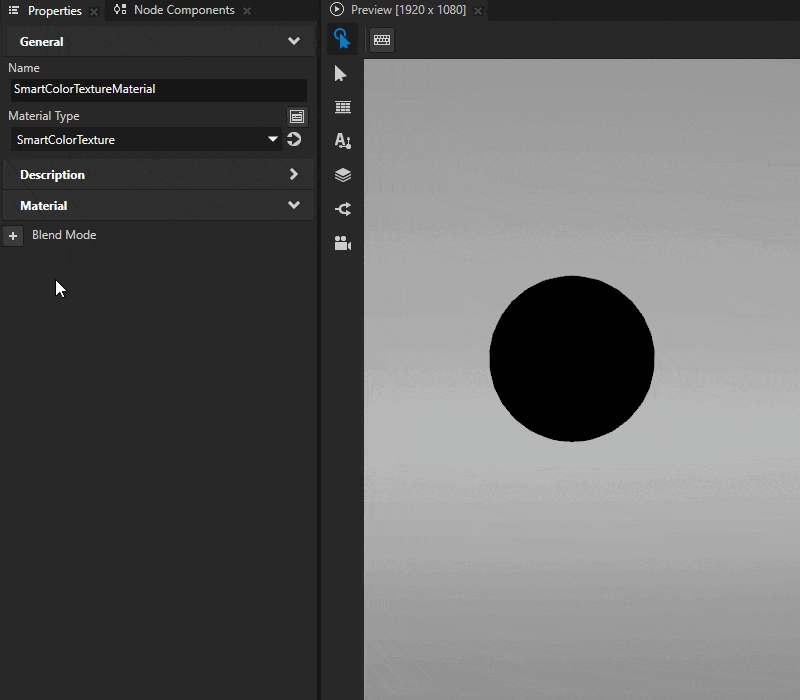
Set a 3D node to use the SmartColorTextureMaterial material. By default, the material renders transparent black color.
In the Library, select the SmartColorTextureMaterial material. In the Properties, you can add and set:
Material > Ambient Color to render color
Material > Texture to render a texture
When you add the Texture property, Kanzi Studio adds to the material also the Texture Offset and Texture Tiling properties.
Blend Mode to use color blending
By default, the material uses Opaque blend mode.
When you add properties that you use in the material rules, Kanzi Studio creates in the Library > Materials and Textures > Material Types > SmartColorTexture a version of the material type with the preprocessor definitions set to the values that you defined in the material rules.
Using a custom property type in a material rule
To use a custom property type in a material rule:
Create a property type. See Creating a property type.
In the New Property Type window, enable the Material Rule Property flag.
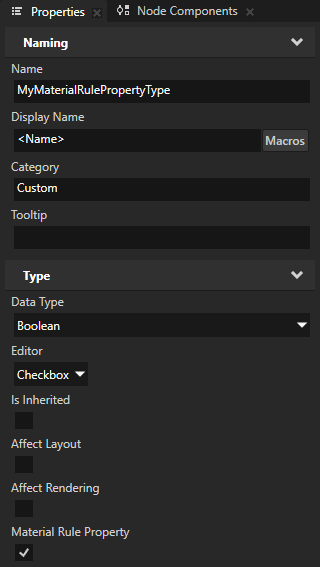
You can now use your property type in a material rule. The property type appears in the Property Type dropdown menu under Material Rule Properties.
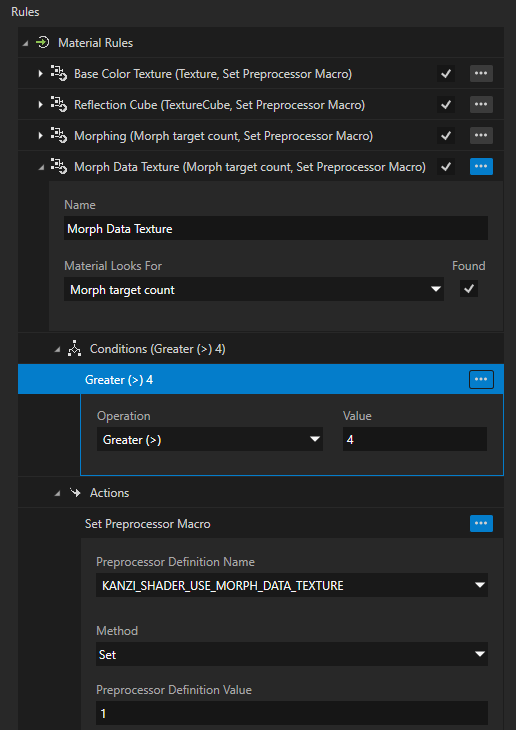
Adding conditions to a material rule
In a material rule, you can create conditions that must be met for the rule to execute its actions. A material rule condition uses a relational operator to compare the value of the rule property type to a constant value.
To create conditions in a material rule, the data type of the property type that affects that rule must be Boolean, enumeration, or integer.
A material rule executes its actions only when the value of its property type meets all conditions in that rule.
For example, the SmartVertexPhong material type has a material rule that enables the use of a morph data texture if the number of morph targets is greater than four.