Using image-based lighting cubemap textures
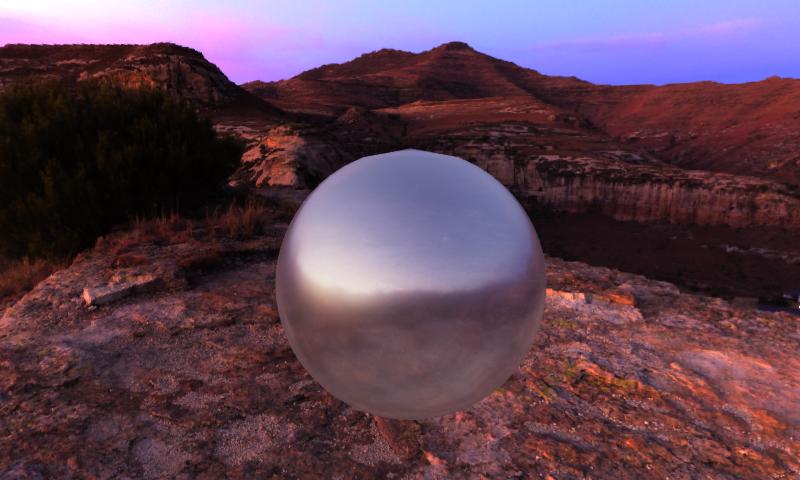
Use image-based lighting to light 3D nodes by treating their surrounding environment as a source of lights.
Image-based lighting cubemap textures simulate lighting coming from the environment:
Irradiance cubemap texture represents the indirect diffuse part of the environment lighting.
A fully diffuse surface is rough and reflects incoming light rays in random directions. For example, rubbery materials have a diffuse surface.
Specular cubemap texture represents the reflective part of the environment lighting.
A fully reflective surface is smooth and reflects incoming light rays in the same angle as they arrive, like a mirror. For example, metallic materials have a reflective surface.
Each image-based lighting cubemap texture combines six square-shaped images into one texture to represent environment lighting.
Use an environment cubemap texture to render the environment around your 3D content. See Using environment cubemap textures.
When you want to create dynamic reflections of the environment on the surface of 3D nodes, use the Cubemap Render Pass. See Creating cubemap reflections.
Creating image-based lighting cubemap textures
To create image-based lighting cubemap textures:
In the Assets, click Import Assets and select an hdr or exr image for which you want to create image-based lighting cubemap textures.

Tip
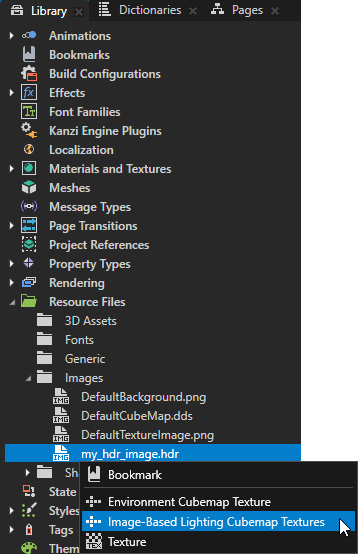
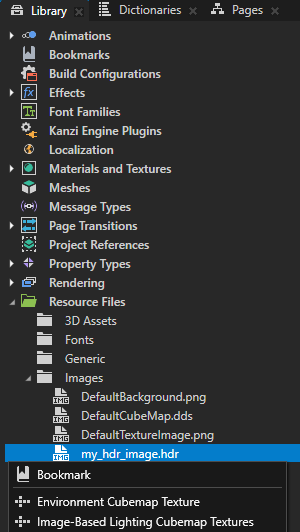
To create image-based lighting cubemap textures for an hdr or exr image that you have already imported to your Kanzi Studio project, in the Library > Resource Files > Images press Alt and right-click that image and select Image-Based Lighting Cubemap Textures.
In the Create Textures for HDR Images dialog:
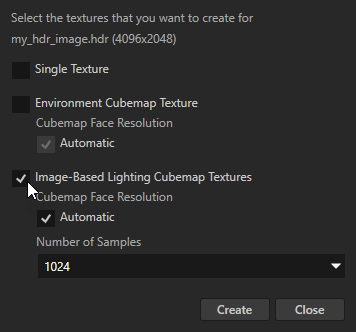
Select Image-Based Lighting Cubemap Textures.
Tip
To create also an environment cubemap texture for the image, select Environment Cubemap Texture. See Using environment cubemap textures.
(Optional) To manually set the size of the cubemap faces, disable the Automatic setting and set the Cubemap Face Resolution.
For example, to create cubemap textures where the size of each cubemap face is 512 by 512 pixels, set Cubemap Face Resolution to 512.
By default, Kanzi Studio creates cubemap textures where the width and height of each cubemap face are 256 pixels, or, if the width of the image that you import is less than 1024 pixels, one quarter of that width.
Increasing the cubemap face resolution increases the cubemap calculation time quadratically.
(Optional) Set the Number of Samples to the number of pixels that you want Kanzi Studio to sample from the image and use to generate the cubemaps.
The more samples, the more accurately the cubemap approximates the environment lighting. Increasing the number of samples increases the cubemap calculation time linearly. The default value of 1024 samples is expected to be enough for most situations. However, for an image that contains very high frequency changes, such as a bright sun, using a higher sample count can reduce the amount of noise in the generated cubemap face images.
Click Create.
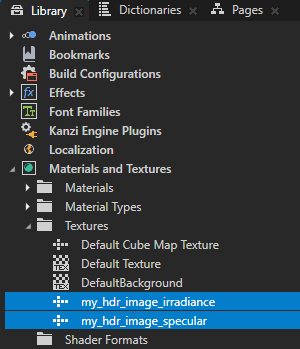
Kanzi Studio imports the image and creates in the Library > Materials and Textures > Textures the image-based lighting cubemap textures for that image:
<image_name>_irradiance represents the indirect diffuse portion of the environment lighting.
<image_name>_specular represents the reflective lighting.


Tip
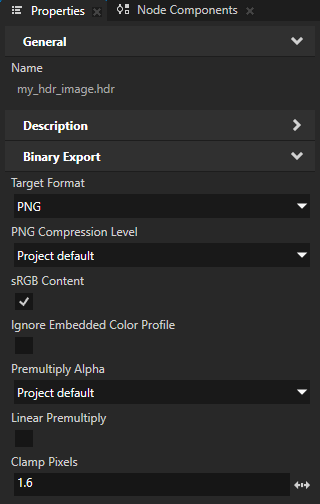
You can restrict the brightness of strongly lit areas in the textures that you create from an HDR image.
To set the maximum brightness level in the cubemap textures that you create from an HDR image:
In the Library > Resource Files > Images, select the image. In the Properties, add the Clamp Pixels property and set it to the value to which you want to restrict the color values in the cubemap face images that you create from that image.
In the Library > Resource Files > Images, press Alt and right-click the image and select the cubemap texture that you want to create.
Using image-based lighting cubemap textures
To use image-based lighting cubemap textures:
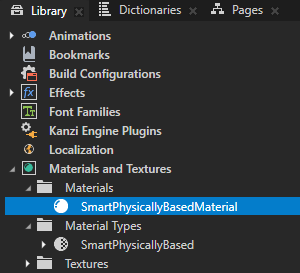
In the Library > Materials and Textures, press Alt and right-click Material Types and select SmartPhysicallyBased.
Kanzi Studio creates the SmartPhysicallyBased material type and the SmartPhysicallyBasedMaterial material.
This material supports using the features of the Kanzi default physically-based shaders.
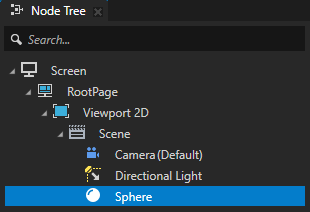
Create the 3D content that you want to light by treating their surrounding environment as a source of lights, and set that content to use the SmartPhysicallyBasedMaterial material.
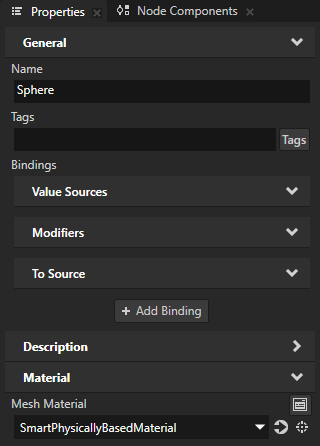
For example, in the Node Tree, create a Sphere node. In the Properties, set the Mesh Material property to SmartPhysicallyBasedMaterial.
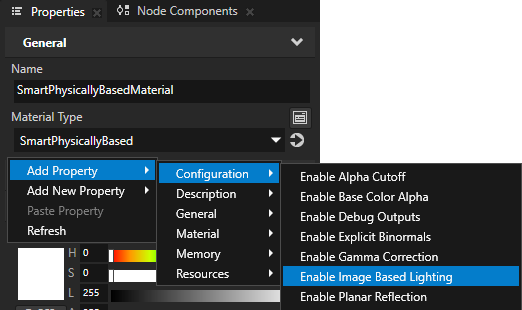
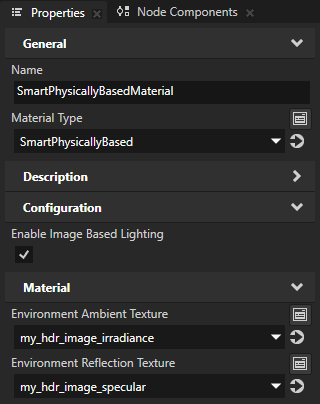
In the Library > Materials and Textures > Materials, select the SmartPhysicallyBasedMaterial. In the Properties, add the Configuration > Enable Image Based Lighting property and set:
Environment Ambient Texture to the irradiance cubemap texture that you want to use for diffuse lighting.
Environment Reflection Texture to the specular cubemap texture that you want to use for reflective lighting.
See Creating image-based lighting cubemap textures.
(Optional) In the Properties, add and set:
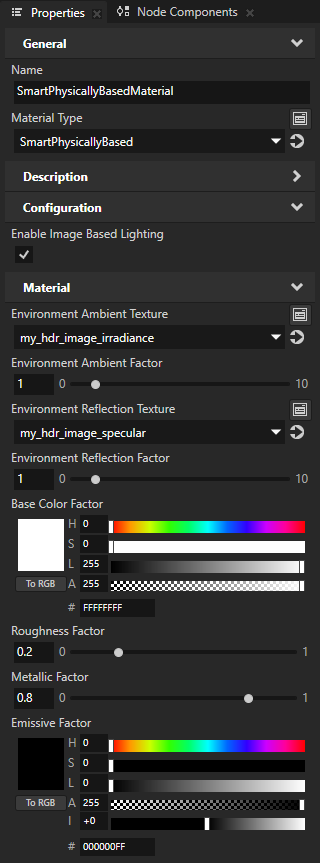
Material > Environment Ambient Factor to set the strength of the irradiance cubemap texture.
Material > Environment Reflection Factor to set the strength of the specular cubemap texture.
Use the material properties to control the strength of the reflections on the material surface.
For example, for a metallic-roughness material:
Roughness Factor sets the roughness of the material.
When you increase the roughness of a material, the reflections on the material surface get blurrier.
Metallic Factor sets the metalness of the material.
When you increase the metalness of a material:
Diffuse reflections on the material surface get weaker.
Specular reflections on the material surface get stronger.
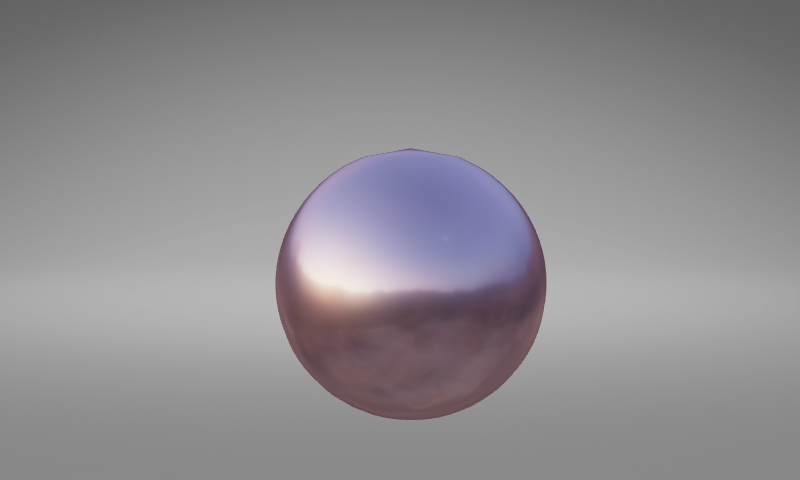
When you use an environment cubemap texture to render the environment around your 3D content, you can see how the image-based lighting textures simulate the lighting coming from the environment. See Using an environment cubemap texture.
