Creating textured materials
Use textured materials to render a texture on a mesh. In Kanzi you can use textured materials with:
Single textures use a single image for the texture.
Cubemap textures combine six square-shaped images into one texture to represent reflections of the environment. Each image represents the scenery in one of the six directions along the x, y, and z axes from the viewpoint of the cubemapped object.
Physically-based textured materials use multiple textures to define the appearance of the material. See Creating a physically-based textured material.
Creating a textured material
To create a textured material:
Create a texture. See Using single textures.
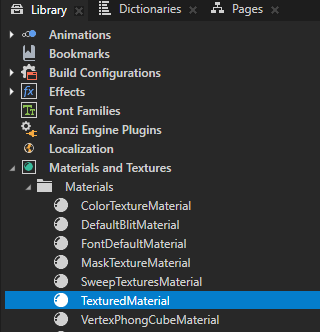
In the Library > Materials and Textures > Materials, select a material that uses a material type that supports textures. For example, these Kanzi material types support rendering a texture:
Textured renders only texture data.
ColorTexture renders only colored texture data.
SmartVertexPhong is a high-performance material type that uses vertex-based Phong shaders.
SmartFragmentPhong is a high-quality, slower-performing material type that uses pixel-based Phong shaders.
SmartPhysicallyBased implements physically based rendering (PBR) principles. See Creating a physically-based textured material.
See Using material types and Using smart materials.
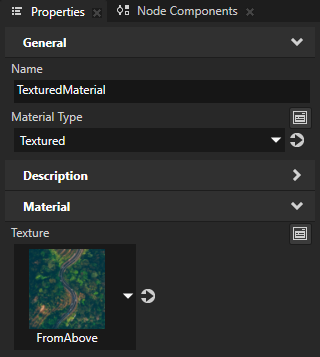
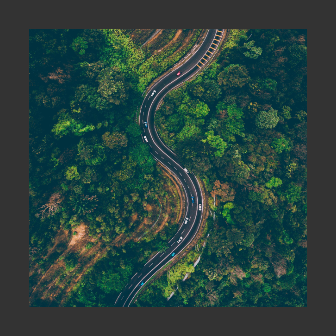
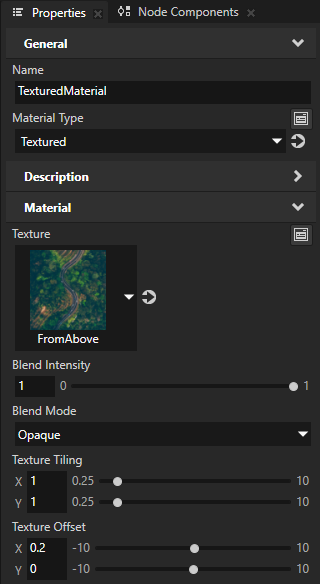
For example, use the TexturedMaterial. If your project does not contain that material, in the Library > Materials and Textures press Alt and right-click Material Types, and select Textured.
In the Properties, set the Texture property to the texture that you want to use in the material.
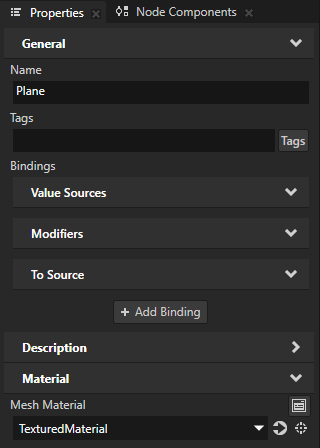
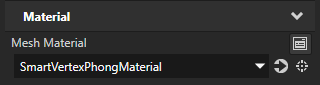
In the Node Tree or Prefabs, select the node on which you want to use the textured material. In the Properties, set the Material or Mesh Material property to the textured material.
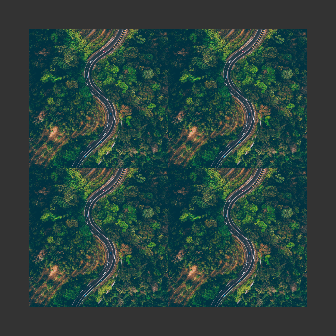
(Optional) Set the texture tiling:
In the Library > Materials and Textures > Materials, select the textured material. In the Properties, set the Texture Tiling property X and Y property fields to the number of times that you want to show the texture along the x and y axes.
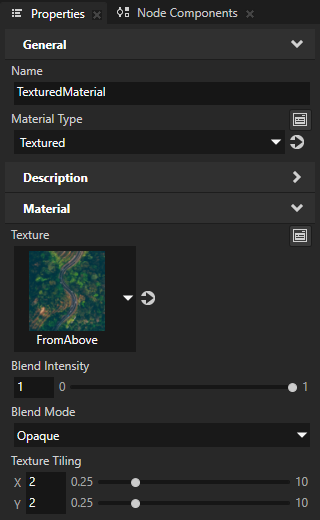

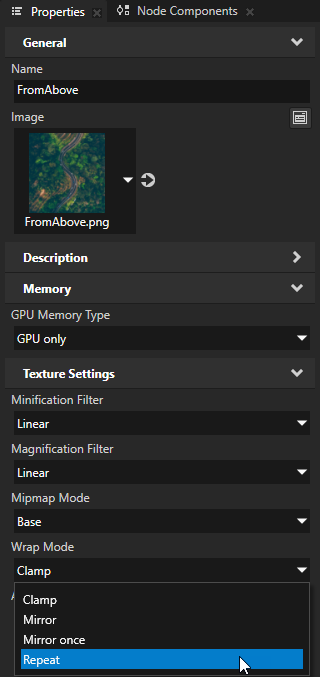
If you set the Texture Tiling property fields to values greater than 1, set the texture to repeat along the node that uses the textured material.
In the Library > Materials and Textures > Textures, select the texture. In the Properties, set the Wrap Mode property to:
Repeat to repeat the texture
Mirror to repeat the texture, but mirror every other repetition
(Optional) In the Library > Materials and Textures > Materials, select the textured material. In the Properties, set the Texture Offset property X and Y property fields to the amount by which you want to offset the texture on the surface of the node that uses the textured material.
Creating a cubemap textured material
To create a cubemap textured material:
Create a cubemap texture. See Using cubemap textures.
In the Library > Materials and Textures > Materials, select a material that uses a material type that supports cubemap textures. For example, these Kanzi material types support rendering a cubemap texture:
SmartVertexPhong is a high-performance material type that uses vertex-based Phong shaders.
SmartFragmentPhong is a high-quality, slower-performing material type that uses pixel-based Phong shaders.
SmartPhysicallyBased implements physically based rendering (PBR) principles.
See Using material types and Using smart materials.
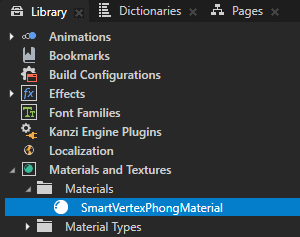
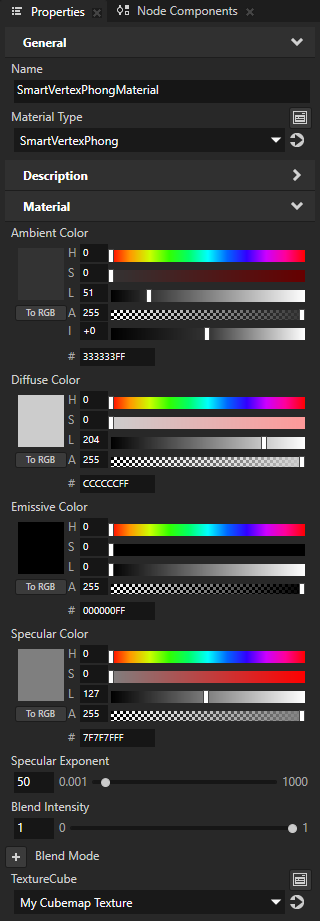
For example, use the SmartVertexPhongMaterial. If your project does not contain that material, in the Library > Materials and Textures press Alt and right-click Material Types, and select SmartVertexPhong.
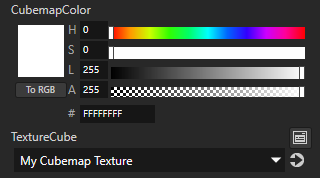
In the Properties, add the Material > TextureCube property and set it to the cubemap texture that you want to use in the material.
In the Node Tree or Prefabs, select the node on which you want to use the cubemap textured material. In the Properties, set the Material or Mesh Material property to the cubemap textured material.
(Optional) In the Library > Materials and Textures > Materials, select the cubemap textured material. In the Properties, add the Material > CubemapColor property and set it to the color with which you want to modulate the cubemap texture.
Creating a physically-based textured material
To create a physically-based textured material:
Create or use a material which uses a physically-based material type that supports textures.
For example, use the SmartPhysicallyBasedMaterial. If your project does not contain that material, in the Library > Materials and Textures press Alt and right-click Material Types, and select SmartPhysicallyBased.
The SmartPhysicallyBasedMaterial material supports using the features of the Kanzi default physically-based shaders.
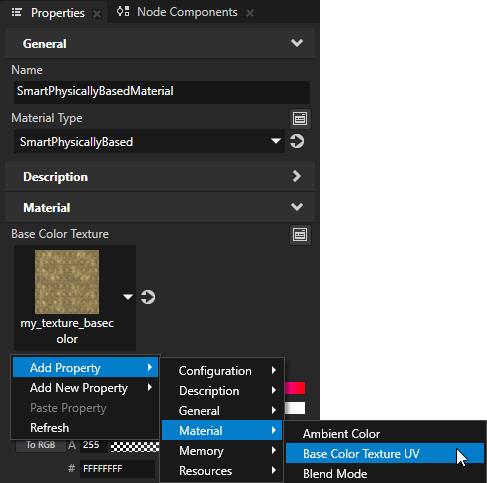
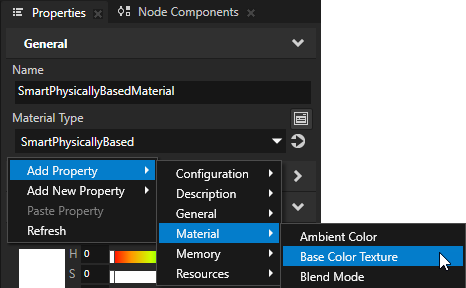
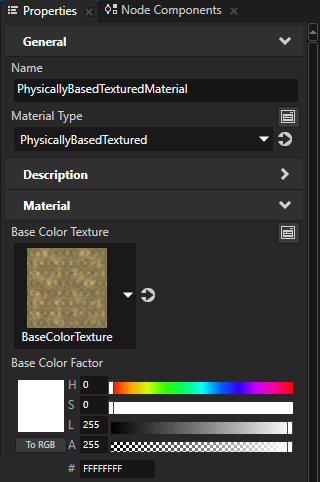
To set the main texture for the material, in the Properties, add and set:
Material > Base Color Texture to the texture that contains the base color map for the material
Base Color Factor to the color that you want to use to filter values from the Base Color Texture
To set the roughness of the material, in the Properties, add and set:
Material > Roughness Texture to the texture that contains the roughness map
Kanzi reads the roughness map from the green color channel of the texture. You can use this same texture to set also the metallic and occlusion maps.
Roughness Factor to scale the values provided by the Roughness Texture:
For a rough, diffuse surface set the property value to 1.
For a smooth, glossy surface set the property value to 0.

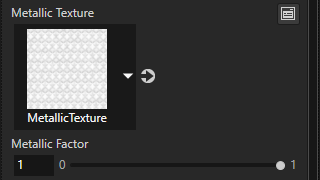
To set the metalness of the material, in the Properties, add and set:
Material > Metallic Texture to the texture that contains the metallic map
Kanzi reads the metallic map from the blue color channel of the texture. You can use this same texture to set also the roughness and occlusion maps.
Metallic Factor to scale the values provided by the Metallic Texture:
For a material whose reflective behavior fully resembles that of a metal, set the property value to 1.
For a dielectric material set the property value to 0.
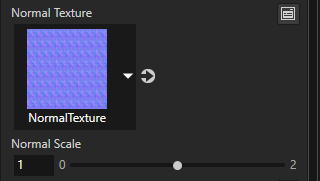
To set the normal map for the material, in the Properties,add and set:
Material > Normal Texture to the texture that contains the normal map
Normal Scale to set the intensity of the Normal Texture
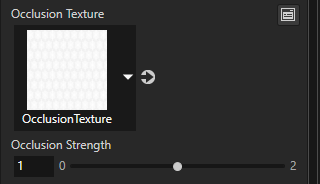
To set the occlusion map for the material, in the Properties, add and set:
Material > Occlusion Texture to the texture that contains the occlusion map
The occlusion map provides information about which areas of the surface receive indirect lighting. Kanzi reads the occlusion map from the red color channel of the texture. You can use this same texture to set also the roughness and metallic maps.
Occlusion Strength to set the intensity of the Occlusion Texture.
To set the areas where the material emits light, in the Properties, add and set:
Material > Emissive Texture to the texture that describes the parts of the surface that emit light
Emissive Factor to the color that you want to use to filter values from the Emissive Texture. You can use the Intensity (I) property field to adjust the exposure of this color.
To set the tiling and offset of the textures, in the Properties, add and set:
Material > Texture Tiling property X and Y property fields to the number of times that you want to repeat the textures along the x and y axes
Tip
If you set the Texture Tiling property fields to values greater than 1, for each texture that your material uses, set the Wrap Mode property to Repeat.
Material > Texture Offset property X and Y property fields to the amount by which you want to offset the textures on the surface of the node that uses the material
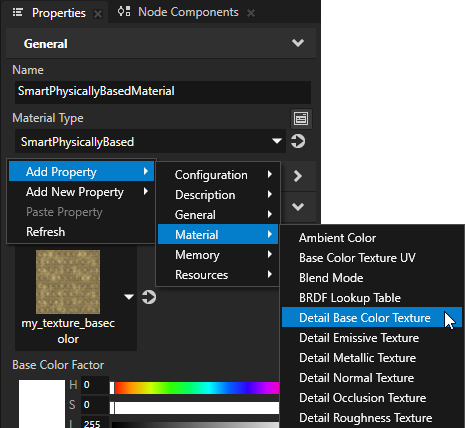
To use detail textures, in the Properties, add and set the detail texture properties.
For example, add and set:
Material > Detail Base Color Texture to the detail texture that contains the base color for the material
Detail Base Color Factor to the color that you want to use to filter values from the Detail Base Color Texture
Kanzi alpha-blends this color with the base color that you set with the Base Color Factor property.
(Optional) Material > Detail Texture Tiling property X and Y property fields to the number of times that you want to repeat the detail textures along the x and y axes
(Optional) Material > Detail Texture Offset property X and Y property fields to the amount by which you want to offset the detail textures
To select between texture coordinates
kzTextureCoordinate0andkzTextureCoordinate1for the textures, in the the Properties, add and set the texture UV properties.For example, for the Base Color Texture, to use the texture coordinate whose semantic index is 1, add and set the Material > Base Color Texture UV property to 1.