Using Themes
Kanzi uses a Theme as an ID to select the resources associated with that Theme. If you do not define a resource for a Theme, Kanzi uses the default value for that resource ID in that Theme Group.
Learn how to theme your Kanzi applications by completing a tutorial. See Tutorial: Theme your application.
Creating a Theme
To create a Theme:
In the Library > Themes double-click the Theme Group to which you want to add a Theme.
Kanzi Studio opens the Theme Group in the Theme Editor.
In the Theme Editor click Create Theme, enter the name for the Theme, and click OK.

Renaming a Theme
To change the name of an existing Theme:
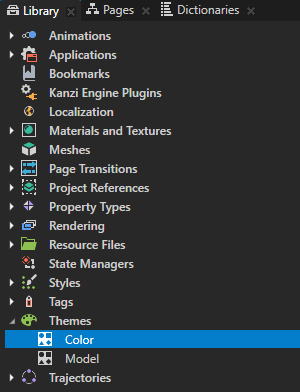
In the Library > Themes double-click the Theme Group which contains the Theme you want to rename.
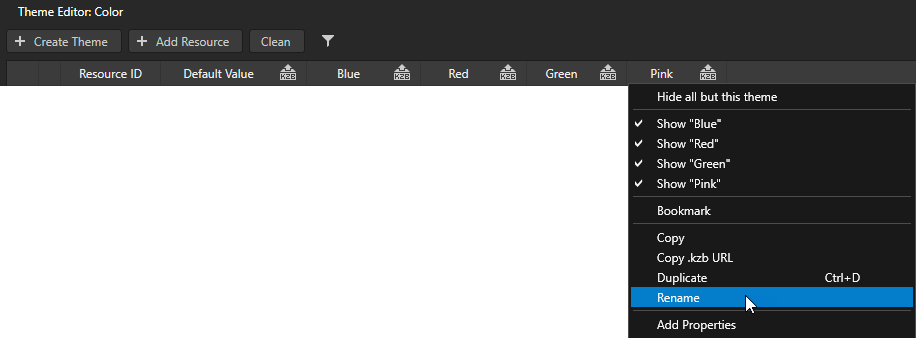
In the Theme Editor right-click the header of the Theme you want to rename and select Rename.
Enter the new name for the Theme and click OK.

Setting the application Theme
You can set the application Theme in these ways:
To set the Theme that your application uses when a user launches the application or that you want to see in the Kanzi Studio Preview:
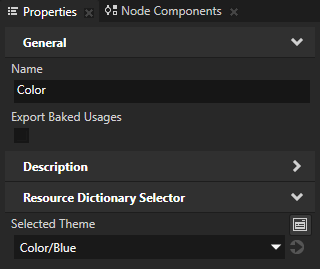
In the Library > Themes select the Theme Group which contains the Theme you want to use and set the Selected Theme to the Theme you want to use.

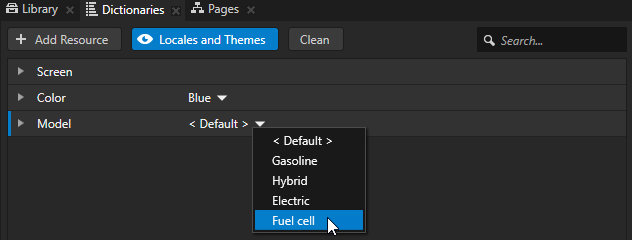
In the Dictionaries window click Locales and Themes and for each Theme Group in your project select the Theme you want to use.
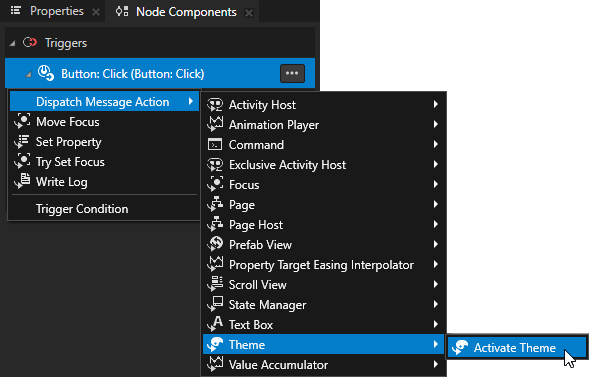
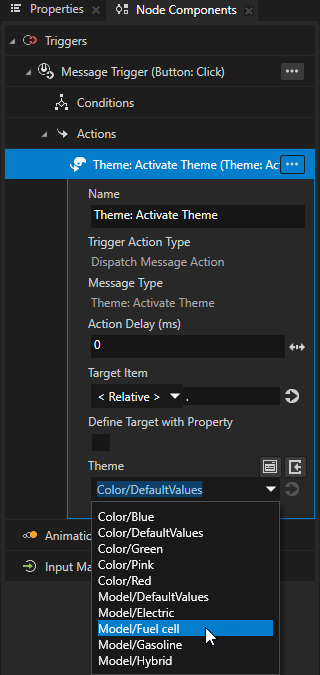
To set a Theme using a trigger, in a trigger that you want to use to set the application theme, create a Theme: Activate Theme action and set the Theme that you want to use.
Adding a resource to a Theme Group manually
The fastest way to add a resource to a Theme Group is to use in the Node Tree the Add Resources to a Theme Group command. See Adding resources used in a project to a Theme Group.
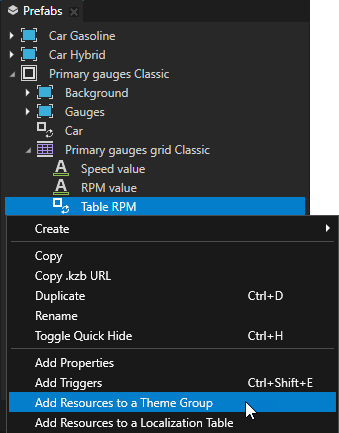
To add a resource to a Theme Group manually:
In the Library > Themes double-click the Theme Group which contains the Theme to which you want to manually add resources.
Kanzi Studio opens the Theme Group in the Theme Editor.
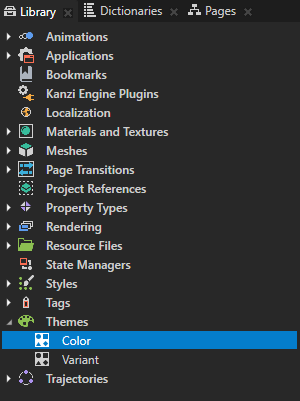
In the Theme Editor click + Add Resource and select:
Create and select the type of resource you want to create.
Add Existing and select a resource that already exists in your project.

Enter a name for the resource ID you want to use for that resource and click OK.
In the Theme Editor in the column of each Theme set resource you want to use for the resource ID you created.
In the Node Tree select the node where you want to use the resource ID you created, in the Properties set the property which points to a resource to < Resource ID >, and enter the resource ID you created in the Theme Editor.
Deleting resource IDs from a Theme Group
To delete resource IDs from a Theme Group:
To delete resource IDs that are not used in the project, click Clean, select the resource IDs you want to delete, and click OK.

To delete a resource ID, right-click the resource ID and select Delete Resource ID.
To delete multiple resource IDs press the Ctrl or Shift key and select resource IDs you want to delete, and press the Delete key.
Localizing a Theme
Kanzi enables you to localize themed applications.
To localize themes:
For each theme the content of which you want to localize, create a prefab from the content that includes the text nodes you want to localize. See Creating and using a node prefab.
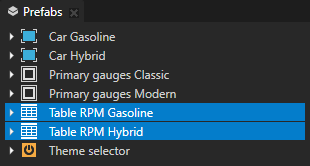
Localize the text resources:
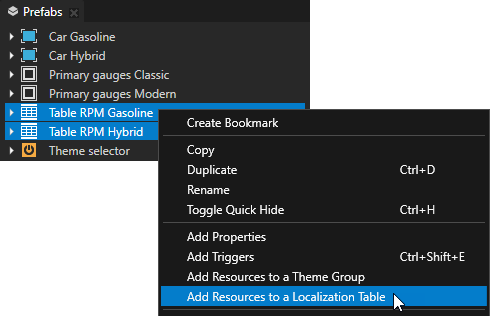
In the Prefabs select the prefabs you created in the previous step and add their resources to a localization table.
See Adding resources to a localization table.

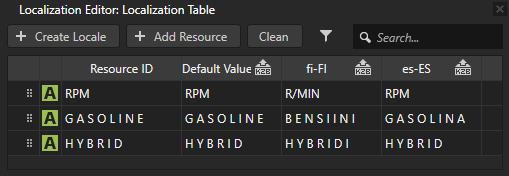
In the Library > Localization double-click the localization table you created in the previous step to open it in the Localization Editor, add the locales to which you want to localize themes, and localize the text resources. See Localizing text resources.
To add a locale click + Create Locale, enter the name for the locale, and click OK.
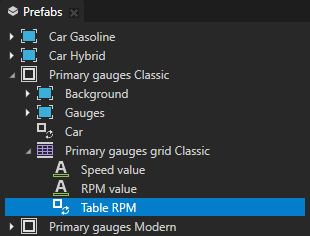
Use Prefab View nodes to show the localized content:
In the Prefabs under the node where you want to show the localized content create a Prefab View node and in the Properties add and set the Prefab Template property to one of the prefabs you created in step 1.
You must use a Prefab View node so that you can dynamically change the prefab that the Prefab View instantiates. See Prefab Placeholder and Prefab View nodes.

In the Prefabs right-click the Prefab View node you created in the previous step and select Add Resources to a Theme Group.

In the Add Resources to a Theme Group window:
Set the Theme Group to the theme group to which you want to add the resources.
A theme group contains the information about which theme uses which resources.
Rename the Resource ID to something that is meaningful in the context of your project.
Click Add.
Kanzi Studio adds to the theme group the resource ID which points to the prefab shown in the Value column. In the Prefab View node from which you add the resources to a Theme Group, Kanzi Studio sets the value of the Prefab Template property to the resource ID.


(Optional) In the Prefabs copy the Prefab View node you created in step 1 to the places where you want to show the same content.
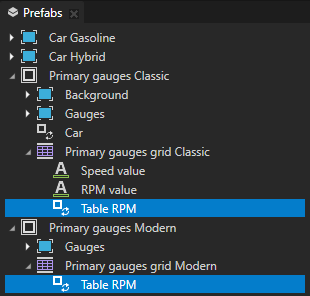
In the Library > Themes double-click the theme group to which you added the resources, and in the Theme Editor for the resource ID you created in step 3 select the correct prefab for each theme.

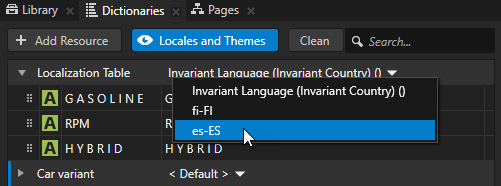
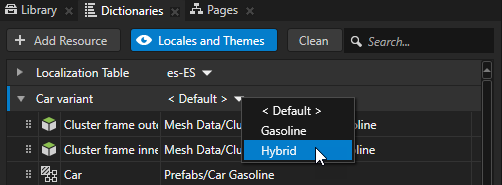
In the Dictionaries window to view the resource dictionaries of localization tables and theme groups in the project, click Locales and Themes, and select different locales and themes to see the localized themes in the Preview.
Using themes in multiple Kanzi Studio projects combined into a Kanzi application
To use themes when you combine multiple Kanzi Studio projects into a Kanzi application, you must make the theme groups accessible to the Screen node of the main project of your application in one of these ways:
Define the theme groups in the main project of your application.
Merge the theme groups from referenced projects to the main project which contains the Screen node. You can then use resource IDs to access the resources in the theme groups from the referenced projects. See Merging projects.
Contact the Rightware support team and request the Kanzi Engine plugin which enables you to use theming across multiple Kanzi Studio projects and kzb files. See Submitting a support request.