Optimizing fragment shaders
Depending on the underlying GPU architecture, the GPU can execute many stages of rendering, such as vertex processing, fragment processing, and memory reading in parallel for each draw call. The draw call waits until Kanzi finishes processing all the fragments. If the fragment shader executes slower than the vertex shader, or other stages, the other stages need to wait for the fragment shader execution to complete.
You can optimize fragment shaders by:
Decreasing the precision of fragment shaders. See Decreasing the precision of a fragment shader.
Using the vertex shader to calculate the values that stay constant and are calculated only a few times. See Moving calculations from pixel to vertex.
Decreasing the precision of a fragment shader
If fragment shading is a performance bottleneck, you can decrease the precision of the shader from full 32-bit floating point to 16-bit floating point. Many GPUs support operations at double rate when you decrease the precision.
To decrease the precision of a fragment shader:
In the Library, select Resource Files > Shaders and open the fragment shader whose precision you want to decrease.
The Shader Source Editor opens.
Declare variables with the appropriate precision qualifier:
Precision qualifier
Range
Data type
Examples of use
lowp\[(-2,2)\]8-bit decimal.
Modern GPUs do not have fixed point shader units and map this to 16-bit floating point. When you are not sure which precision to choose, prefer
mediumpoverlowp.Colors in the RGB data range [0..1] and intensities in the range [0..1].
mediump\[(-2^{15},2^{15})\]16-bit floating point with 1 sign bit, 5 bits of exponent, and 10 bits of mantissa.
Some GPUs map this to 32-bit floating point.
Colors, normals, textures, positions in object space.
highp\[(-2^{128},2^{128})\]32-bit floating point with 1 sign bit, 8 bits of exponent, and 23 bits of mantissa.
Matrices, large textures, positions in world space.
For example, for a fragment shader, use this code:
uniform sampler2D Texture;
// lowp and mediump often double the performance compared to highp.
uniform lowp float BlendIntensity;
varying mediump vec2 vTexCoord;

void main()
{
    // lowp and mediump often double the performance compared to highp.
    precision lowp float;

    vec4 color = texture2D(Texture, vTexCoord);
    gl_FragColor.rgba = color.rgba * BlendIntensity;
}
Do not use this code:
// Default to highp for everything.
precision highp float;
uniform sampler2D Texture;
uniform float BlendIntensity;
varying vec2 vTexCoord;

void main()
{

    vec4 color = texture2D(Texture, vTexCoord);
    gl_FragColor.rgba = color.rgba * BlendIntensity;
}
Moving calculations from pixel to vertex
Vertex shaders perform operations such as fetching vertices and calculating transformations. Kanzi executes a vertex shader once per vertex.
Fragment shaders perform operations such as getting texture data. Kanzi executes a fragment shader once per pixel.
Because a scene typically contains more pixels than vertices, fragment shaders execute more often than vertex shaders. For this reason, it is recommended to perform calculations in the vertex shader whenever possible, and pass the result to the fragment shader.
Use the vertex shader to calculate:
Values that stay constant or that Kanzi calculates only a few times.
Lighting calculations that can interpolate results between vertices without losing too much quality.
For example, in the Kanzi default VertexPhong material types, the vertex shader performs the lighting calculations. These material types offer higher performance than the FragmentPhong material types, whose fragment shader performs the lighting calculations.
In this example, you create a simple material type that calculates the color of the material in the vertex shader.
To move calculations from pixel to vertex:
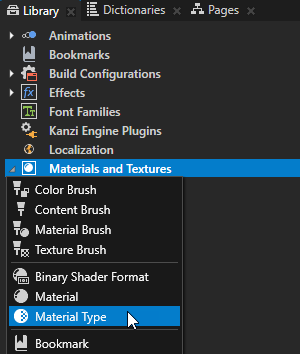
In the Library, press Alt and right-click Materials and Textures, and select Material Type.
Kanzi Studio creates a material type and a material that uses the material type.
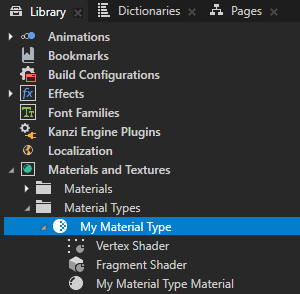
In the material type that you created:
Replace the content of the Vertex Shader with this code:
attribute vec3 kzPosition;
uniform highp mat4 kzProjectionCameraWorldMatrix;
uniform lowp float counter;

varying lowp vec4 vColor;

void main()
{
   precision mediump float;

   // Kanzi performs the trigonometric operations only for each vertex.
   // For example, for a quad, which consists of two triangles that each
   // have three vertices, that is six times.
   vColor = vec4(cos(counter), sin(counter), 1, 1);

   gl_Position = kzProjectionCameraWorldMatrix * vec4(kzPosition.xyz, 1.0);
}
Replace the content of the Fragment Shader with this code:
varying lowp vec4 vColor;

void main()
{
    precision lowp float;

    // For each fragment, Kanzi applies a constant interpolated assignment with the
    // same, lowp, precision. On most GPUs, this does not take longer than one cycle.
    gl_FragColor.rgba = vColor;
}
Do not use this code for the vertex shader:
attribute vec3 kzPosition;
uniform highp mat4 kzProjectionCameraWorldMatrix;

void main()
{
    precision mediump float;

    // The vertex shader outputs the position and leaves the color calculation to the
    // fragment shader. This is not a good idea when the number of fragments exceeds
    // the number of vertices.
    gl_Position = kzProjectionCameraWorldMatrix * vec4(kzPosition.xyz, 1.0);
}
Do not use this code for the fragment shader:
uniform lowp float counter;

void main()
{
   precision lowp float;

   // For each written fragment, Kanzi executes the trigonometric functions cos()
   // and sin(). Trigonometric functions are expensive. Depending on the GPU, they
   // can require several GPU cycles per fragment. The outcome is the same as when
   // you store the result in a varying.
   gl_FragColor.rgba = vec4(cos(counter), sin(counter), 1, 1);
}
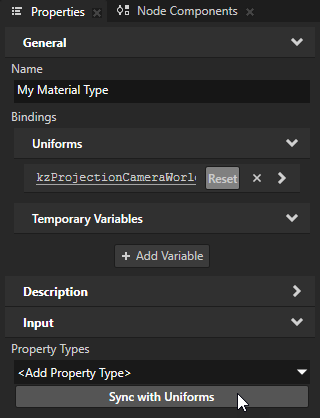
In the Library, select the material type that you created. In the Properties, click Sync with Uniforms, and create the counter property type.
This way, you add the counter property to the materials that use this material type.
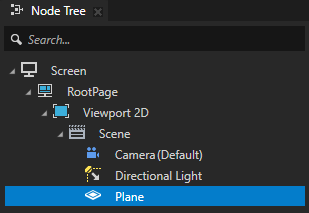
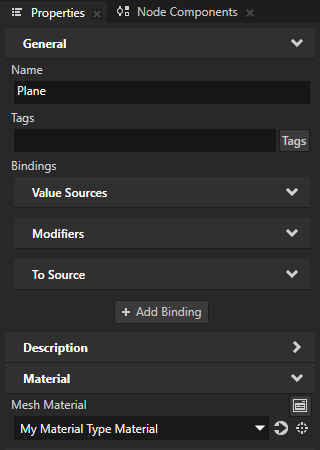
In the Node Tree or Prefabs, select a 3D node and set it to use the material that you created.
For example, in the Node Tree, create a Plane node. In the Properties, set the Mesh Material property to the material that you created.
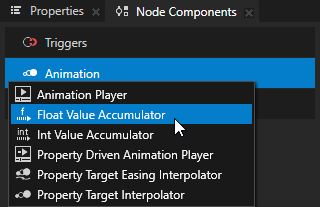
Use a Value Accumulator to increment the value of the counter property over time:
In the Node Components, press Alt and right-click Animation, and select Float Value Accumulator.
In the Create Float Value Accumulator dialog, set the Target Property Type to the Material Properties > counter property type.
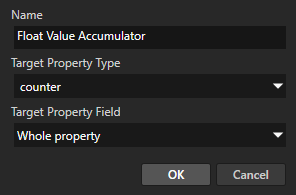
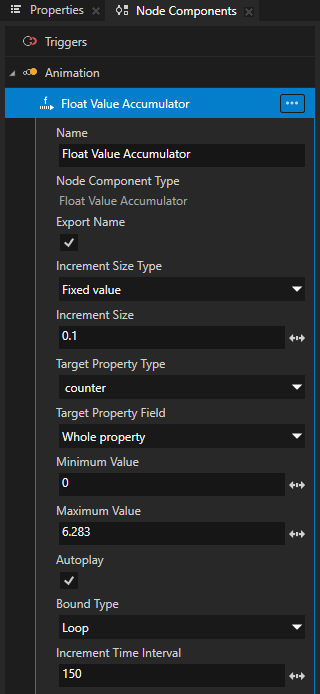
Configure the Float Value Accumulator.
For example, set:
Increment Size to 0.1
Maximum Value to 6.283
Increment Time Interval to 150
This way, you set the value of the counter property to change by 0.2 every 150 milliseconds until it reaches the value 6.283, that is, approximately \(2 * pi\). The Value Accumulator by default wraps the value when it reaches the maximum value.
To learn more about using the Value Accumulators, see Incrementing the value of a property type.
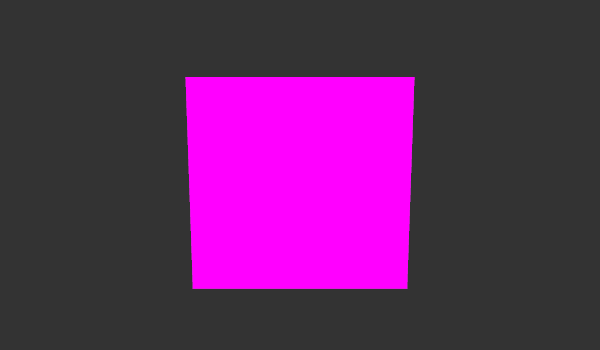
The Value Accumulator animates the color of the node whose material uses the counter property to control the color of the material.
